
How to Plan a Nature Journaling Walk and Sketch Workshop
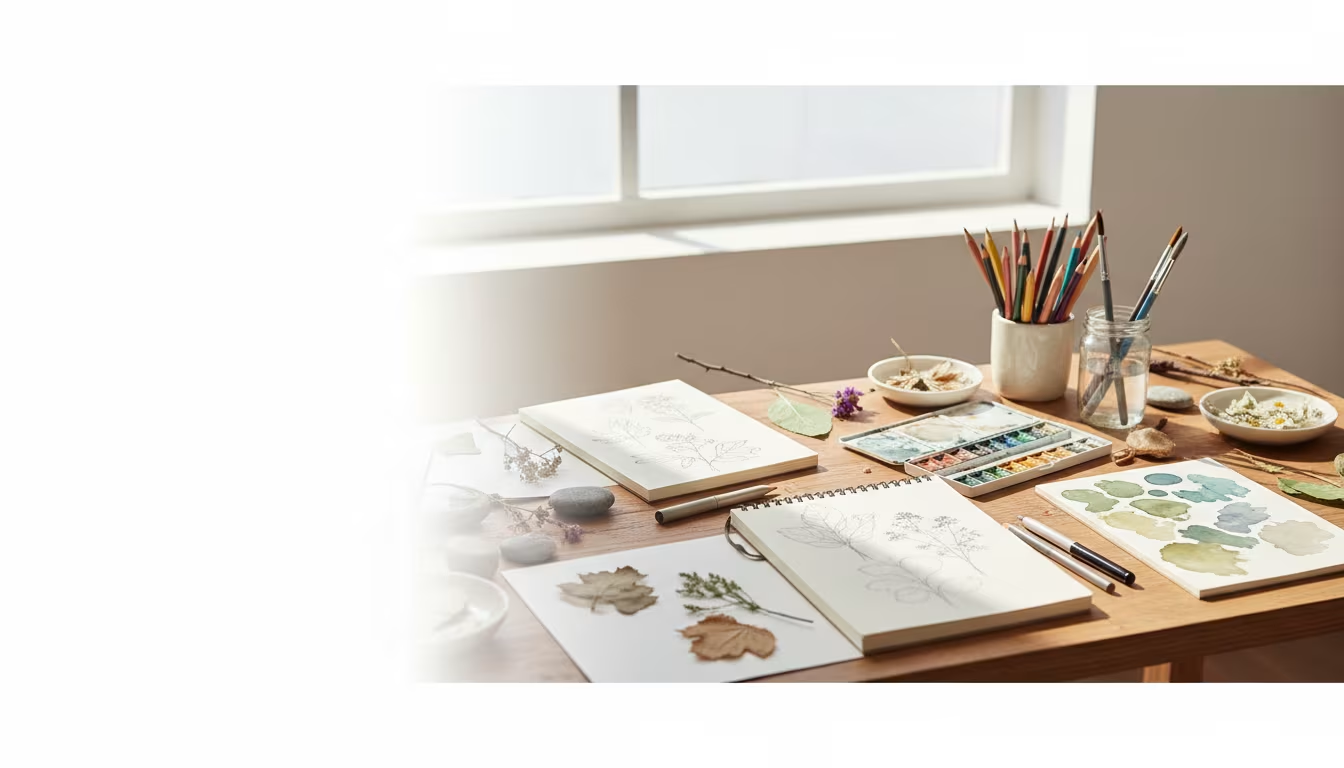
Nature journaling is the practice of recording what you observe outdoors in words and quick sketches. It has nothing to do with producing gallery art and everything to do with looking closely, which is exactly why it works as a low-pressure workshop for one person or a small group. The framework below covers what to bring, where to go, how to structure the time, and how to handle the doubts that stop most beginners. Museums that teach the practice, including the Natural History Museum's nature journaling activities, build their sessions around the same simple idea: observation first, accuracy second, and skill last.
What nature journaling actually is
A nature journal is a visual and written record of observations: a rough sketch, a few notes on color and texture, the date, the weather, what you heard or smelled. The tradition grows out of nineteenth-century nature study, which used direct observation rather than textbooks to learn about the living world. You are not identifying every species or drawing to scale. You are training attention, and the record is a byproduct.
- Sketching: anything from a ten-second outline of a tree to a detailed drawing of a single leaf. The goal is to capture shape and structure, not photographic realism.
- Writing: a word, a sentence, or a paragraph on what you notice, wonder about, or feel.
- Collecting responsibly: a fallen feather or leaf already on the ground is fair to keep; never pick living plants or disturb habitats.
Building your supply kit
The gear is deliberately minimal. A full kit fits in a small bag and costs under $20 if you start basic. The table sorts the essentials from the nice-to-haves so you do not overbuy before your first outing.
| Item | Priority | Notes |
|---|---|---|
| Sketchbook or notebook | Essential | Any paper; 90–140 gsm resists ink bleed and light watercolor |
| Pencil (HB) and a fine pen | Essential | Pencil for shapes, waterproof pen for lines that won't smear |
| Small eraser | Useful | Kneaded erasers lift graphite without tearing paper |
| Colored pencils or a pocket watercolor set | Optional | Add color once you are comfortable with line |
| Field guide or phone ID app | Optional | For naming plants and birds after you sketch them |
| Magnifier, folding stool, water, snacks | Comfort | A 10x loupe reveals leaf veins and insect detail |
Choosing a location and time
The location does not need to be dramatic. A backyard, a city park, a tree-lined street, or a nature preserve all work; the requirement is something to observe and a spot you can sit comfortably for 20 to 40 minutes. If you are inviting others, check that the site is accessible and safe, and confirm the weather the morning of.
Light and crowds change with the hour. Early morning gives soft, angled light and quiet, and it is the best window for birds. Late afternoon offers warm light and lengthening shadows that make good subjects. A weekday midday is often surprisingly empty. Keep the first session short; even one hour is enough to fill a couple of pages.
Planning the workshop step by step
Step 1: Set one loose goal
Pick a single simple aim, such as "notice three things I've never looked at closely" or "fill two pages." A goal that vague keeps the session from feeling like homework while still giving it a shape.
Step 2: Send invitations early
If you are leading a group, send details a week or two ahead: meeting point, start and end time, what to bring, and a note that no drawing experience is needed. Five to eight people is a manageable first group.
Step 3: Open with a warm-up
Start the session with a five-minute "sit and notice" before anyone draws. Have everyone list what they can hear, then what they can see moving. This shifts the group from walking mode into observing mode and settles first-timer nerves.
Step 4: Sketch in layers
Begin with quick gestural sketches, 30 seconds each, to capture overall shape. Then zoom in on one subject and record detail: the texture of bark, the arrangement of a leaf's veins, the way a shadow falls. Add written notes alongside the drawing rather than treating words and images as separate.
Step 5: Review before packing up
Spend the last five minutes looking back over the pages, adding color, labels, or a closing note. This review cements the observations and gives you a natural jumping-off point for the next outing.
Prompts that break a blank page
The hardest moment is the empty first page. A few reliable prompts get a pencil moving regardless of what is in front of you, and they work equally well solo or as prompts you hand a group.
- "I notice, I wonder, it reminds me of": this three-part structure, popularized by naturalist teachers, turns any subject into an entry. Write one observation, one question it raises, and one association.
- Zoom levels: draw the same subject three times, first the whole plant, then one branch, then a single leaf. It trains the shift from overview to detail.
- Count and measure: record how many petals, how many veins, the rough size in thumb-widths. Numbers slow you down and sharpen attention.
- Timed gesture: give yourself exactly 60 seconds per sketch for the first five. The clock kills perfectionism before it starts.
For a group, pick one shared prompt at the start so everyone has a common footing, then let people wander to their own subjects. Reconvening at the end to show one page each, with no critique allowed, builds confidence faster than any technique lesson.
Getting past the inner critic
The obstacles are rarely about technique. They are about the voice that says the work is not good enough, and every one of them has a practical answer.
"I'm not artistic enough." No one is grading the resemblance. Simple lines, blobs of color, and written labels are a complete journal entry. The looking is the skill; the drawing is just how you slow down to do it.
"I don't have time." A session does not need to be a day out. Twenty minutes on a lunch break or fifteen in the backyard before dinner counts. Short and frequent beats long and rare, because the habit is what builds observation.
"There's nothing interesting here." Scale down. The cracks in a sidewalk, moss on a rock, the silhouette of a distant tree, or the structure of a single blade of grass all reward a close look. A magnifier turns an ordinary patch of ground into a subject.
"It's too cold, hot, or buggy." Prepare for it. Dress in layers, carry bug spray, and on extreme days shorten the outing or work from a sheltered spot under a large tree or beside a park building.
Keeping the practice going
Consistency matters more than frequency. Daily, weekly, or once a month all work as long as the rhythm is sustainable for your life, and a monthly session over a year still produces twelve dated snapshots of a changing landscape. Returning to the same spot across seasons is its own reward: the bare branch you sketched in February becomes buds in April and full leaf by June, and the journal turns into a personal phenology record you could not have planned. Date every entry and note the location and weather in a single line, since those three details are what let you compare pages months later and spot patterns. Nature journaling also suits children well; keep their supplies simple and their expectations low, and let them chase whatever grabs them, whether that is bugs, puddles, or leaves. Pick one loose goal, put a pencil and a $5 notebook in a bag, and spend twenty minutes outside; the first entry is always the hardest, and it is the one that turns the idea into a habit.
Related Posts
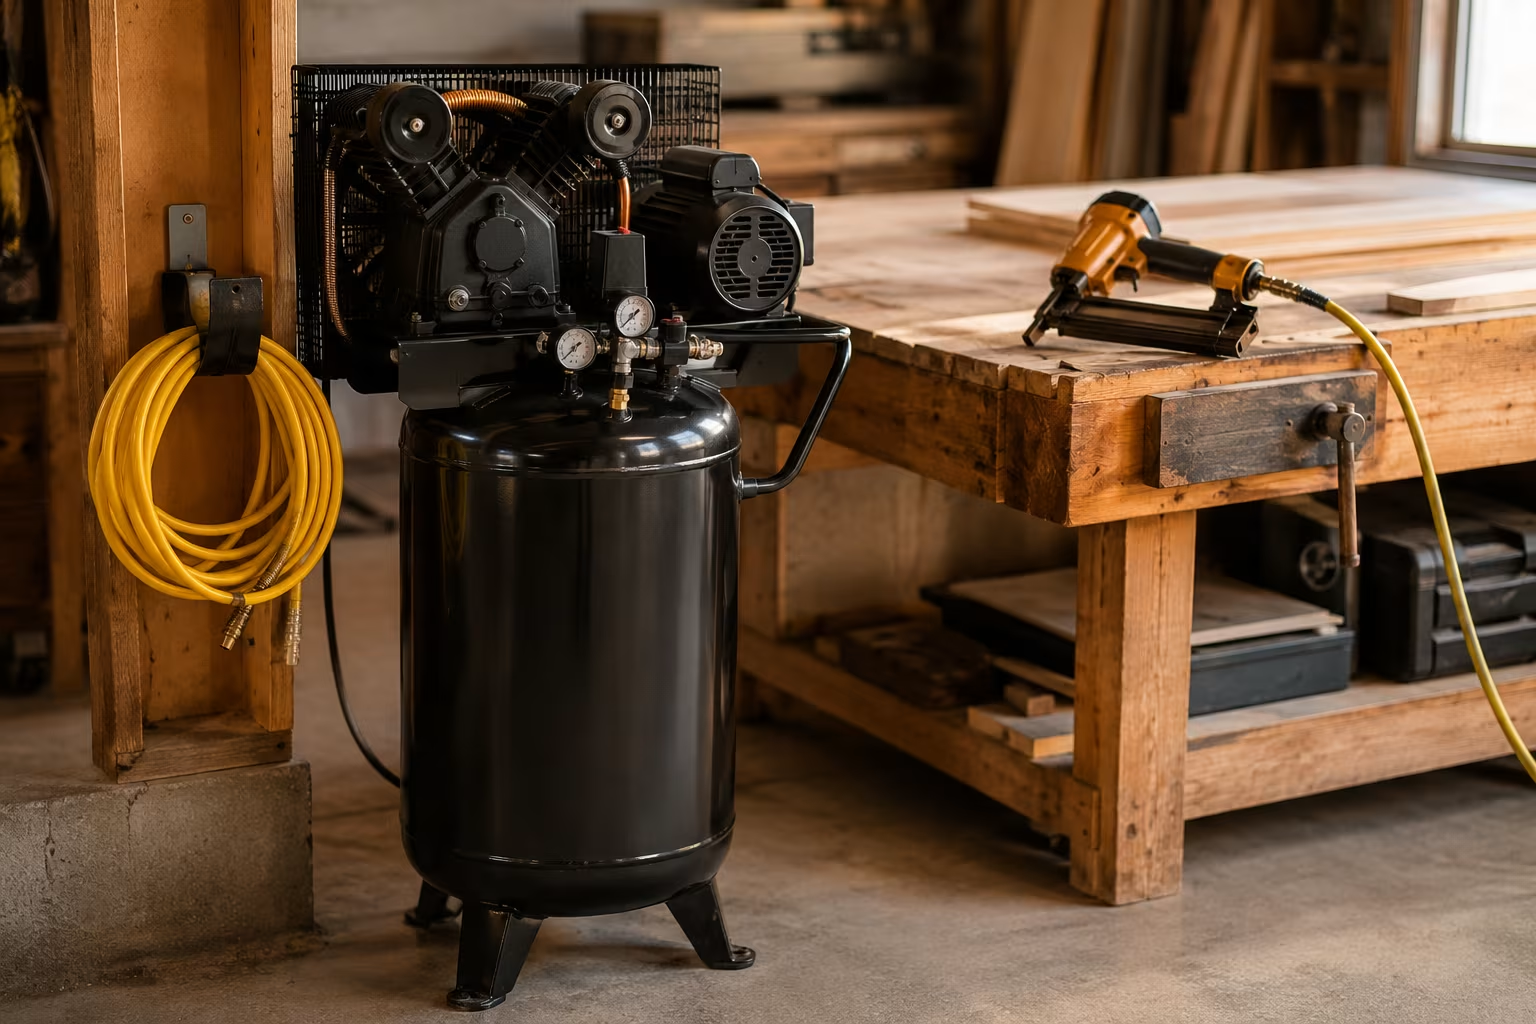
Workshop Air Compressor Sizing: CFM and SCFM
Air compressor matched to your tools means smooth work; too small means constant waiting. CFM...

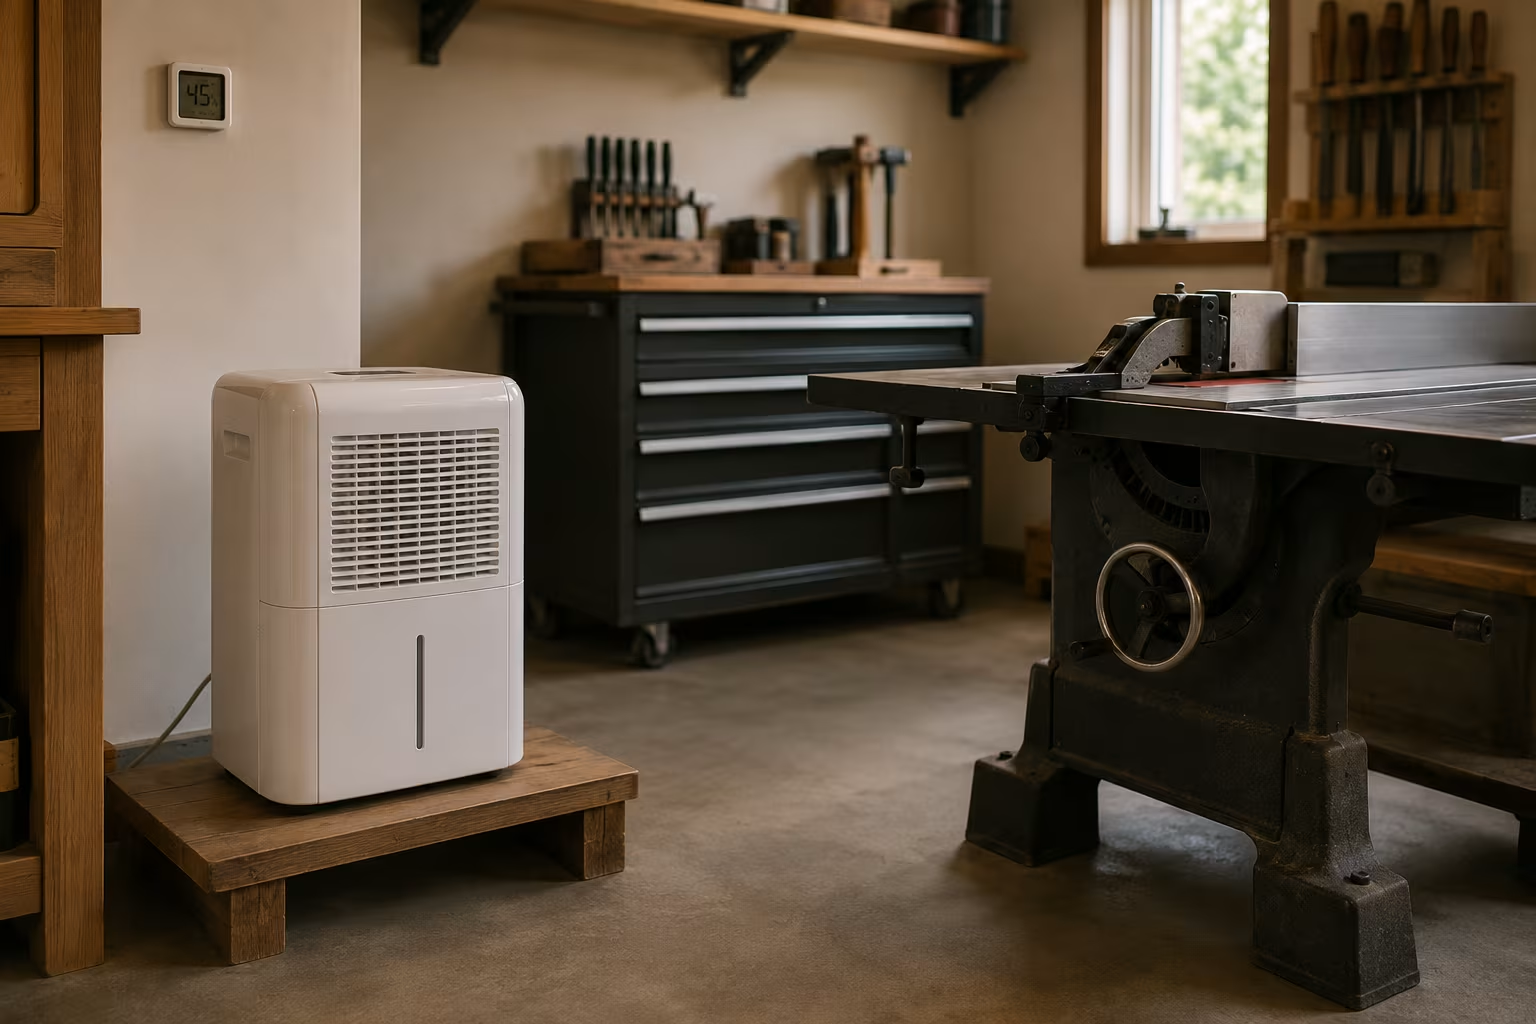
Workshop Dehumidifier Sizing for Tool Rust Prevention
Tools rust silently when shop humidity sits over 60%. The pint capacity that matches your shop...
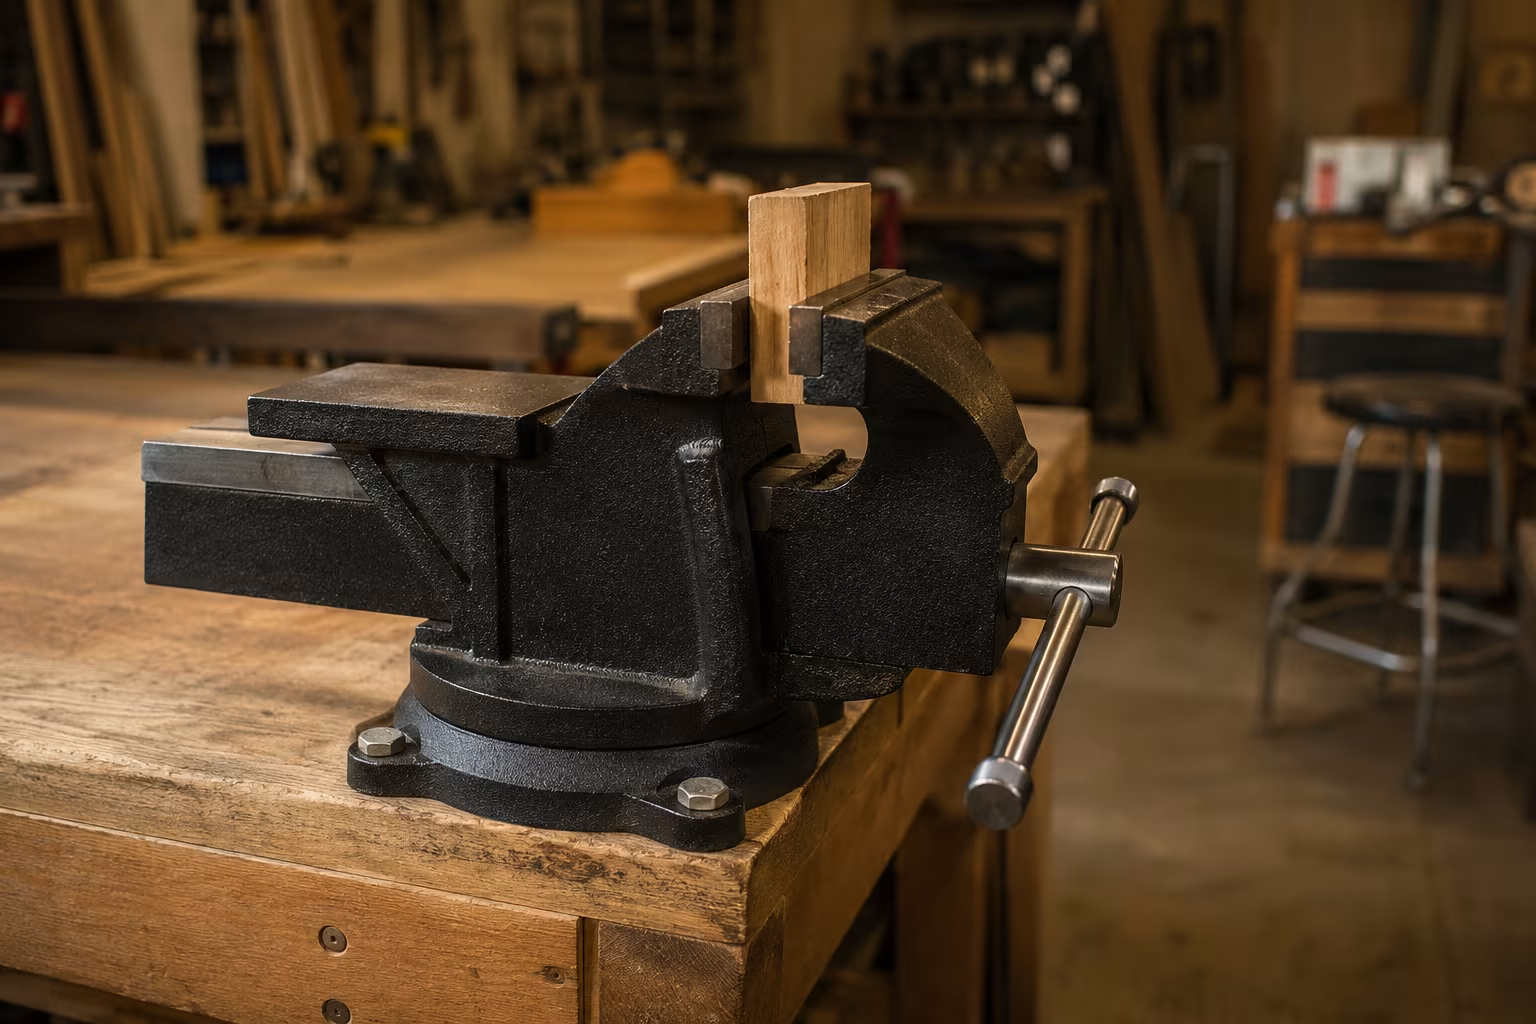
Bench Vise Sizing and Mounting for First-Time Buyers
Bench vises bolted to scrap plywood pull right out. The right size for the work, the right...
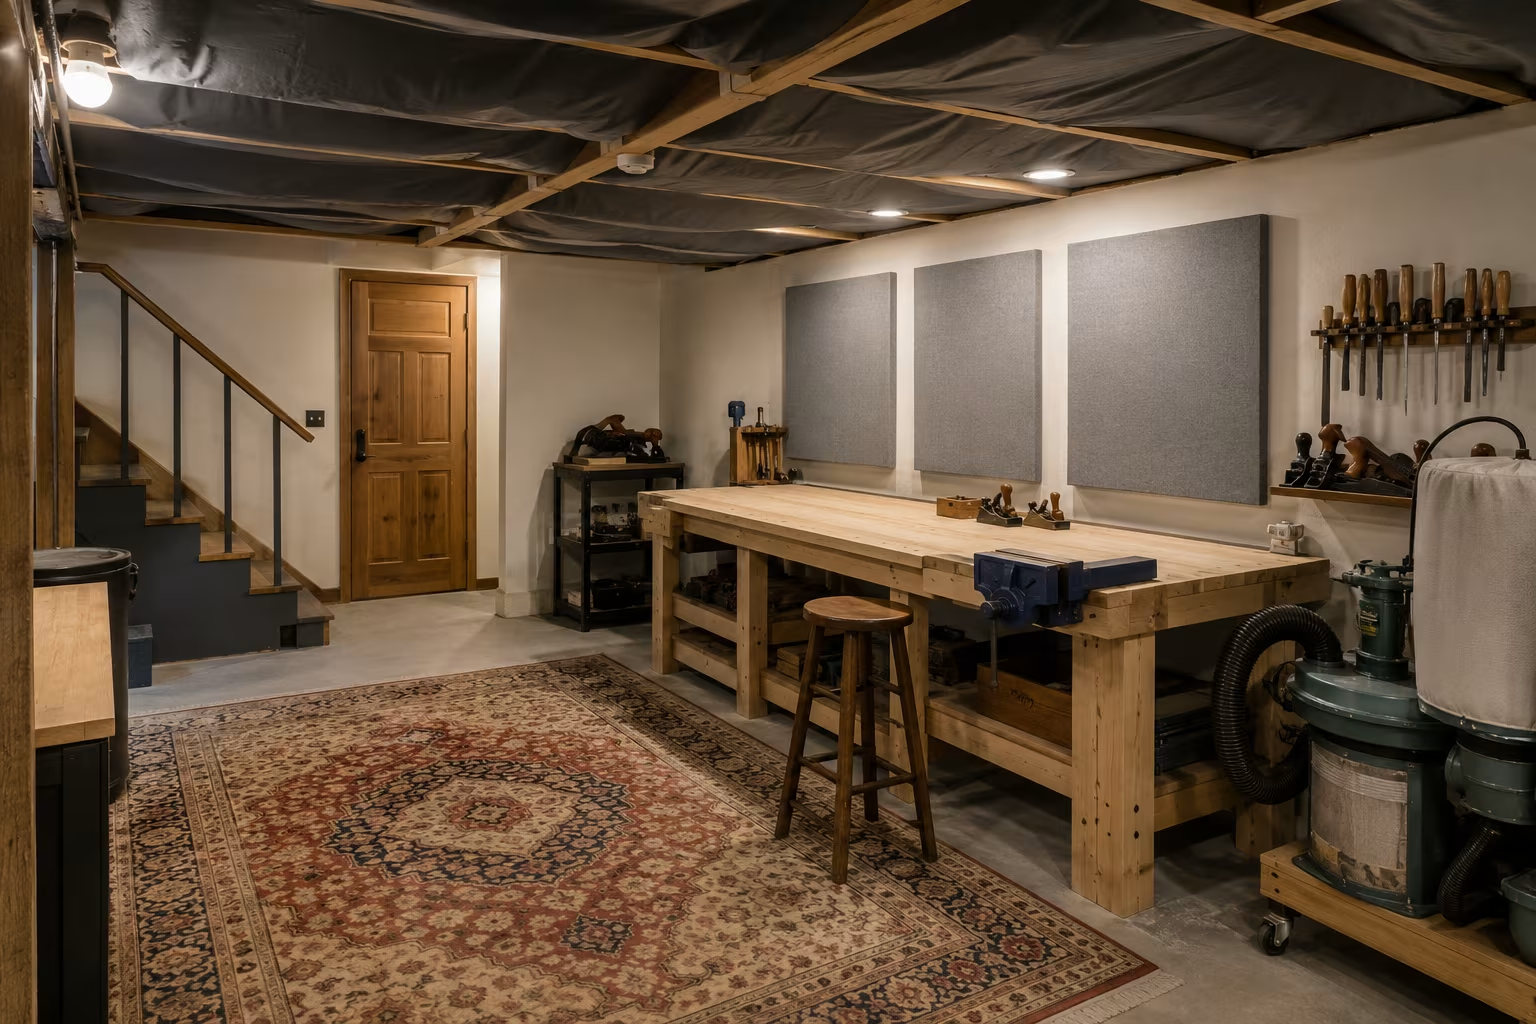
Soundproofing a Basement Workshop on a Renter's Budget
Basement shop noise traveling up to the family room is how you lose workshop privileges. The...
Comments
No comments yet. Be the first to share your thoughts!