Why Quilling Earrings Are the Most Profitable Craft to Sell Online
Why Quilling Earrings Are the Most Profitable Craft to Sell Online
Okay, confessing here: I used to stare at my empty Etsy shop for hours, wondering what thing I could make that people would actually buy. You know that feeling? Like you've got this creative itch, but you're not sure if anyone else wants to scratch it with you.
Well, I stumbled onto something that not only scratched my own itch but also turned into a little income stream. Today, we're diving into quilling earrings, and I'm going to tell you why I think they're secretly one of the most profitable crafts to sell online, especially if you're just starting out.
Why This Actually Matters
Look, we all want our hobbies to feel worth something beyond just personal satisfaction, right? Maybe it's a few extra bucks for craft supplies, or maybe it's a little breathing room in your budget. Quilling earrings offer a surprisingly good return for the minimal investment you need to get started.
Last year, I spent a total of maybe $30 on paper strips and some glue, and I ended up selling over $300 worth of earrings in just a few months. That's a pretty sweet deal when you consider how much time some other crafts demand.
The Magic of Paper Quilling
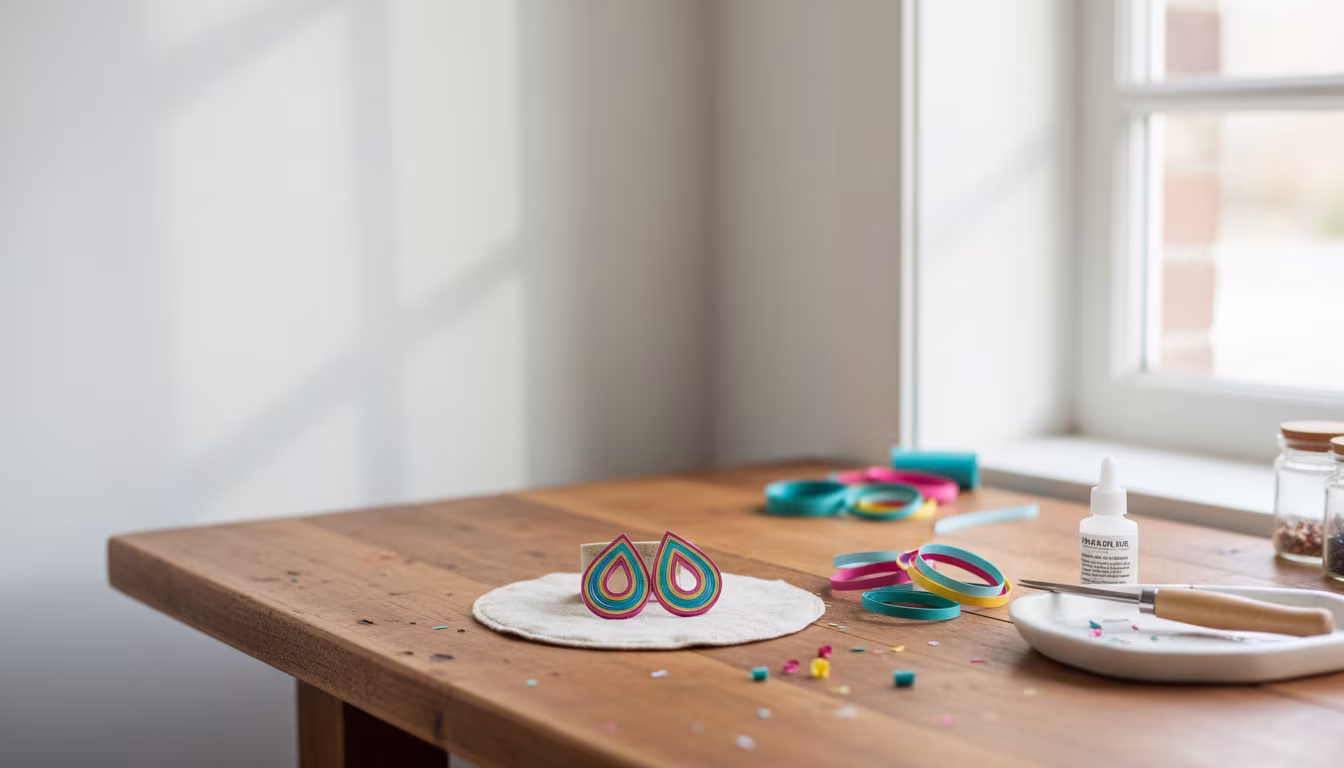
So, what even is quilling? At its heart, it's an ancient art form that involves rolling, shaping, and gluing strips of paper to create decorative designs. Think of it like paper filigree. You're basically taking thin strips of paper and turning them into intricate little shapes and patterns.
It's More Than Just Rolling Paper
It sounds simple, and in a way, it is. But there's an art to it. You can make tight coils, loose coils, teardrop shapes, eye shapes – the possibilities are pretty wild. And when you combine these simple shapes, you can create surprisingly detailed and beautiful designs.
- The Materials are Cheap: Seriously, a pack of colorful quilling paper strips costs next to nothing. You can often find them for under $5.
- The Tools are Minimal: All you really need is a slotted quilling tool (or even a toothpick if you're really on a budget) and some craft glue.
- The Learning Curve is Gentle: You can learn the basic shapes in an afternoon. Creating beautiful earrings might take a bit more practice, but the barrier to entry is super low.
Turning Quills into Cash: The Earring Advantage
Why earrings specifically? Because they’re small, lightweight, and people buy them in pairs. This means you can create a lot of product with relatively little material and time, and each sale feels like a win. Plus, they're super easy to ship! No more worrying about fragile ceramics or bulky items.
Market Appeal
People are drawn to unique, handmade jewelry. Quilling earrings have that "wow" factor because they look delicate and intricate, but they’re surprisingly durable once sealed. They stand out from mass-produced jewelry.
Low Overhead, High Potential Profit
This is where the profitability really shines. Your cost per pair of earrings can be as low as $0.50 or even less, depending on how you source your supplies. When you price them competitively at $10-$20 per pair (depending on complexity and your platform fees), the profit margin is fantastic.
Shipping is a Breeze
Lightweight and small means low shipping costs for you and your customers. They fit easily into small padded envelopes, and you don't need a ton of extra packaging to keep them safe during transit.
Getting Started with Quilling Earrings
Okay, so you're intrigued. How do you actually start making these things? It's less intimidating than it looks, I promise. I've fumbled my way through this, so you don't have to be perfect on your first try.
Step 1: Gather Your Basic Supplies
First things first, you need the essentials. Don't go overboard buying every color and tool imaginable right away. Start with the basics to see if you enjoy the process.
- Quilling Paper Strips: Grab a pack with a variety of colors. 3mm width is standard and a great starting point.
- Slotted Quilling Tool: This is a must-have for creating the coils. A basic one will do you just fine.
- Craft Glue: A good quality white craft glue that dries clear is key. Tacky glue is also a great option.
- Scissors: A small, sharp pair is helpful for trimming strips.
- Toothpick or Fine-Tip Applicator: For precisely applying glue.
- Earring Hooks and Jump Rings: You can buy these in bulk online or at your local craft store. Sterling silver or hypoallergenic options are usually best for selling.
- Pliers: Two small jewelry pliers (one flat-nosed, one round-nosed) are super handy for opening and closing jump rings.
Step 2: Learn the Basic Coils
This is the absolute foundation of quilling. You can make a whole earring out of just a few simple coils. My first few attempts at rolling were… lopsided. Totally okay, you’ll get the hang of it!
To make a basic tight coil: Insert the end of a paper strip into the slot of your tool. Start rolling the paper around the tool, keeping it tight and even. Once you've used the whole strip, or reached your desired size, carefully slide the coil off the tool. Apply a tiny dot of glue to the loose end and press it onto the coil to secure it. You can also gently pinch the coil between your fingers to create shapes like teardrops or eyes.
Step 3: Shape Your Elements
Once you've mastered the basic coil, start playing with shaping. This is where the magic happens and you can really start to design.
Try making loose coils by letting the paper unroll slightly after you remove it from the tool. Pinch coils into marquise (eye) shapes. Bend teardrops. These simple shapes are the building blocks for all sorts of designs.
Step 4: Design Your Earrings
Now for the fun part! Start combining your basic shapes to create patterns. For simple earrings, you might just need a few teardrops or marquise shapes glued together. For more complex designs, you can layer coils or create more intricate patterns.
I like to sketch out my ideas first, but sometimes just playing around with the shapes is the best way to discover new designs. Think about symmetry and balance. You'll want to make sure each earring in a pair is identical, or at least very close!
Step 5: Add Hardware and Seal
Once your paper design is complete and the glue is dry, it's time to add the earring hardware. Use your pliers to open a jump ring, thread it through a loop on your quilled design, and then attach your earring hook. Close the jump ring securely.
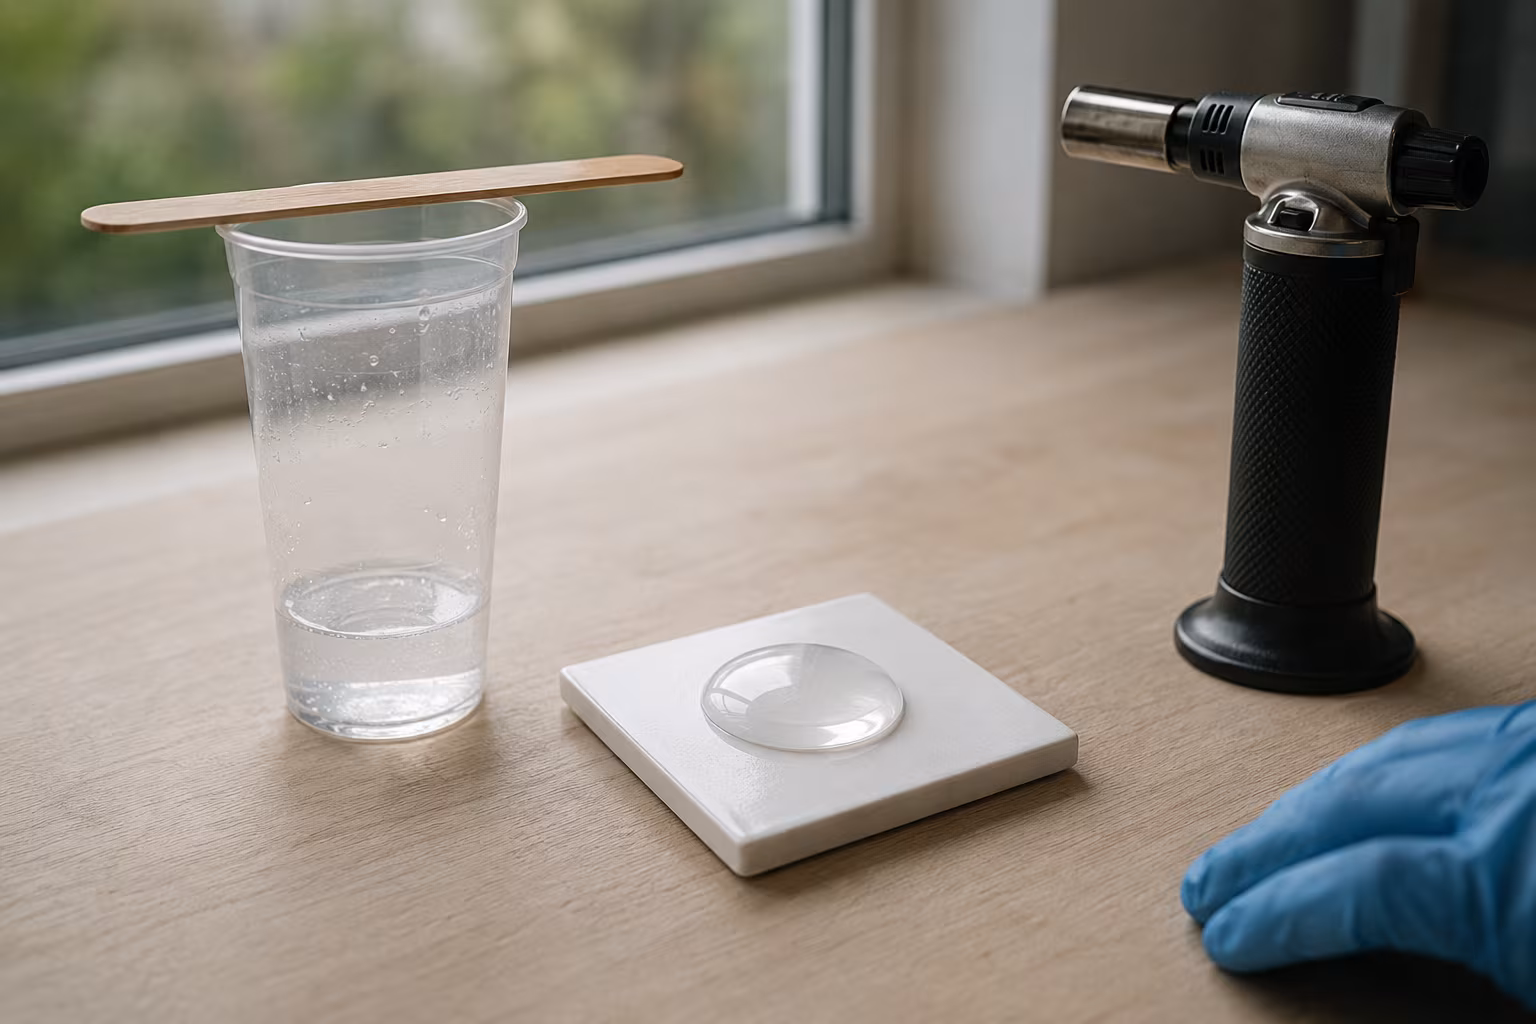
This is also the step where you'll seal your earrings. A few coats of a clear sealant (like Mod Podge or a spray sealant) are crucial. This protects the paper from moisture and gives the earrings a bit of stiffness and durability. Make sure it dries completely between coats – patience is key here!
Step 6: Photograph and List
Good photos are EVERYTHING when selling online. Natural light is your best friend. Take clear shots of your earrings from different angles. Show them on a plain background so the colors pop.
Then, write a clear and concise listing description. Include details about the size, materials, and care instructions. Use keywords people might search for, like "handmade paper earrings," "quilling jewelry," or "unique statement earrings."
Common Quilling Earring Pitfalls (And How to Avoid Them)
I’ve definitely made my share of mistakes, and I bet you will too. That’s part of the fun and learning process! But knowing what to look out for can save you some frustration.
Issue 1: Glue Mishaps
Too much glue, too little glue, glue showing through... it happens! I once had a whole batch where the glue dried with a weird sheen because I used too much. It’s a bummer when that happens.
Solution: Use a fine-tip applicator or a toothpick for precise glue application. Work in a well-lit area so you can see exactly where you're putting it. A little goes a long way, especially when sealing.
Issue 2: Designs Falling Apart
This is the worst! You’ve spent time making something beautiful, and then a piece just… detaches. It usually happens before the sealant is applied or if the sealant isn’t thorough enough.
Solution: Ensure all your glued elements are firmly attached before you even think about sealing. Apply multiple thin coats of sealant, letting each one dry completely. Pay extra attention to the edges and connections.
Issue 3: Uneven Pairs
Making two earrings exactly the same can be tricky. Sometimes one is slightly bigger, or the shapes are just a smidge different. It's not the end of the world, but it looks better when they match.
Solution: Take your time. Use templates if needed. Try to make both earrings simultaneously so you can keep an eye on consistency. If one pair is slightly off, you can often list it as an "imperfect pair" at a slightly reduced price.
Issue 4: Lack of Durability
Paper is delicate, right? If your earrings aren't sealed properly, they can bend or get damaged easily, leading to unhappy customers.
Solution: Proper sealing is non-negotiable. Two to three thin coats are usually sufficient. You can also experiment with different types of sealants to find one that offers the best protection for your designs.
The real secret to a profitable craft isn't just making something pretty; it's making something pretty that's also practical, affordable to produce, and easy to get to your customer. Quilling earrings hit all those points.
Frequently Asked Questions
Can I really make a profit with just paper and glue?
Absolutely! Your material costs are incredibly low, and the perceived value of handmade jewelry is high. As long as you price competitively and create appealing designs, you can definitely see a profit. My $30 starter kit investment really paid off.
How do I prevent the paper from getting damaged by rain or sweat?
This is where sealing comes in! Multiple thin coats of a good quality clear sealant are key. It creates a barrier against moisture. Always recommend that customers avoid wearing them in heavy rain or while swimming, just to be safe.
What if I'm not an artist? Can I still make pretty quilling earrings?
You don't need to be a master artist! Quilling relies on geometric shapes and patterns. There are tons of tutorials online showing you how to create beautiful designs with basic shapes. Plus, a unique, slightly "imperfect" handmade look is often part of the charm. I'm definitely not a traditional artist, but I love the precision of quilling.
How long does it typically take to make a pair of quilling earrings?
For a beginner, a simple pair might take 30-60 minutes from start to finish, including drying time between sealant coats. As you get faster and more efficient, you can probably make a pair in 15-20 minutes. Making multiple pairs at once can speed things up even more.
Is this a good craft for kids to try?
Quilling can be a fun craft for older kids (say, 8 and up) with supervision, especially for rolling the paper. Younger kids might struggle with the fine motor skills required for precise rolling and gluing. It's definitely more of an adult-focused craft if you're looking to sell.
The Bottom Line
Quilling earrings are a fantastic entry point into selling crafts online. They require minimal investment, have a low learning curve, and offer a great profit margin.
Don't be afraid to start small. Grab a basic kit, watch a few videos, and just start rolling. You might surprise yourself with what you can create. Happy crafting! 👋
Related Posts
Beginner Hand Embroidery Hoops: Sizing for Long Projects
Pick the right embroidery hoop size and material for a project you will work on for weeks — what ...
Acrylic Pouring Cells: Why They Form and How to Control
Cells in acrylic pouring come from density and surface tension differences. Understand the chemis...
How to Block a Knitted Wool Sweater Without Felting
The blocking routine that opens stitches and sets the shape without turning your wool sweater int...
Resin Doming Without Bubbles: A Calm, Reliable Method
A repeatable doming routine that keeps bubbles out and the dome tidy — pour technique, heat metho...