
The Complete Guide to Starting a Fiber Arts Guild in Your Town
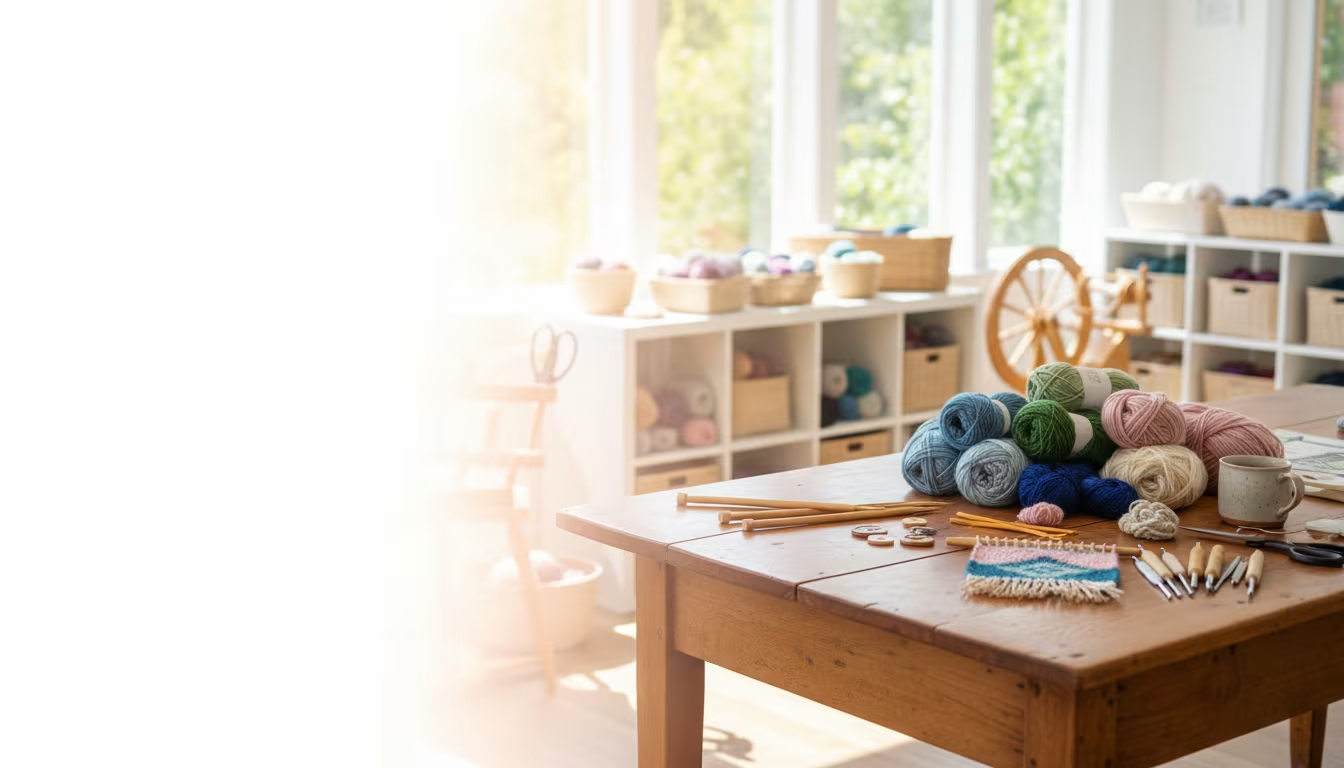
A fiber arts guild is a group of people who work with thread, yarn, or fabric and meet regularly to learn, share, and connect. That covers knitting, crochet, weaving, spinning, embroidery, quilting, sewing, and macrame under one roof. Solo crafting is isolating and slow; an hour beside an experienced knitter can teach a lace technique that a month of online tutorials could not. Starting a guild in your town is less complicated than it sounds, and this guide walks through each stage from the first meeting to keeping the group alive past its first year.
What a fiber arts guild actually is
At its simplest, a guild is a standing invitation to make things in company. It is broader than a knitting circle because it welcomes any fiber medium and any skill level. The value comes from a few concrete functions the group performs for its members:
- Shared learning: members teach each other techniques, run short workshops, or split the cost of a guest instructor, expanding everyone's skills cheaply.
- Camaraderie: a regular slot to sit and work alongside others counters the isolation of solitary crafting.
- Project support: a stuck cable pattern or a fabric-choice question gets answered on the spot by someone who has solved it before.
- Showcasing work: guilds organize exhibitions or take a table at local craft fairs, giving members a real audience.
- Preserving skills: spinning, natural dyeing, and hand-weaving stay alive when a group practices and passes them on.
Keep the definition loose at the start. The specific focus, whether all-fiber or weighted toward one craft, will settle as your founding members reveal what they actually want to do.
Step 1: Gauge interest and find founding members
You cannot run a guild alone, so the first job is finding four or five other enthusiasts who also want the connection. Post in local social-media groups, which tend to be the fastest route, and put physical flyers where fiber people already go: yarn stores, fabric shops, community centers, and the public library notice board. A good flyer states the craft focus, a proposed first date, and one contact method, and nothing more; too much detail on a first flyer reads as a commitment people are not ready to make. Ask friends, coworkers, and anyone you suspect owns more yarn than they will ever knit. Aim for a founding core of three to five committed people before you plan anything formal, because a small motivated group is easier to coordinate and more durable than a large vague one. If you struggle to reach even three, widen the definition rather than the geography: a mixed group of knitters, quilters, and embroiderers holds together better than a single-craft group stretched across too many towns.
Step 2: Host a low-key meet and greet
Once you have a core group, schedule a casual first gathering, not a board meeting. A coffee-shop booth, a library meeting room, or a park bench on a warm day all work. The purpose is to talk through what everyone wants: the vibe, the focus, how often to meet, and what each person hopes to get out of it. This conversation is the real foundation. Bring a project to work on so the meeting feels like the thing you are trying to build rather than a committee.
Step 3: Choose a venue and a schedule
Where you meet shapes how the guild feels and what it costs. Libraries and community centers usually offer free or low-cost rooms; some yarn and fabric shops lend space in exchange for the foot traffic your group brings. Look for somewhere accessible, with enough seating and good light for close work, and lock in a regular cadence. Monthly is the standard starting point because it is frequent enough to build momentum without exhausting volunteers.
| Venue type | Typical cost | Best for | Watch out for |
|---|---|---|---|
| Public library room | Free to low | Regular monthly meetings | Booking limits, fixed closing times |
| Community center | Low hourly rate | Larger groups, workshops | Competing bookings, deposits |
| Local yarn or fabric shop | Often free | Small groups, demos | Limited seating, expectation to buy |
| Coffee shop corner | Cost of drinks | Casual craft-ins | Noise, no private space |
| Member's home | Free | Very small founding group | Space and privacy limits |
Step 4: Decide on membership and dues
Dues are optional but useful. Even $10 to $20 a year covers room rental, guest speakers, or workshop materials, and a modest fee tends to increase commitment. If you charge, be transparent about where the money goes and keep membership open to every skill level. Many guilds run their first year with no dues at all, passing a hat for shared costs, and formalize a fee only once the group has proven it will last. When you do collect money, keep it simple: one person tracks a single spreadsheet of who paid and what was spent, and the balance is reported at each meeting so trust never becomes an issue. A separate free-entry event once or twice a year, open to non-members, doubles as recruiting and keeps the group from feeling like a closed club. Whatever you choose, write it down in a page or two of simple agreements rather than a formal constitution.
Step 5: Set up communication and a first event
Decide how you will keep members informed between meetings, because that is where new groups quietly fall apart. An email list, a private Facebook group, or a WhatsApp chat all work; pick one and use it consistently for reminders and news. Send a reminder two or three days before each meeting, since a monthly cadence is long enough that people genuinely forget. Then plan a first official gathering that is easy to say yes to: a show-and-tell where everyone brings a current project, a fifteen-minute technique demo by one founding member, or a simple craft-in with no agenda beyond sitting and stitching together. A few practical touches lift a first meeting: name tags, a spare set of needles or a hook for anyone who forgets theirs, and a table where members can leave stash they no longer want. Low pressure gets people through the door; polish can come later.
Step 6: Keep it going without burning out
Starting a guild is easier than sustaining one, and enthusiasm fades fastest when the same one or two people carry everything. Delegate from the beginning: one person manages the email list, another handles refreshments, a third scouts for workshop instructors. Stay flexible with the program, too. If the group suddenly wants to try natural dyeing, let the next few meetings follow that interest rather than forcing a rigid plan. Handle the inevitable disagreements early and kindly, and agree on a simple decision method such as a majority vote so small frictions do not snowball. Above all, resist bureaucracy in the early stage; bylaws and committees can wait until the group is large enough to need them.
Common mistakes to avoid
The biggest pitfall is trying to be everything to everyone on day one. Start small, keep it simple, and let the guild evolve around what members actually turn up for. The second is over-planning with rigid agendas set months ahead, which collides with real life the moment someone's availability shifts. The third is failing to delegate, which reliably burns out the founder. Watch for these three and most young guilds survive their first year intact.
Frequently asked questions
How do I find members in a small town?
Lead with online communities: regional fiber-arts Facebook groups, Ravelry forums, and Instagram with local hashtags. Add flyers at the post office, general store, and library, and rely on word of mouth. A small town grows a guild slowly, but a handful of committed people is enough to start.
What if no one wants to teach a workshop?
Formal workshops are optional. Many guilds run entirely on show-and-tell and collaborative problem-solving, where members bring a project they are stuck on and the group brainstorms fixes. If you want light structure, rotate a "technique of the month" where someone demos for fifteen minutes.
What about wildly different skill levels?
That range is a strength. Beginners learn from veterans, and experienced makers often pick up a fresh approach from a newcomer. Build a supportive atmosphere where questions are welcome, and consider pairing a beginner with a mentor for one-on-one help.
How much time does it take?
A casual social guild needs only the two or three hours of its monthly meeting. Organizing larger events, guest workshops, or community projects adds planning time. Start small and scale up as the group finds its rhythm.
Should the guild have a project theme?
It helps once the group is established. A rotating monthly theme such as colorwork, blocking, or natural dyeing gives shy members a reason to turn up and something concrete to bring, while still leaving room for people to work on their own projects. Keep themes optional rather than mandatory, and let members suggest them, so the calendar reflects what the group actually wants to learn rather than what one organizer decides.
The Craft Yarn Council is a useful reference for standard yarn weights and terminology your members will share, and Wikipedia's fiber art overview gives newcomers a map of the disciplines a guild can cover. With a venue booked, a monthly slot on the calendar, and three or four craft-loving people committed, you already have the makings of a guild. Pick a date, keep the first meeting easy, and let it grow from there.
Related Posts
Workshop Air Compressor Sizing: CFM and SCFM
Air compressor matched to your tools means smooth work; too small means constant waiting. CFM...

Workshop Dehumidifier Sizing for Tool Rust Prevention
Tools rust silently when shop humidity sits over 60%. The pint capacity that matches your shop...
Bench Vise Sizing and Mounting for First-Time Buyers
Bench vises bolted to scrap plywood pull right out. The right size for the work, the right...
Soundproofing a Basement Workshop on a Renter's Budget
Basement shop noise traveling up to the family room is how you lose workshop privileges. The...
Comments
No comments yet. Be the first to share your thoughts!