The Best Way to Weatherproof and Stain an Old Wooden Deck
Reviving a grey, splintery deck comes down to three stages done in order: clean, sand, and stain. Skip or rush the first two and the finish will not last a season. Done properly, a standard 12x16-foot deck can be brought back over a single weekend — cleaning and sanding on day one, staining on day two — for roughly the cost of a gallon of stain (about $50) plus cleaner and sandpaper. Beyond appearance, the finish is what stops rain, UV, and freeze-thaw cycles from rotting the boards and loosening railings.
Why Weatherproofing Is Worth the Effort
A neglected deck is both an eyesore and a safety issue. Bare wood left exposed goes grey as UV breaks down the surface fibers, splinters as it dries and checks, and rots where water sits — and a rotted railing can give way under weight. Weatherproofing is not cosmetic; it is what keeps the structure sound. A finished deck sheds water instead of soaking it up, and reapplying stain on schedule is far cheaper than replacing boards or a failed railing.
Prep Work: Clearing and Cleaning
Prep is the stage everyone wants to skip and the one that determines whether the finish holds. Start by removing everything — furniture, planters, grill — so you have a completely bare surface. Sweep thoroughly into corners and board gaps, then clear the remaining debris out of the grain with a leaf blower.
Inspect before you clean: hammer down any proud nails, secure loose boards, and replace seriously rotted sections now, not after staining. Then wash. Deck cleaner comes as a concentrate you mix with water; apply it with a garden sprayer or mop, let it dwell 15–20 minutes without drying out, and scrub with a stiff-bristled brush to lift mildew, algae, and the greyed surface layer. Rinse extremely well — any residue interferes with stain penetration. Budget a couple of hours for a proper wash on an average deck.
Sanding for a Smooth, Absorbent Surface
Sanding is non-negotiable for a professional result. It strips the weathered grey layer, removes old flaking finish, and opens the wood pores so stain soaks in evenly. A random orbital sander is the beginner-friendly choice — forgiving and unlikely to gouge — while a belt sander is faster and more aggressive but can chew soft wood if you linger. If you do not own one, most hardware stores rent them by the day cheaply.
Work up through the grits: start with 60-grit to knock down the rough weathered surface, move to 80-grit, then finish at 100 or 120-grit for smoothness. Do not sand deck boards finer than 120 — an over-polished surface actually closes the pores and keeps stain from soaking in. Always sand with the grain; cross-grain scratches will be highlighted by the stain. Cover the whole surface evenly and do not forget railings and stairs, using a detail or corner sander where the orbital cannot reach. Wear an N95 dust mask and eye protection, use the sander's dust collection, and afterward vacuum with a shop vac and wipe the boards down with a tack cloth or damp rag. Any dust left behind gets sealed into the stain permanently.
Plan your material quantity before you buy. Deck stain typically covers 200–300 square feet per gallon on smooth wood, less on rough or thirsty boards, so a 12x16-foot deck (about 190 square feet of floor, plus railings and stairs) usually needs one to two gallons for the coats you plan. Buy sandpaper generously too — a full deck sanding chews through 60-grit discs quickly, and swapping worn paper keeps the cut fast and even.
Choosing a Stain: Opacity and Base
Deck wood stain comes in a range of opacities, and the choice sets both the look and the protection level:
- Clear sealers — most natural look, moisture protection but little UV defense; reapply most often (1–2 years).
- Toner/transparent — a hint of color, grain fully visible, slightly more UV protection than clear.
- Semi-transparent — more pigment, grain still shows through texture, good UV protection, longer life (2–3 years). The common sweet spot for a natural-but-protected finish.
- Semi-solid — hides most grain, texture still visible, excellent protection.
- Solid — like a thin paint, hides grain and texture entirely, best UV and wear protection (5–7 years) but can peel and chip like paint if applied poorly.
On the base question: most modern deck stains are water-based, which clean up with soap and water and dry faster. Oil-based stains penetrate deeper and are very durable, but cleanup needs mineral spirits and they dry slowly. For most DIYers a quality water-based semi-transparent stain is the practical choice — easy cleanup, and modern formulas have closed much of the old durability gap. A gallon covers roughly two coats on a medium deck. Note whether your stain is an all-in-one with sealer built in; if not, a clear water-repellent sealer applied after the stain cures adds a moisture layer.
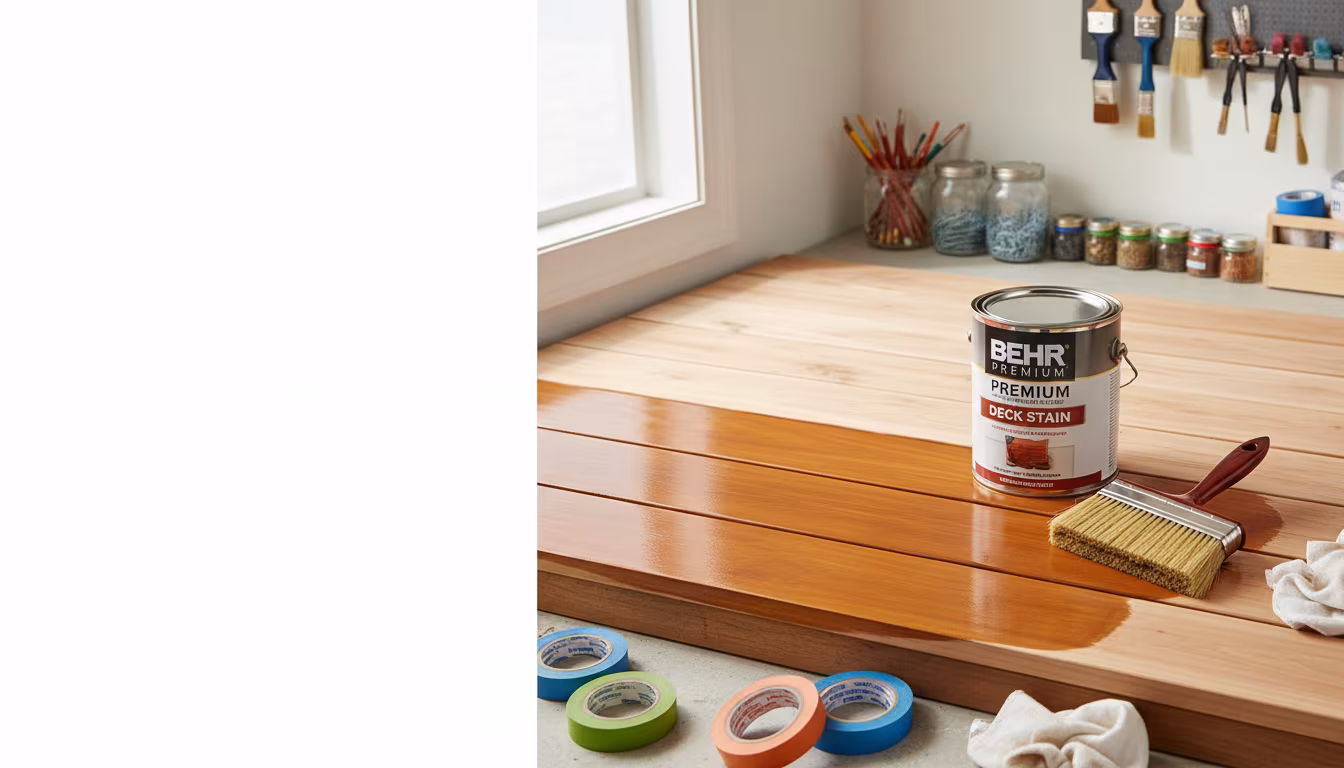
Applying the Stain Without Lap Marks
Gather everything before opening the can: your stain, an angled sash brush for edges and details, a stain pad or low-nap roller with an extension pole for the field, stir sticks, painter's tape, drop cloths, gloves, safety glasses, and a rinse bucket.
- Stir, do not shake. Shaking creates bubbles that transfer to the deck. Stir thoroughly, scraping the bottom and sides to blend all the pigment.
- Cut in the edges first. Brush stain around posts, railings, and tight areas the pad cannot reach.
- Do the field in sections. Work 3–4 boards wide at a time, applying a thin, even coat and keeping a "wet edge" so each new section blends into the last. Work from one end to the other and avoid over-working an area — going back and forth causes lap marks.
- Wipe puddles immediately. Stain should soak into the wood, not pool on top. Brush out or wipe any excess.
- Second coat only if needed. Most semi-transparent stains need one coat; solid stains or a patchy first coat may want a second. Let the first coat dry per the label — anywhere from 4 to 24 hours — before recoating.
- Clean up right away. With water-based stain, wash brushes, pads, and rollers with soap and water immediately; dried stain ruins tools.
Common Mistakes and How to Avoid Them
- Skipping the sanding. On grey, rough wood the stain will not adhere or look right.
- Incomplete cleaning. Trapped dirt, mildew, or old finish causes premature peeling.
- Staining damp wood. The single biggest failure. Moisture under the stain causes bubbling and peeling. Allow 24–48 hours of dry weather after washing before staining, and check the forecast for dry weather afterward too.
- Staining in hot sun. Heat flashes the stain off too fast, causing lap marks and uneven color. Aim for a mild, overcast day or work in the shade.
- Cheap applicators. Bargain brushes shed bristles and leave streaks — decent tools pay for themselves.
- Applying too thick. A heavy coat stays sticky, attracts dirt, and can peel like paint. Thin, even coats protect better.
How Often to Restain and When to Check
Reapplication interval depends on stain type, climate, and foot traffic. As a rough guide: solid stains last 5–7 years, semi-solid 3–5, semi-transparent 2–3, and toners or clear sealers 1–2. The simplest test is the water test — sprinkle water on the boards, and if it beads the protection still holds; if it soaks straight in, it is time to reapply. Staining over old paint is a separate case: you cannot get a stained look over paint, so either strip down to bare wood or switch to a deck paint or a solid stain rated to go over existing finishes.
Start with the worst-looking section, get a feel for the sander and the wet-edge rhythm on a few boards, and build from there. Even an imperfect first pass — bare wood cleaned, sanded to 120 grit, and sealed with a semi-transparent coat on a dry, overcast day — protects the structure and beats a neglected deck that keeps rotting under the weather.
Related Posts

Bathtub Resealing: When Silicone Beats Caulk and Vice Versa
Reseal a bathtub right: 100% silicone at the flexing tub-to-tile joint, acrylic caulk only on...

Fix Squeaky Hardwood Floors From Above (No Access)
Fix squeaky hardwood floors from above with no access below: talcum powder for board-on-board...

Replacing a Cracked Bathroom Tile Without Re-grouting
Swap one cracked bathroom tile with hand tools: score and saw the four grout joints, chisel the...

Patching Drywall Anchor Holes Without Sand-Through Halos
Make anchor-hole patches vanish instead of showing as halos: two thin spackle coats, sand only...