How to Plan a Wreath-Making Workshop for Seasonal Events
A wreath-making workshop turns a fiddly solo craft into a social event where everyone leaves with something for their door. You do not need to be a florist to run one; you need a clear plan, enough materials, and a sample to point people toward. What follows is the full sequence, from deciding who the class is for through the follow-up that keeps people coming back.
Why Host One at All
A wreath is easy enough to buy, but the workshop sells the process, not the product: a couple of hours away from screens, making something with your hands alongside other people. That makes it a good fit for community centers, small businesses wanting foot traffic, and casual gatherings at home. A modest community-center session charging around $20 a head to cover materials can comfortably fill 10 to 15 seats, and it uses up craft supplies that would otherwise sit in a bin.
Know Your Audience and Pick a Style
Decide who the class is for before anything else, because the audience sets the difficulty. A relaxed friends-and-wine night can be loose and forgiving; a paid public class needs pre-cut elements, clear steps, and more structure. Match technique to skill: beginners do best with pre-trimmed greenery and simple attach-and-layer methods, while experienced crafters can handle wiring and more varied materials.
Then choose a primary wreath style. It drives your materials, budget, and mess level.
| Style | Materials | Cost | Mess / effort | Longevity |
|---|---|---|---|---|
| Natural / foraged | Evergreen, eucalyptus, pinecones, dried flowers, berries | Low if foraged | High (sap, debris) | Weeks to a season |
| Artificial / faux | Silk flowers, faux greenery, fabric | Medium | Low | Years |
| Mixed media | Natural plus faux, ribbon, felt, ornaments | Flexible | Medium | Mixed |
Faux flowers and greenery turn up cheaply at thrift stores for a dollar or two per stem, and mixed-media wreaths give attendees the most room to personalize. If you lean natural, plan for sticky pine sap and extra cleanup, and forage only where it is legal to do so.
Budget, Source, and Build the Curriculum
Set a budget early and decide whether you are covering costs, charging materials only, or aiming for a small profit. List every item per person: wreath forms, greenery and florals, floral wire, glue guns and glue sticks, scissors, ribbon, and embellishments, plus overlooked extras like hand wipes and trash bags. Buy in bulk for larger groups and watch for the pre-holiday sales that craft stores run. Nurseries and florists will sometimes give away offcut greenery for free or nearly so. As a rough guide, a basic wreath's materials, a form, greenery, wire, ribbon, and a couple of embellishments, land around $8 to $15 per person; premium fresh flowers or larger forms push that higher, and that per-head figure is the number your ticket price has to clear before you factor in time or venue.
Write out the teaching sequence, even as a rough outline, and break the build into four or five clear steps, for example: attach base greenery, layer in filler, add focal points, finish with ribbon. Most importantly, make a finished sample wreath and a couple of mini-samples showing variations. A visible sample gives beginners a target and answers half their questions before they ask. If you want a companion technique to offer, adding a few sprigs of dried florals extends the finished wreath's life well past the event.
Run the Day and Follow Up
Set up material stations before anyone arrives: one for forms, one for greenery, one for embellishments, and a dedicated hot-glue zone for safety. Good lighting and enough elbow room matter more than they sound, since wreath making throws off a surprising amount of debris. Open with a short introduction, demonstrate using your sample, then let people work while you circulate, offering encouragement and troubleshooting. Keep 10 to 15 percent extra of the fast-moving supplies, floral wire, glue sticks, and core greenery, in a spare box for the inevitable shortfalls.
Afterward, budget 30 to 60 minutes for cleanup and send a thank-you note with a few tips and links to supplies. A short feedback question or two tells you what to change next time, and encouraging attendees to post and tag their wreaths gives you free promotion. For public classes, a simple Instagram post, flyers at local coffee shops, and partnering with a host business go a long way; the same open-studio approach that draws walk-in customers works for filling seats.
Common Pitfalls and Questions
The recurring mistakes are predictable: underestimating prep time (gathering and organizing materials always takes longer than expected), offering too little variety so wreaths come out looking identical, forgetting to plan cleanup, and trying to teach every technique in one session. Pick one core style, over-prepare the materials, and keep a small "panic box" of spares and backup glue guns.
What should I charge?
Calculate material cost per person first, then add time and any venue fee. Basic workshops with affordable materials commonly run $35 to $75 per head; premium fresh flowers justify more.
How many people should I invite?
Start with 5 to 10 for a first workshop. That size lets you give individual attention, and you can scale up as you gain confidence.
Do I need to be an expert?
No. Teach a few simple techniques you know well and focus on guiding a fun experience rather than delivering a masterclass.
What if I run out of supplies mid-workshop?
This is why the 10 to 15 percent overbuy on wire, glue sticks, and core greenery matters. If a decorative element runs low, pivot to what you have; swapping in dried orange slices for missing berries often produces the most distinctive wreaths in the room.
Can I host it from home?
Yes, for a smaller group. You need enough table space, good lighting, a clear path to move around, and a tolerance for mess. A home setting often feels more personal and less intimidating than a rented room, which suits first-timers. A group of five friends, one simple theme, and a finished sample on the table is enough to run your first session well.
Related Posts
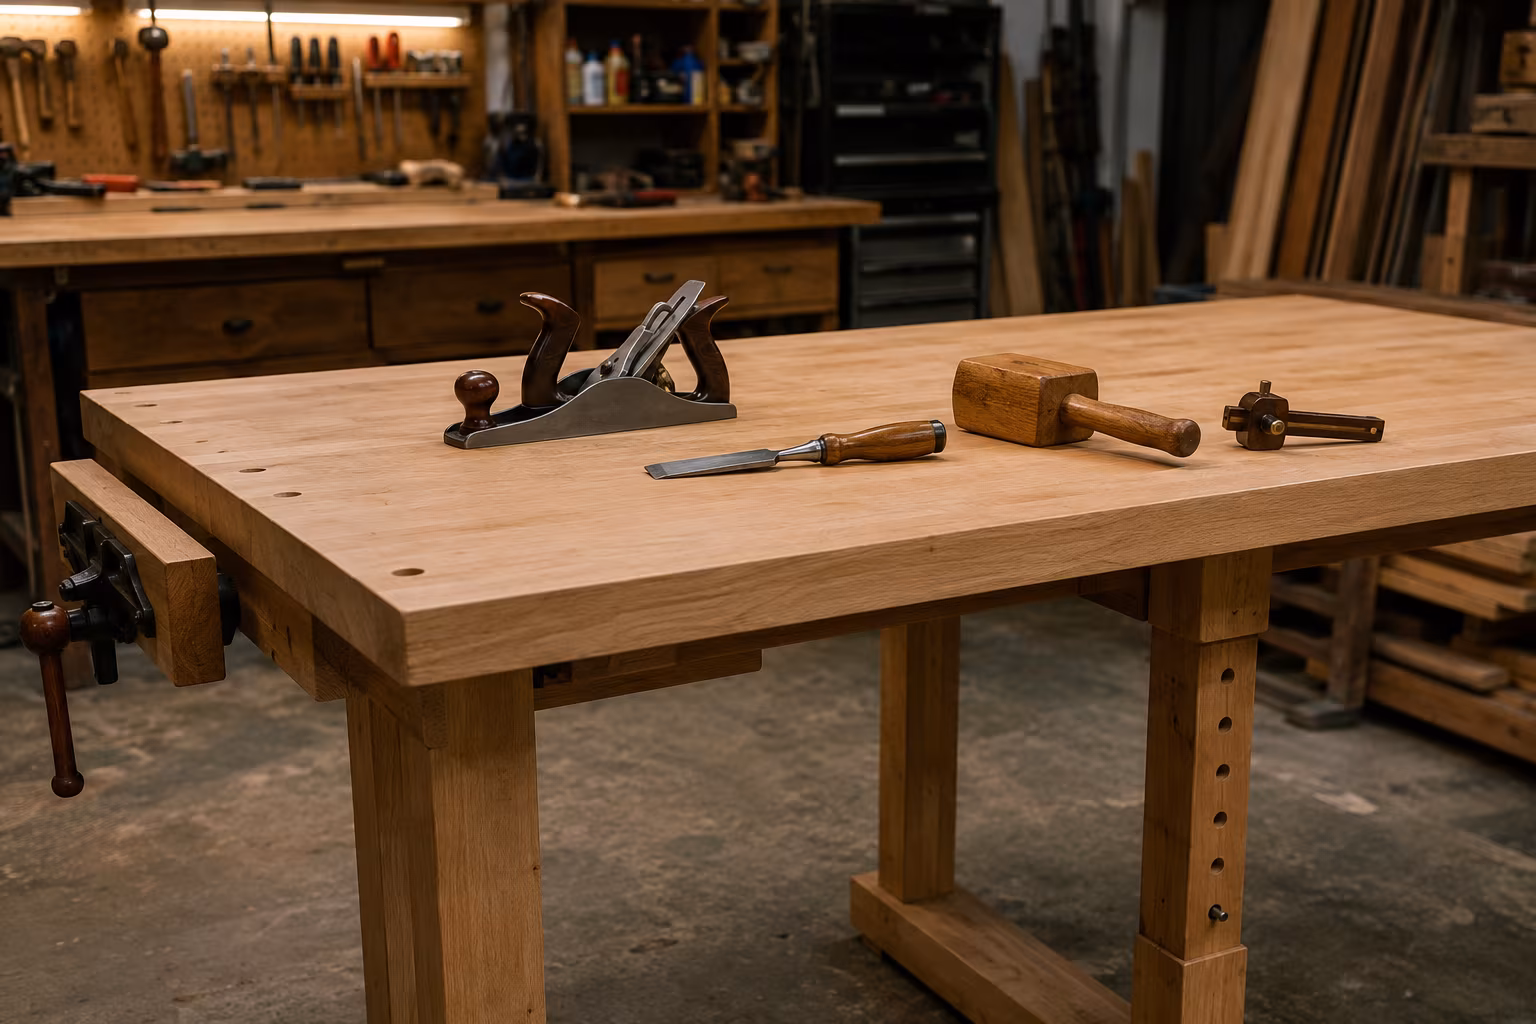
Workbench Height Without Hurting Your Back After Two Hours
A workbench at the wrong height becomes painful before the project is done. The elbow rule...
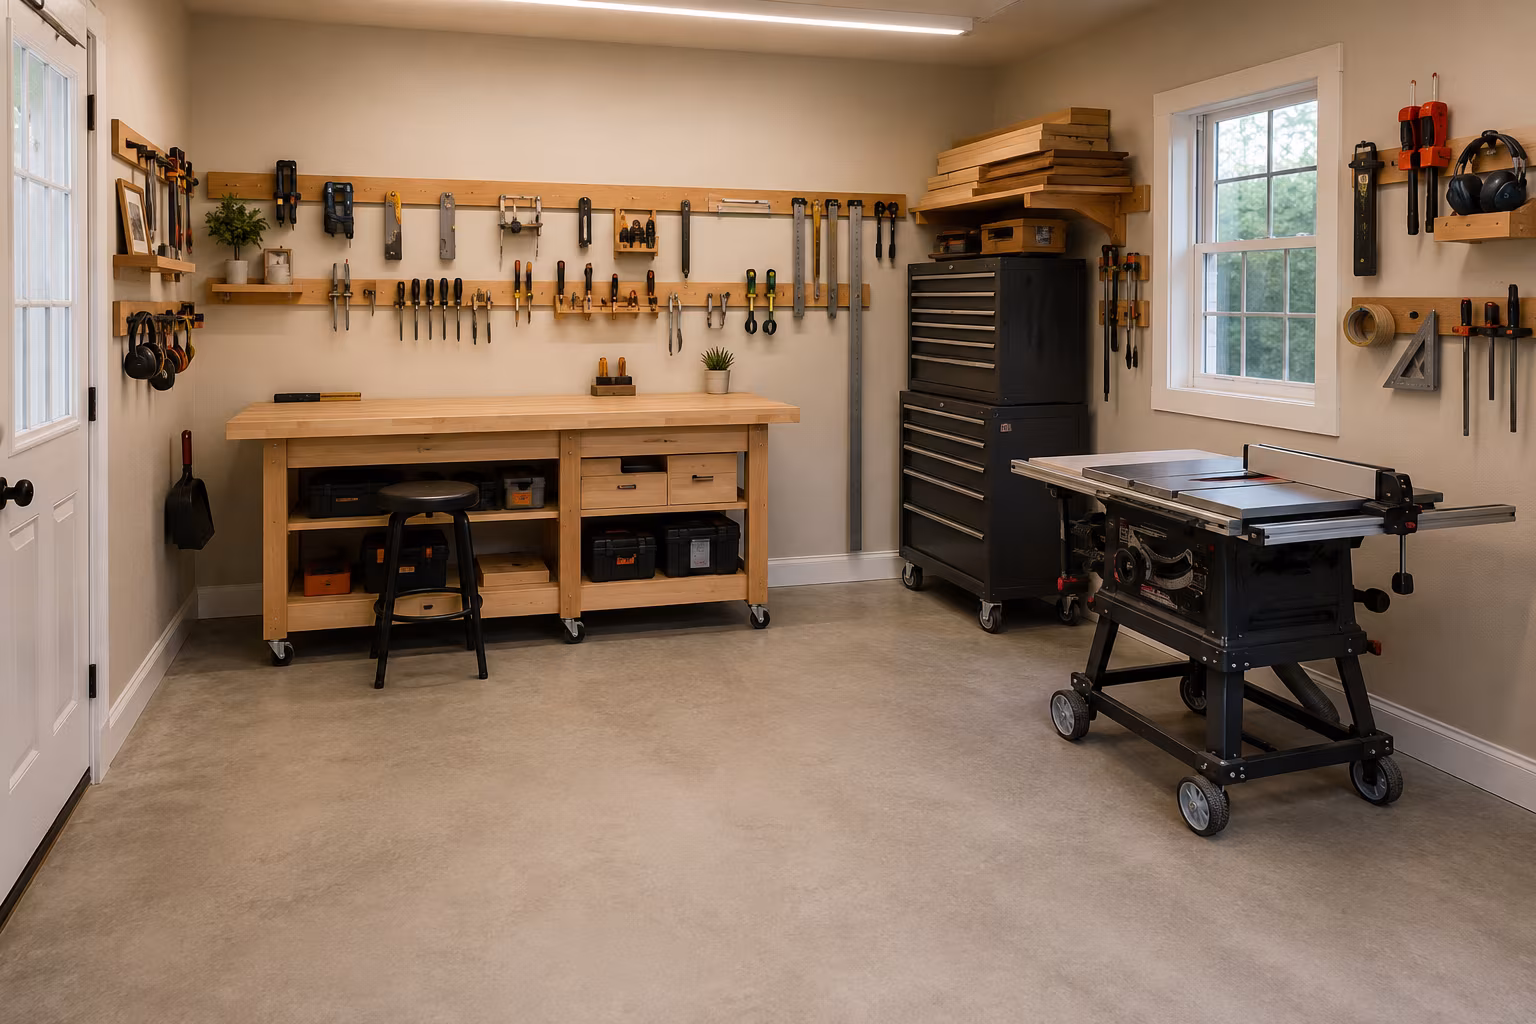
Single-Bay Garage Workshop Layout Without Losing the Car
Park the car and still keep a real workshop: mobile tools on locking casters, perimeter wall...

Pegboard vs French Cleat: The Honest Tool Wall Choice
Pegboard holds ~50 lb per sheet and rearranges instantly; French cleat holds 100+ lb per rail...

The Complete Guide to Starting a Fiber Arts Guild in Your Town
A practical plan to start a local fiber arts guild: finding founding members, picking a venue...