How to Organize a Neighborhood Craft Supply Swap Event
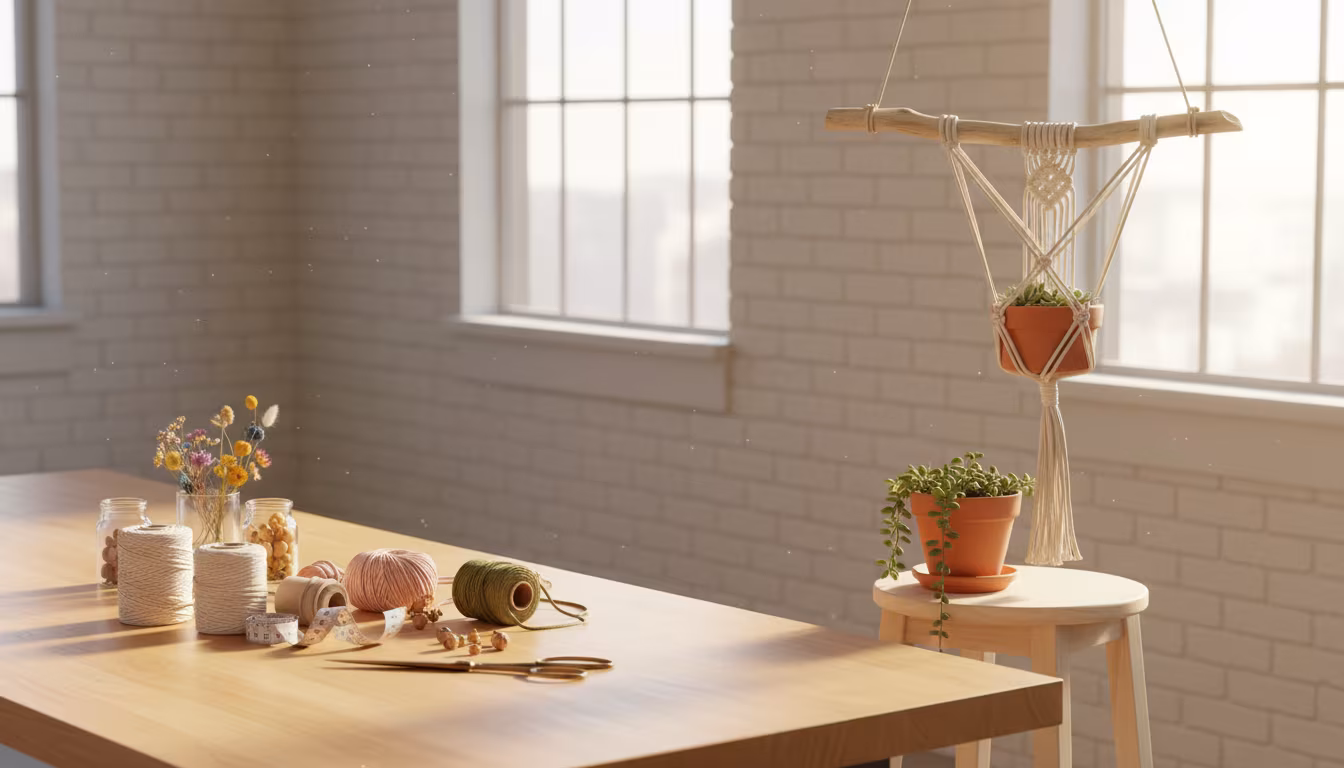
A craft supply swap is a low-cost event where makers bring usable supplies they no longer need and trade them for someone else's. Half-used skeins of yarn, single sheets of specialty paper, and duplicate tools that cost real money get a second life instead of gathering dust in a bin. For attendees it clears clutter and refills the stash for free; for a neighborhood it keeps good materials out of the landfill and puts makers in the same room. A medium event takes about three to four weeks to plan and runs two to three hours on the day.
What Belongs on the Swap Table
The one rule worth enforcing is condition: items should be clean, usable, and something you would hand to a friend without apologizing. Dried glue, hardened paint tubes, and mildewed fabric only create a disposal problem for the organizer. Beyond that, almost anything craft-related is fair game.
- Yarn and fabric: full skeins, partial balls, fat quarters, and remnants. Fabric scraps are most useful at roughly 10 inches square or larger, big enough for small projects.
- Paper supplies: scrapbook paper, cardstock, sticker sheets, stamps, and punches. Half-used pads move quickly.
- Art supplies: paint tubes that still squeeze soft, brushes, unused or gessoed canvases, drawing pencils, pastels, and markers that haven't dried out.
- Tools and notions: scissors, rotary cutters, needles, rulers, buttons, beads, and jewelry findings.
- Miscellaneous: ribbon, dried flowers, patterns, craft books, and unfinished projects someone else might adopt.
You can theme the event narrowly, such as a yarn-only swap, or keep it open. Open swaps draw wider interest because attendees never know what will turn up, but a themed swap is easier to sort and browse. The Craft Yarn Council publishes standard yarn-weight labels that help volunteers group donations quickly; their standard yarn weight guidelines are worth a look before you sort a big fiber table.
It helps to set a rough per-person limit, such as two grocery bags or one medium box, so a handful of people do not flood the tables while everyone else leaves empty-handed. A soft cap also keeps the volume manageable for teardown, which matters more than it sounds at the end of a long afternoon.
Planning the Event Step by Step
Pick a date and location first. A Saturday afternoon suits most schedules, and three to four weeks of lead time gives promotion room to work. For venues, a community center, church hall, library meeting room, or a large garage all work; the key is enough floor space to walk tables without crowding.
Once the date is set, promote through your neighborhood social media group, printed flyers at coffee shops and community boards, and direct invitations to crafty friends. State plainly what to bring, what not to bring, and the start time. Personal invitations to a core group of five or six people guarantee a baseline turnout even if the wider response is soft.
Decide how trading will work before anyone arrives. There are three common systems, and casual events run best on the first two:
- Free-for-all: everyone lays out their items and takes what they want. Simplest to run, best for small or informal groups, but can feel chaotic with a big crowd.
- Ticket or token system: arrivals get tokens based on what they donate, roughly one token per small bag and three per box, then spend tokens on other items. This keeps the exchange fair when turnout is high.
- One-for-one: bring an item, take an item. Simple in theory but awkward when values differ wildly, so most organizers skip it.
Line up folding tables and one or two volunteers ahead of time. Sort tables by category (yarn, paper, tools, embellishments) so browsing stays manageable. An extra pair of hands for setup, greeting, and re-sorting makes a two-hour event far smoother than running it solo.
Running the Day and Handling Leftovers
Arrive early to set up category tables and post simple signs. As people come in, explain the trading system in one sentence and point them to the right tables. Light music and a few snacks keep the atmosphere friendly and encourage the conversation that makes a swap worth attending.
Plan for leftovers before the event, not after. Every swap ends with items no one claimed. Arrange in advance to donate them to a local school art program, a senior center, or a thrift store, and tell attendees where their unclaimed supplies will go. Budget a full hour for teardown; packing tables and boxing donations always takes longer than expected.
Common Mistakes to Avoid
The most frequent problem is people bringing genuinely unusable items. A short "if you wouldn't give it to a friend, don't bring it" line in your promotion heads off most of it; keep a reject box on hand for the rest. Underestimating space is the second pitfall, since overcrowded tables make browsing stressful and slow. If you expect a strong turnout, book a larger room or set up outdoors.
Avoid over-engineering the rules. Rigid enforcement kills the community feel that makes these events work. If someone brings something slightly outside the guidelines but it's still good quality, let it slide. A swap of four or five friends in a living room can be as rewarding as a fifty-person community event; the value is in the sharing, not the scale. Start small, run one clean event, and the next one organizes itself.
Related Posts
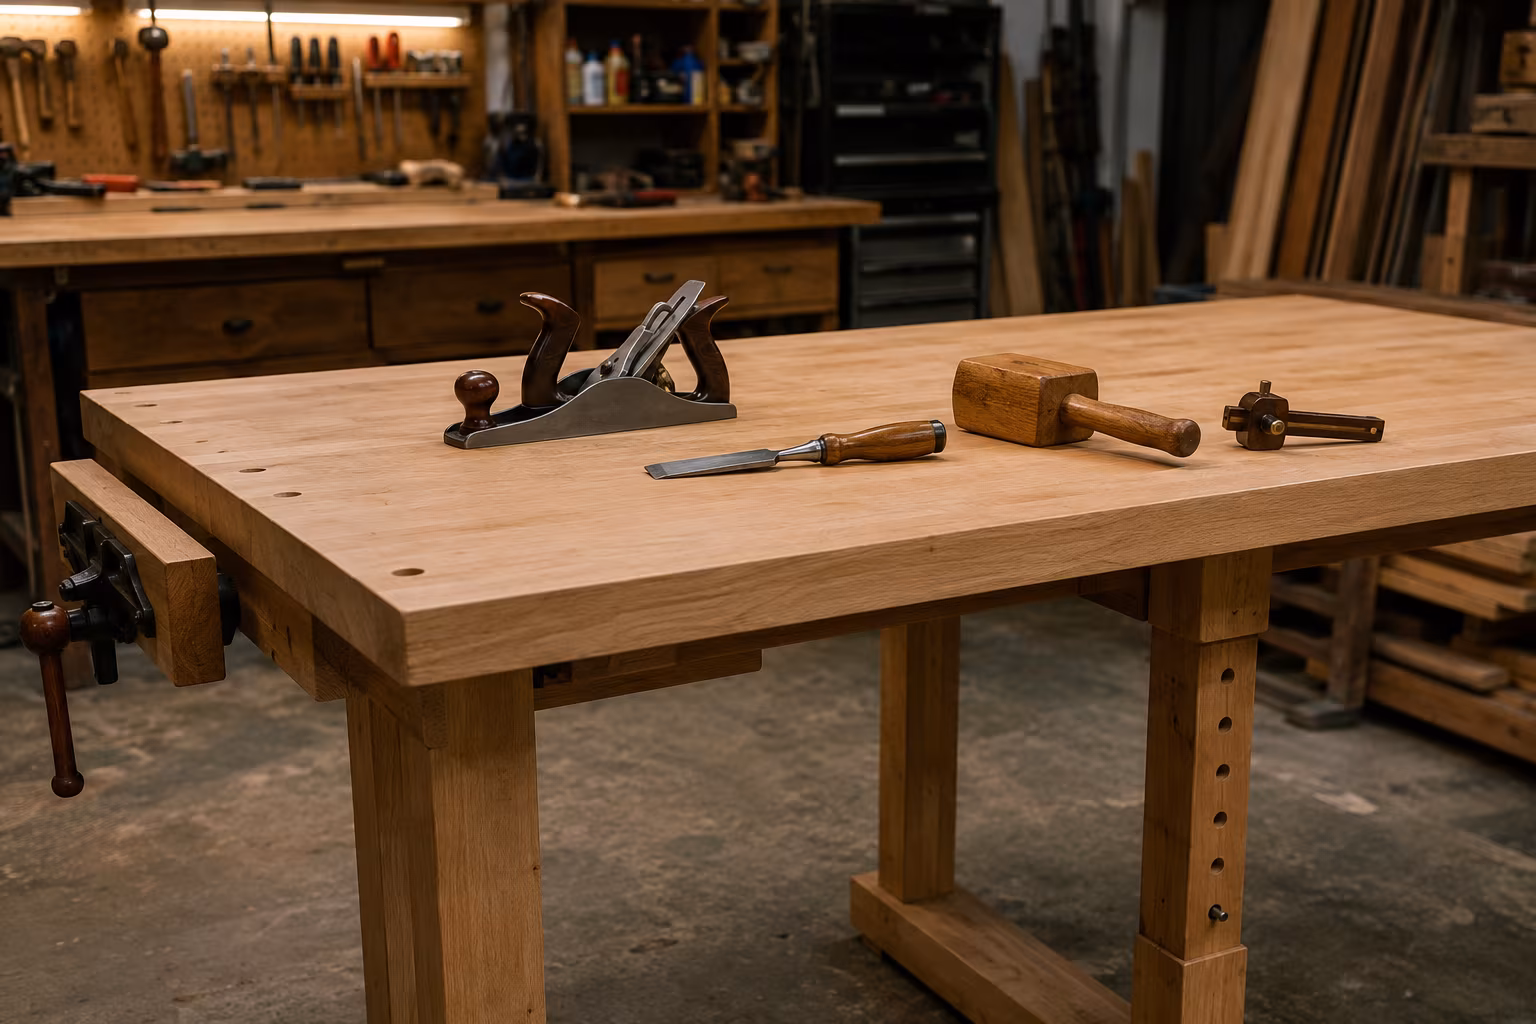
Workbench Height Without Hurting Your Back After Two Hours
A workbench at the wrong height becomes painful before the project is done. The elbow rule...
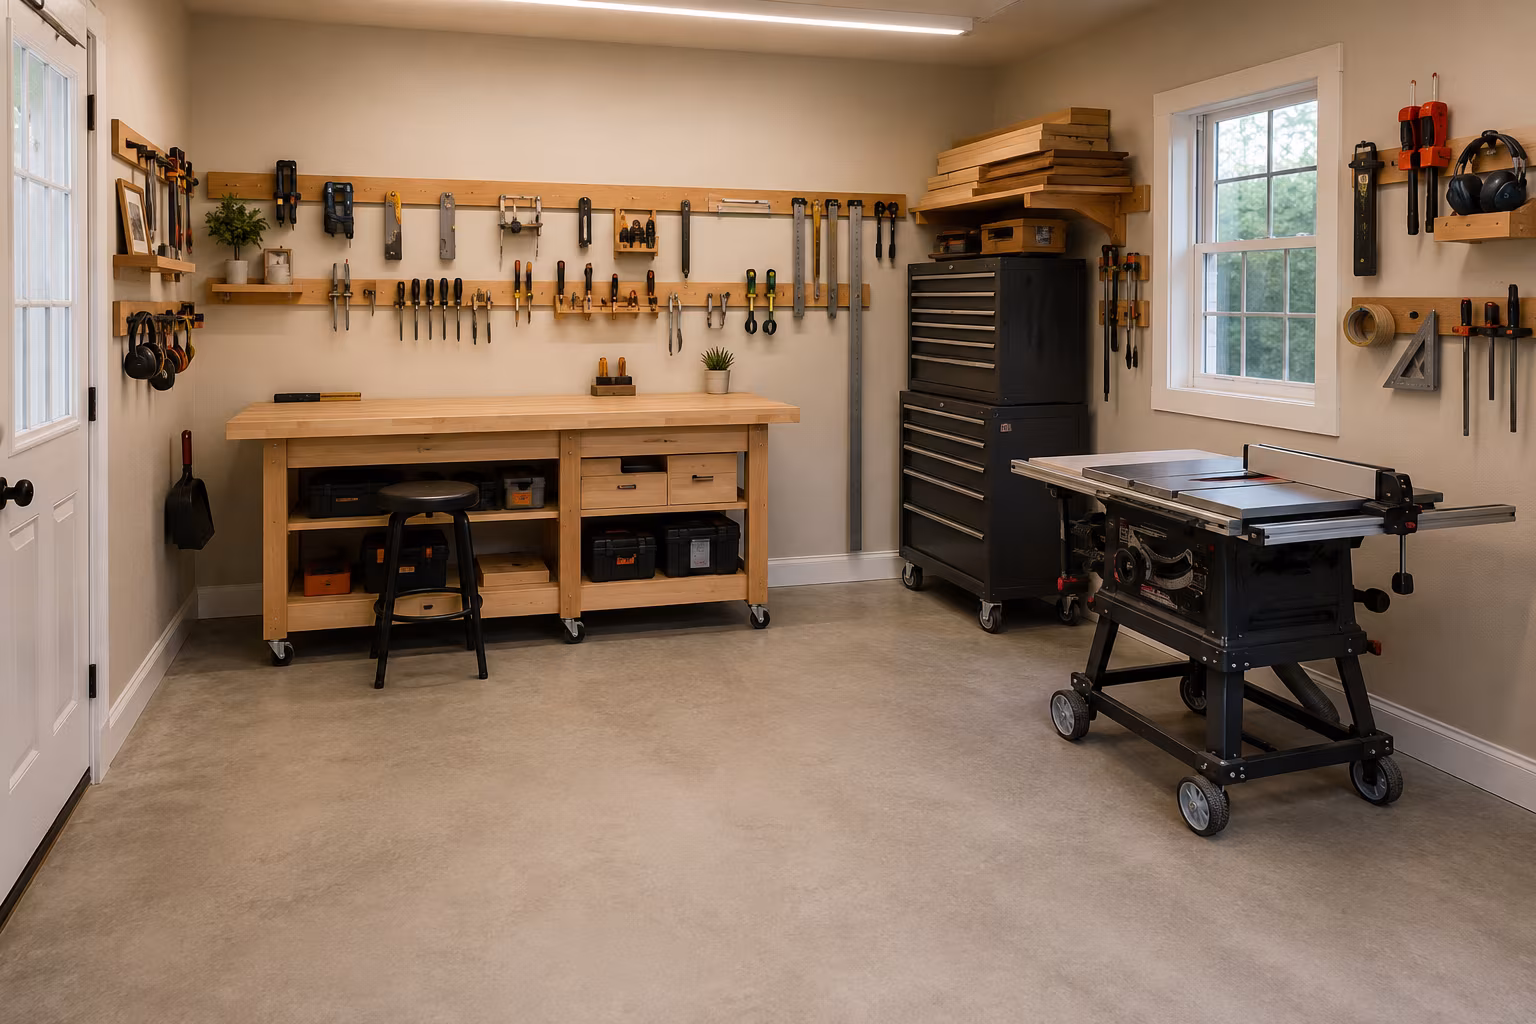
Single-Bay Garage Workshop Layout Without Losing the Car
Park the car and still keep a real workshop: mobile tools on locking casters, perimeter wall...

Pegboard vs French Cleat: The Honest Tool Wall Choice
Pegboard holds ~50 lb per sheet and rearranges instantly; French cleat holds 100+ lb per rail...

The Complete Guide to Starting a Fiber Arts Guild in Your Town
A practical plan to start a local fiber arts guild: finding founding members, picking a venue...