
How to Select the Right Pliers Set for Wire Wrapping and Beading
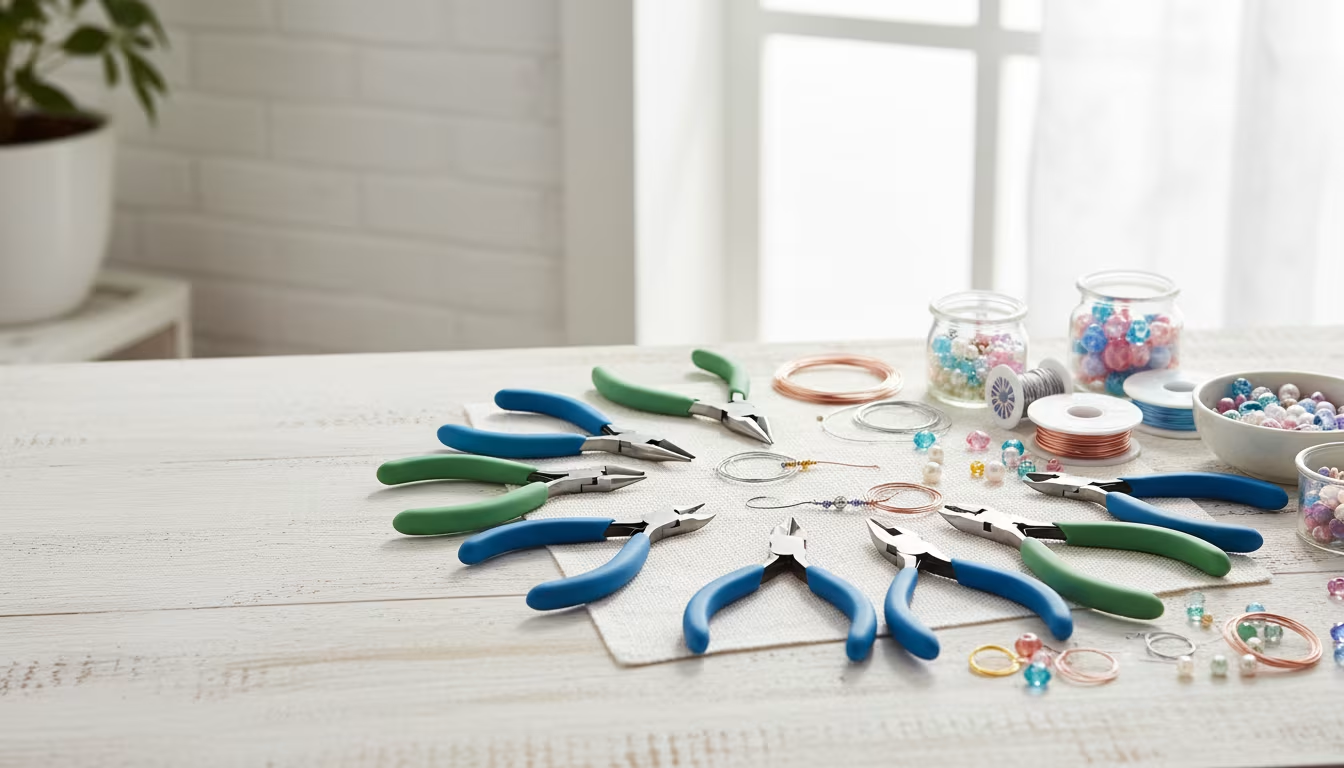
The right pliers make the difference between clean, even loops and a wonky mess of kinked wire and slipping jump rings. General-purpose pliers of various types are built for gripping and cutting hardware, not for the fine control that wire wrapped jewelry demands. Their jaws are often textured, which mars soft wire, and they are too large for tiny components. A short set of jewelry-specific pliers solves this without a large outlay. This covers which tools you actually need, what separates a good pair from a bad one, and how to build a set sensibly.
The core pliers for jewelry work
You do not need a full rack to start. A handful of specialized shapes covers the vast majority of wire wrapping and beading tasks. Each jaw profile does one job well.
| Plier type | Jaw shape | Primary use |
|---|---|---|
| Round nose | Tapered cones, smooth | Forming loops and curves; loop size set by where on the taper you bend |
| Chain nose | Flat, tapered to a point | Gripping wire, closing jump rings, sharp bends, reaching tight spots |
| Flat nose | Wide flat jaws | Firm grip on heavier wire, flattening ends, angular bends |
| Bent nose | Chain nose with an angled tip | Reaching into coils and against other components |
| Crimping | Two notched stations | Securing and folding crimp beads on beading wire |
| Flush cutters | Angled cutting edges | Clean, flat wire cuts with no sharp nub |
Round nose pliers are what create consistent loops for ear wires and connector links; bending at the same point on the taper each time keeps loops uniform, roughly 2 to 10 mm depending on where you place the wire. Chain nose pliers are the workhorse for gripping and for opening and closing jump rings without leaving marks. Flush cutters matter more than people expect: a flush cut leaves a flat end that does not snag skin or fabric, while cheaper side cutters leave a small nub you then have to file.
What to look for when buying
Type is only half the decision. Within each type, a few features separate tools that help from tools that fight you.
Smooth jaws
For jewelry wire you want smooth, un-textured jaws. Textured jaws grip rough material well but scratch and dent soft precious-metal and craft wire. Check that the tips taper cleanly to a point for precision in small spaces.
Size and comfort
You hold these for long stretches, so fit matters. Pliers that are too large or too small for your hand cause fatigue and cost you control. Jewelry-specific pliers are usually lighter and more ergonomic than hardware pliers, and spring-loaded handles that reopen on their own noticeably reduce hand strain over an afternoon of work.
Material and durability
Look for hardened steel, either stainless or carbon steel. A good pair feels solid rather than flimsy, the jaws align with no gap when closed, and the grips are non-slip. For cutters specifically, the edges should be crisp and meet evenly along their length.
Price
You do not need a top-tier set to begin. Individual quality tools generally run $15 to $30 each, and reputable starter kits of three to five pieces fall in the $25 to $75 range. A slightly better tool that lasts and performs is usually worth a little more than the cheapest option on the shelf.
Building your set sensibly
Match the purchase to what you actually make. If your work is mostly beaded bracelets finished with crimp beads, buy good crimpers and flush cutters first. If you make wire-wrapped pendants and looped earrings, prioritize round nose and chain nose. For almost anyone starting out, a three-tool core handles roughly 80% of common tasks:
- Round nose for loops and curves
- Chain nose for gripping, bending, and jump rings
- Flush cutters for clean cuts
On kits versus individual pairs: a multi-piece starter kit is a cost-effective way to get several shapes at once, but quality on very cheap kits is inconsistent. If you have a little more budget, buying individual, better-made tools in your most-used shapes tends to pay off over time. If you can, handle the pliers before buying to check the weight, grip, and jaw alignment; when shopping online, lean on reviews that specifically mention comfort and durability. Known jewelry brands such as Lindstrom, Xuron, Beadsmith, and Eurotool are reliable reference points, and you can always upgrade or add specialized shapes later as your technique develops.
Common mistakes to avoid
Buying the absolute cheapest set. The bottom-tier kits often have misaligned jaws and weak cutting edges that dull or break quickly. A mid-range option is usually the better value.
Ignoring hand size. Tiny delicate pliers are awkward for large hands, and clunky ones make fine wire impossible to control. Choose for your own hands, not the photo.
Confusing similar types. Chain nose and flat nose overlap but are not interchangeable: chain nose suits delicate work like jump rings, while flat nose gives a stronger grip for bending thicker wire.
Skipping maintenance. Keep pliers clean and dry to prevent rust, never cut anything harder than wire with your flush cutters, and put a small drop of oil on the pivot occasionally to keep the action smooth.
Questions people ask
Do I really need jewelry-specific pliers?
For anything beyond the most basic task, yes. They are built for precision, grip wire without damaging it, and stay comfortable during long sessions, which shows in both the quality and the ease of the work.
How much should a starter set cost?
A kit of three to five essential pliers runs roughly $25 to $75, and individual quality tools are about $15 to $30 each. Watch for sales from established brands if the budget is tight.
Are premium brands worth it?
For professionals who use them daily, often yes, thanks to their precision and durability. For hobbyists, a good mid-range tool performs well, and a premium upgrade makes more sense once you know a given plier is one you reach for constantly.
Start with round nose, chain nose, and flush cutters, then add a crimping plier the first time a project calls for crimp beads. Working with a small, well-chosen set teaches you which shapes you reach for most, and that hands-on sense is a far better guide to your next purchase than any buying list. One deliberate upgrade at a time keeps the toolkit matched to the jewelry you actually make.
Related Posts
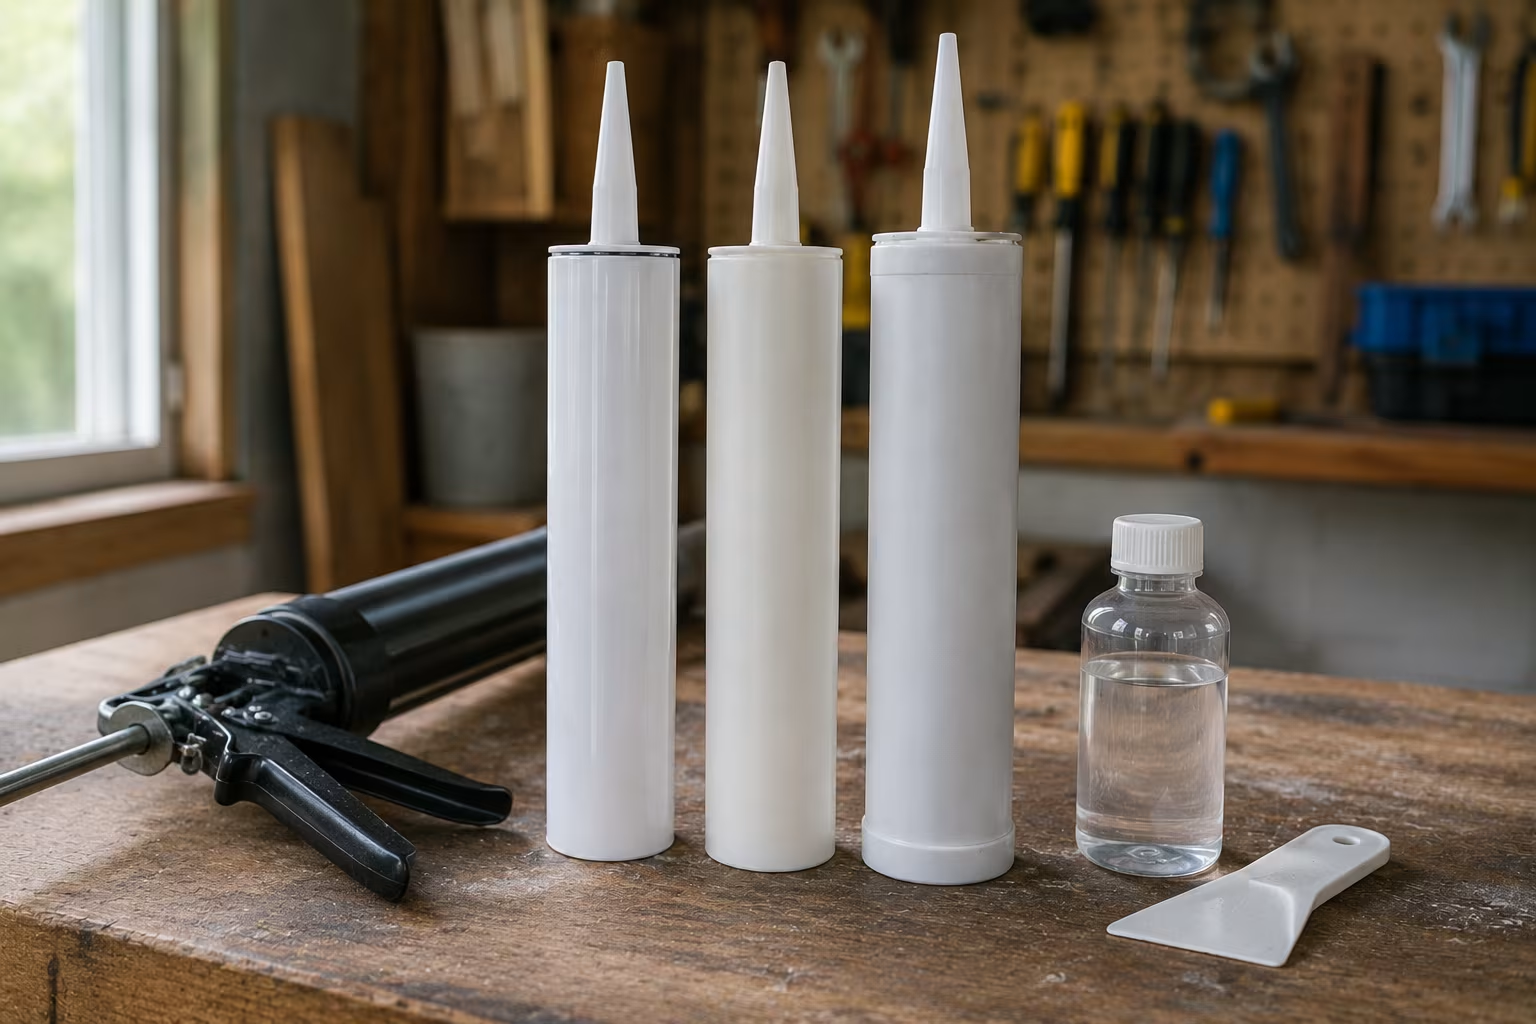
Caulk Types Compared: Silicone vs Latex vs Hybrid
Caulk choice depends on the joint's water exposure, movement, paintability, and life expectancy....

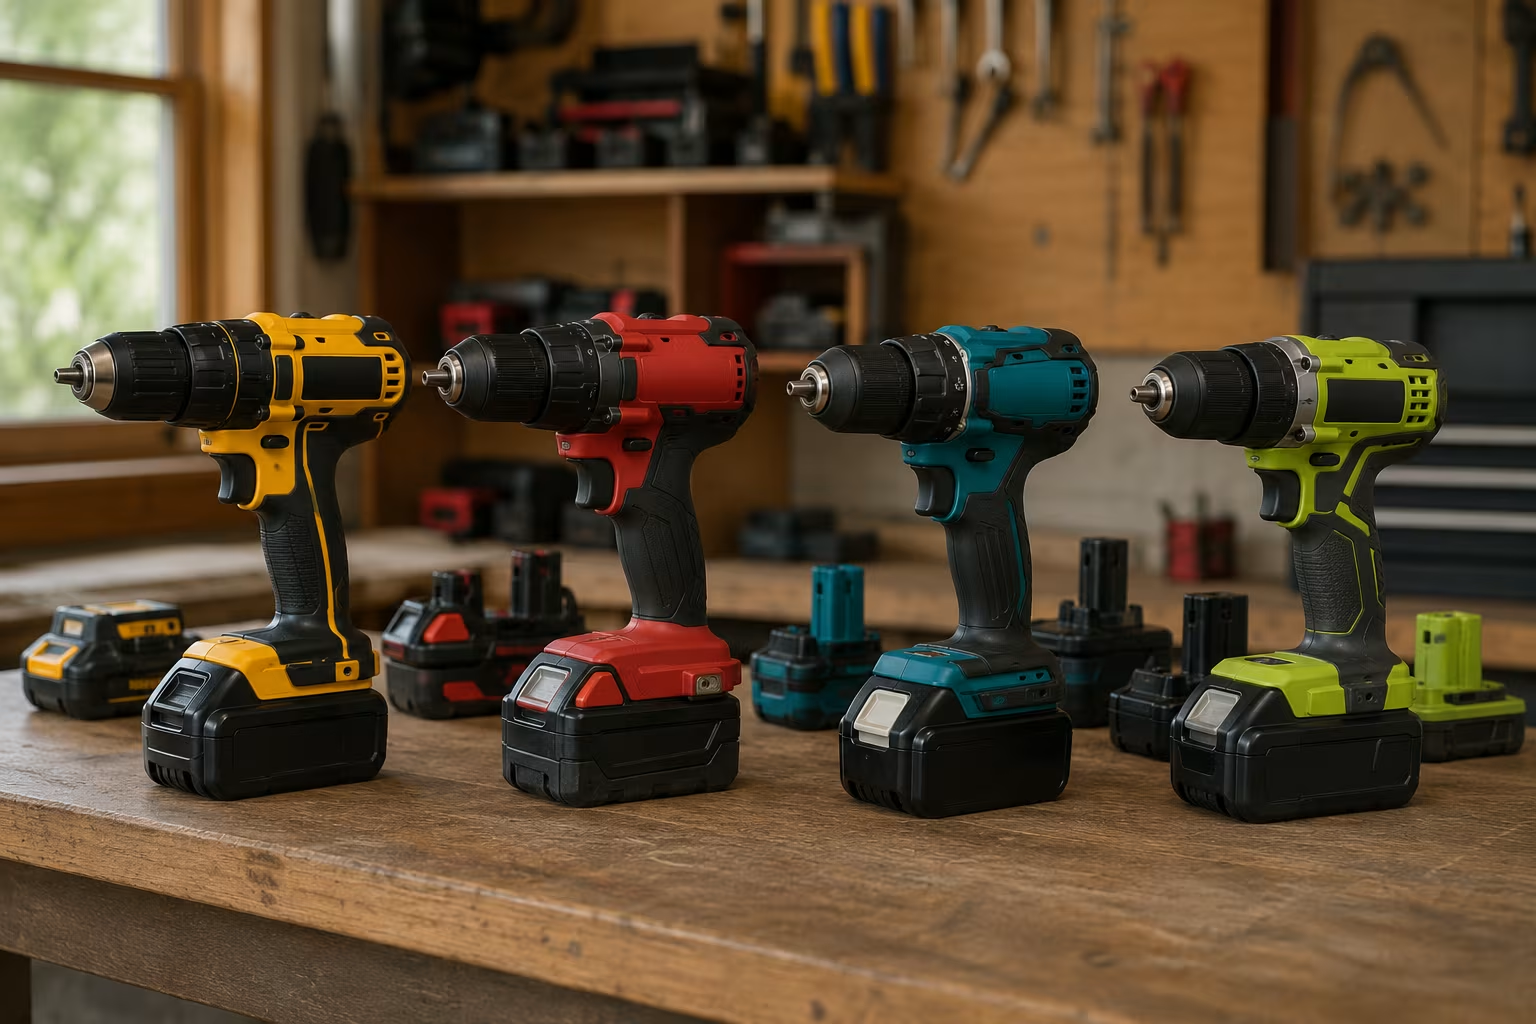
Cordless Battery Platform Lock-In: How to Pick a Brand
Every cordless brand wants you locked in. The lock-in is real and one-direction. The brand...
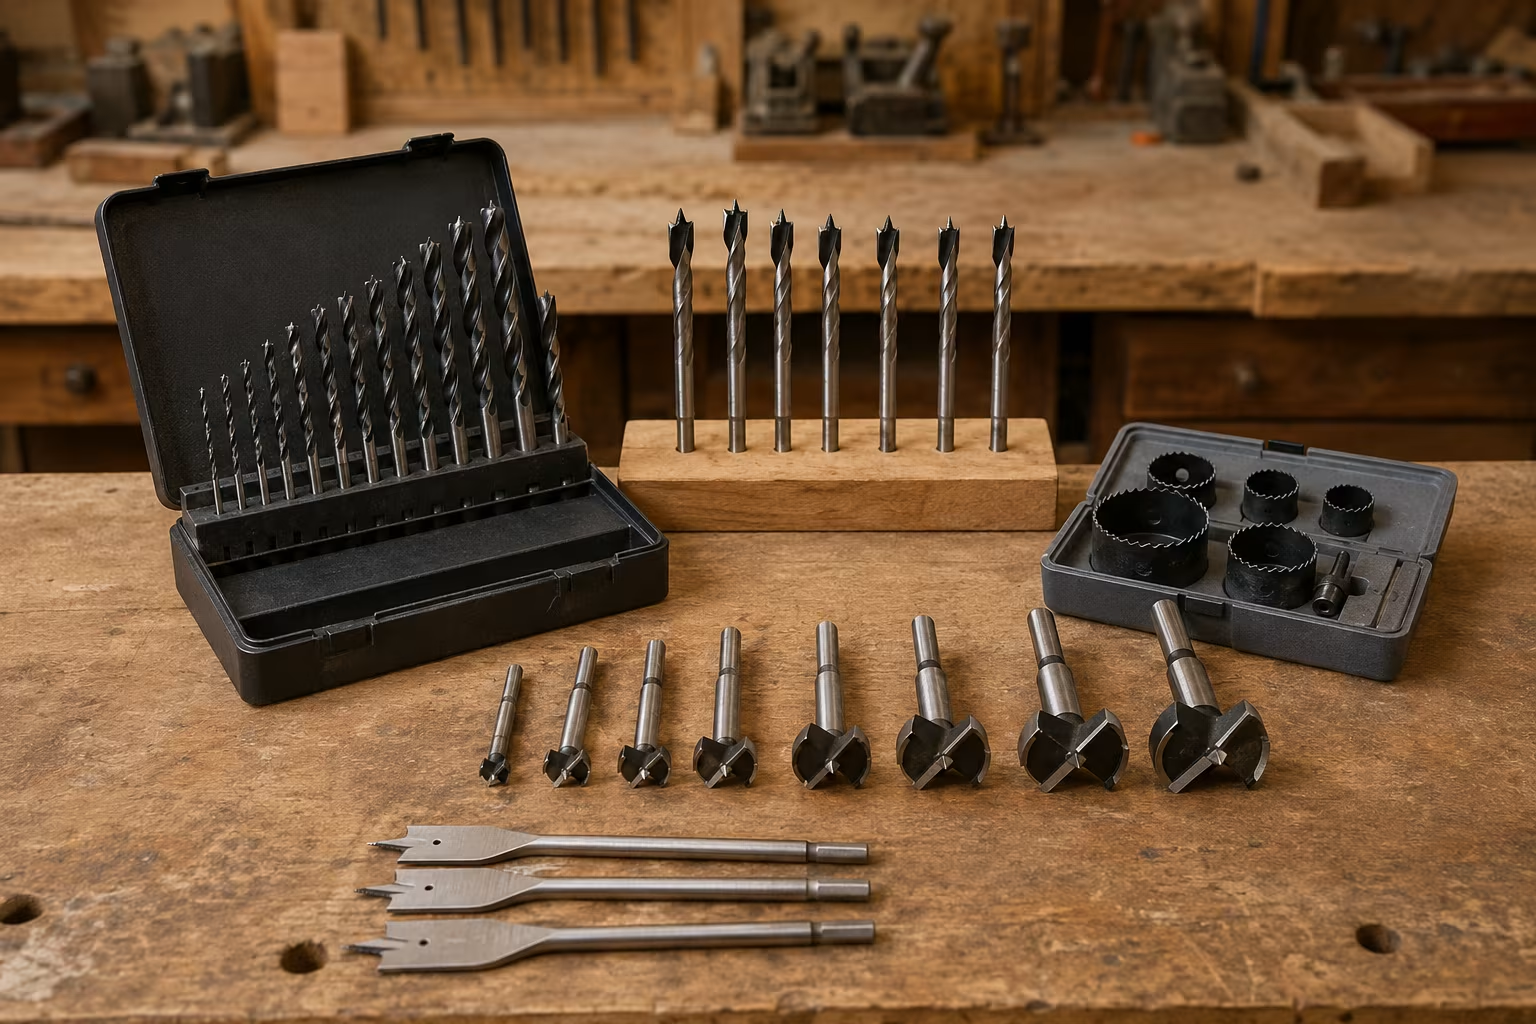
Drill Bit Sets: Twist, Brad-Point, and Forstner Real-Use Map
Most home shops own three drill bits they actually use and twenty they bought once and forgot....
Beginner Cricut Blade Set: What You Actually Use Daily
The Cricut starter blade list is longer than most beginners need. The two or three blades that...
Comments
No comments yet. Be the first to share your thoughts!