Why Batik Dyeing Creates the Most Unique Patterns on Cotton
Why Batik Dyeing Creates the Most Unique Patterns on Cotton
Okay, confession time. I have a serious weakness for fabrics with patterns. Like, I'll-buy-it-just-in-case kind of weakness. But sometimes, even the prettiest printed cotton just doesn't feel you, you know? I've spent hours searching for that perfect, one-of-a-kind piece.
If you're like me and crave that handmade charm, you're gonna love batik dyeing. It's this ancient technique that basically lets you paint with wax and dye, and it guarantees you'll end up with something totally unique. I'm going to walk you through why it's so awesome and how you can try it yourself, even if you think you're not an artist.
Why This Actually Matters
Because, let's be honest, the world has enough mass-produced everything. Creating something with your own hands, especially something as beautiful and personal as a batik-dyed fabric, is incredibly satisfying. It's about adding a little bit of your soul to your stuff.
I remember finding a plain canvas tote bag at a thrift store for like, $2. It was perfectly fine, but boring. I wanted something that screamed me. So I decided to try my hand at batik, and now I have a tote bag that gets compliments every single time I use it. It feels so much more special than anything I could have bought.
The Magic of Batik: How It Works
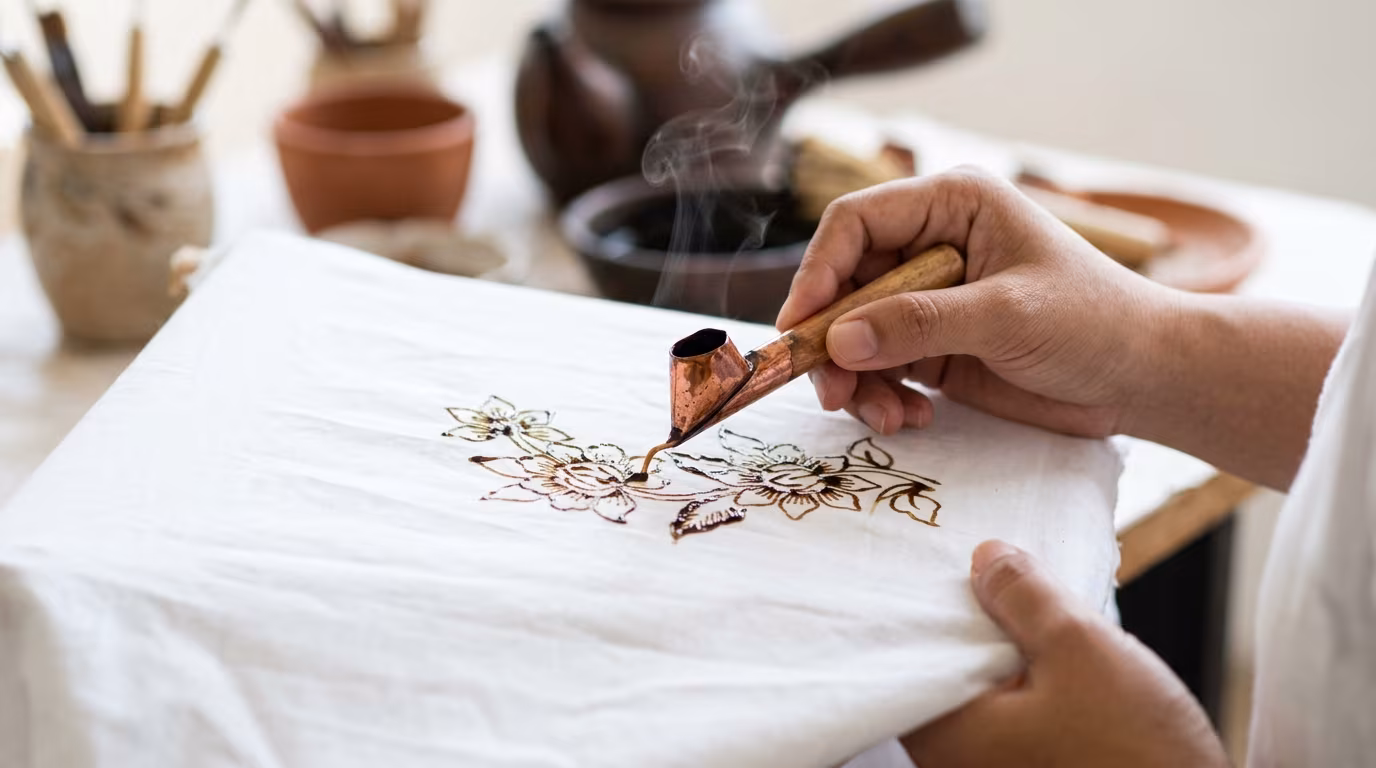
At its heart, batik is all about resist dyeing. You're using a resist—in this case, hot wax—to block areas of the fabric from absorbing dye. Where the wax is, the dye can't go. Then, you peel off the wax, and bam! You've got a pattern.
Wax as Your Art Tool
The wax is the star of the show. When you apply hot wax to cotton fabric, it soaks into the fibers. This creates a barrier. When you dip the fabric into dye, the waxed areas stay the original color of the fabric, or whatever color was underneath.
Think of it like a stencil, but way more organic and forgiving. You can draw lines, create splotches, or even try more intricate designs. The beauty is that the wax can crackle and bleed a little, creating those signature, imperfectly perfect batik patterns.
The Resist Principle - It's the core idea: cover parts of the fabric you don't want dyed.
Layering Colors - You can dye over and over, adding more wax in between. This builds up complexity and depth.
Cotton's Embrace - Cotton is the ideal canvas. It absorbs dye beautifully and holds the wax well, making it perfect for this technique.
Why Cotton is the Champion
You can technically batik on other natural fibers, but cotton? It's the gold standard for a reason. Cotton fibers are thirsty for dye, meaning you get really rich, vibrant colors. Plus, they handle the heat of the wax like a champ without getting damaged.
When you're a beginner, starting with 100% cotton fabric is key. It's forgiving, readily available, and will give you the most predictable and beautiful results. Trust me, wrestling with silk or rayon on your first try is just asking for frustration.
Getting Started: Your Batik Toolkit
Don't let the word "batik" scare you into thinking you need a fancy studio. You can absolutely get started with a few basic things you might even have around the house or can snag on a quick trip to the craft store.
Essential Supplies
Here’s what you’ll need to get your first batik project rolling. Keep it simple at first!
100% Cotton Fabric - Pre-washed, of course! Think tea towels, bandanas, tote bags, or even just yardage for a scarf or wall hanging.
Wax Mixture - Traditionally, it's a blend of paraffin wax and beeswax. Beeswax makes it more flexible and less brittle. You can buy batik wax specifically or mix your own (about 3 parts paraffin to 1 part beeswax is a good start).
Dyes - Fiber-reactive dyes (like Procion MX) are fantastic for cotton because they bond with the fibers for permanent, vibrant color.
Dye Baths - Buckets or tubs to mix your dyes and water.
Tools for Wax Application - A cheap paintbrush, a tjanting tool (a specialized tool with a spout for drawing fine lines), or even just a chopstick can work.
Something to Heat the Wax - An old electric skillet or a double boiler setup is ideal. Never heat wax directly on a burner!
Gloves and Apron - Dye can stain!
Iron and Paper Towels/Newspaper - For removing the wax.
Safety First!
Working with hot wax can be a little… melty. Always use a dedicated pot or an old electric skillet that you won't use for food again. Never leave melting wax unattended. And make sure your workspace is well-ventilated, especially when you're melting the wax.
The Batik Process: Step-by-Step
Alright, let's get down to the fun part. This is where your design comes to life. It takes a bit of patience, but the payoff is so worth it.
Step 1: Prepare Your Fabric
First things first, wash and dry your cotton fabric. This removes any sizing or finishes that might prevent the dye from soaking in evenly. Iron it smooth so you have a nice, flat surface to work on.
You'll want to stretch your fabric taut while you're working. Some people use a wooden frame, while others just have a large, flat surface to lay it on. Just make sure it doesn't wrinkle as you apply the wax.
Step 2: Melt Your Wax
Gently melt your wax mixture. An old electric skillet set to a low-medium heat is perfect. You want it hot enough to flow, but not so hot that it's smoking. Keep stirring it occasionally.
Don't rush this step. It’s better to melt it slowly and safely. If you’re using a double boiler, fill the bottom pot with a couple of inches of water and let it come to a simmer, then add your wax to the top pot.
Step 3: Apply the Wax Design
This is where you become the artist! Dip your paintbrush, tjanting tool, or chopstick into the hot wax and apply it to your fabric. Remember, wherever you put wax, that area will resist the dye.
You can draw lines, dots, or fill in areas. Don't worry if your lines aren't perfectly straight or your shapes are a little wobbly. Those imperfections are part of the charm of batik! Let the wax cool and harden completely before moving on.
Step 4: First Dye Bath
Once your wax is set, it's time for the first dye bath. Mix your dye according to the manufacturer's instructions. Make sure the water is cool to lukewarm – hot water can melt the wax prematurely.
Submerge your waxed fabric into the dye bath. Stir gently and continuously for about 10-20 minutes to ensure even color absorption. The longer you leave it, the deeper the color.
Step 5: Dry and Re-Wax (Optional, but Recommended!)
Carefully remove the fabric from the dye bath, let excess dye drip off, and then hang it to dry completely. It’s crucial that it’s totally dry before the next waxing step.
Now, you can apply more wax to areas you want to preserve from the next dye color. This is how you build up layers and complexity. You might wax over some of the first dye color, or add new patterns on top.
Step 6: Subsequent Dye Baths
Repeat steps 4 and 5 for each additional color you want to add. Remember the rule of thumb: always dye from the lightest color to the darkest color. If you want a piece with white, yellow, blue, and black, you'd do white (which is just undyed), then yellow, then blue, then black.
The more times you wax and dye, the more intricate and layered your design will become. This is where the real magic happens, creating those deep, rich, complex patterns that batik is known for.
Step 7: Removing the Wax
Once you've finished all your dyeing and waxing, it’s time to reveal your masterpiece! The easiest way to remove the wax is by ironing. Place your fabric between layers of paper towels or newspaper.
Gently iron over the fabric. The heat will melt the wax, and the paper will absorb it. Keep changing the paper towels as they soak up the wax. You might need to do this a few times to get most of it out.
Step 8: Final Rinse and Wash
After you've removed as much wax as possible with ironing, give your fabric a final rinse in cool water. Then, wash it with a mild detergent in cool water and dry it as usual.
This final wash helps remove any residual dye and gives your fabric its final soft texture. And there you have it – your unique batik creation!
Common Batik Blunders and How to Avoid Them
I’ve definitely made my share of mistakes while batik dyeing, and honestly, some of them have led to surprisingly cool results! But if you want to avoid some common pitfalls, here are a few things I’ve learned the hard way.
Cracking Wax Woes
Sometimes, the wax can crack as you move the fabric or during the dyeing process. This actually creates a beautiful crackled effect, which is often desired in traditional batik. However, if you want to avoid it, handle your waxed fabric very gently and try to keep it as flat as possible.
Make sure your wax mixture has enough beeswax. Pure paraffin can be too brittle and crack easily. A higher proportion of beeswax makes the wax more flexible and less prone to unwanted cracking.
Uneven Dyeing
This is a big one for beginners. If your dye doesn't seem to take evenly, it's often because of incomplete waxing or improper dye bath preparation. Make sure you’ve completely covered the areas you want to protect with wax. Also, ensure your dye bath is thoroughly mixed and that the fabric is fully submerged.
I once thought I’d covered an entire section, but there was a tiny gap. That gap let the dye seep through, creating a cool streak, but it wasn't what I intended! Stirring the fabric constantly in the dye bath is super important for even saturation.
Wax Residue Woes
If you still see waxy patches after ironing, you might need to do another round of ironing with fresh paper towels. Sometimes, especially with thicker wax applications, it just takes a few passes. Another trick is to boil the fabric in a pot of water with a bit of detergent – the boiling water helps to loosen and lift stubborn wax.
"Batik is forgiving because it teaches you to embrace the imperfections. Those 'mistakes' are often what make your piece truly one-of-a-kind."
Shrinkage Surprises
Because you're washing and handling the fabric quite a bit, some shrinkage is inevitable, especially with cotton. If you're making something with a specific finished size in mind, like a pillow cover, always pre-wash and account for shrinkage. It’s better to start a little bigger than you think you need.
Melting Mishaps
This goes back to safety, but also to preserving your design. If your wax melts before you want it to, your resist is gone! This can happen if your dye bath is too hot, or if you're handling the fabric too roughly and it cracks, allowing dye to seep in. Always use cool to lukewarm water for your dye baths.
Frequently Asked Questions
Can I use synthetic fabrics for batik?
Generally, no. Batik works best with natural fibers like 100% cotton, linen, or silk because they readily absorb dyes and handle the wax application well. Synthetics often don't take dye as well and can be damaged by the heat of the wax.
My wax is cracking everywhere! Is this bad?
Not at all! In fact, wax cracking is a hallmark of traditional batik and creates a beautiful "veining" effect. If you don't want the cracking, try using a wax mixture with more beeswax, which makes it more flexible. But honestly, I think the cracks add character.
How do I get really vibrant colors?
Use high-quality fiber-reactive dyes made for cotton, like Procion MX dyes. Always make sure your dye bath is the correct strength and stir your fabric constantly during the dyeing process. Also, remember to dye from lightest to darkest, and make sure your fabric is fully saturated with each dye color.
What's the difference between tjanting and brushing wax?
A tjanting tool has a spout that allows you to draw fine, continuous lines with the hot wax, creating intricate patterns. Brushing or stamping wax with a paintbrush gives you broader strokes or more organic shapes. Both are great, and you can even combine them for different effects on the same piece!
Is batik dyeing difficult for a total beginner?
It has a learning curve, but it's absolutely doable for beginners! The most important thing is to manage your expectations for your first few projects. Don't aim for museum-quality art right away. Focus on understanding the process, have fun with it, and be prepared for some happy accidents. My first try wasn't perfect, but it was still incredibly rewarding.
How long does the whole process take?
It really varies depending on the complexity of your design and the number of colors you use. A simple one-color bandana might take a few hours (including drying time). A multi-layered, multi-colored piece could easily take a full weekend or longer, spread out over several days to allow for drying between steps.
The Bottom Line
Batik dyeing is an amazing way to create truly unique, handcrafted fabric. It’s a process that’s been around for centuries, but it feels so fresh and personal when you make it your own.
Don't be afraid to dive in! Grab a cheap tea towel, some basic supplies, and give it a go. You might be surprised at what you can create. Happy dyeing! 👋
Related Posts
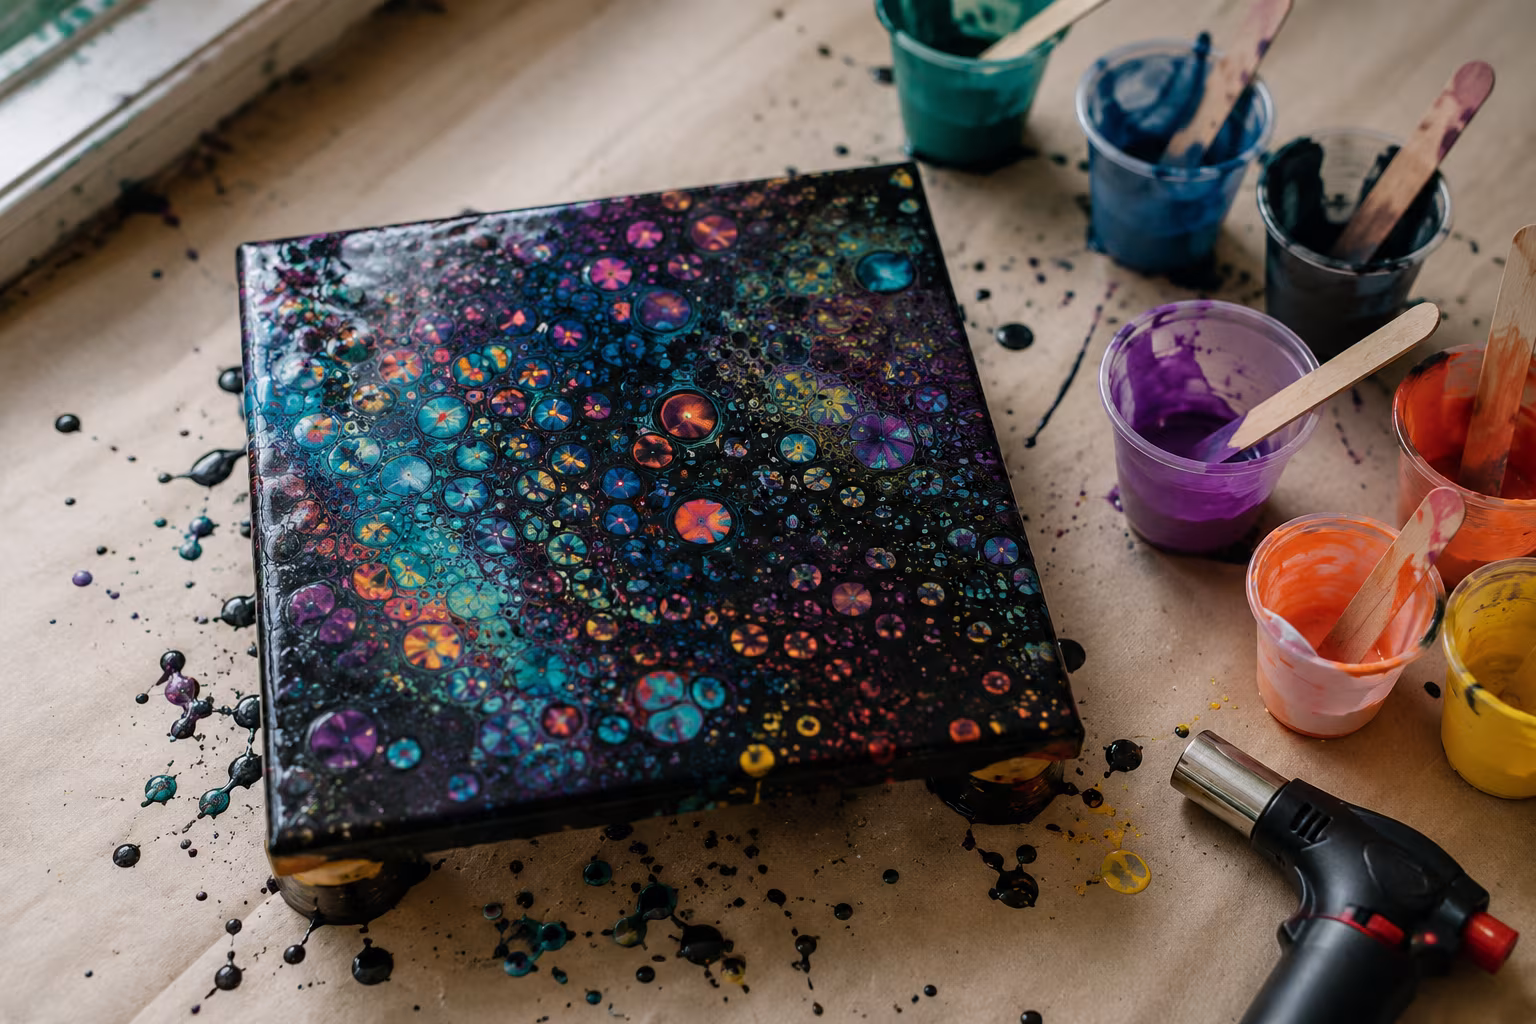
Acrylic Pouring Cells: Why They Form and How to Control
Cells in acrylic pouring come from density and surface tension differences. Understand the chemis...
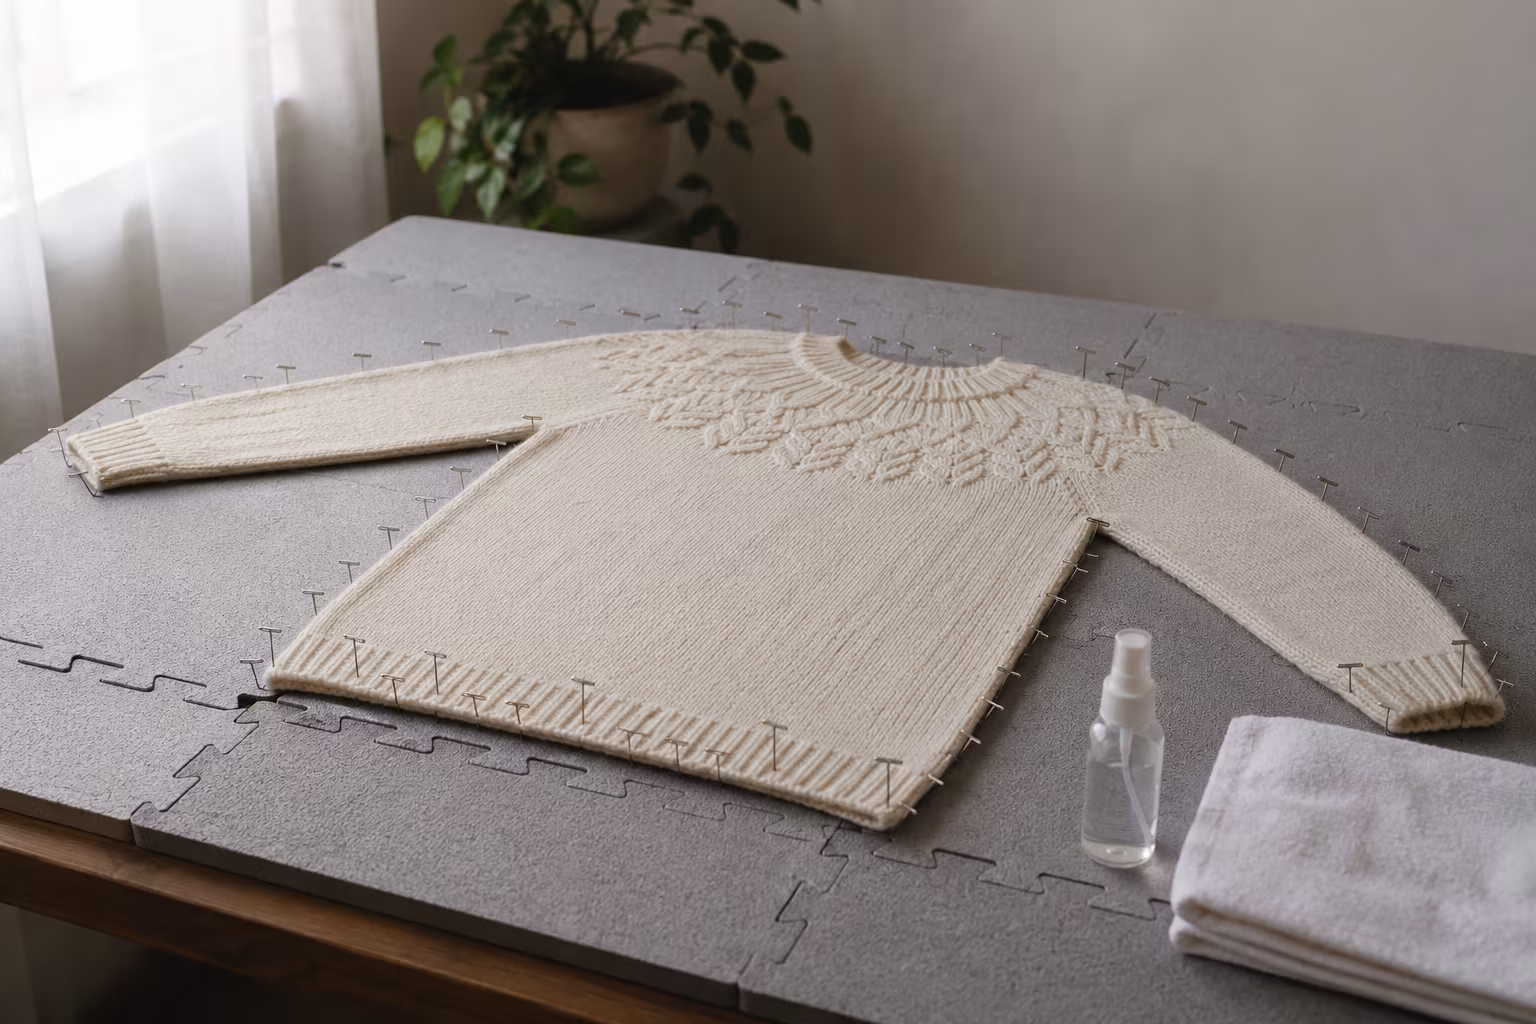
How to Block a Knitted Wool Sweater Without Felting
The blocking routine that opens stitches and sets the shape without turning your wool sweater int...
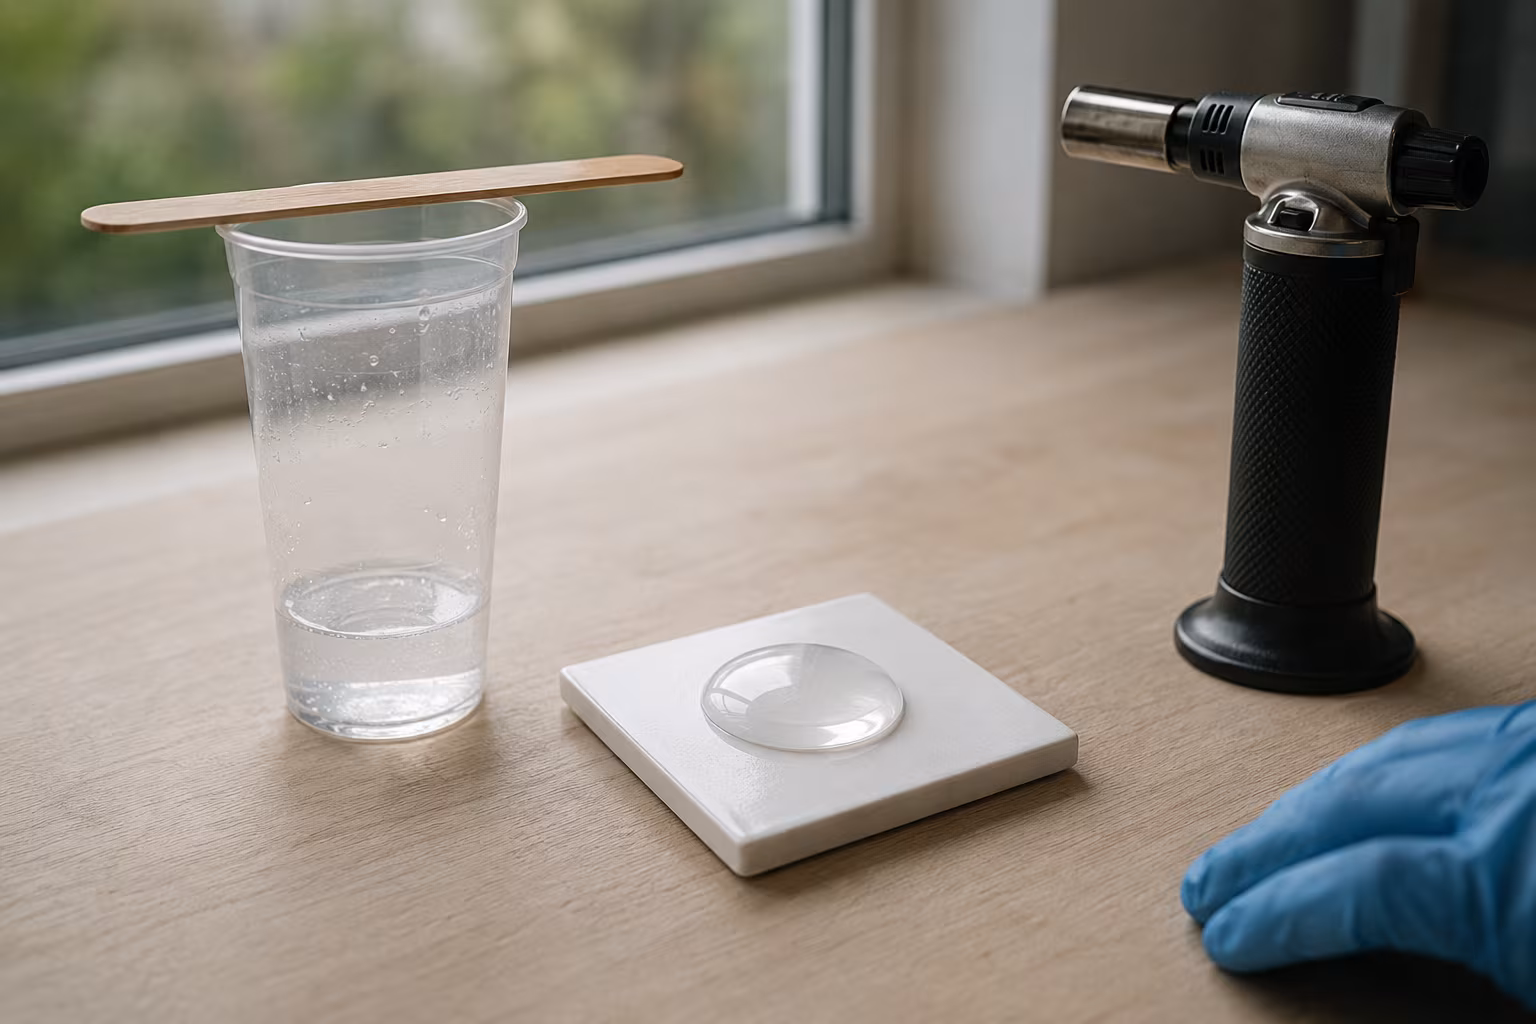
Resin Doming Without Bubbles: A Calm, Reliable Method
A repeatable doming routine that keeps bubbles out and the dome tidy — pour technique, heat metho...
Why Quilling Earrings Are the Most Profitable Craft to Sell Online
Thinking about starting a craft business? You might be surprised to learn that delicate, colorful...