Why Bone Folders Are Essential for Clean Paper Craft Creases

Why Bone Folders are Essential for Clean Paper Craft Creases
Hey there, fellow makers! Have you ever spent what felt like hours on a handmade card or a sweet little gift box, only to have your folds look... well, a little lumpy and sad? You try to press them down with your fingernail, or maybe the edge of a ruler, but it just doesn't quite get that crisp, professionalprofessional finish you see in those inspiring online photos. Sound familiar? 👋 I’ve definitely been there more times than I can count.
It's such a frustrating feeling when your vision for a project gets lost in a sea of soft, imprecise creases. We put so much love and effort into our paper crafts, and sometimes it's the smallest detail that makes the biggest difference. Today, I want to talk about one of those small, mighty tools that absolutely changed my paper crafting game: the humble bone folder.
This little tool might look unassuming, but trust me, it’s a game-changer for anything involving folding paper. We’re going to dive into why it's so important, how to use it like a pro, and even some of the common mistakes I made when I first started out. Get ready to elevate your paper projects!
Why This Actually Matters
Okay, so why should you care about a perfectly crisp fold? Isn't "good enough" good enough? When I first started making my own junk journals and card sets for friends, I thought so too. My corners were a bit rounded, my folds weren't quite straight, and things sometimes sagged.
But then I made a batch of mini envelopes, and they just looked... amateur. Like I'd hurried through them. That's when I realized the precision of a fold isn't just about aesthetics; it's about the entire structural integrity and overall feel of your finished piece. A clean crease means your project will hold its shape better, last longer, and frankly, look like you bought it from a fancy boutique.
I remember this one time I was trying to fold thick watercolor paper for a mini scrapbook cover. Without a bone folder, the spine looked like a chewed-up piece of cardboard, and the paper actually cracked along the fold line. It was so disappointing after all the effort I'd put into the decorating. Once I started using a bone folder, that cracking issue completely disappeared, and my projects instantly looked about a hundred times better. It’s seriously that significant of a difference!
Understanding the Bone Folder: Not Just a Fancy Stick
So, what exactly is this magical tool we’re talking about? At its core, a bone folder is a small, flat tool, usually tapered at one or both ends. It's designed to help you create sharp, clean folds and creases in paper. Sounds simple, right? It is, but its effectiveness comes from how it works.
It's not just about pushing the paper down. A bone folder actually compresses the fibers of the paper, pushing out any trapped air and essentially "setting" the fold. This creates a really tight, defined edge that you just can't get by finger-creasing or using a ruler. I like to think of it as giving your paper a really firm handshake to tell it where to stay.
What Even is This Thing?
Let's break down the physical characteristics that make a bone folder so effective. It’s got a few key features that really make it shine in the craft room. Understanding these helps you use it to its full potential.
- Material & Shape - Most bone folders are made from actual animal bone, though you can find them in plastic, resin, or even Teflon. They're typically smooth, with rounded edges and a slightly pointed or tapered end. This shape is really important for getting into tight spots and applying even pressure across a fold.
- The Magic of Compression - This is the real secret sauce. When you run the bone folder along a fold, it doesn't just bend the paper. It actually compacts the paper fibers, removing air and creating a super dense, strong crease. This means your folds are crisp, stay put, and resist springing back open.
- Versatility Beyond Folding - While its main job is folding, a bone folder is a true multi-tasker. I use mine for scoring paper before folding, burnishing glue joints, smoothing out air bubbles under contact paper, and even getting into tiny corners of boxes or pockets. It’s one of those tools that once you have it, you find yourself reaching for it constantly.
Beyond the Crease: Other Ways I Use My Bone Folder
As I mentioned, a bone folder isn't a one-trick pony. Over the years, I've discovered so many other uses for mine, making it an indispensable tool in my little garage workshop. It really earns its spot on my workbench!
Scoring and Pre-creasing
This is probably my second most frequent use for a bone folder, especially with thicker paper or cardstock. Scoring means creating an indentation or a guideline where you want your fold to be, before you actually fold it.
Have you ever tried to fold a piece of 110lb cardstock without scoring it first? It usually ends up looking like a mountain range, with tiny cracks and a really uneven fold. That’s because the fibers are too stiff to bend cleanly. By scoring with the pointed end of my bone folder along a ruler, I create a weak line. This line then gives the paper a clear path to fold, preventing cracks and ensuring a perfectly straight, crisp crease every single time. It's truly a game-changer for anything made from heavy paper.
Burnishing and Smoothing
This is where the flat, smooth side of the bone folder comes in handy. I use it all the time to smooth down glued surfaces, like when I'm attaching a picture to a journal page or adding a pocket to a scrapbook. Just run the flat edge over the glued area with firm, even pressure, and it helps the adhesive bond better and removes any air bubbles.
I also use it for smoothing out contact paper or vinyl. You know how those materials can get those annoying little air bubbles? A bone folder is perfect for pushing those out and getting a really flat, professional finish. It’s much more effective than just using your fingers, and it prevents those tell-tale fingerprints too!
Reaching Tight Spots and Shaping
Sometimes you need a little more precision than your fingers can offer. The tapered end of my bone folder is fantastic for getting into tight corners, like pushing out the corners of a folded box or a small envelope. It helps you achieve those really sharp, 90-degree angles that make handmade items look polished.
I also use it for shaping. If I’m making paper flowers, for example, I might use the rounded edge to gently curl petals, giving them a more natural, three-dimensional look. It offers a delicate touch for shaping without creasing or damaging the paper. It's surprisingly versatile when you start experimenting!
How to Actually Get Those Perfect Folds (my Go-to Method)
Alright, let’s get down to business: how do you actually use this thing to make those beautiful, crisp creases? It’s not hard, but there's a technique that I've refined over my years of paper crafting. Once you get the hang of it, you'll wonder how you ever lived without it.
Step 1: Get Your Paper Ready and Find Your Fold Line
First things first, make sure your paper is flat and clean. Any bumps or bits of debris can mess up your crease. Then, you need to identify exactly where you want your fold to be. For most projects, I use a ruler and a pencil to mark my fold line very lightly. You can also use a cutting mat with grid lines if you have one, which is super handy for alignment. Don’t rush this part; precision here saves you headaches later!
Step 2: Score Gently (optional, but Recommended for Thicker Paper)
If you're using anything thicker than standard printer paper—think cardstock, watercolor paper, or even heavy scrapbook paper—scoring is your best friend. Place a ruler firmly along your desired fold line. Then, using the pointed tip of your bone folder, gently draw a line along the ruler. You’re not trying to cut the paper, just create a visible indentation. Start with light pressure, especially if you're new to this. You'll feel a slight resistance as the tip glides, creating that perfect guide for your fold.
Step 3: Make the Initial Fold
Once your paper is scored (or if it's thin enough, just ready to fold), carefully bring the two edges together along your fold line. Align them as perfectly as you can. Use your fingers to make a very light, initial crease. This doesn't need to be sharp; it's just to hold the paper in place and give you a gentle guide for the next step. I often just pinch the paper together along the line.
Step 4: the Bone Folder Pass – the Real Magic Happens
Now for the main event! With your initial finger crease holding the paper, lay the paper flat on your work surface. Hold your bone folder firmly but comfortably. Position the flat, smooth edge of the bone folder along the fold, usually starting from one end and moving towards the other. Apply even, firm pressure as you glide the bone folder along the entire length of the fold. I usually run it away from my body, but find what feels natural for you. You'll feel the paper compress and flatten under the tool, creating that satisfyingly crisp line. It really feels like you're ironing the paper!
Step 5: Repeat for a Sharper Edge (if Needed)
For extra crispness, especially on thicker paper, I often flip the paper over and run the bone folder along the fold from the other side. This ensures that both sides of the fold are equally compressed and smooth. You can do this a couple of times, gradually increasing pressure if needed, until you achieve the desired sharpness. It’s all about building up that perfect, compressed edge.
Step 6: Troubleshooting & Tweaking
Don't expect perfection on your first try! If your fold isn't quite straight, you can often gently unfold it a little, realign, and re-crease with the bone folder. The beauty of this tool is its ability to really set a fold, but it also allows for minor adjustments if you catch them early. Practice truly makes perfect here. My first few folds were a little wobbly, but with a bit of practice, it becomes second nature.
Common Bone Folder Blunders (and How I Learned to Avoid Them)
When I first got my bone folder, I thought it was just a fancy stick and didn't really bother learning how to use it properly. I ended up making a few mistakes that actually made my projects worse before they got better. We all have those moments, right? Learning from them is part of the fun!
Mistake 1: Too Much Pressure, Too Soon
My first instinct was to press down as hard as I could, thinking more pressure meant a better fold. What actually happened? I ended up tearing the paper or creating really unsightly indentations that weren't part of the fold at all. On thinner paper, I'd even thin out the fold so much it would break apart. The solution: start light and gradually increase your pressure. You'll feel the paper respond, and you'll quickly learn how much pressure is just right for different paper thicknesses. It’s about control, not brute force.
Mistake 2: Uneven Pressure or Angle
If you're pressing down with inconsistent pressure or holding the bone folder at an odd angle, your crease will look wobbly and uneven. It won't be that crisp, straight line you're aiming for. I used to accidentally tilt the folder, making one side of the crease sharper than the other. The fix for this is practice and mindfulness. Try to keep your hand steady and apply even pressure across the entire length of the fold. Using a ruler as a guide for your bone folder can also help keep things straight and consistent.
Mistake 3: Forgetting to Score Thick Paper
This was a huge one for me, especially when I started working with thicker cardstock for handmade boxes. I'd skip the scoring step, thinking the bone folder alone would be enough. The result? Ugly, cracked, and fuzzy fold lines. Thick paper just doesn't like to bend cleanly without a little help. Seriously, if your paper feels substantial, take the extra five seconds to score it first. It absolutely prevents that frustrating cracking along the fold and gives you a much cleaner edge. It’s one of those tiny steps that makes a massive difference.
Mistake 4: Using the Wrong Part of the Tool
My bone folder has a flat edge and a tapered, slightly more pointed end. For a while, I'd sometimes try to burnish a large area with the tiny tip, or score a line with the broad flat side. It just didn't work right. The flat edge is for broad, even pressure, perfect for creasing or smoothing. The tapered end is for scoring, getting into corners, or making more precise indentations. Knowing which part of the tool to use for which task makes your work much more efficient and effective. It's like using the right wrench for the right bolt.
Mistake 5: Not Cleaning Your Bone Folder
This is a subtle one, but it can ruin a project! If you've been burnishing glue or working with inks, tiny bits can get stuck to your bone folder. Then, when you go to crease a clean piece of paper, you inadvertently transfer that dirt or glue onto your fresh project. I’ve definitely left faint glue smears on pristine white cardstock before realizing my mistake. A quick wipe down with a damp cloth (and drying it thoroughly!) after each session, or even between different colored papers, keeps your tool clean and your projects spotless. It’s a habit worth developing.
Picking the Right Bone Folder for You (material Matters!)
With so many options out there, how do you pick a bone folder? Honestly, you don't need to overthink it at first. The most important thing is to just get one and start using it. But if you're curious about the differences, the material is the main distinction. I've tried all the common types, and they each have their pros and cons.
Real Bone (animal Bone)
These are the traditional choice, often made from beef bone. They feel really substantial in your hand and glide smoothly over most papers. I love the classic feel and how they develop a beautiful patina over time. They're incredibly durable and can last a lifetime if cared for. The downside? They can be a bit pricier than plastic options, and for some, the idea of using animal bone might be a consideration.
Plastic/resin Bone Folders
These are super common and usually the most budget-friendly option. You'll find them in almost every craft store. They're lightweight and perfectly effective for most paper crafts. I started with a plastic one, and it served me well for years! The main drawback is that on darker or more delicate papers, they can sometimes leave a faint, shiny mark due to friction. They also might wear down a bit faster than bone or Teflon, though they still last a long time for a hobbyist.
Teflon Bone Folders
Ah, the Cadillac of bone folders! Teflon bone folders are prized for being incredibly smooth and, crucially, they will not leave shiny marks on your paper, no matter how dark or delicate it is. This makes them a favorite for fine art papers, dark cardstock, or any project where preserving the original texture is paramount. They’re also very durable. The catch? They are typically the most expensive option. If you do a lot of professional-looking paper crafts or work with specific papers, a Teflon bone folder is absolutely worth the investment.
My Recommendation
If you're just starting out or working on a budget, grab a plastic or resin one. They are perfectly capable and will show you just how much difference a bone folder makes. My first one was a $5 plastic one from the craft store, and it was a revelation! If you find yourself reaching for it constantly and notice that you're working with a lot of dark or specialty papers, then maybe consider upgrading to a real bone or Teflon one down the line. You can even find decent ones at art supply stores or online for around $15-20. You don't need the fanciest one to start seeing awesome results.
Projects That Truly Shine with a Bone Folder
Now that you know how to use one and why it's so great, let's talk about some projects where a bone folder truly makes all the difference. These are the kinds of things I make where a crisp crease isn't just nice-to-have, it's essential.
Handmade Cards and Envelopes
This is probably the most common use. A store-bought card always has those perfectly sharp folds. With a bone folder, your handmade cards can look just as professional. Those crisp edges make the card feel sturdy and well-made, not flimsy. And for matching envelopes? A bone folder makes them look so neat and tidy. It’s a quick way to elevate your card-making game instantly.
Origami and Paper Sculptures
If you've ever tried origami, you know how crucial precise folds are. Every single crease builds upon the last, and if one is off, the whole thing can fall apart or look lopsided. A bone folder allows you to make those super sharp, defined folds that complex origami models require. It helps your paper sculptures hold their shape beautifully, giving them a much more refined look than soft, rounded folds would.
Gift Boxes and Bags
Making your own gift boxes is such a fun way to personalize a present! But for a box to be sturdy and actually hold its shape, those fold lines need to be sharp and strong. A bone folder ensures your box sides stand up straight, your corners are crisp, and the entire structure is robust. No more flimsy, sagging gift boxes! It creates those strong seams that really make homemade boxes look professional.
Bookbinding Basics
Even for simple bookbinding projects, like creating signatures (folded sheets of paper that form a section of a book), a bone folder is indispensable. It helps you get those tight, perfect folds in your paper, which is crucial for a well-bound book. I use mine to smooth down endpapers, crease covers, and just generally make sure everything is pressed flat and securely in place. It’s all about building a solid foundation for your book.
Altered Books and Journals
I love making altered books and junk journals from thrift store finds. When you’re adding new pages, pockets, or intricate folds to existing pages, a bone folder is super helpful. It helps you integrate new elements seamlessly, creating crisp folds for pockets or definition for tuck spots. It ensures that your added elements lie flat and integrate well with the original book's structure. It's a key tool for making everything look intentionally placed.
Making great crafts isn't about expensive tools, it's about knowing how to use the simple ones. A bone folder is patience and precision, embodied in a little stick.
Frequently Asked Questions
Do I really need a bone folder? Can't I just use a ruler?
You can definitely use a ruler or even your fingernail for light creases, especially on thinner paper. But it won't give you the same level of compression and crispness that a bone folder does. The smooth, rounded edge of the bone folder is specifically designed to compact paper fibers without damaging them, creating a much cleaner and more durable fold than a sharp ruler edge or just your finger can achieve. Trust me, once you try it, you'll feel the difference.
What's the Difference Between Scoring and Creasing?
Scoring is creating a guide line or an indentation on the paper before you fold it. You use a pointed tool (often the tapered end of a bone folder) to lightly mark where the fold will be, especially important for thick paper. Creasing is the act of actually pressing down the fold once the paper is bent, usually with the flat edge of a bone folder, to make it sharp and permanent. They're two parts of the same process for perfect folds.
My Bone Folder is Leaving Shiny Marks on My Paper. What Am I Doing Wrong?
This is a common issue, especially with plastic or resin bone folders on darker or more delicate papers. It's usually caused by friction. You might be applying too much pressure, or the material of your bone folder itself might be the culprit. Try using less pressure, or consider upgrading to a Teflon bone folder, which is specifically designed to not leave shiny marks on paper. It's a small change that makes a big difference for certain projects!
How Long does It Take to Get Good at Using a Bone Folder?
Honestly, you'll start seeing a difference with your very first project. To truly get "good" at it, where it feels completely natural and you're consistently getting perfect folds, probably just a few dedicated crafting sessions. It's all about building up that muscle memory and understanding how different papers react to the tool. Don't worry, it's a quick learning curve!
Where Can I Buy a Good Bone Folder Without Spending a Fortune?
You can find perfectly good plastic or resin bone folders at any major craft store for under $10. Look in the paper crafting or scrapbooking sections. Online retailers like Amazon also have a wide selection. If you want to try a real bone one, check out art supply stores; sometimes they have good deals. I've even spotted them at estate sales in old craft boxes, which is always a fun thrift store score!
Can I Use a Bone Folder for Fabric?
While a bone folder excels at compressing paper fibers, it’s not designed for fabric. Fabric fibers behave differently and usually require heat and moisture to set a crease, which is why quilters and sewers use irons or tailor's clappers. Using a bone folder on fabric won't really create a lasting crease and might even damage delicate fabrics. Stick to your iron for fabric projects!
The Bottom Line
A bone folder is one of those humble, inexpensive tools that makes a truly massive difference in the quality of your paper crafts. It elevates everything from a simple folded card to complex origami. This little tool isn't just about making things look pretty; it's about making your creations stronger, more durable, and genuinely professional.
So, if you’ve been struggling with less-than-perfect creases, or if you just want to take your paper crafting up a notch, I wholeheartedly recommend picking up a bone folder. You don’t need anything fancy to start. Just grab one, experiment a little, and watch your paper projects transform. Happy making, friends! ❤️
Related Posts

Sandpaper Grits Demystified: When to Stop Going Finer
The grit progression that actually matters, where to start, where to stop, and why finer is often...
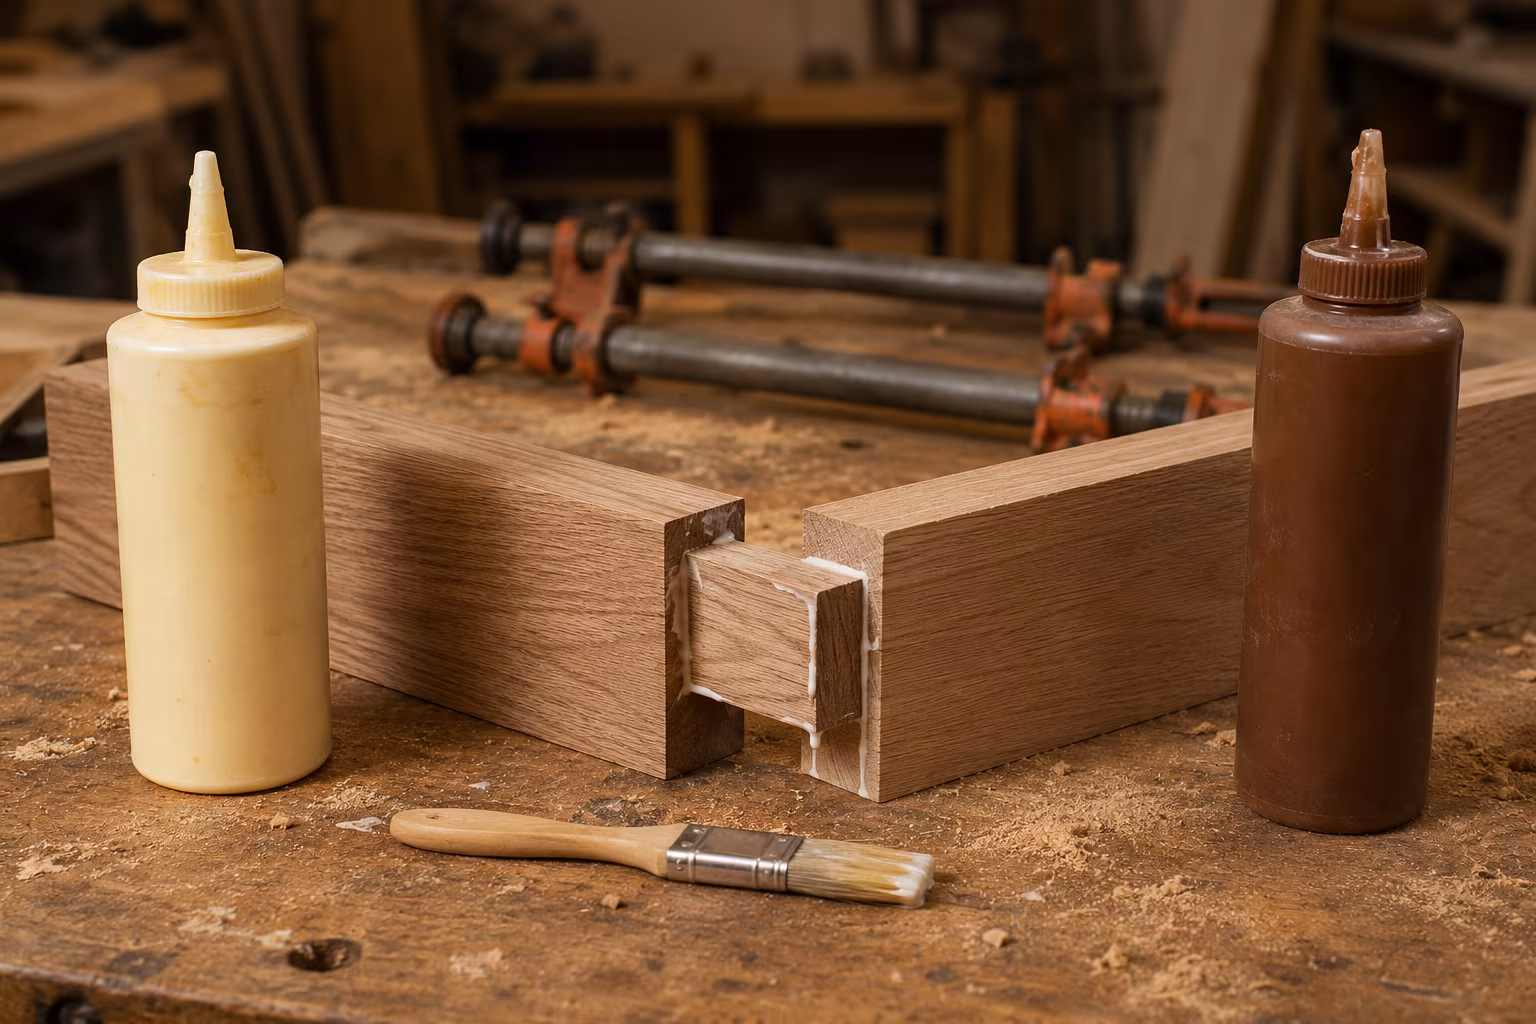
PVA vs Polyurethane Wood Glue for Indoor Furniture
Which wood glue wins indoors: a clear-eyed look at joint strength, open time, gap-filling claims,...
Why Beeswax and Mineral Oil Are the Safest Wood Finishes for Food
Wondering how to protect your wooden kitchenware without harsh chemicals? Beeswax and mineral oil...
Why Brad Nailers Are the Most Versatile Power Tool for Craft Rooms
Think power tools are just for big woodworking projects? Think again! A brad nailer might just be...