Why Raised Bed Gardens with Hugelkultur Bottoms Need Less Watering

Why Raised Bed Gardens with Hugelkultur Bottoms Need Less Watering
Okay, let's be honest. The last thing I want to do in the middle of a hot Portland summer is lug a watering can around. My garden is my happy place, but the constant need to keep everything hydrated can feel like a chore, right?
So, I've been experimenting with a few ways to make my garden work smarter, not harder. This is all about building raised garden beds with something called a hugelkultur bottom, and trust me, it’s a game-changer for water retention. Let's dive into why this simple technique can seriously cut down on your watering schedule.
Why This Actually Matters
Because who wants to spend their precious free time constantly watering? If you’re like me, you’d rather be out exploring thrift stores for project supplies or actually using your garden for something other than tending to it.
Last summer, I had a raised bed that dried out so fast, I felt like I was watering it twice a day. It was frustrating and made me question if gardening was even for me. This hugelkultur method has changed all that, and I'm excited to share why it's such a great solution.
The Magic of Hugelkultur for Garden Beds
So, what exactly is hugelkultur? Don't let the fancy German name scare you. It basically means "hill culture." In gardening terms, it's a way of building up soil using decomposing wood as the base layer.
Think of it as a sponge for your garden. When you build a raised bed on top of a hugelkultur base, you're essentially creating a water reservoir right beneath your soil. The wood soaks up water like crazy and then slowly releases it back to your plants as needed.
How Wood Becomes a Water Saver
It sounds counterintuitive, right? You'd think adding wood would use water as it decomposes. And yeah, it does, for a little while. But the real magic happens as it breaks down.
As the wood starts to rot, it becomes incredibly porous. This sponginess is what allows it to absorb and hold onto significant amounts of water. It’s like having an underground irrigation system that works on its own!
- It Holds Water: The primary function is water retention. The wood acts like a giant, slow-release sponge, holding onto rainwater or irrigation water.
- It Decomposes Slowly: Over time, the wood breaks down further, adding nutrients to your soil and creating more air pockets. This decomposition process is gradual, meaning it keeps releasing moisture for years.
- It Improves Soil Structure: As the wood decomposes, it feeds beneficial microbes and fungi in the soil, which in turn create a healthier environment for your plant roots.
The Benefits Beyond Just Watering
While cutting down on watering is the main draw, hugelkultur bottoms offer a few other perks that make them a fantastic choice for raised beds.
You're also diverting waste from landfills by using old logs and branches. Plus, as the wood breaks down, it releases nutrients, essentially feeding your soil and plants over time. It’s a win-win-win situation!
Nutrient Cycling in Action
As the wood decomposes, it releases carbon and other nutrients into the soil. This process feeds the microorganisms in your soil, which then make those nutrients available to your plants.
It's a natural way to fertilize your garden. Over time, you might find you need to add fewer external fertilizers because your hugelkultur base is doing a lot of the work for you.
Reducing Soil Compaction
The layers of wood and organic matter beneath your soil create a less dense base. This helps prevent the soil in your raised bed from becoming overly compacted over time, which is great for root growth.
Healthy, loose soil allows plant roots to spread easily and access water and nutrients more effectively. It’s a subtle benefit, but important for long-term garden health.
How To Actually Build a Hugelkultur Raised Bed
Alright, ready to get your hands dirty? Building one isn't complicated, and you can use materials you might already have lying around your yard. It’s a great project for using up those fallen branches after a storm.
The key is layering. You start with the biggest, woodiest stuff at the bottom and work your way up with finer materials. This creates that excellent spongy base I was talking about.
Step 1: Gather Your Wood
You'll want to start with larger pieces of wood. Think logs, thick branches, and stumps if you have them. Avoid treated lumber, as that can leach chemicals into your soil. Freshly cut wood is fine; in fact, it’s better because it will decompose faster.
I often find good pieces in my backyard after trimming trees, or sometimes my neighbors leave branches out for brush pickup. Even old, untreated fence posts can work!
Step 2: Build the Base Layer
Arrange your logs and thick branches at the bottom of your raised bed frame. Don't worry about making it perfectly neat; just try to fill the space efficiently. You want a good, solid layer of wood that will act as the core of your water-retaining sponge.
Try to pack them in reasonably tightly. This layer will settle over time, so don't be afraid to overfill it a bit initially. It’s better to have too much wood than not enough.
Step 3: Add Smaller Twigs and Debris
Next, fill in the gaps between the logs with smaller twigs, branches, and woody debris. This layer helps to further break up the larger pieces and creates more surface area for water absorption.
This is where you can really use up those smaller branches you've collected. Think of it like filling in the empty spaces to create a more uniform, porous layer.
Step 4: Introduce Organic Matter
Now, you'll start adding layers of nitrogen-rich organic materials. This could include grass clippings, shredded leaves, kitchen scraps (like vegetable peels and coffee grounds), or compost. This layer will help speed up the decomposition of the wood.
I usually save up my grass clippings and fall leaves for this step. It’s a fantastic way to recycle garden and kitchen waste into something incredibly beneficial for your soil.
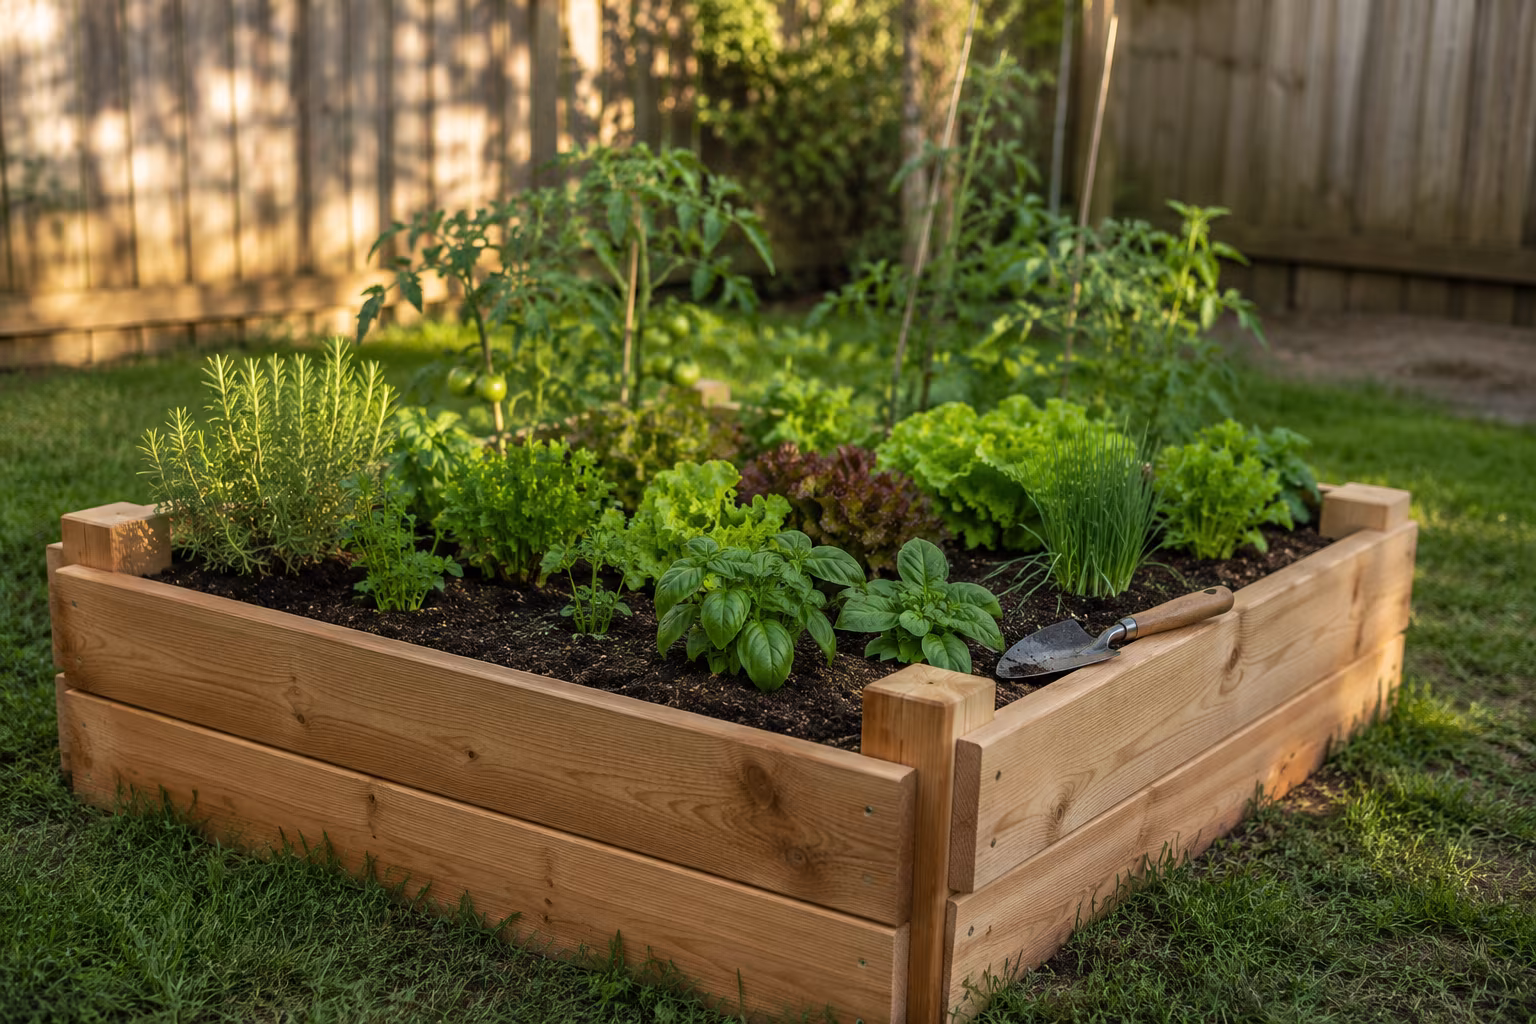
Step 5: Top with Soil
Finally, top everything off with your regular raised bed soil or a good quality garden soil mix. You'll want a layer of at least 6-8 inches of soil on top of your organic matter to give your plants enough room for their roots.
It might look like a lot of material, but remember that wood will settle significantly over time. You might need to top it off with more soil after the first few months or the following season.
Common Mistakes and How to Avoid Them
While this method is pretty forgiving, there are a couple of things that can trip you up if you're not careful. The biggest one is usually related to the type of wood you use.
I’ve seen people use treated lumber, thinking it’s just wood. But that stuff is packed with chemicals that you absolutely do not want in your vegetable garden. Always stick to natural, untreated wood.
Using Treated Wood
This is the cardinal sin of hugelkultur. Treated lumber, often found in old decks or fences, contains chemicals like arsenic or copper that can leach into your soil and be absorbed by your plants. It’s not worth the risk.
If you're unsure if wood is treated, err on the side of caution and find a different source. Natural logs, branches, and untreated scrap wood are your best bet.
Not Enough Wood or Too Much Fine Material
The whole point of the hugelkultur bottom is the wood. If you don’t put enough wood in, or if you pack it too tightly with fine materials like just soil or compost on top, you won’t get the same water-retention benefits.
You need those air pockets created by the decaying wood. Make sure you have a substantial layer of logs and branches at the bottom, with a good mix of organic matter and soil above it.
Over-Compacting the Wood
While you want a solid base, don't feel like you need to smash every piece of wood down with a sledgehammer. The wood needs space to breathe and decompose. Over-compacting can hinder decomposition and reduce air circulation, which defeats some of the purpose.
Just arrange the wood naturally. Nature is good at creating these structures without excessive force. It will settle on its own.
The best garden soil is the kind that’s alive. Building a hugelkultur base helps create a thriving ecosystem beneath your feet.
Frequently Asked Questions
My raised bed is already built. Can I still add a hugelkultur bottom?
Absolutely! You don't need to build a new bed from scratch. You can carefully remove some of the existing soil from your existing raised bed, add your logs and woody debris to the bottom, and then backfill with the soil you removed, topping it off with fresh soil if needed.
It’s a bit more work to excavate an existing bed, but totally doable. I did this for a small herb garden last year and it made a noticeable difference in how often I had to water.
How long does a hugelkultur bed take to settle?
It starts settling immediately as the wood absorbs moisture. However, significant settling can happen over the first 6-12 months as the decomposition process really kicks in. You might need to add more soil to the top after that initial period.
Don't worry if it looks a little lower than you'd expect after a year; that's a good sign the decomposition is happening as planned!
What if I don't have access to logs and branches?
If you don't have natural wood available, you can sometimes purchase logs or large branches from local arborists or landscaping companies. Sometimes, even old untreated wooden furniture pieces can be broken down and used, though this requires more effort to prepare.
Alternatively, you can create a "mini" hugelkultur effect by using a thick layer of compostable cardboard, straw, and leaf mold at the bottom of your bed. It won't hold water quite as long as wood, but it will still improve moisture retention and soil health.
How long does the hugelkultur effect last?
The beauty of hugelkultur is its longevity. While the initial woody materials will decompose faster, the structure and water-retaining benefits can last for many years, often 5-10 years or even longer, depending on the size of the wood used and the local climate.
As the wood breaks down, it continues to feed your soil. You might notice the bed settling a bit more over time, but the water retention benefits are quite persistent.
Is hugelkultur suitable for container gardening?
Hugelkultur is really designed for in-ground beds or larger raised beds where you have a significant depth to work with. It's not really practical for small pots or containers because you need a substantial amount of wood to create the sponge effect.
For containers, you're better off using good quality potting mix and perhaps adding some compost or coco coir for better moisture retention. Stick to larger raised beds or garden plots for hugelkultur.
The Bottom Line
Building a raised garden bed with a hugelkultur bottom is a fantastic way to create a garden that requires less watering. It's a sustainable method that uses natural materials and promotes healthy soil.
So, next time you're planning a new garden bed, give hugelkultur a try. Your plants (and your back) will thank you! Happy gardening! 👋
Related Posts
Building a Rain Garden That Actually Drains in Clay Soil
Clay soil traps water like a clay pot. The amendments, depth, and percolation test that turn a...
Pressure-Treated vs Cedar for a Small Raised Garden Bed
Cedar lasts and looks better; modern pressure-treated is cheaper and safer than its reputation....

Tarp Pitching for Side Wind: A Practical Field Guide
Pitching a tarp for side wind isn't about which shape — it's about angle, anchor depth, and...

The Complete Guide to Identifying and Removing Invasive Garden Plants
Tired of aggressive plants taking over your garden beds? We'll show you exactly how to identify...