How to Build a Light Box for Photographing Your Handmade Crafts
A handmade piece can look flat and lifeless the moment you photograph it. Dark corners, muddy shadows, and colors that drift toward yellow or gray all undersell good work, especially when you are trying to sell online or build a portfolio. A small light box fixes most of it for under $20, and you can build one in about an hour from a cardboard box you already have.
Why Good Photos Sell Handmade Work
Online, the photo is the product. A clear, evenly lit image shows texture, joinery, and true color; a grainy one makes careful craftsmanship look cheap. Consistent lighting also keeps a shop or feed looking cohesive, because every listing shares the same clean background and color balance instead of shifting with the weather and the time of day. Good natural light can work, but it is unpredictable. A light box gives you the same result at 9 a.m. or 9 p.m., which matters when you are shooting a batch of items and want them to match.
What a Light Box Actually Does
A light box is a small enclosure that surrounds your subject with soft light from several directions. Two things make it work: diffusion and a continuous white background. Diffusion material stretched over the openings scatters the light before it reaches your item, turning a hard-edged shadow into a gentle gradient, the same effect you get outdoors on an overcast day. A curved sheet of white paper behind the subject removes the visible line where the wall meets the table, so the object appears to sit in clean, empty space with nothing competing for attention.
Building the Box: Materials and Steps
Lay out everything before you start cutting. You will need:
- A sturdy cardboard box, roughly 18 x 18 x 18 inches for most items, or a shoebox for jewelry.
- White poster board or Bristol board (about $4), or a plain white cotton sheet, for the background.
- Diffusion material: parchment paper, white tissue paper, or thin white fabric.
- An X-Acto or utility knife and a metal straight edge.
- Packing tape or a hot glue gun.
- Two or three clamp lights (often under $10 each) fitted with daylight-balanced LED bulbs.
With materials ready, work through it in four steps:
1. Cut the windows. Leave the front open for shooting. On the two side panels and the top, mark rectangular openings with a 1 to 2 inch border left around each edge for strength. On an 18-inch box that gives openings around 14 x 14 inches. Score the cardboard in several light passes rather than forcing the blade through in one cut.
2. Diffuse the openings. Cut parchment or fabric slightly larger than each window and tape it over the opening from the inside, pulled taut but not so tight it tears. Looking at the box from outside, you should now see three softly glowing panels.
3. Add the curved background. Set one end of the white board on the floor of the box and curve it up to the back wall, securing the top and bottom with tape. Aim for a smooth sweep with no sharp crease, so there is no corner line behind your subject.
4. Position the lights. Place a clamp light outside each side window, angled inward, and a third above the top window if you have one. Keep the lights outside the box so they shine through the diffusion, never directly on the item.
Lighting and White Balance
Bulb color is where most home photos go wrong. Use daylight-balanced LED bulbs in the 5000K to 6500K range so whites read as white; the number describes the light's color temperature. A warm household bulb around 2700K casts an orange tint that no amount of editing fully corrects. Aim for at least two bulbs of 800 lumens or more so the box is bright enough to shoot at a low ISO, which keeps the image sharp and grain-free. Mixing bulb types is a common trap, leaving one side of the item orange and the other blue. Set your camera or phone white balance to daylight rather than auto, or include a small gray card in a test frame and correct to it in editing. Move a light closer to brighten the scene and farther away to soften it; small shifts of a few inches change the shadows noticeably.
Common Mistakes to Avoid
- Dim, grainy shots: the bulbs are too weak or too far back. Use the brightest daylight bulbs you have and prioritize the two side lights.
- Glare and hot spots: add a second layer of parchment over the offending window, or pull that light back.
- Off colors: almost always white balance. Set it manually or correct against a neutral reference.
- Rushing: wipe dust and lint off the item, then shoot several angles before moving on. A larger screen reveals flaws a phone preview hides.
Start simple: a shoebox for small pieces or an 18-inch box for larger work, one roll of parchment, and two clamp lights. Reshoot something you have already photographed and put the old and new images side by side. That comparison, more than any gear, is what convinces most people the hour was worth it. The same setup handles everything from resin coasters to small woodwork once it is built.
Related Posts

Hand-Sewn Leather: Saddle Stitch Spacing That Actually Holds
Saddle stitching looks simple and fails subtly. Wrong spacing pulls thin leather apart. The...

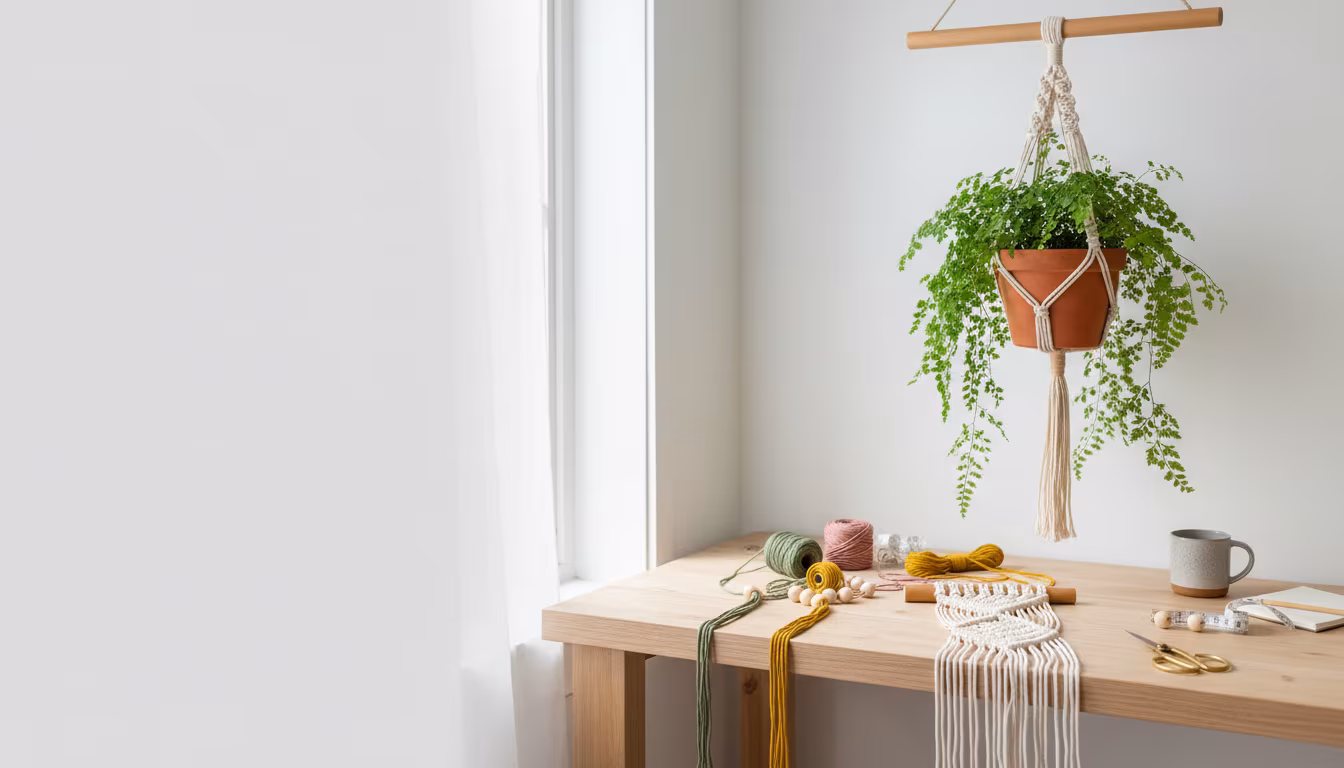
Macrame Cord Choice for Beginners: Single-Twist vs 3-Ply
3-ply cord is forgiving, single-twist gives the boho fringe, braided locks in clean knots. The...

Punch Needle Loops Pulling Out: The Tension Fix Guide
Punch needle loops pull out for one of four reasons: supply tension, a loose foundation...

Sealing Watercolor Wood Slices for Indoor Display Pieces
Watercolor on raw wood fades fast without prep: the priming options, painting adjustments, spray...