How to Decorate a Rental Apartment Without Damaging Any Walls
How to Decorate a Rental Apartment Without Damaging Any Walls
Okay, so you've finally landed a rental, and it's yours. Well, sort of. You want to make it feel like home, inject some personality, maybe hang up that massive piece of art you love. But then you remember: the dreaded security deposit. And the landlord’s stern warning about holes in the walls. Sound familiar?
If you're nodding along, you're in the right place. We're going to talk about how to make your rental shine without risking your hard-earned cash. Think clever tricks, DIY solutions, and definitely no spackling parties. Let's get your space looking like YOU.
Why This Actually Matters
Because your living space should reflect who you are! It's not just about keeping the landlord happy; it's about creating a sanctuary that boosts your mood and makes you feel good every single day. Living somewhere that feels genuinely you makes a huge difference.
I remember my first apartment after college. It was tiny, beige, and felt like a hotel room that never checked out. I lived like that for six months, too afraid to even put a thumbtack in the wall. Once I started experimenting with damage-free decorating, it felt like coming home for the first time. That little shift made everything feel brighter.
The Magic of Damage-Free Decorating: Understanding the Basics
At its heart, damage-free decorating is all about being strategic. It's using methods and materials that allow you to hang things, organize, and personalize your space without leaving permanent marks. This means avoiding nails, screws, and anything that requires drilling into drywall or plaster.
Think of it as a puzzle. You have the walls you can't mess with, and you have all the cool stuff you want to put on them. The goal is to find the perfect, temporary fit. It's about working with the restrictions, not against them.
The "No Holes" Philosophy
This isn't just about avoiding angry landlord calls. It's about flexibility. When you're not tied down by holes, you can rearrange your decor on a whim. You can try out new layouts, swap out artwork, and really experiment with your style without commitment.
This freedom is fantastic for renters, but honestly, I use these techniques even in my own home sometimes. If I'm trying out a new gallery wall arrangement, I don't want to commit to ten nail holes if I might change my mind next month.
Key Players in the Damage-Free Game
There are a few go-to tools and materials that make this whole thing possible. They're usually easy to find at your local hardware store or even a big box store, and they won't break the bank.
- Adhesive Strips and Hooks: Brands like Command are the undisputed champions here. They offer a wide range of hooks, strips, and even decorative fasteners that stick securely and then remove cleanly.
- Adhesive Putty or Tabs: Great for lighter items like posters, unframed photos, or small decorative objects. These are generally less strong than strips but perfect for delicate tasks.
- Tension Rods: These are absolute lifesavers for windows, closets, and creating makeshift dividers. They use tension to stay in place, meaning zero screws or holes needed.
- Washi Tape: While not for heavy lifting, washi tape is a fun, temporary way to add color and pattern directly to walls or to secure lightweight photos and artwork.
- Velcro Strips (Heavy Duty): For slightly heavier items, strong Velcro can be a good option when used with adhesive hooks or directly applied to surfaces if allowed.
How to Actually Do It: Step-by-Step Solutions
Alright, enough theory. Let's get down to the nitty-gritty of actually decorating. We'll start with the most common decorating needs and move through some of the more creative solutions.
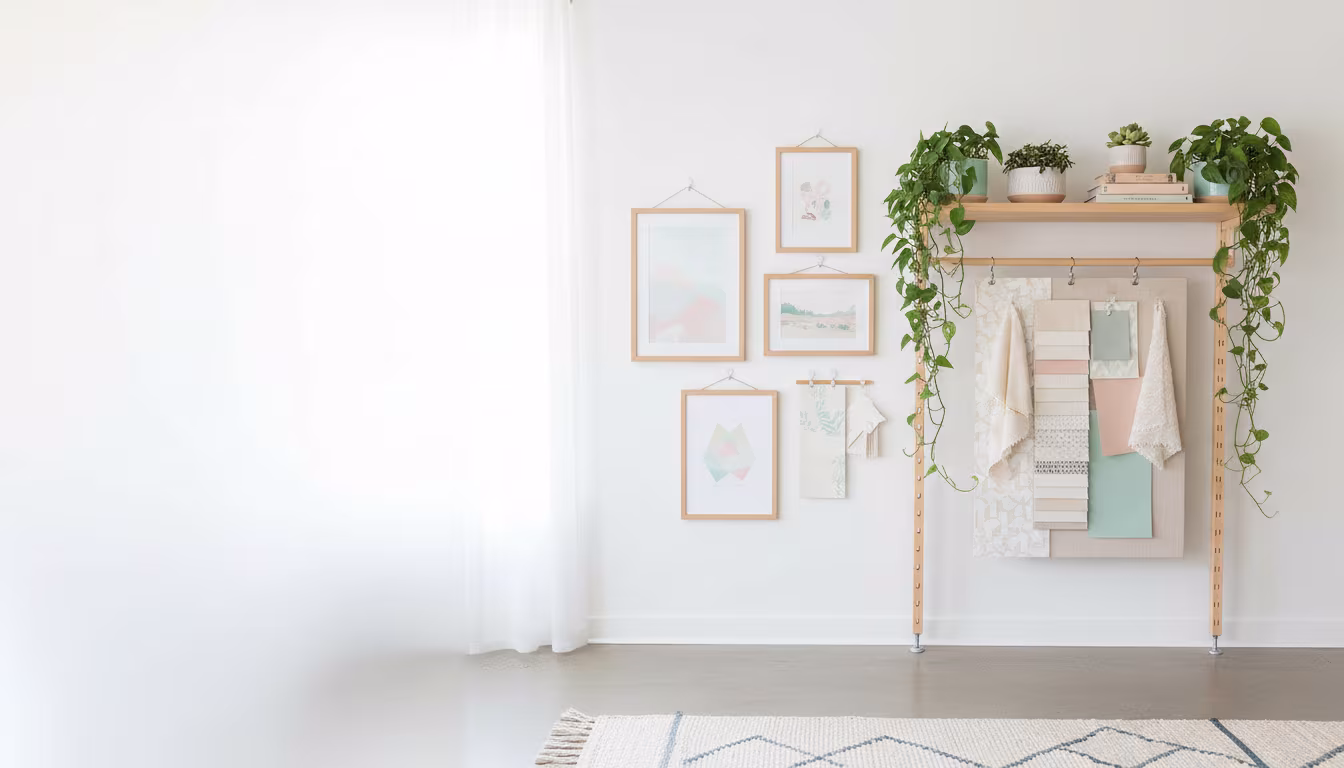
Step 1: Hanging Art and Photos
This is probably the most frequent decorating challenge. You've got frames, prints, even those cool macrame wall hangings. The goal is to get them on the wall without a single nail mark.
For framed art and photos, your best friend is the adhesive strip. Measure carefully where you want the piece to go – use a level if you're going for precision. Apply the adhesive strips to the back of the frame or directly to the wall, following the package instructions precisely. Press firmly and let them cure for the recommended time before hanging your art. Seriously, let them sit for the full hour or whatever the box says; it makes a difference!
Step 2: Organizing with Wall-Mounted Solutions
Shelving, storage baskets, key racks – all usually require drilling. But not anymore!
For lighter items like small floating shelves (designed for this purpose, often with strong adhesive backs) or wall-mounted organizers, those stronger adhesive strips are your go-to. For things like key hooks or small spice racks, heavy-duty adhesive hooks work wonders. Just make sure the weight capacity on the package is more than what you plan to hang. I’ve learned that lesson the hard way – my spice rack decided to redecorate my kitchen floor once.
Step 3: Window Treatments Without Drilling
Curtains and blinds are essential for privacy and light control, but traditional mounting usually means drilling into your window frames or walls. We're skipping that.
Tension rods are your absolute best friend here. They come in various sizes and are perfect for hanging lightweight curtains inside your window frame. You just expand the rod until it's snug between the two sides of the frame. It’s super easy, and you can take them down whenever you move.
Step 4: Creating Room Dividers and Extra Storage
Got an open-concept living space and want to define areas? Or maybe you need more closet space without building anything? Tension rods and clever hanging can help.
You can use a long tension rod across a doorway or a wide opening to hang a decorative fabric panel, creating a temporary room divider. Another trick is to use multiple tension rods in a closet to add extra hanging space for scarves, belts, or even thin clothing items stacked vertically.
Step 5: Decorating with Temporary Adhesives
Beyond just hanging pictures, think about decorative tapes and adhesives for a more playful approach.
Washi tape is amazing for creating geometric patterns, borders, or even framing out photos directly on the wall. It comes in a million colors and patterns and peels off cleanly. You can also use adhesive putty to stick up posters, unframed prints, or lightweight fabric banners. It’s perfect for a more bohemian or ever-changing decor style.
Step 6: Furniture Placement and Room Layout
Sometimes, the best way to transform a space without touching the walls is simply by rearranging your furniture. This costs nothing and can have a dramatic impact.
Think about flow. How do you naturally move through the room? Can you create cozy nooks? Experiment with pulling furniture away from the walls slightly to create a more inviting feel. Even small shifts can make a big difference in how a space feels.
Step 7: Lighting Solutions
Harsh overhead lighting is the bane of many rental apartments. Luckily, you can add warmth and ambiance without rewiring.
String lights are fantastic. You can drape them around a headboard, along a shelf, or even in a large vase. Battery-operated fairy lights are incredibly versatile and require no outlets. Floor lamps and table lamps can also completely change the mood of a room, and they’re completely portable.
Step 8: Greenery and Plants
Bringing in plants instantly makes a space feel more alive and personal. And you don't need wall hooks to do it!
Utilize floor space with larger potted plants. Use existing shelves and surfaces for smaller pots. You can even hang plants from curtain rods (carefully!) or ceiling light fixtures if they're sturdy enough and you're confident in their ability to hold the weight. Just make sure to use drip trays!
Making It Stick (Literally) and Avoiding Common Pitfalls
So, you’ve got your tools and techniques. Now, let’s talk about making sure it all stays put and what to watch out for.
The biggest mistake people make is rushing the process or not following instructions. Those adhesive strips? They’re amazing, but they work best when you give them time to bond to the surface. Don't hang that heavy mirror five minutes after sticking it on.
Another common issue is using the wrong product for the job. A poster putty won't hold up a framed picture, and a light-duty hook will fail under the weight of a decent-sized shelf. Always check the weight limits and intended use for any adhesive product.
"The biggest mistake isn't using the wrong adhesive; it's assuming your landlord won't notice a paint chip the size of your fist."
Also, be mindful of the surfaces. Most adhesive products work best on clean, smooth, painted surfaces. They might not stick well to textured wallpaper, high-gloss paint, or unfinished wood. Always test in an inconspicuous spot if you're unsure.
And when it's time to move? This is crucial. Read the removal instructions carefully. For most adhesive strips, you gently stretch them straight down. Don't just rip them off! If you do, you risk pulling off paint or drywall paper. Patience during removal is just as important as patience during application.
Frequently Asked Questions
Will adhesive strips really come off cleanly?
Generally, yes! Products like Command strips are specifically designed for clean removal from most common surfaces. The key is to follow the removal instructions precisely, usually involving stretching the strip straight down.
What if my landlord is really strict about any marks?
This is where you get creative. Focus on freestanding decor: bookshelves, floor lamps, plants, rugs. Use existing furniture for display. Even leaning art against a wall instead of hanging it can work. It’s about maximizing what you can do.
Can I use these methods on textured walls?
It's trickier. Most strong adhesives prefer smooth surfaces. For textured walls, you might have more luck with strong double-sided tape that's designed for a variety of surfaces, or by creating a smooth backing surface first (like a small piece of wood or plastic) and attaching that to the wall with a less aggressive adhesive, then attaching your item to that.
How long do these temporary solutions last?
That depends heavily on the product, the weight it’s holding, and the environmental conditions (like humidity or temperature). For art and light decor, good quality adhesive strips can last for years. Tension rods can stay put indefinitely as long as the tension is maintained.
Is it worth investing in special rental-friendly decor?
Absolutely! Especially if you move frequently or have strict lease terms. The small investment in adhesive hooks, tension rods, and even some affordable freestanding furniture can save you a lot of hassle and money in the long run compared to paying for wall repairs.
The Bottom Line
Decorating a rental doesn't have to be a battle against your walls. With the right approach and a few clever tools, you can create a space that feels entirely your own, without losing your security deposit.
Start small! Pick one thing you want to hang or one area you want to organize, grab the right supplies, and give it a go. You'll be surprised at how much personality you can inject into your rental. Happy decorating! 👋
Related Posts
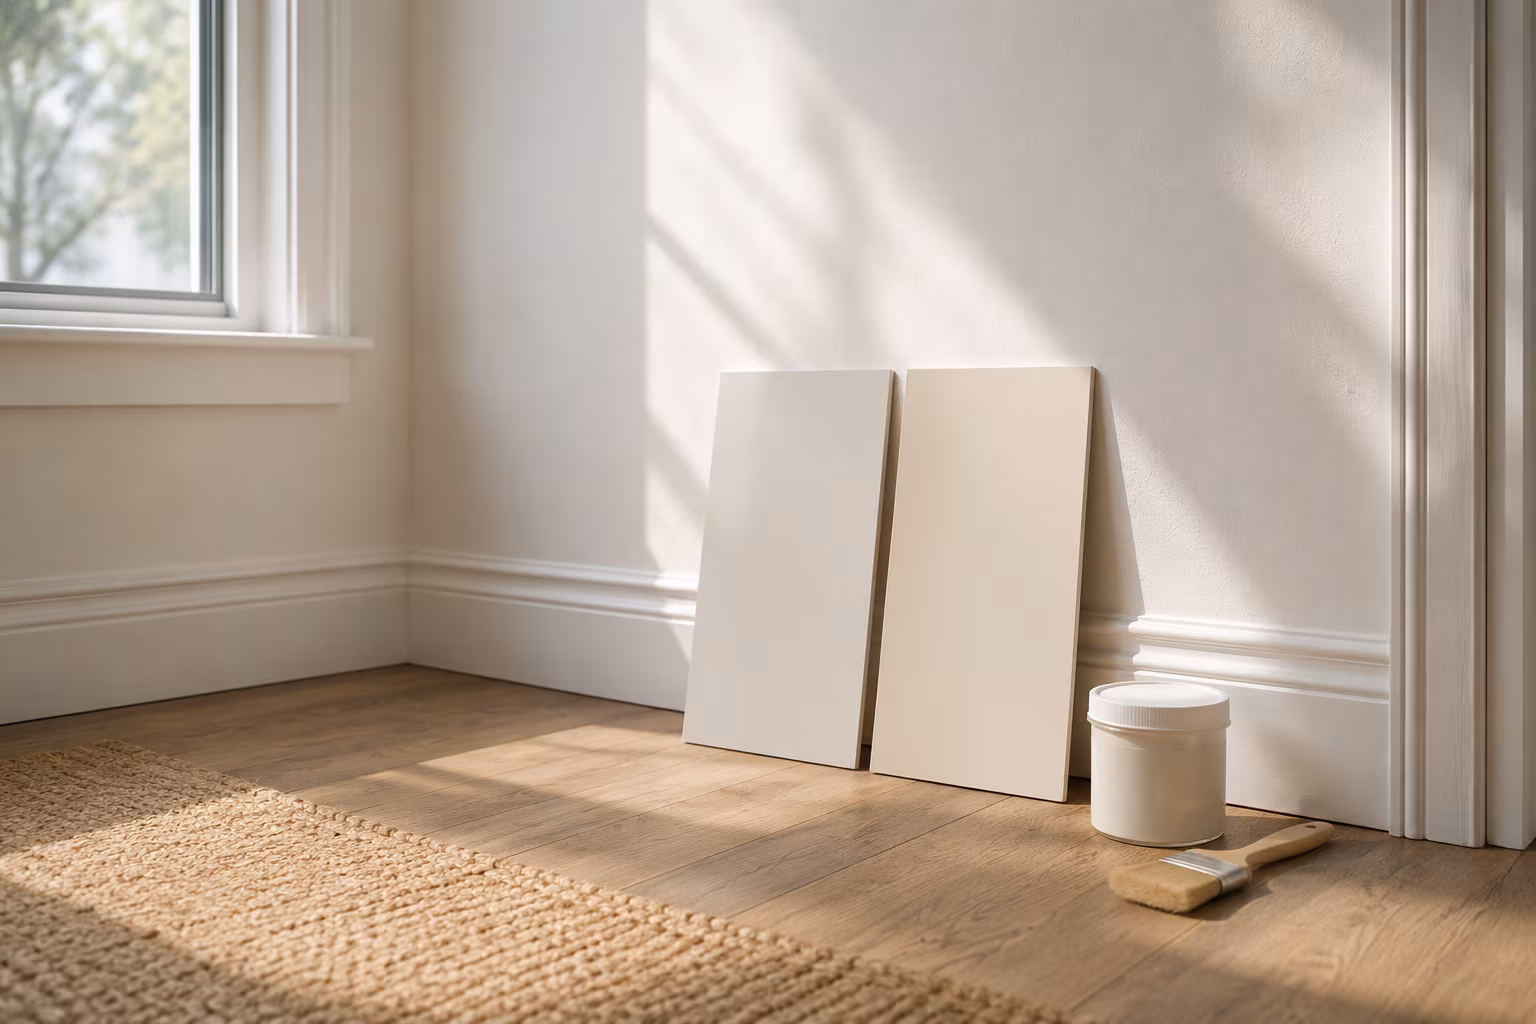
Color-Match Trim Paint to Existing Off-White Walls
Off-white walls hide three or four different undertones. The routine for matching new trim paint ...
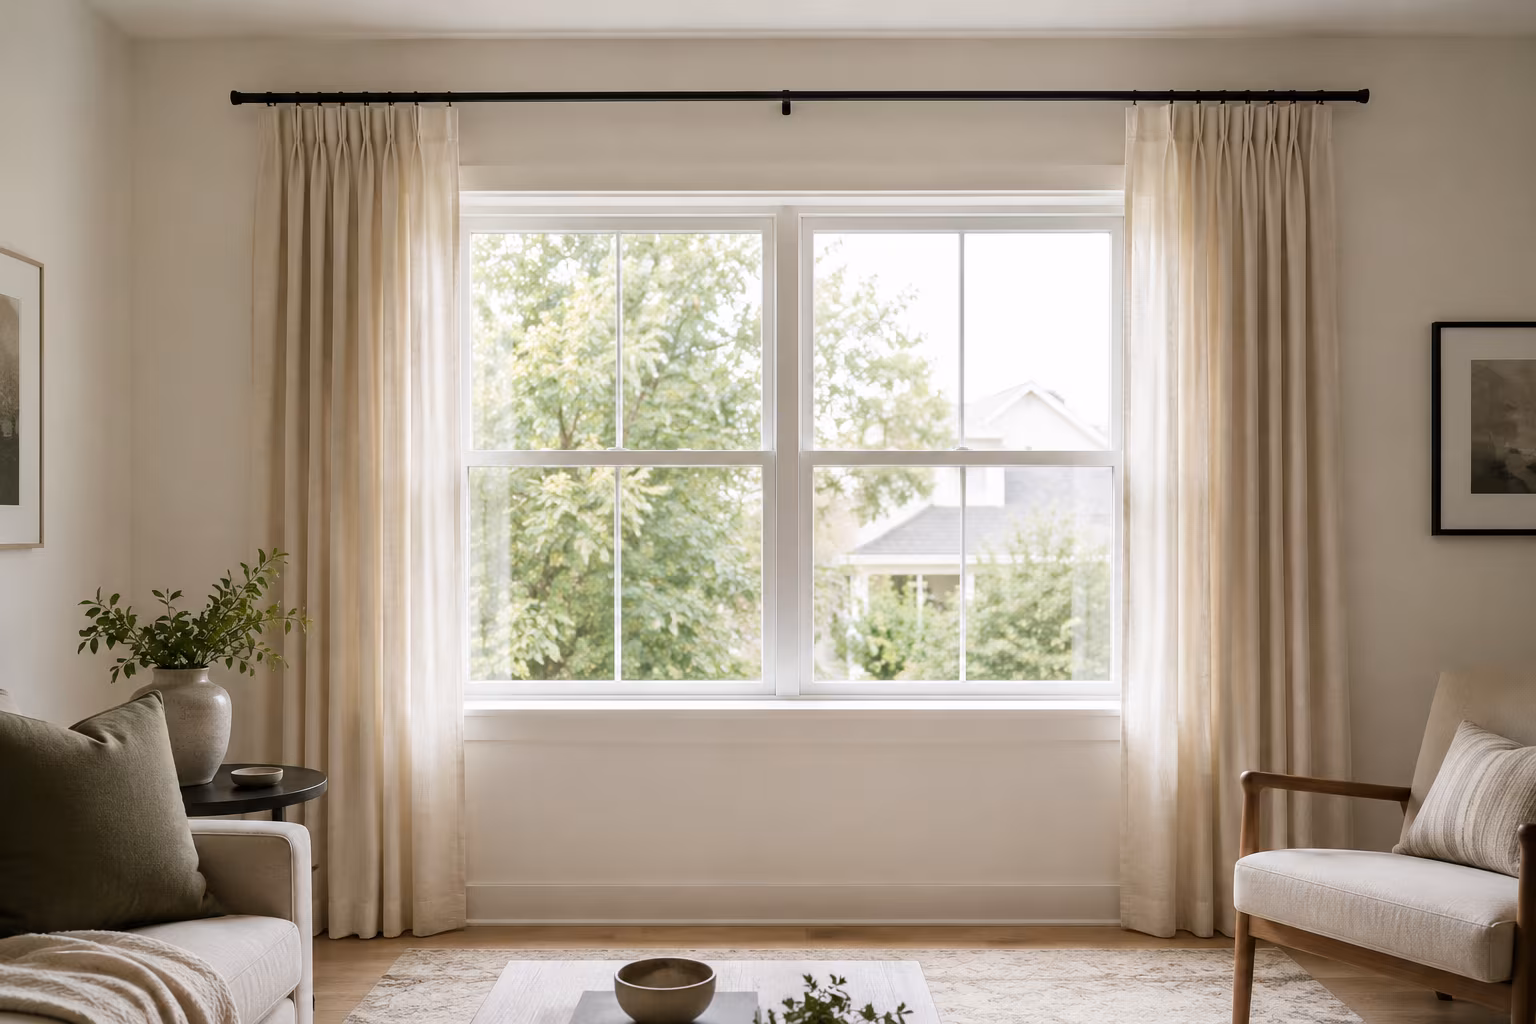
How Far to Extend Curtain Rods Past the Window Frame
How far the rod should reach past each side of the window, why the extension matters more than ro...
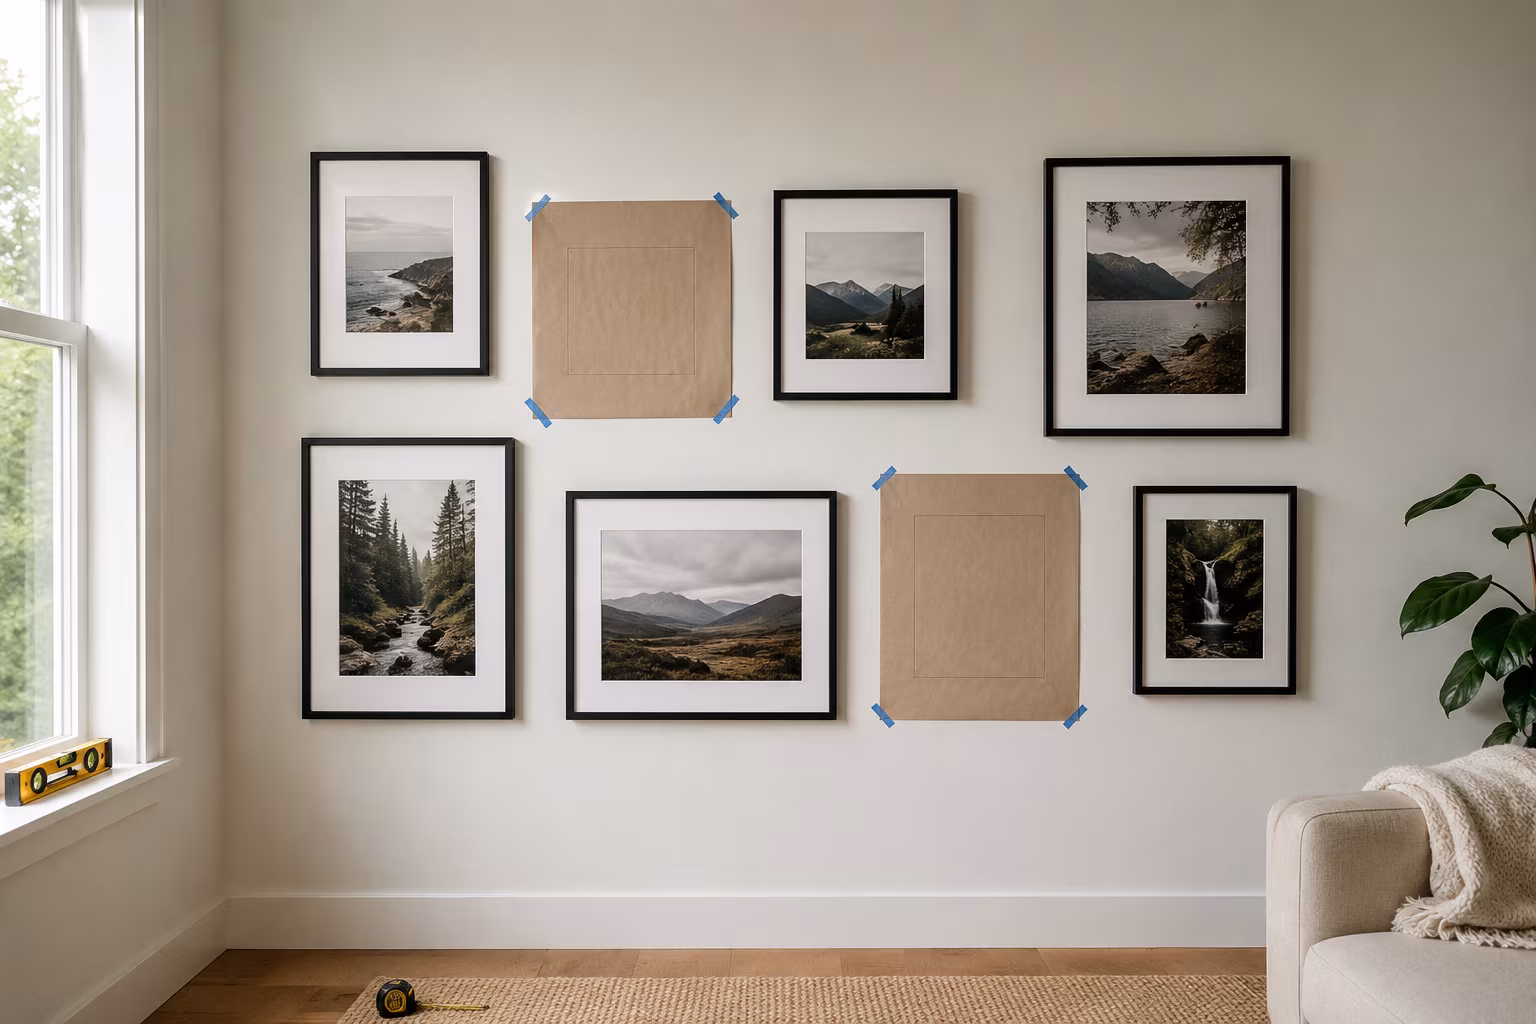
Gallery Wall Picture Spacing: The Repeatable Method
Stop eyeballing it — the exact spacing, center height, and paper-template routine that turns a pi...

The Secret to Making Your Home Smell Amazing Without Artificial Sprays
Tired of chemical-laden air fresheners? Learn how to fill your home with beautiful, natural scent...