Why Brad Nailers Are the Most Versatile Power Tool for Craft Rooms
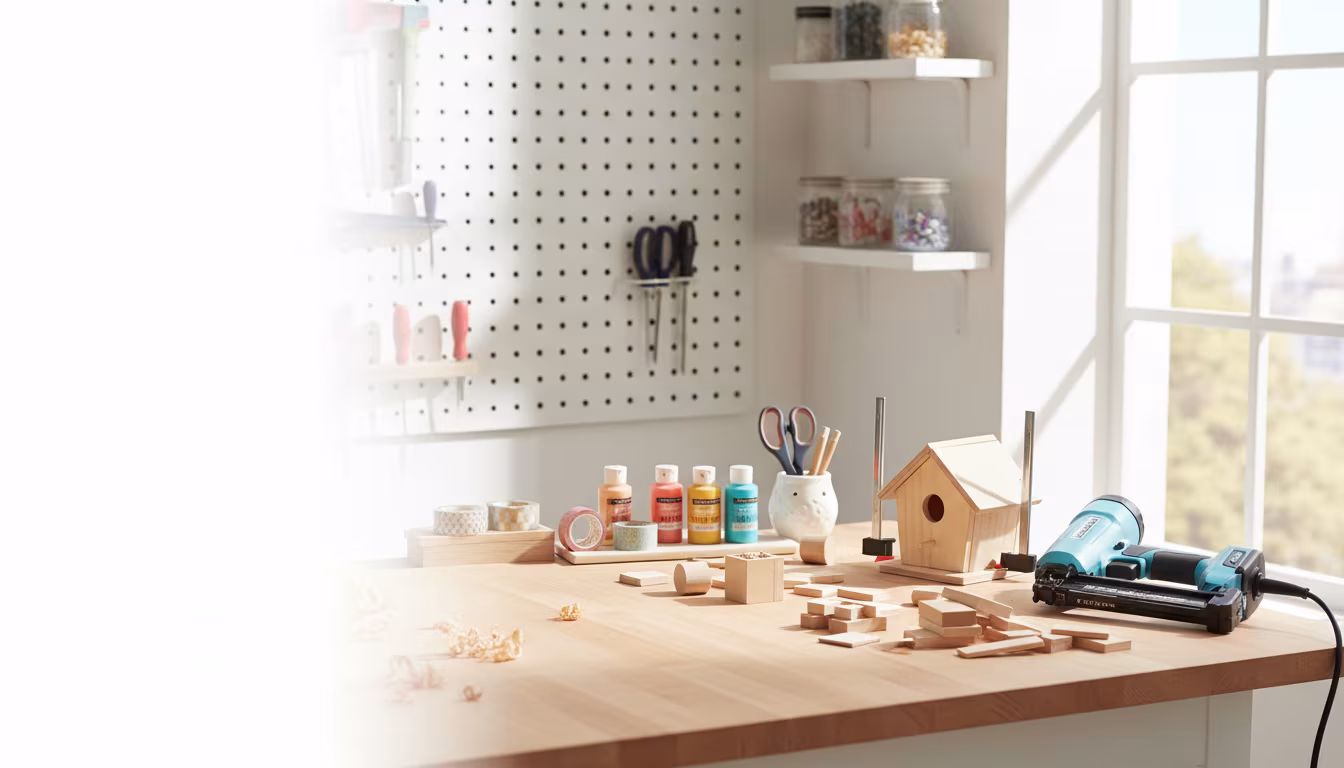
Why Brad Nailers Are the Most Versatile Power Tool for Craft Rooms
Okay, confession time. My garage workshop used to be a chaotic mess of wood scraps, half-finished projects, and tools I barely understood. It felt like every time I wanted to build something small, like a simple shelf or a decorative box, I’d end up fumbling with glue and clamps for hours, whispering promises to myself that I’d learn to use a nail gun someday. Well, that day has come, and let me tell you, it changed everything.
We’re going to dive into why a brad nailer might just be the unsung hero of your craft room, no matter what you're into. From quick fixes to more intricate builds, this little powerhouse can make your projects smoother, faster, and honestly, a lot more fun. Let’s break it down.
Why This Actually Matters
Look, I’m all about the joy of making things by hand. But there’s a point where struggling with inefficient methods can actually kill your creative momentum. A brad nailer doesn't replace the satisfaction of a perfectly glued joint or a hand-cut dovetail, but it can handle the grunt work, leaving you with more time and energy for the details you love.
Last month, I needed to build a quick organizer for my overflowing spool collection. I could have painstakingly glued and clamped each little divider, easily adding an extra hour to the process. Instead, I grabbed my brad nailer and had it done in about 20 minutes, with a much stronger build to boot. It’s about working smarter, not harder, so you can spend more time actually creating.
What Exactly is a Brad Nailer?
So, what is this magical tool we’re talking about? Simply put, a brad nailer is a power tool that drives thin, headless nails (called brads) into wood. Think of it as a super-powered staple gun, but for wood. It uses compressed air or electricity to shoot a nail with a quick burst, holding pieces together instantly.
The beauty of brad nailers is in their size and precision. They shoot much smaller nails than framing nailers, meaning they’re designed for smaller, more delicate projects where you don't want to split the wood or have giant nail heads sticking out. This makes them perfect for furniture repair, trim work, cabinet building, and, you guessed it, tons of craft projects.
The Different Types (and Which You Need)
You'll mainly find three types of brad nailers: pneumatic, cordless electric, and corded electric. Each has its own pros and cons, and the right one for you really depends on your space and how often you'll use it.
- Pneumatic: These are the most common and generally the most powerful. They require an air compressor and a hose. They're great if you already have a compressor or plan on doing a lot of woodworking, but the hose can be a bit of a hassle in a small craft room.
- Cordless Electric (Battery-Powered): This is probably the sweet spot for most crafters. They run on rechargeable batteries, giving you total freedom of movement. No hose, no compressor needed. They're usually a bit bulkier and pricier upfront than pneumatic, but the convenience is unbeatable.
- Corded Electric: These plug into a regular wall outlet. They're the most affordable option and don't require batteries. However, you're tethered by a cord, which can be a pain to manage around projects and in a crowded workspace.
For a craft room, I’d lean towards a cordless electric model. The freedom from hoses and cords is a huge advantage when you’re maneuvering around projects on a table or in tight spaces. Plus, you can easily take it outside for projects that might create a lot of dust.
Brads vs. Finish Nails: What's the Difference?
It’s easy to get brad nailers confused with finish nailers, and honestly, they’re pretty similar. The main difference lies in the size and width of the nail head. Brad nails are very thin with tiny heads, while finish nails are a bit thicker with slightly larger heads.
This means brad nails are less likely to split delicate wood and leave a much smaller, almost unnoticeable hole when they’re done. Finish nails offer a bit more holding power but leave a more visible mark that might need filling. For most craft projects where aesthetics are key and you're working with thinner materials like plywood or even thick cardstock, brad nails are usually the way to go.
Why It's a Craft Room Game-Changer
Okay, so it shoots small nails. How does that actually make your crafting life easier? For starters, it’s about speed and efficiency. You know those moments when you’re trying to glue something, and it just… slips? Or you need to hold a piece in place while the glue dries, and you end up with a clamp on every available surface?
A brad nailer solves that instantly. A quick shot of a nail, and your pieces are held together securely, allowing you to move on to the next step or let the glue cure without any worry. It dramatically cuts down on assembly time for so many projects.
Think about it: building small boxes, picture frames, decorative shelves, even assembling cardboard models. Instead of waiting for glue to set or wrestling with awkward tape, you can secure pieces in seconds. This speed boost means you can actually finish more projects in less time, which feels amazing.
Putting Your Brad Nailer to Work: Project Ideas
The versatility of a brad nailer really shines when you start thinking about all the things you can build or fix. It’s not just for woodworking giants; it’s for us makers who love to tinker with smaller, more detailed creations.
Quick Furniture Fixes & Upgrades
Found a cute dresser at the thrift store but the trim is a little loose? Need to reattach a decorative piece on a table? A brad nailer is perfect for these kinds of repairs. Just add a little wood glue and a few strategically placed brads, and your piece is as good as new, often better.
You can also use it to add decorative trim to plain furniture. Think about adding molding to the front of a basic IKEA cabinet or upgrading a plain wooden box into something much more detailed and high-end. It takes minimal skill and can make a huge visual impact.
Building Small Storage Solutions
This is where my brad nailer truly lives. Craft rooms, as much as we love them, tend to generate a lot of "stuff." Small bins, drawer dividers, and custom organizers are a breeze with a brad nailer.
Want to make dividers for your craft drawers to keep your paints, brushes, or tools separated? Cut a few pieces of thin plywood or MDF, and in minutes you can assemble custom-fit dividers that keep everything tidy. You can also build small boxes for storing buttons, beads, or other small supplies. I’ve built simple spice racks that are now perfect for my collection of tiny embroidery floss spools!
Cardboard and Paper Crafts on Steroids
Yes, you can even use a brad nailer for sturdy cardboard projects! If you're building larger cardboard structures, like playhouses for kids, intricate dioramas, or even large-scale decorative pieces, a brad nailer can provide much stronger joints than glue or tape alone. Just be sure to use very short brads so they don't poke through your cardboard too much.
For paper crafts, while you won't be shooting brads into thin paper, you can use it to assemble the structural components of larger paper or mixed-media projects. If you're building a frame for a paper-mâché sculpture or assembling a base for a layered paper art piece, a brad nailer can hold those wooden or sturdy cardboard elements together quickly.
Picture Frames and Mirrors
Making your own custom picture frames or framing a mirror can be surprisingly affordable and rewarding. A brad nailer makes assembling the corners of the frame a cinch. You get tight, secure joints every time, and the small brad heads are easy to fill and sand if you want a completely seamless look.
Plus, you can use it to attach the backing board to your frame. Instead of fiddly staples or small nails hammered by hand, a few quick shots from the brad nailer secure everything neatly.
Getting Started: Your First Steps with a Brad Nailer
Alright, you’re convinced. You want to get your hands on one of these. But where do you start? It can feel a little intimidating the first time you pick one up, especially if you’re not used to power tools. I remember mine felt surprisingly heavy and loud the first time I fired it up!
The key is to start simple and get a feel for how the tool operates. Don't jump straight into building a fancy cabinet. Let’s begin with some practice.
Step 1: Gather Your Supplies (and Safety Gear!)
Before you even think about plugging it in or loading it up, make sure you have everything you need. For a cordless electric, that means the nailer and its battery. For a pneumatic, you'll need your compressor and hose. And of course, you'll need a box of brads that fit your nailer – check the nailer's manual for the correct size.
Most importantly: Safety gear! Always wear safety glasses. ALWAYS. Even though the nails are small, flying debris or a ricochet is a real possibility. Hearing protection is also a good idea, especially if you're sensitive to noise.
Step 2: Loading the Brads
This process is usually pretty straightforward, but it’s good to get comfortable with it before you’re mid-project. Most brad nailers have a magazine (the long part that holds the nails) that slides open. You simply lay the strip of brads inside, making sure they're facing the correct way (the nails should be against the pusher mechanism), and then slide the magazine closed until it clicks.
Make sure the brads are seated properly. If they’re crooked, the nailer won’t fire correctly and could jam. It’s also a good idea to only load as many brads as you think you'll need for the immediate task, just in case you accidentally bump the trigger.
Step 3: Practicing Your Shots
This is where the real learning happens. Find some scrap wood – even a piece of scrap 2x4 or some leftover plywood will do. You want to get a feel for how much pressure to apply and how the nail drives.
Hold the nailer firmly against the wood. Most brad nailers have a safety contact tip – you have to press this against the surface you're nailing before the trigger will fire. This is a crucial safety feature to prevent accidental firing. Press the contact tip firmly, then pull the trigger. Listen to the sound, feel the recoil.
Try nailing into the edge of the wood, then into the face. Try firing two nails close together, then farther apart. See how the nail head sits. Does it sink in a little? Is it flush with the surface? This practice will give you confidence for when you move onto actual projects.
Step 4: First Project: A Simple Box or Frame
Once you’ve got the hang of it, try a super simple project. A small, open-top box is perfect. Cut four pieces of wood to the same length for the sides. Take two pieces, apply a thin bead of wood glue along the edge of one, and then butt the other piece up against it at a 90-degree angle.
Hold them firmly together. Use your brad nailer to drive two or three brads along the joint to secure them. Repeat for all four sides. You’ll have a box in minutes, and you’ll have practiced creating right-angle joints. It’s incredibly satisfying!
Step 5: Filling the Holes (Optional but Recommended)
For most craft projects, you’ll want those nail holes to disappear. This is super easy. Once your project is fully assembled and the glue is dry, you can use wood filler or even spackle. Apply a small amount to each hole, pressing it in to fill it completely. Let it dry according to the product instructions.
After the filler is dry, lightly sand the area smooth. You can use a sanding block or sandpaper. The goal is to make the surface perfectly flush and undetectable. Once sanded, you can paint, stain, or seal your project as usual. You'll be amazed at how invisible the brad nailer was!
Common Pitfalls and How to Avoid Them
Even with a tool as user-friendly as a brad nailer, there are a few things that can trip you up. I’ve certainly made my share of mistakes, so hopefully, you can learn from mine!
Splitting the Wood
This is especially common when working with thin plywood, veneers, or wood close to the edge. The brad can sometimes push the wood fibers apart as it drives through.
Solution: Use the shortest brad length possible for your project. Also, avoid nailing too close to the edge of the wood. If you're working with very delicate material, consider pre-drilling a tiny pilot hole or using wood glue and clamps as your primary method of adhesion, with the nailer just for temporary holding.
Nails Not Firing or Jamming
This is usually due to a few things: the brads aren't loaded correctly, the tool isn't getting enough power (especially with pneumatic or low batteries), or there's a jam.
Solution: Double-check your brad loading. Ensure the nailer is properly connected to its power source (air or battery). If it jams, unplug it or disconnect the air hose immediately. Most nailers have a simple way to open the nose of the tool to clear a jam. Consult your manual; they usually make it pretty easy!
The "Double Fire" or Accidental Shot
Sometimes, especially if you bump the trigger or the safety contact, you might get an unintended nail shot. This is why practicing and being mindful of the trigger is so important.
Solution: Always keep your finger off the trigger when you’re not actively trying to nail something. Be aware of where the safety contact tip is. If you do fire a nail accidentally into your project, you can often carefully remove it with pliers or fill the hole as you would any other.
Nails Sinking Too Deep or Not Deep Enough
This is all about the air pressure (for pneumatic) or depth adjustment settings on electric models.
Solution: Read your tool’s manual! Most brad nailers have a depth adjustment wheel or setting. Practice on scrap wood to dial it in. You want the nail head to be slightly countersunk (below the surface) so you can fill it easily, but not so deep that it blows through the wood or creates a huge divot.
The best tool is the one you'll actually use. If a brad nailer makes your projects faster and more enjoyable, it’s absolutely worth it. Don’t let complexity stop you from taking that next step.
Frequently Asked Questions
Do I really need a compressor for a brad nailer?
Not anymore! While pneumatic brad nailers (which do require an air compressor) are very common and often more budget-friendly upfront, cordless electric and even some corded electric brad nailers are fantastic options. For most crafters working in a home setting, a cordless battery-powered brad nailer offers the most convenience without needing extra bulky equipment.
What’s the minimum nail length I should buy?
This depends heavily on the thickness of the material you'll be joining. For most typical craft projects using 1/4-inch or 1/2-inch plywood or MDF, 1-inch or 1 1/4-inch brads are a good starting point. If you're working with thinner materials or want to join very light-duty pieces, you might need 5/8-inch or 3/4-inch brads. Always check your nailer's specifications for compatible lengths and gauges.
What if I don't have wood glue? Can I just use the nailer?
You can, but I really don’t recommend it for anything structural or that needs to last. A brad nailer provides mechanical fastening, but it doesn't create a strong bond on its own. Wood glue is what creates a molecular bond between the wood pieces, making them incredibly strong. The nailer just holds them in place while the glue dries or provides reinforcement.
How long does it take to learn to use a brad nailer?
Honestly, you can learn the basics of operating a brad nailer in about 10-15 minutes. Loading it, firing it safely, and getting a feel for it on scrap wood is really that quick. The real learning curve comes with understanding where to place nails for optimal strength and aesthetics on different types of joints and projects.
Is a brad nailer worth it if I only do small craft projects?
If your "small craft projects" involve assembling anything made of wood, even occasionally – like small decorative boxes, jewelry organizers, picture frames, or even strengthening cardboard constructions – then yes, it’s likely worth it. The time saved and the cleaner, stronger results often justify the investment, especially if you can find a good deal on a cordless model. It opens up a whole new level of possibilities for your creations.
The Bottom Line
A brad nailer isn't just another tool; it's a serious efficiency booster for anyone who loves to build and create. It takes the frustration out of assembly, allowing you to focus on the fun parts of designing and finishing.
Don't feel like you need to go out and buy the most expensive model right away. Start with something basic, practice on scrap wood, and then try a simple project. You might be surprised at how quickly you wonder how you ever crafted without one. Happy making! 👋
Related Posts

Sandpaper Grits Demystified: When to Stop Going Finer
The grit progression that actually matters, where to start, where to stop, and why finer is often...
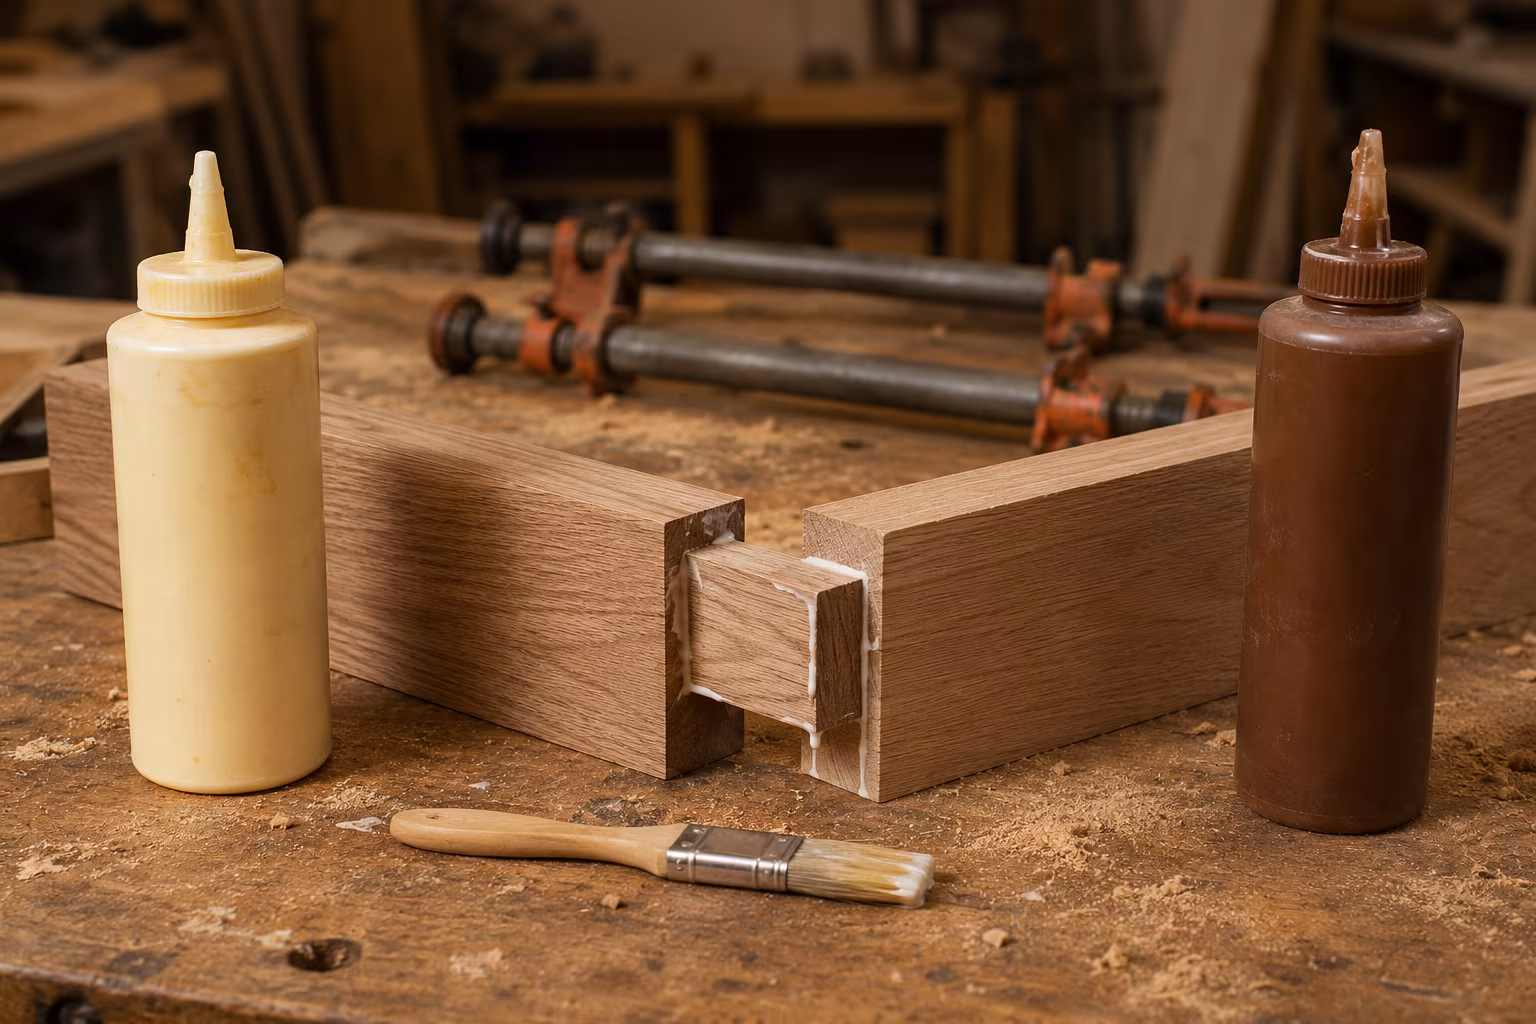
PVA vs Polyurethane Wood Glue for Indoor Furniture
Which wood glue wins indoors: a clear-eyed look at joint strength, open time, gap-filling claims,...
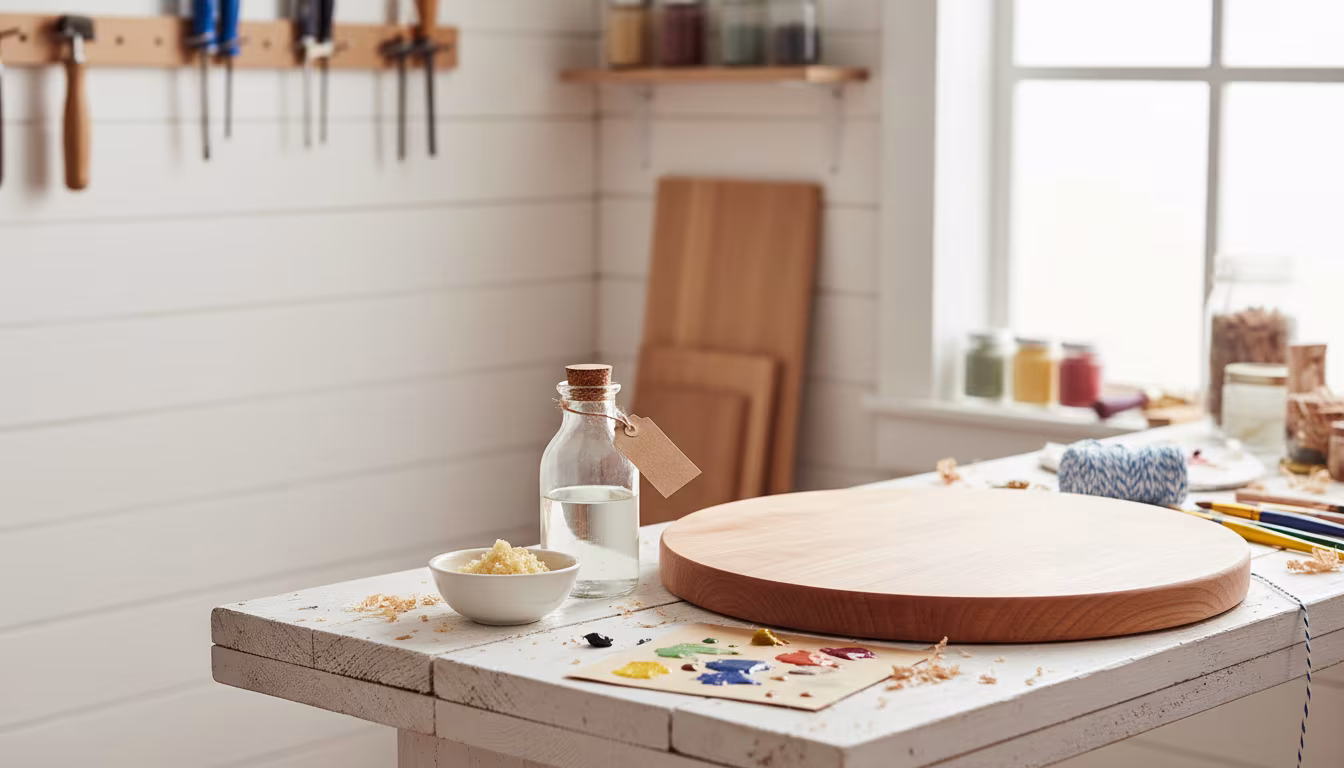
Why Beeswax and Mineral Oil Are the Safest Wood Finishes for Food
Wondering how to protect your wooden kitchenware without harsh chemicals? Beeswax and mineral oil...
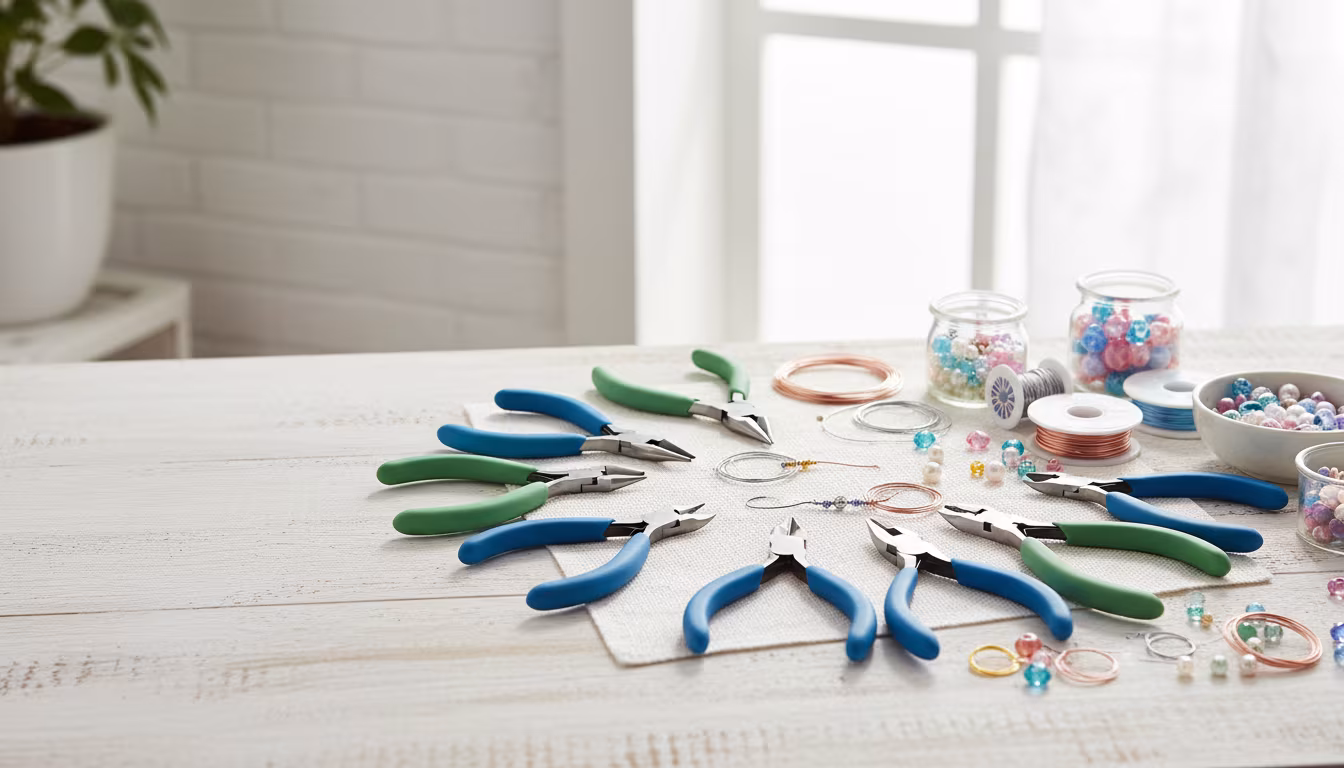
How to Select the Right Pliers Set for Wire Wrapping and Beading
Ready to level up your jewelry making game? Selecting the right pliers can make all the differenc...