How to Make Realistic Faux Stained Glass with Acrylic Paint
How to Make Realistic Faux Stained Glass with Acrylic Paint
You know that feeling when you're scrolling through Pinterest, and you see these incredible stained-glass windows or suncatchers?
My first thought is always, "Wow, I wish I could do that!" My second thought? "There's no way I'm dealing with cutting glass, grinding edges, and soldering lead." Sound familiar? I've been there, admiring from afar.
But what if I told you there's a super fun, surprisingly easy way to get that gorgeous, vibrant stained-glass look without any of the scary, expensive, or skill-intensive stuff?
We're talking about faux stained glass using acrylic paints. I'm going to walk you through exactly how to do it, from picking your canvas to mixing your "secret sauce" paints, and how to avoid the mistakes I definitely made along the way. 👋
Why This Actually Matters
Stained glass has this magical quality, doesn't it? It catches the light, casts colorful shadows, and just feels... special. But let's be real, traditional stained glass is a serious craft, requiring specialized tools, materials, and a ton of practice.
For most of us hobbyists, that's a pretty big barrier to entry. I love a good challenge, but sometimes I just want to create something beautiful without investing hundreds of dollars and months of learning a new trade.
That's where faux stained glass comes in. It lets you capture that same stunning aesthetic using materials you probably already have, or can grab for under $20 at any craft store.
I recently found an old, plain glass picture frame at a thrift store for $3. With this technique, I turned it into a breathtaking piece of art that now hangs in my kitchen, scattering rainbow light every sunny morning. It instantly transformed a dull corner, and it felt so good knowing I made it myself without any fancy equipment.
The Basics of Faux Stained Glass
So, what exactly is "faux" stained glass? Basically, we're tricking the eye.
Instead of piecing together colored glass with lead came, we're using a clear surface (like glass or acrylic) and applying paint in a way that mimics those distinct colored sections and dark dividing lines.
The Magic of Acrylics
You might be thinking, "Acrylic paint? Isn't that opaque?" And you're right, usually it is!
But here's the cool part: we're going to modify regular acrylic paints to make them translucent, just like real colored glass. This opens up a whole world of color possibilities, since acrylics come in every shade imaginable.
It's also incredibly forgiving. If you mess up, especially while the paint is still wet, you can usually just wipe it clean and start over on that section. Try doing that with real glass and lead!
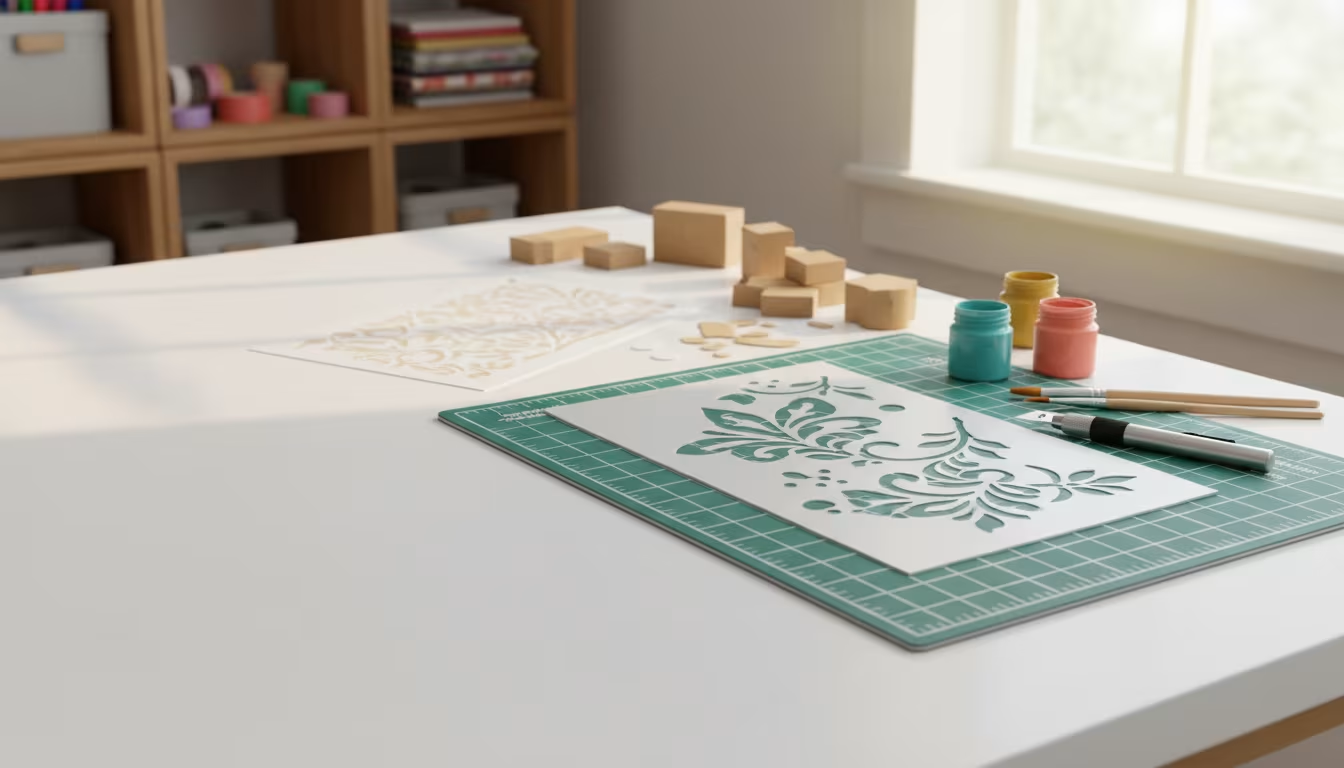
- The Clear Canvas: You need a transparent base. Think old window panes, picture frame glass, clear acrylic sheets from the hardware store, even glass jars or bottles. I've had great luck with flat, smooth surfaces, but don't be afraid to experiment.
- The "Leading" Lines: These are crucial for the stained-glass effect. We'll use a special product called liquid leading, or a budget-friendly alternative. These lines create the borders for your colors, just like the metal in real stained glass.
- The Translucent Colors: This is where your acrylic paints come in. We'll mix them with a clear medium to achieve that see-through, jewel-toned look. This step is where the magic truly happens, turning ordinary paint into something special.
How to Actually do It
Ready to jump in and make some colorful magic? This process is super satisfying once you get the hang of it, and it's less complicated than it sounds.
Let's get all our ducks in a row first, and then we'll tackle the hands-on fun.
Step 1: Gather Your Stuff
You don't need a huge budget for this. Most of these items are probably already in your craft stash, or easily found at a local store.
Here’s a rundown of what you’ll want:
- Clear Surface: A clean piece of glass or acrylic. An old picture frame, a piece of glass from a discarded cabinet door, or even a glass casserole lid can work! Just make sure it's flat and clean.
- Acrylic Paints: Your favorite colors! Craft acrylics work perfectly, you don't need anything fancy. I always grab a few tubes when they're on sale for a dollar each.
- Clear Medium: This is the secret ingredient. My go-to is Mod Podge Dimensional Magic for its thickness and gloss, but clear drying school glue (like Elmer's) or an acrylic gloss medium can also work. Dimensional Magic gives a really nice, slightly raised effect too.
- Liquid Leading: This comes in a tube with a fine tip and dries to look like the metal lines in stained glass. It's usually found in the stained-glass section of craft stores. Black is classic, but you can find metallic colors too.
- Design Ideas: Print out a design from the internet, trace something from a coloring book, or draw your own. Keep it simple for your first project. Flowers, geometric patterns, or abstract shapes are great starting points.
- Tools for Application: Small paintbrushes (detail brushes are good), toothpicks (for popping bubbles), cotton swabs (for cleanup), and paper towels.
- Cleaning Supplies: Rubbing alcohol or glass cleaner, and a lint-free cloth. A super clean surface is non-negotiable for good paint adhesion.
- Workspace Protection: Newspaper or a drop cloth. This can get a little messy, especially if you're like me and sometimes get a little too enthusiastic with the paint!
Step 2: Prep Your Canvas
Seriously, don't skip this step. A clean surface is probably the most important part of getting your paint to stick and look smooth.
Take your clear surface and give it a really good cleaning with rubbing alcohol or glass cleaner. Make sure there are no smudges, dust, or oily fingerprints. I like to use a lint-free cloth or even a coffee filter to avoid leaving fibers behind.
Once your surface is sparkling, it's time to transfer your design. If you're using a flat piece of glass, simply tape your printed design to the underside of the glass with painter's tape. This way, you can trace over the lines on the top side without the paper getting in the way.
If you're working on something curved like a bottle, you'll need to freehand it or use a stencil taped lightly to the outside. Just make sure whatever you do, your design is visible and stable.
Step 3: Lay down Your "leading"
This is where your project really starts to take shape! Grab your tube of liquid leading.
Before you go straight for your project, practice on a scrap piece of paper or an old CD. You'll want to get a feel for how much pressure to apply and how fast to move to get an even, consistent line.
When you're ready, carefully trace over the lines of your design. Try to keep your hand steady and apply continuous pressure for smooth, unbroken lines. These lines are going to hold your paint, so they need to be fully connected.
Don't worry if a line isn't perfect; you can gently scrape off wet mistakes with a toothpick or cotton swab. Once all your leading lines are down, you absolutely have to let them dry completely. This can take anywhere from 4-24 hours depending on the product and how thick you applied it. Patience here is key!
Step 4: Mix Your "glass" Colors
Alright, this is the fun part, and where we turn regular acrylics into translucent wonders. You'll need a small palette or even just some paper plates for mixing.
Start with a small dollop of your chosen acrylic paint. Now, add your clear medium – Mod Podge Dimensional Magic works great. The ratio is usually about 1 part paint to 2-3 parts clear medium, but this is where you'll want to experiment a little.
Mix them thoroughly until you have a smooth, colored, slightly gooey consistency. You want it to be translucent enough to let light through, but still hold its color. If it's too thick, it won't be translucent; too thin, and the color will be too faint.
My tip: test a small dab of your mixed paint on a scrap of clear plastic or even aluminum foil. Let it dry for a few minutes (you can speed this up with a hairdryer on low) to see how transparent it is. Adjust your paint-to-medium ratio until you're happy with the result for each color. I remember mixing three batches of green until I got the perfect forest shade!
Step 5: Fill in the Sections
Now for the main event! With your leading lines completely dry and your paint mixtures ready, it's time to add color.
Use a small paintbrush to carefully fill in each section of your design. Don't overload your brush; it's better to apply a few thin coats than one thick, gloopy one.
Gently dab and spread the paint mixture within the borders created by your liquid leading. You want to push the paint right up to the edges of the leading, but try not to go over it. If you do, quickly wipe it off with a cotton swab before it dries.
As you're painting, you might notice tiny air bubbles forming. Don't panic! Grab a toothpick and gently pop them. If you let them dry, they'll leave little clear spots. Work one section at a time, making sure each area is evenly coated.
Step 6: Layering and Textures (optional but Cool)
Want to add a little extra flair to your faux stained glass? This step is for you!
Once your first layer of color has dried for a bit – usually an hour or two – you can go back and add more depth. You could apply a second, slightly darker or lighter shade of your mixed paint in certain areas to create a gradient effect.
Another trick is to use a dry brush technique or even a sponge to dab on a tiny bit of color for a mottled or textured look, mimicking the imperfections in real glass. Just remember, these are acrylics, so once they're dry, they're pretty permanent. Plan your layers carefully!
Step 7: the Waiting Game (again!)
This is probably the hardest part for impatient crafters like me! Once you've filled in all your colored sections, you need to let your entire piece dry completely.
This isn't a quick process. Depending on how thick your paint layers are and the humidity in your space, it can take 24-72 hours. Sometimes even longer!
Resist the urge to touch it or move it around too much. You'll know it's dry when the paint is completely firm, no longer tacky, and totally transparent. If it still looks cloudy or milky, it needs more time. A fan blowing gently across it can help, but don't use direct heat, which can cause cracking.
Step 8: Seal It up (optional)
For added durability and a professionalprofessional finish, especially if your piece will be handled often or exposed to some moisture (like a suncatcher in a window), consider adding a clear sealant.
A spray-on clear acrylic sealant (like Mod Podge Clear Acrylic Sealer) works really well. Choose a gloss finish to enhance that glass-like shine. Apply it in light, even coats in a well-ventilated area, following the product instructions.
This extra step helps protect your beautiful work from dust, scratches, and fading, making sure your creation lasts for years to come. It's a small effort for a big payoff in longevity.
Making It Stick / Common Mistakes
I've definitely learned a lot of these lessons the hard way. It's totally normal for your first attempt (or three!) to have some quirks.
Knowing what can go wrong helps you avoid those frustrating moments.
One of the biggest culprits is impatience. Trying to rush the drying time for your liquid leading or your paint layers is a recipe for disaster. If the leading isn't dry, the colors will bleed. If the paint isn't dry, it'll smudge, peel, or just look terrible. Trust me, I've smeared wet leading more times than I care to admit!
Another common mistake is applying too much paint at once. It's tempting to glob it on for vibrant color, but thick layers dry unevenly, can crack, and might even stay gooey in the middle. Go for thinner, more controlled applications. If you need more intensity, add a second coat once the first is dry.
Getting the wrong paint mixture is also a classic beginner error. Too much acrylic paint and not enough clear medium means your "glass" will be opaque instead of translucent. Too much medium and not enough paint will make your colors too faint. That's why testing your ratios in Step 4 is so important!
Messy leading lines can also detract from the finished look. If your lines are wobbly, inconsistent, or have gaps, your paint will reflect that. Practice on scrap paper, keep your hand steady, and try to apply even pressure. Remember, you can often clean up small wet mistakes with a toothpick.
Finally, not adequately cleaning your surface before you start will come back to haunt you. Any dust, lint, or oil will prevent the leading and paint from adhering properly, leading to peeling or bumpy finishes. Seriously, clean it like you're prepping for surgery!
"Every 'oops' moment in crafting is just a secret ingredient for a new technique you haven't discovered yet."
Frequently Asked Questions
What Kind of Glass Works Best for This?
Flat, smooth glass or clear acrylic sheets are ideal because they provide an even surface for the liquid leading and paint. Old picture frames, inexpensive panes from hardware stores, or even recycled glass tabletops are perfect starting points. Avoid anything with a texture or heavy frosting, as it will obscure the transparency of your design.
Can I Use Regular Acrylics Straight from the Tube?
Not if you want that classic transparent stained-glass look. Regular acrylics are formulated to be opaque or semi-opaque when dry. To achieve translucency, you absolutely need to mix them with a clear medium like Mod Podge Dimensional Magic, clear school glue, or an acrylic gloss medium. Without it, your colors will just look like painted-on plastic.
How do I Fix a Mistake if I Mess Up?
If the paint is still wet, you can usually wipe it off immediately with a damp cotton swab or paper towel. If it's started to dry, you might be able to carefully scrape it off with a craft knife or razor blade, but be gentle so you don't scratch your glass or disturb surrounding areas. For dried liquid leading, it's often best to let it fully cure, then carefully peel or scrape it off. Sometimes, you just have to embrace the imperfections – they make it uniquely yours!
Is This Faux Stained Glass Waterproof or Weatherproof?
Generally, this technique is best for indoor display. While the acrylics and leading can be water-resistant once fully cured and sealed, they aren't typically designed to withstand continuous outdoor exposure to rain, extreme temperatures, or direct sunlight for extended periods. Direct sunlight over many years can also cause some colors to fade. For outdoor pieces, you'd want to research specific outdoor-grade craft paints and sealants designed for weathering.
How Long does a Project Like This Typically Take from Start to Finish?
This really depends on the size and complexity of your design, and your own working speed. A small, simple suncatcher might take 2-3 hours of active work over a couple of days (factoring in drying times). A larger, more intricate piece like a window panel could easily take 8-10+ hours spread out over a week or more due to multiple layers and longer drying periods. The drying time for the leading (4-24 hours) and the paint (24-72 hours) is often the biggest factor, so don't plan to finish it all in one afternoon!
Can Kids Participate in This Craft?
Absolutely, with supervision! This can be a fantastic craft for older kids (ages 8+) who have decent fine motor skills and patience. You might want to simplify the process by pre-drawing the leading lines for them or using a stencil, and focus on them filling in the colors. Choose non-toxic acrylic paints and ensure good ventilation. It's a great way to introduce them to color mixing and artistic design without the hazards of real glass cutting.
What if My Paint Looks Streaky when It Dries?
Streaks can happen if your paint mixture isn't completely smooth, if you apply it unevenly, or if you use a brush with stiff bristles that leave marks. To minimize streaks, make sure your paint and medium are thoroughly mixed, and try to apply the color in smooth, even strokes or dabs. Using a softer brush or even a clean cotton swab to gently spread the paint can help. If it dries streaky, you can sometimes apply a very thin second coat to even things out, but often a little streakiness just adds to the character, mimicking real hand-blown glass!
The Bottom Line
Creating faux stained glass with acrylic paint is such a rewarding craft. It opens up a world of vibrant color and beautiful light, all achievable from your own home workshop without any intimidation.
It's not about being perfect; it's about experimenting, having fun, and making something truly unique that brings you joy. Don't be afraid to try out different color combinations or even make up your own designs.
Grab an old picture frame, some cheap acrylics, and a bottle of Mod Podge. Start small, enjoy the process, and watch as your first piece transforms light into a little bit of magic. You've got this! ❤️
Related Posts
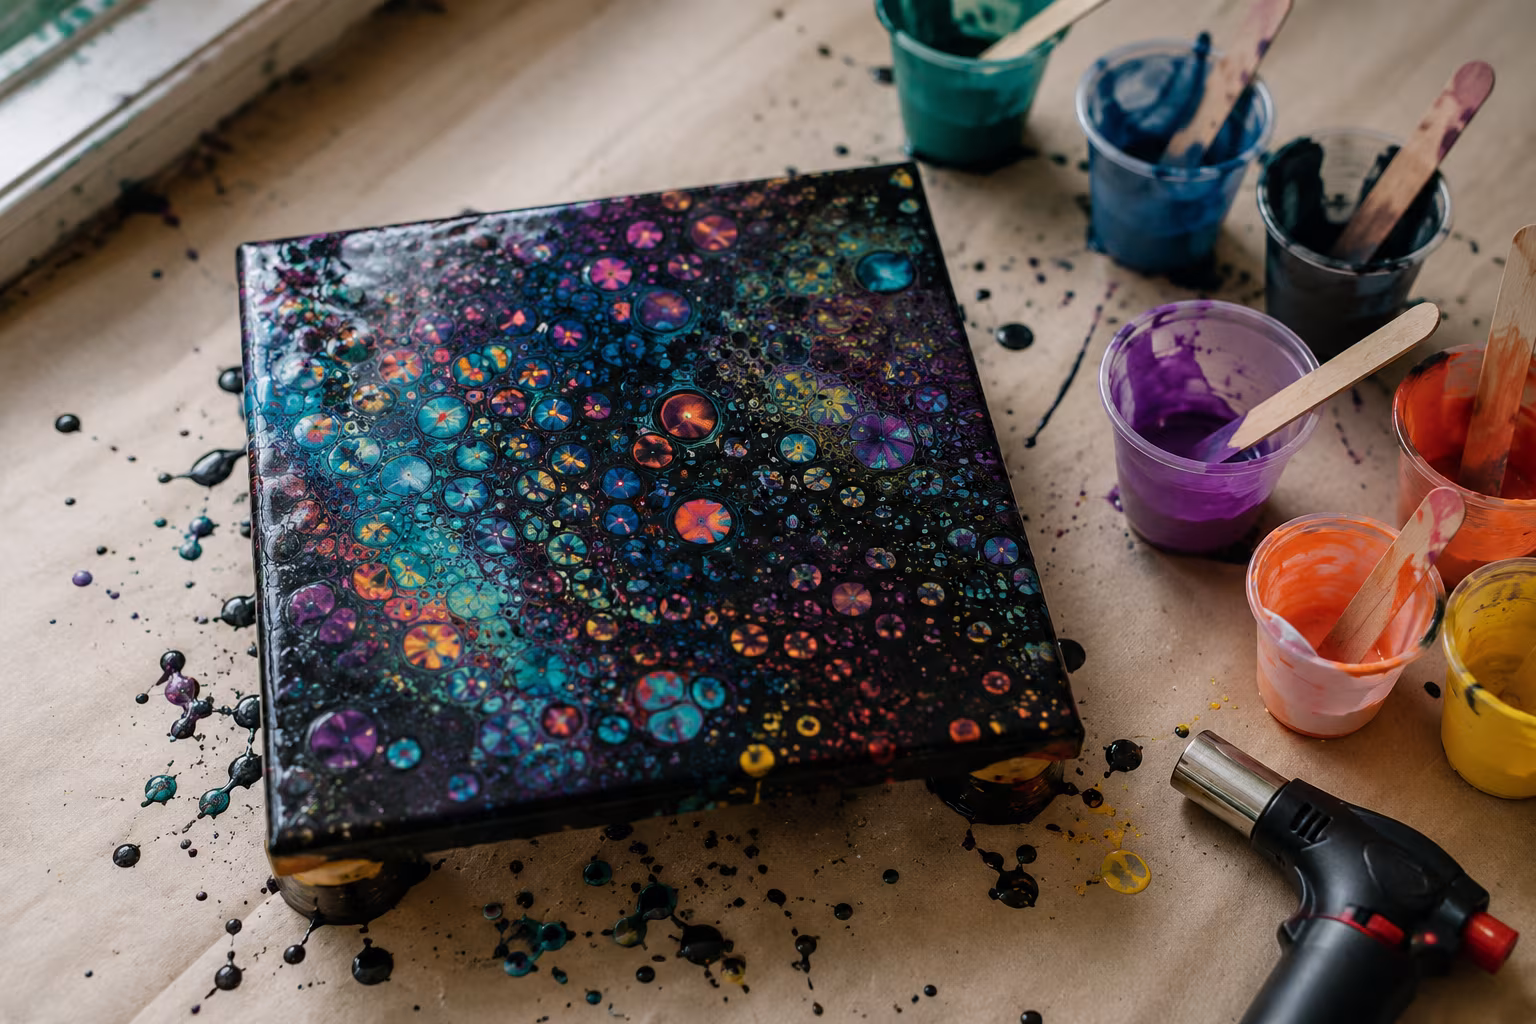
Acrylic Pouring Cells: Why They Form and How to Control
Cells in acrylic pouring come from density and surface tension differences. Understand the chemis...
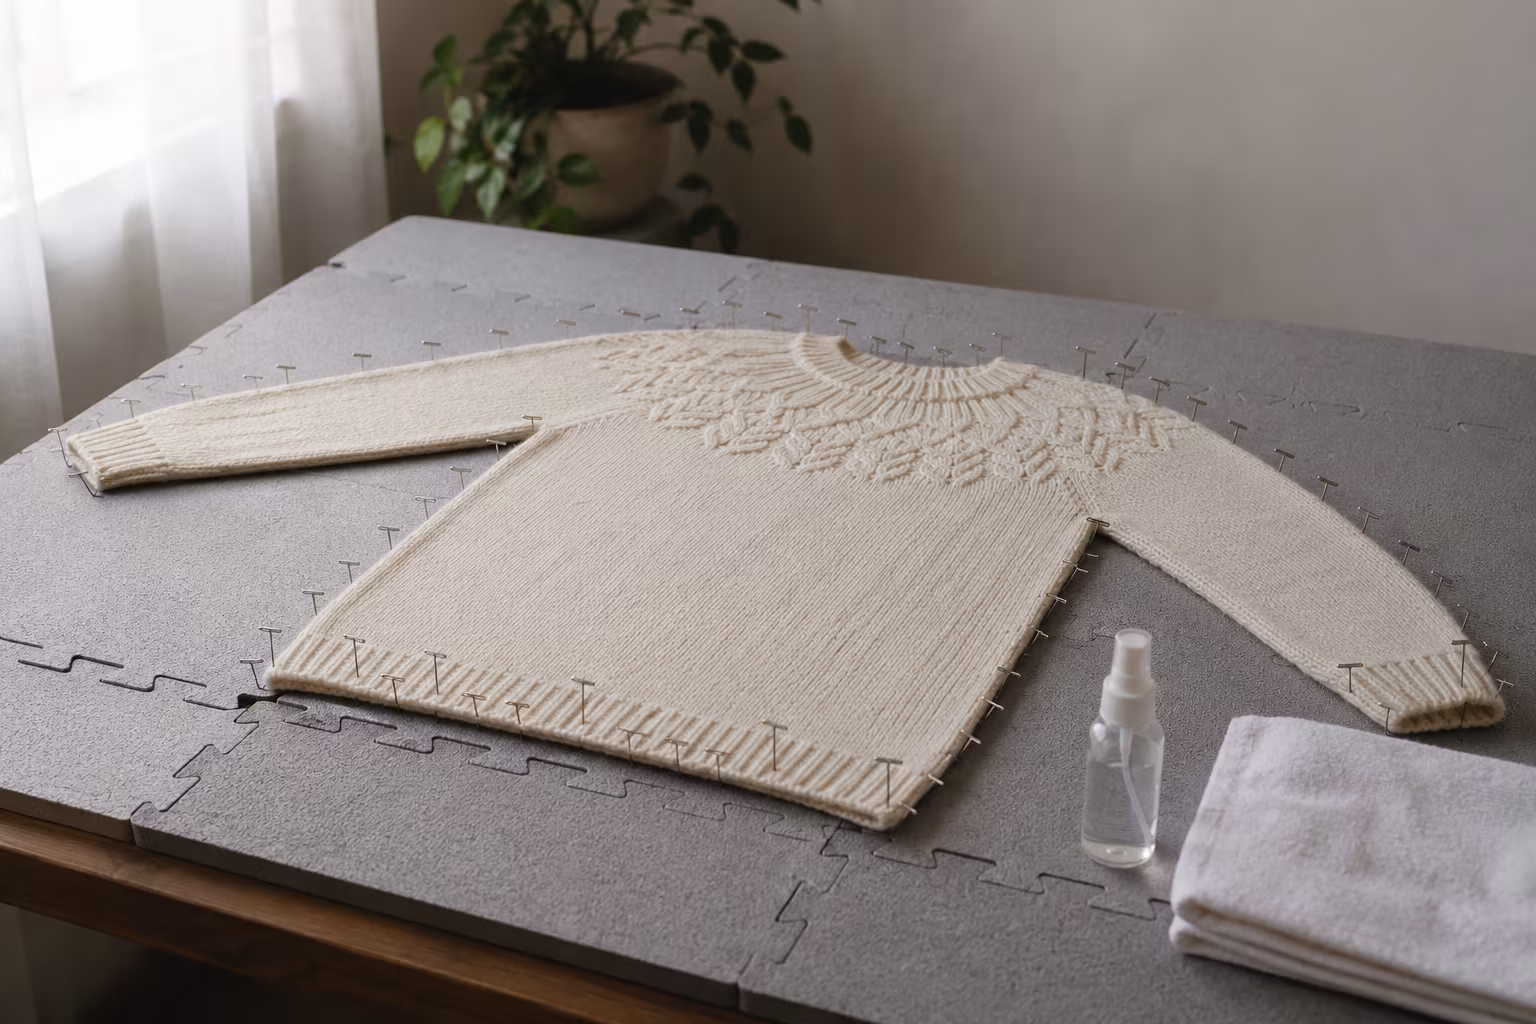
How to Block a Knitted Wool Sweater Without Felting
The blocking routine that opens stitches and sets the shape without turning your wool sweater int...
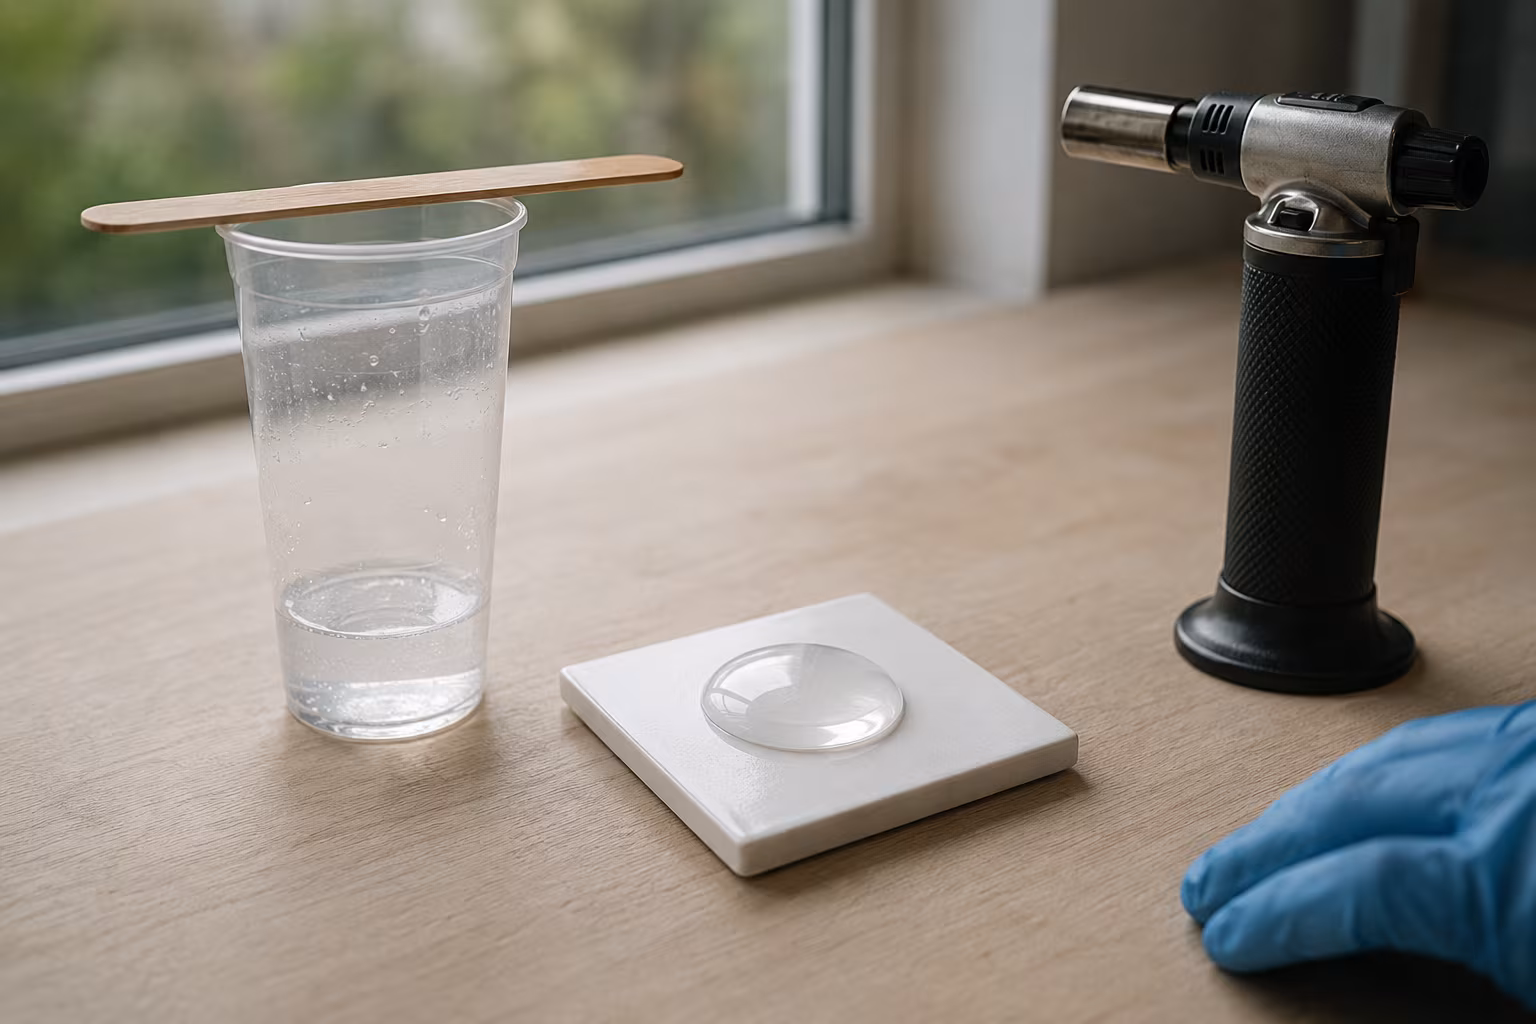
Resin Doming Without Bubbles: A Calm, Reliable Method
A repeatable doming routine that keeps bubbles out and the dome tidy — pour technique, heat metho...
Why Quilling Earrings Are the Most Profitable Craft to Sell Online
Thinking about starting a craft business? You might be surprised to learn that delicate, colorful...