The Best Lighting Combinations for a Perfectly Balanced Living Room
The Best Lighting Combinations for a Perfectly Balanced Living Room
Hey there, fellow makers! 👋 Ever walk into your living room at night and it just… feels off? Like, either it's super bright and harsh, or so dim you can't even read a book?
I totally get it. For years, my living room lighting situation was a hot mess of one sad overhead fixture and maybe a lonely floor lamp. It just never felt cozy or inviting.
Today, we're going to dive into how to layer light like a pro. We'll talk about getting that perfectly balanced, warm, and functional space you've been dreaming of, without spending a fortune.
Why This Actually Matters
You know that feeling when you finally get a project just right? That satisfaction? Well, lighting your living room properly gives you that same kind of happy vibe, every single day.
A well-lit room isn't just about seeing things; it's about comfort, mood, and making your space feel like a true retreat. It really does make a massive difference in how you experience your home.
I spent years thinking lighting was just picking out a cool lamp, but it’s so much more. My first apartment felt perpetually gloomy, no matter how many fairy lights I strung up, because I didn't understand the basics of layering.
Learning how to intentionally combine different light sources changed everything for me. Now my space feels warm and welcoming, whether I’m crafting late at night or just chilling with a cup of tea.
Understanding the Three Layers of Light
Alright, let’s simplify something that sounds complicated: there are really just three main types of lighting you need to think about. Once you get these down, everything else clicks into place.
Imagine it like building a delicious lasagna – you need different layers to make it truly amazing. Lighting is pretty much the same idea for your living room.
Ambient, Task, and Accent Lighting Explained
These three categories work together to create a room that's both functional and super cozy. Think of them as your lighting team, each with a specific job.
Ambient Lighting - This is your room's general glow, the overall brightness that fills the space. It’s the baseline light that keeps you from bumping into furniture.
You usually get this from overhead fixtures, like ceiling lights or recessed cans. Large floor lamps or even big table lamps can contribute a lot to your ambient light too.
The goal here is a comfortable, even illumination that doesn't create harsh shadows. It sets the general mood of the entire room.
Task Lighting - As the name suggests, this is focused light for specific activities. Think about where you read, knit, work on puzzles, or even write out your grocery list.
These lights are designed to prevent eye strain and help you see details clearly. This could be a reading lamp next to your favorite armchair, a desk lamp, or even under-shelf lighting if you're doing something precise.
The key here is directing the light exactly where you need it. It makes specific areas of your living room truly functional for hobbies and daily tasks.
Accent Lighting - This is where the fun really begins! Accent lighting adds drama, highlights specific features, and helps create a sense of depth and interest in your room.
It draws your eye to things you want to showcase, like a piece of art, a collection of thrift store finds, or a beautiful houseplant. Think picture lights, small spot lamps, or even strategically placed uplights.
This type of lighting really brings personality to your space and can make a room feel so much more intentional and curated. It's about creating focal points and making your room feel special.
When you combine these three types, you create a dynamic and inviting atmosphere. You're not just flipping a switch; you're painting with light, making your living room truly shine.
How to Actually do It: Building Your Layered Lighting Plan
Okay, so understanding the types of light is one thing, but how do you actually put it into practice? It might feel a little overwhelming at first, but trust me, we'll break it down into simple steps.
You don't need a fancy interior designer to figure this out. I certainly didn't, and I've learned a ton just by experimenting in my own space. Let's get started!
Step 1: Map out Your Living Room's Zones and Activities
Before you even think about buying a lamp, grab a pen and paper. Sketch out your living room, even if it's just a rough drawing.
Now, think about what you actually do in each area. Do you read on the couch? Watch TV? Play board games at the coffee table? Do you have a small craft corner?
Mark down these "zones" on your sketch. This helps you identify where you'll need specific types of light, preventing wasted effort or buying lights you don't really need.
Step 2: Establish Your Ambient Light Foundation
Start with your room's general illumination. Do you have an overhead fixture already? If so, what kind of light does it throw?
If you don't have overhead lighting, or it's just not enough, consider a tall floor lamp with a diffused shade. A couple of well-placed table lamps on consoles or end tables can also contribute significantly to ambient light.
The goal here is to get rid of any really dark corners and provide a soft, overall brightness. You want to feel comfortable walking around without tripping over anything.
Step 3: Add in Your Task Lighting Where Needed
Now, look at those activity zones you mapped out. If you have a favorite reading chair, you absolutely need a good task lamp right there.
This could be an adjustable floor lamp or a sturdy table lamp. Make sure the light source is positioned so it shines directly on your book or craft, not in your eyes.
Think about the height and direction of the light. For reading, you want the light to come from beside or slightly behind you, illuminating the page clearly.
Step 4: Layer in Accent Lighting for Drama and Interest
This is where your room truly starts to come alive. Look for features you want to highlight, like artwork, a built-in bookshelf, or a particularly cool plant.
Small puck lights or strip lighting can go inside shelves. A small spotlight on the floor can uplight a plant in a corner. Picture lights are perfect for showcasing wall art.
Don't go overboard here; a few strategically placed accent lights make a bigger impact than a dozen random ones. It's about creating visual interest and depth.
Step 5: Embrace the Power of Dimmers and Smart Plugs
This step is a total game-changer for flexibility. Dimmers let you adjust the brightness of your ambient and even some task lights to suit the mood.
Imagine being able to go from bright crafting light to a soft, movie-watching glow with a simple turn of a dial. It's incredibly versatile and easy to install if you're comfortable with basic electrical work, or you can hire a pro.
Smart plugs are another fantastic option, especially for lamps that aren't on dimmers. You can control them with your phone or even voice commands, setting schedules or turning them off from another room. I've got a couple on some thrifted lamps, and they're brilliant.
Step 6: Don't Forget About Bulb Temperature (warm Vs. Cool)
This is a detail that often gets overlooked but makes a huge difference in how your room feels. Bulb temperature, measured in Kelvin (K), determines if a light looks warm and yellow-ish or cool and blue-ish.
For a cozy living room, you usually want warmer temperatures, around 2700K to 3000K. These create that inviting, soft glow we all love, similar to incandescent bulbs.
Cooler temperatures (3500K-5000K+) are great for task-oriented areas like workshops or kitchens where you need bright, crisp light. But for relaxing in the living room, stick with warmer tones for a harmonious feel.
Step 7: Play with Fixture Styles and Materials
Now that you know what kind of light you need, you can think about the look of your fixtures. This is where your personal style really shines through!
Don't be afraid to mix and match styles. A modern floor lamp can look amazing next to a vintage ceramic table lamp you scored for $15 at the thrift store. It adds character.
Consider the materials of the shades too. A sheer fabric shade will let more light through for ambient glow, while a metal shade will direct light more intensely, great for task lighting.
Step 8: Test, Live with It, and Adjust
Lighting isn't a "one and done" kind of deal. Once you've set up your initial combination, live with it for a few days or even a week.
Pay attention to how the room feels at different times of day and for various activities. Are there still dark spots? Is a certain area too bright?
Don't be afraid to move lamps around, swap out bulbs for different temperatures or wattages, or even add another small light source. It's all about fine-tuning until it feels just right for you.
My own living room lighting evolved over several months, with me moving lamps from one side of the couch to another, trying out different bulbs, and adding a small puck light behind a plant. It’s an ongoing, fun experiment!
Making It Stick / Common Mistakes
You know, even with all the best intentions, it's easy to fall into some common lighting traps. I've definitely made my share of them! It's all part of the learning process.
The good news is that once you know what to watch out for, you can easily avoid these pitfalls. Thinking ahead just a little bit can save you a lot of frustration later.
One of the biggest mistakes I see (and used to make myself) is relying solely on a single overhead light. You know the one: that lonely flush-mount fixture in the middle of the ceiling?
It creates flat, unflattering light that casts harsh shadows and makes a room feel cold and unwelcoming. It's the opposite of cozy and balanced.
Another common misstep is neglecting dimmers. Seriously, having the ability to adjust light levels is just amazing. Without them, your room is stuck in one brightness setting, which rarely works for every situation.
I also used to just grab whatever light bulbs were cheapest or most available, without thinking about temperature. Mixing wildly different warm and cool bulbs in the same room creates a jarring, unbalanced look.
Ignoring the scale of fixtures is another one. A tiny lamp on a huge side table can look lost, while an oversized lamp can totally overpower a small corner. Proportion really matters here.
Sometimes people also try to use too many small, decorative lamps that don't actually provide much useful light. It can make a room feel cluttered without actually addressing the lighting needs.
"Lighting isn't just about illuminating a room; it's about illuminating the life lived within it. It should support your activities and soothe your soul."
To make sure your layered lighting really sticks, always ask yourself: "How does this light make me feel?" If it feels harsh, cold, or insufficient, it's probably not right.
Don't be afraid to start small. You don't need to overhaul your entire setup at once. Maybe just add one floor lamp, or swap out some harsh bulbs for warmer ones.
Keep your primary activities in mind, and let your personal style guide your fixture choices. You'll build a beautifully lit space, one lamp at a time.
Frequently Asked Questions
What's the Absolute Cheapest Way to Improve My Living Room Lighting?
The fastest and cheapest way is usually to swap out your existing bulbs. If you have harsh, cool white bulbs, switch to warmer ones (2700K-3000K). This instantly makes a room feel cozier.
Also, check thrift stores for interesting table or floor lamp bases. You can often find some really cool vintage pieces for under $20 and just replace the shade or wiring if needed.
Can I Mix Warm and Cool Light Bulbs in the Same Room?
Generally, it's best to stick to one color temperature for your main ambient and task lighting to keep the room feeling cohesive. Mixing them too much can make the space feel disjointed or unbalanced.
However, you can sometimes get away with a slightly different temperature for a very specific accent light if it’s highlighting something unique, but even then, try to keep it close.
My Living Room is Pretty Small; Won't Too Many Lamps Make It Cluttered?
That's a super valid concern! For smaller rooms, think strategically. Use slim floor lamps that don't take up much floor space, or consider wall-mounted sconces if you can.
Using a mix of heights can also help make the space feel larger. Also, look for lamps with clear or light-colored bases and shades to keep things feeling open.
How Many Light Sources does a Typical Living Room Need for Good Layering?
It really depends on the size and layout of your room, but a good rule of thumb for an average-sized living room is usually 3 to 5 different light sources. This allows you to achieve those ambient, task, and accent layers effectively.
For a larger room, you might need more, while a very small room might get away with 2-3 well-placed sources. Always prioritize function first.
Is Natural Light Part of This Lighting Plan?
Absolutely! Natural light is your best friend during the day and sets the foundation for your artificial lighting. Maximize it by keeping windows clear, using light-colored window treatments, and placing mirrors strategically to bounce light around.
Think of artificial lighting as complementing and extending your natural light once the sun goes down or on a gloomy day. They work hand-in-hand.
What's the Deal with Lumens and Watts? I Always Get Confused
You're not alone, it's a common point of confusion! Watts used to measure how much energy a bulb used, but with LEDs, that's not as relevant for brightness.
Lumens now tell you how bright a bulb actually is. More lumens means more light output. So, when buying LED bulbs, look for the lumen count to gauge brightness, not just the wattage equivalent.
For example, a traditional 60-watt incandescent bulb is roughly equivalent to 800 lumens. This information is usually printed right on the bulb packaging.
How Long does It Actually Take to Set up Good Lighting?
Honestly, it's not an overnight thing. The initial setup might take you an afternoon of rearranging and plugging things in. But the "fine-tuning" part can take weeks or even months.
You'll adjust as you live in the space, realize what works, and find new thrift store treasures. It's more of an ongoing project than a quick fix, and that's totally okay!
Is This Worth the Effort for Someone on a Really Tight Budget?
One hundred percent, yes! You absolutely don't need expensive fixtures to create beautiful lighting. My garage is full of upcycled lamps that cost next to nothing. You can get so much done with smart bulb choices and clever placement.
Focus on creating those layers with what you have or with super affordable finds. The impact on your room's comfort and functionality is huge, regardless of your budget.
The Bottom Line
Creating a perfectly balanced living room with light might sound fancy, but it really boils down to just a few simple ideas. You're building layers – ambient, task, and accent – to make your space both useful and super welcoming.
It’s all about how your room feels to you, not about following strict rules. Don't be afraid to experiment, move things around, and most importantly, have fun with it.
Grab a thrift store lamp, swap out a harsh bulb, or move that floor lamp to a new spot. Even one small change can make a big difference. You got this! ❤️
Related Posts
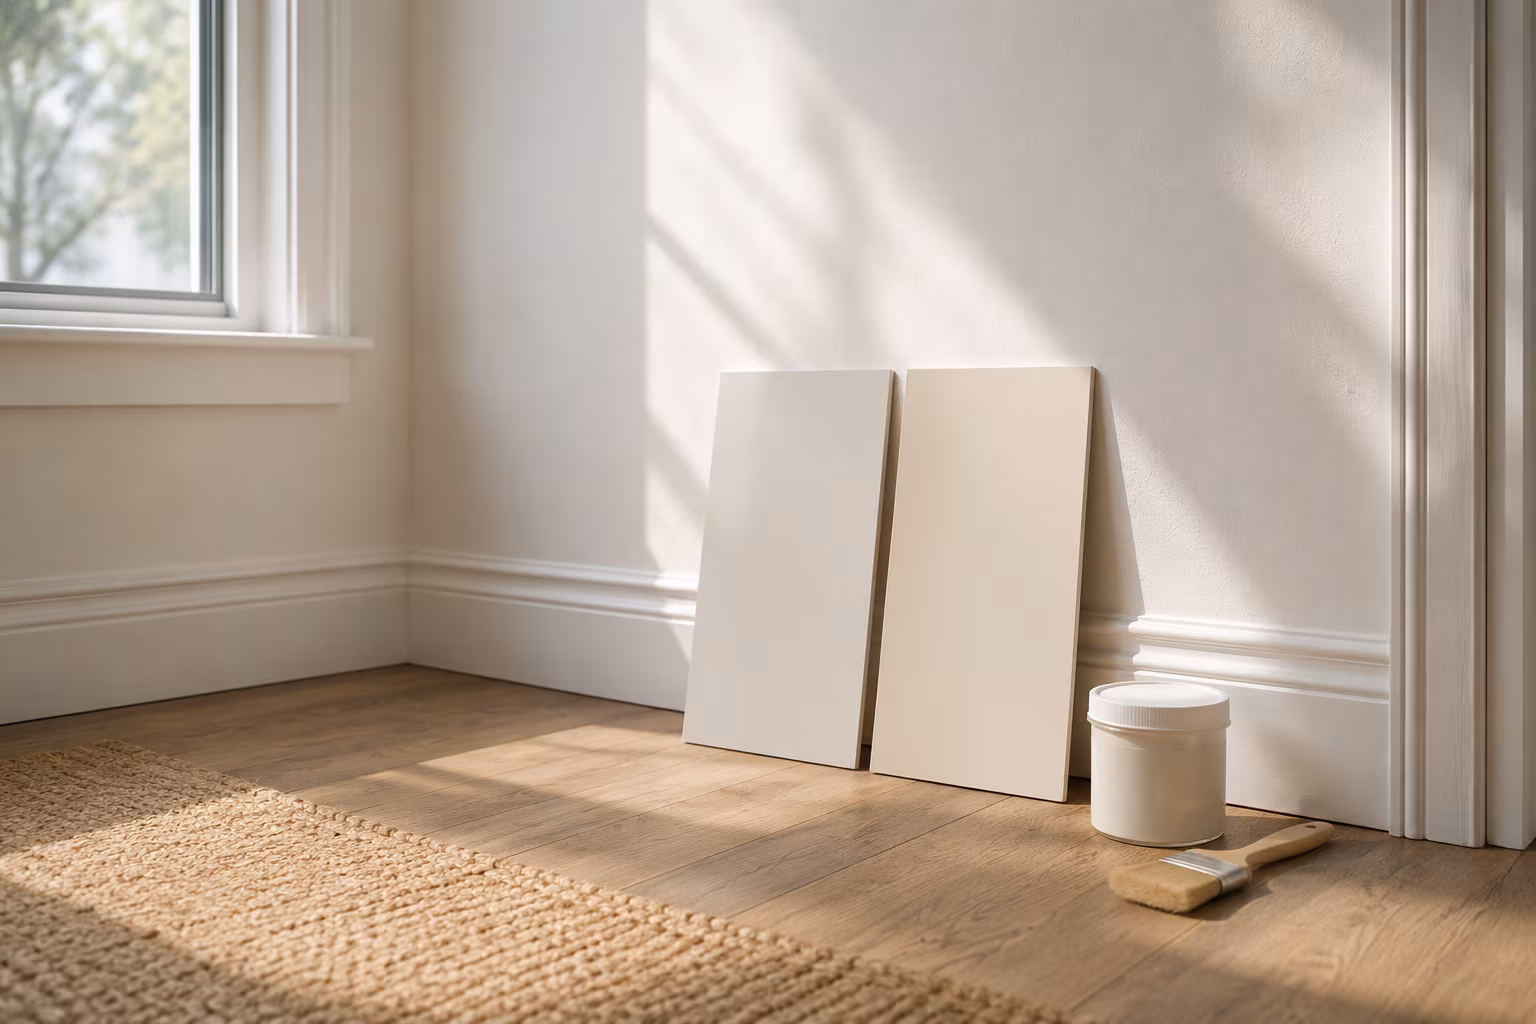
Color-Match Trim Paint to Existing Off-White Walls
Off-white walls hide three or four different undertones. The routine for matching new trim paint ...
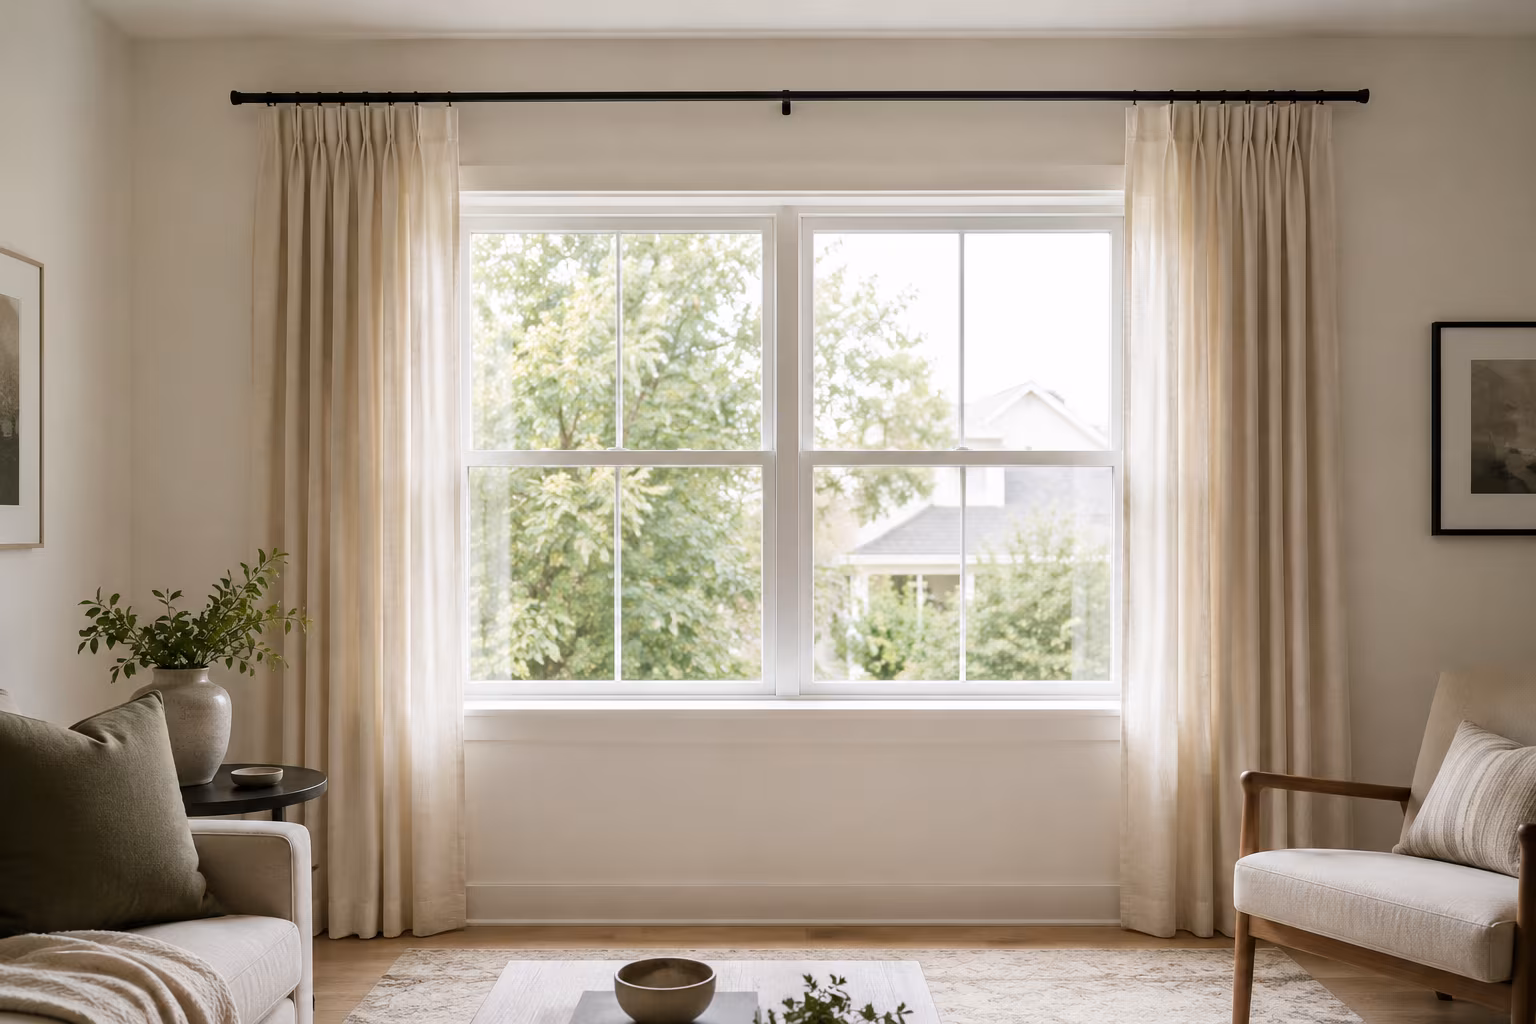
How Far to Extend Curtain Rods Past the Window Frame
How far the rod should reach past each side of the window, why the extension matters more than ro...
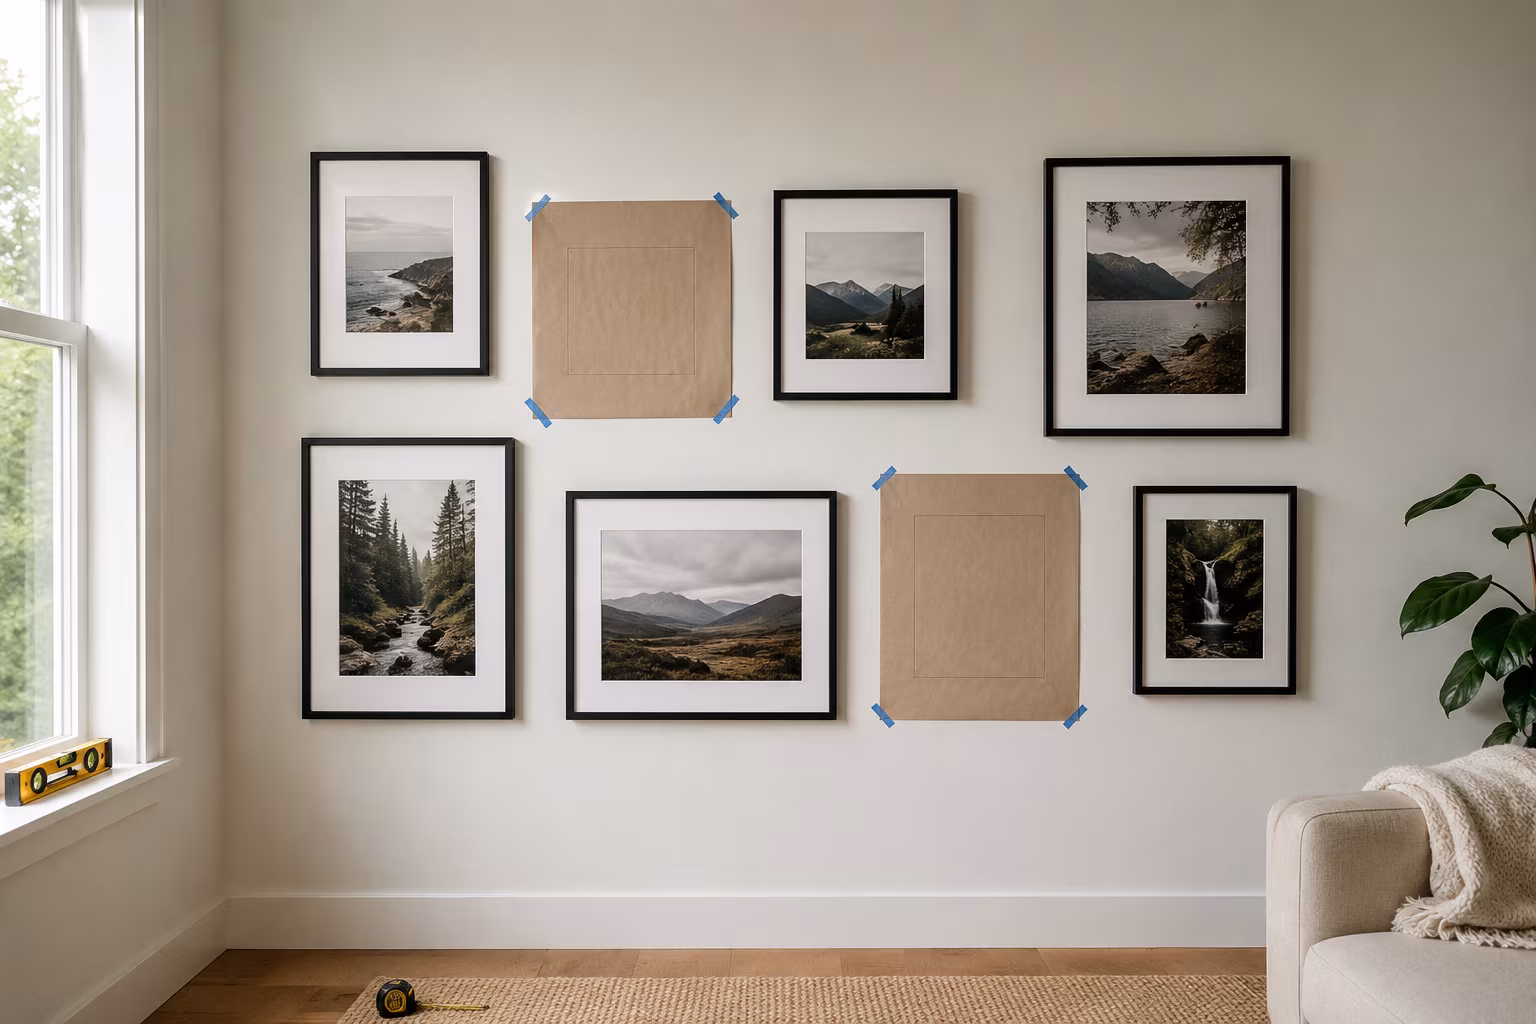
Gallery Wall Picture Spacing: The Repeatable Method
Stop eyeballing it — the exact spacing, center height, and paper-template routine that turns a pi...

The Secret to Making Your Home Smell Amazing Without Artificial Sprays
Tired of chemical-laden air fresheners? Learn how to fill your home with beautiful, natural scent...