How to Make Your Own Beeswax Wraps for a Plastic-Free Kitchen
How to Make Your Own Beeswax Wraps for a Plastic-free Kitchen
You know that feeling? You're packing up leftovers, reach for the plastic wrap, and just sigh. It's so convenient, but then you throw it away, and it's another piece of plastic destined to stick around forever.
I've been there, staring into my recycling bin feeling a little helpless. I wanted to cut down on plastic in my kitchen, but finding good alternatives for food storage felt like a never-ending quest.
That's where beeswax wraps came into my life, and let me tell you, they're a game-changer for someone like me who loves a good DIY solution. I'm going to walk you through exactly how I make mine, share some of my early mishaps, and show you how easy it is to ditch that cling wrap for good.
Why This Actually Matters
For me, it started with a simple thought: every little bit counts. I wasn't going to go completely zero-waste overnight, but I could definitely make a dent in my single-use plastic habit.
Plastic wrap felt like a big one to tackle. We use so much of it, often just for a few hours, before tossing it.
Making beeswax wraps isn't just about reducing waste; it's about connecting with your food and your home in a new way. It feels good to wrap up a loaf of homemade sourdough in something you made yourself, doesn't it?
Plus, they're breathable! My veggies and herbs actually stay fresh longer in these wraps than they ever did suffocating in plastic. That's a huge win for preventing food waste too.
I also love that I can make them from fabric scraps I find at thrift stores or old cotton shirts. It's like a double dose of upcycling, which always makes my maker heart happy.
Getting Started: What Exactly are Beeswax Wraps?
Okay, so what exactly are we talking about here? Beeswax wraps are basically pieces of cotton fabric infused with a mixture of beeswax, often jojoba oil, and sometimes pine resin.
When they're warm, they're flexible. As they cool, they stiffen up, holding their shape around bowls, sandwiches, or pieces of fruit.
They’re reusable, washable, and completely biodegradable. Think of them like a natural, breathable, and slightly sticky alternative to plastic cling film.
The Magic Ingredients
I experimented with a few different ratios and ingredients when I first started. My first batch was just beeswax, and while it worked, the wraps felt a bit stiff and cracked easily.
Adding jojoba oil and pine resin really changed the texture for the better. The jojoba oil makes them more pliable, and the pine resin adds that perfect clingy stickiness.
- Cotton Fabric: You want 100% cotton. Look for tight weaves. Old pillowcases, sheets, or even men's button-down shirts from the thrift store work great. Just make sure they're clean!
- Beeswax Pellets: These are easier to work with than a big block of wax. I usually buy food-grade pellets online. You can find them at most craft stores too.
- Jojoba Oil: This isn't strictly necessary, but it makes the wraps more flexible and less prone to cracking. A little goes a long way.
- Pine Resin: This is the secret sauce for that sticky, clingy factor. It can be a bit tricky to find, but craft supply stores or online sellers often carry it in granular form. It needs to be food-grade too.
Don't stress if you can't find pine resin right away. Start with just beeswax and jojoba oil. You can always experiment with resin later once you get the hang of it!
How to Actually do It: My Go-to Oven Method
I've tried the iron method, and it works, but I find the oven method to be much more consistent and less messy. It heats everything evenly, which is a huge plus when you're trying to get a smooth finish.
This whole process takes about an hour or two for a decent batch, once you have your supplies ready.
Step 1: Gather and Prep Your Supplies
First things first, get everything you need laid out. This saves you from scrambling when things start to get hot and sticky. Trust me, I've been there, realizing I forgot the brush mid-melt!
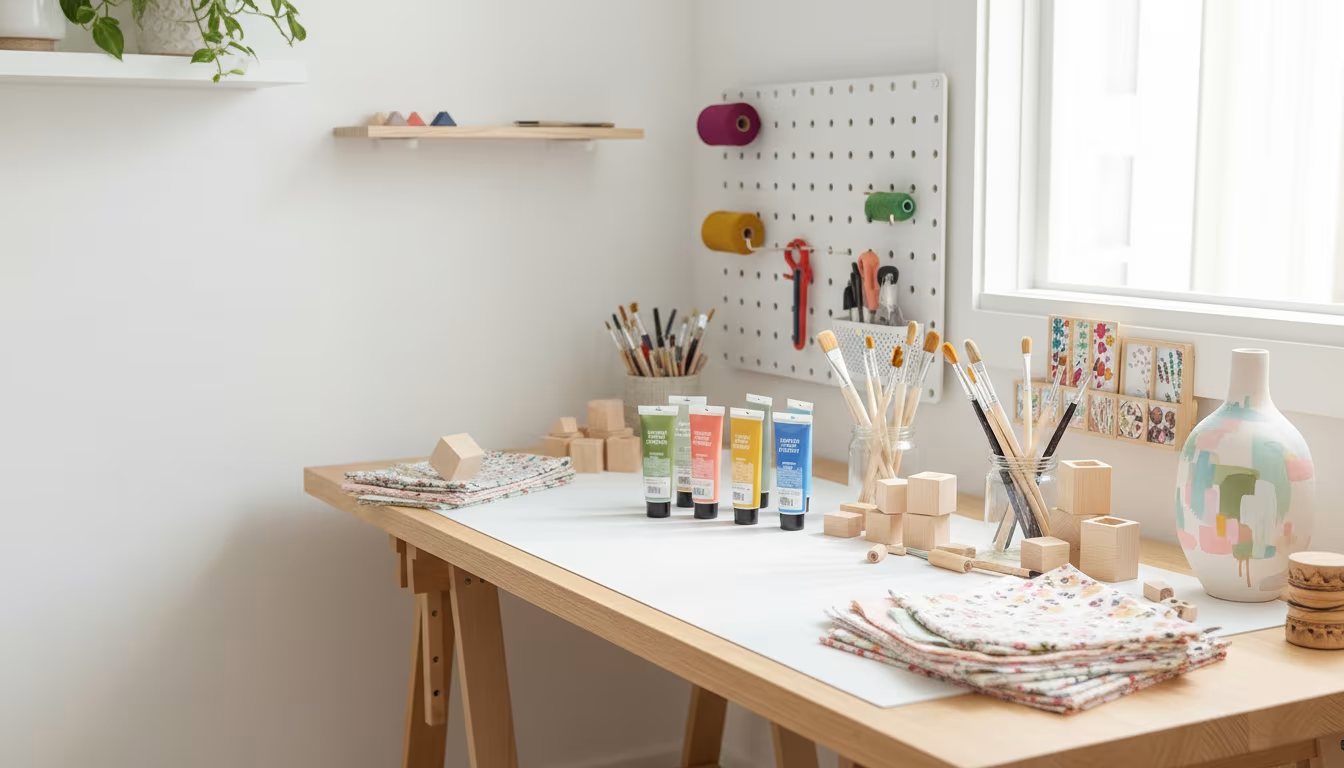
You'll need your cotton fabric, beeswax pellets, jojoba oil (if using), pine resin (if using), parchment paper, an old baking sheet, an old paintbrush (dedicated for this, not for painting your masterpieces!), a grater (if you're using a block of wax, but pellets are easier), and an oven preheated to 200°F (about 95°C).
Make sure your fabric is clean and dry. I usually wash and iron mine beforehand to make sure there are no wrinkles and it's perfectly flat for even coating. I've used fabric scraps from an old bed sheet I found for $5 at Goodwill, and they worked perfectly.
Step 2: Cut Your Fabric
Decide on your sizes. I like to make a variety: small ones for avocados or lemon halves, medium ones for sandwiches or small bowls, and larger ones for covering bigger dishes or wrapping bread.
A good starting point is around 6x6 inches, 8x8 inches, and 10x10 inches. You can go bigger or smaller, but these are pretty versatile.
Use sharp scissors and try to cut as straight as you can. Don't worry about perfection; rustic is part of the charm! I once cut a batch that looked more like abstract art than squares, but they still wrapped things just fine.
Step 3: Lay out Your Fabric and Sprinkle
Line your baking sheet with parchment paper. This is crucial unless you want your baking sheet coated in beeswax forever. I speak from experience here.
Lay a single piece of your cut fabric flat on the parchment paper. Don't overlap them, or they'll stick together. If you're doing a big batch, you might need a couple of baking sheets.
Now, sprinkle your beeswax pellets evenly over the fabric. You want good coverage but not a huge pile. If you're using jojoba oil and pine resin, sprinkle those on top of the beeswax.
My general ratio is about 2 parts beeswax to 1 part pine resin, and just a few drops of jojoba oil per wrap. For a 10x10 inch square, it might be about 1-2 tablespoons of beeswax mixture.
Step 4: Melt in the Oven
Carefully slide your baking sheet into the preheated oven. Keep a close eye on it!
The wax will start to melt in just a few minutes, usually 3-7 minutes. You'll see the fabric become translucent as it absorbs the melted wax.
The goal is for all the pellets and resin to melt completely and soak into the fabric. Don't let it bake too long or the fabric can get scorched, though that's pretty rare at such a low temperature.
Step 5: Spread and Even out
Once everything is melted, pull the baking sheet out of the oven. Use your dedicated paintbrush to quickly spread any puddles of wax evenly across the fabric.
Work quickly here, as the wax will start to cool and harden pretty fast. You want a consistent coating, with no dry spots and no thick clumps.
If you see a dry spot, you can add a tiny bit more beeswax mixture and pop it back in the oven for another minute. If there's too much wax, you can press another piece of dry fabric onto it to absorb the excess, or carefully scrape a tiny bit off the edges.
My first few wraps had super thick edges because I didn't spread it well. They still worked, but they weren't as pretty.
Step 6: Lift and Dry
This is the fun part! Once the wrap is evenly coated, carefully pick it up by two corners. It will be warm and flexible.
Hold it up in the air for about 15-30 seconds, or until it cools and stiffens. It's really neat to watch it go from floppy to firm.
You can also drape it over a drying rack, clothesline, or the back of a chair until completely cool and dry. Just make sure it doesn't touch anything while it's still warm and tacky.
I usually hang mine on a string with clothespins in my garage workshop. It dries super fast.
Step 7: the Smell Test and First Use
Your finished wrap will have a lovely, subtle scent of beeswax and pine. It’s natural and not overpowering at all. If it smells super strongly of pine, you might have used a bit too much resin.
Once cooled, they're ready to use! Just crumple them up a little bit in your hands to activate the wax and make them more pliable. The warmth from your hands will help them soften and mold better.
Try wrapping a sandwich, covering a bowl, or sealing up some half-eaten fruit. You'll be amazed at how well they stick just from the warmth of your hands.
Step 8: Care and Storage
To clean your wraps, simply wipe them down with a damp cloth and cool water. If they're extra dirty, you can use a mild, eco-friendly dish soap.
Never use hot water! Hot water will melt the wax and ruin your wraps. I learned that the hard way with a very sticky sponge.
Air dry them completely before storing. You can roll them up, fold them flat, or store them in a drawer. They'll last for about a year with regular use and proper care.
Making It Stick / Common Mistakes
Like any new craft, there are a few things that can trip you up when you first start making beeswax wraps. I certainly made my fair share of mistakes!
One of the most common issues is using too much wax. Your wrap will end up feeling stiff, crumbly, and might even crack when you try to fold it. It also feels super tacky and leaves a residue on your hands.
The solution? Less is more. You want just enough wax to saturate the fabric, making it translucent, but not so much that it's sitting on top in a thick layer. If you get too much, you can always put it back in the oven with another piece of fabric to absorb the excess, or gently scrape it off while it's warm.
On the flip side, not enough wax means your wraps won't be sticky enough to seal properly. You'll have dry spots on the fabric that don't hold their shape.
If this happens, just sprinkle a little more beeswax mixture on the dry areas and pop it back in the oven for a minute or two. Easy fix!
Another thing I messed up was uneven spreading. Some areas were thick, others thin. This is where that dedicated paintbrush comes in handy. It helps distribute the wax quickly and smoothly before it cools.
And finally, patience. Don't rush the drying process. Letting them cool completely ensures they set properly and are ready for use. Trying to use them too soon just makes them messy.
"The best DIY projects aren't about perfection, but persistence. Every mistake is just a step towards figuring it out."
Frequently Asked Questions
Are Homemade Beeswax Wraps Truly Food Safe?
Yes, absolutely! As long as you're using food-grade beeswax and pine resin, and your cotton fabric is clean, they are perfectly safe for food contact. I've been using mine for years without any issues.
How Long do Beeswax Wraps Typically Last?
With proper care, a good beeswax wrap can last anywhere from 6 months to a year, sometimes even longer. You'll know it's time to re-wax or retire it when it starts to lose its stickiness or becomes heavily creased and worn.
What's the Best Way to Clean and Store Them?
Clean your wraps by wiping them with a damp cloth and cool water, or a very mild dish soap if needed. Air dry them completely before storing them rolled up or folded flat in a drawer. Always remember: no hot water or harsh scrubbing!
Can I Use Any Type of Fabric for These Wraps?
No, you definitely want 100% cotton with a fairly tight weave. Synthetic fabrics won't absorb the wax properly, and loose weaves might shed fibers or not hold the wax as well. Think old bedsheets, quilting cotton, or even lightweight denim.
What if My Wraps Lose Their Stickiness over Time?
That's totally normal! It just means they're ready for a refresh. You can re-wax them by repeating the process with a light sprinkle of new beeswax mixture. It gives them a whole new lease on life, which is another reason I love them!
Are These Really a Budget-friendly Alternative to Plastic Wrap?
Yes, in the long run, they totally are. The initial cost of supplies might seem like a bit more than a roll of plastic wrap, but these are reusable for months or even years. Over time, you'll save money, reduce waste, and you get the satisfaction of making something useful with your own hands.
The Bottom Line
Making your own beeswax wraps is one of those simple DIY projects that feels really impactful. It's a small change in your kitchen that adds up to less plastic, fresher food, and a little more joy in everyday tasks.
Don't be intimidated. Start with just a few wraps, maybe using some old fabric scraps, and see how you like them. I bet you'll be hooked! Happy making! 👋
Related Posts
How to Convert a Regular Closet into a Functional Home Office
Dreaming of a dedicated workspace but short on space? Turn that underutilized closet into your pe...
The Best Way to Weatherproof and Stain an Old Wooden Deck
Is your old wooden deck looking a little worse for wear? We'll show you the easiest, most effecti...
Why Wainscoting Panels Make Plain Hallways Look High-End
Dreaming of a more sophisticated entryway? Learn why wainscoting panels are a game-changer for ma...
How to Build Under-Stair Storage That Maximizes Dead Space
Dreaming of adding some bohemian flair to your home without breaking the bank? We'll show you how...