Why Jesmonite is the Best Material for Modern Home Decor Projects
Jesmonite lets you cast coasters, trays, planters, and small sculptures that read as high-end stone or ceramic, at a fraction of boutique prices and without the fumes of epoxy resin. A ripple-edged tray costs under $10 in materials to make. This guide covers what the material is, why it suits modern decor, how to run a first project start to finish, and the mistakes that trip up beginners.
What Jesmonite Is
Jesmonite is a water-based composite: a mineral base powder blended with a liquid acrylic polymer. Think of it as a refined, faster-curing, more forgiving alternative to plaster or concrete. A standard AC100 kit ships as two parts, a gypsum-based white powder and a liquid polymer, which you weigh and mix into a pourable paste. Because it is water-based, it is effectively VOC-free, so it works in a garage or a small home studio without the strong odor of epoxy. The manufacturer's Jesmonite site lists the grades and their intended uses, which is worth checking before you buy.
Why It Suits Modern Decor
A few properties make Jesmonite a strong fit for casting home pieces. It is water-based and low-odor, which matters in shared or enclosed spaces. Once cured it is strong and impact-resistant yet noticeably lighter than concrete, so finished pieces are easy to rearrange on shelves. It takes pigment well: mix in Jesmonite pigments for solid opaque color, swirl a couple of drops for a marble effect, or embed chips for terrazzo. The cured surface is matte and mineral rather than shiny and plastic, which is exactly the look modern decor leans toward. It also cures fast, firm enough to demold in about 20 to 30 minutes, so you can produce several pieces in one session even though full strength takes around 24 hours.
A First Project, Step by Step
Start simple, with a coaster or a small tray, to learn the material's timing before attempting anything intricate.
- Gather supplies. You need an AC100 kit, a clean dry silicone mold, a digital kitchen scale, a mixing container, stir sticks, pigments if you want color, gloves, and a protected work surface. Pigment stains permanently, so cover the bench.
- Measure and mix. AC100 mixes by weight, typically 5 parts powder to 1 part liquid, so 100 g of powder needs 20 g of liquid. Zero the scale, pour the liquid, then add powder gradually while stirring for a full 3 to 5 minutes to a smooth, lump-free consistency like thick pancake batter. Under-mixing is the most common cause of weak, crumbly pieces, so scrape the sides and bottom thoroughly.
- Add color. Stir pigment in after the base is smooth. A few drops go a long way for solid color. For a marble effect, add pigment and fold only a few times to leave streaks rather than blending fully.
- Pour. Pour slowly from about 6 to 10 inches in a thin stream, which helps trapped air escape. Then tap the mold firmly on the bench for a minute or two so bubbles rise and pop; a toothpick clears any stubborn surface bubbles.
- Cure and demold. Wait 20 to 30 minutes until the surface feels cool and non-tacky, then flex the silicone mold away gently. Leave the piece a full 24 hours before heavy sanding or sealing.
- Sand and seal. Smooth rough edges starting at 400 grit and working up to 800 or 1200; wet sanding with a little water cuts dust and gives a velvety finish. Because cured Jesmonite is porous, seal it with a purpose-made sealer, acrylic sealant, or beeswax in two or three thin coats so coasters and pots resist water and stains.
The Terrazzo Technique
Terrazzo looks intricate but adds only a few steps, and the speckled result is a signature of contemporary design, much like the terrazzo-style decor you can build in polymer clay. First make chips: mix small batches with contrasting pigments such as black, white, and a pop of mustard or terracotta, pour them in thin layers on a silicone mat, and let them cure 20 to 30 minutes. Break the cured sheets into irregular pieces by hand or with a hammer; varied sizes look most authentic. Then mix a fresh neutral base, usually white or gray, fold the chips in evenly without clumping, and pour into the mold as normal. The pattern appears during sanding, as the abrasive cuts down to reveal the embedded chips. For a broader history of the material this imitates, the terrazzo technique dates back centuries in flooring.
Common Mistakes and Fixes
Most first-piece failures come from a short list of errors. Under-mixing produces spots that never fully cure and crumble on demolding, so time the full 3 to 5 minutes and scrape the container. Pouring too fast or skipping the tapping leaves pinholes, so pour thin from a height and tap firmly; for detailed molds, brush a thin layer of Jesmonite into the crevices before the main pour. Eyeballing the ratio yields a mix that is too runny to hold shape or too thick to pour, so always weigh on a scale. Skipping the sealer leaves a porous piece that water-marks after the first cold drink, so seal every functional item. Finally, demolding too early snaps delicate edges; hold to the 20 to 30 minute window, and add 15 to 30 minutes if the room is cool.
Once these are second nature, Jesmonite scales easily. A single starter kit runs roughly $30 to $60, and simple silicone molds are $5 to $20, so a full setup with scale and pigments lands near $50 to $100. From there the same method produces trinket dishes, candle holders, bookends, and small planters, letting you fill a room with cohesive pieces you made yourself, and it pairs naturally with reclaimed and architectural salvage accents for a layered, personal look.
Related Posts
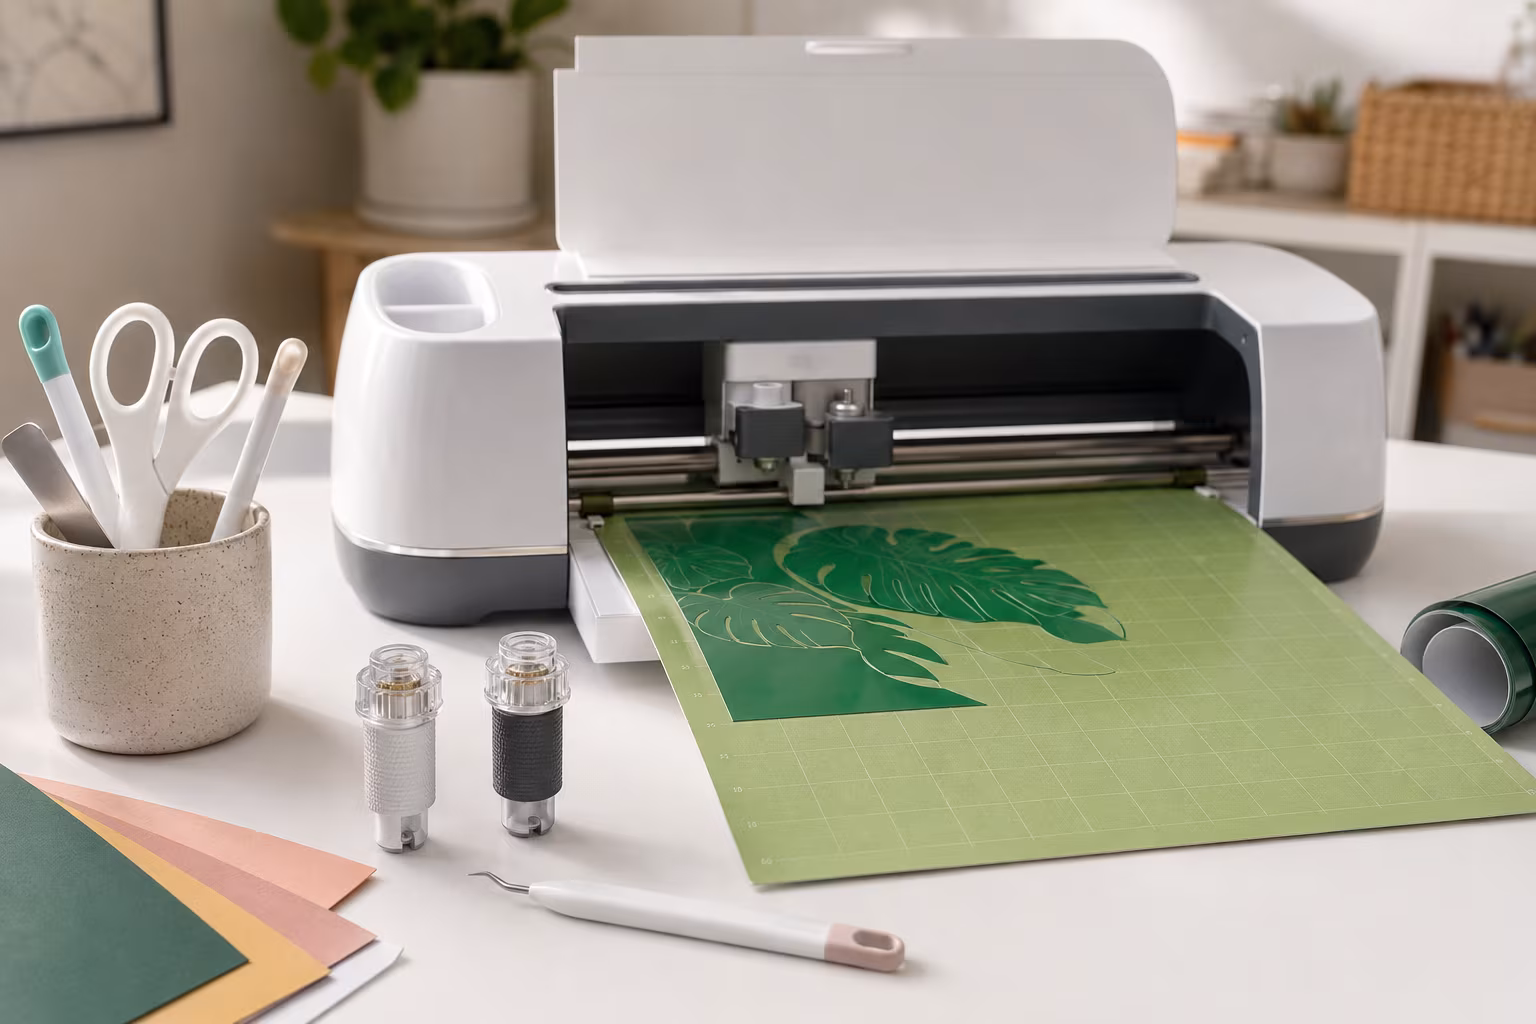
Beginner Cricut Blade Set: What You Actually Use Daily
The Cricut starter blade list is longer than most beginners need. The two or three blades that...
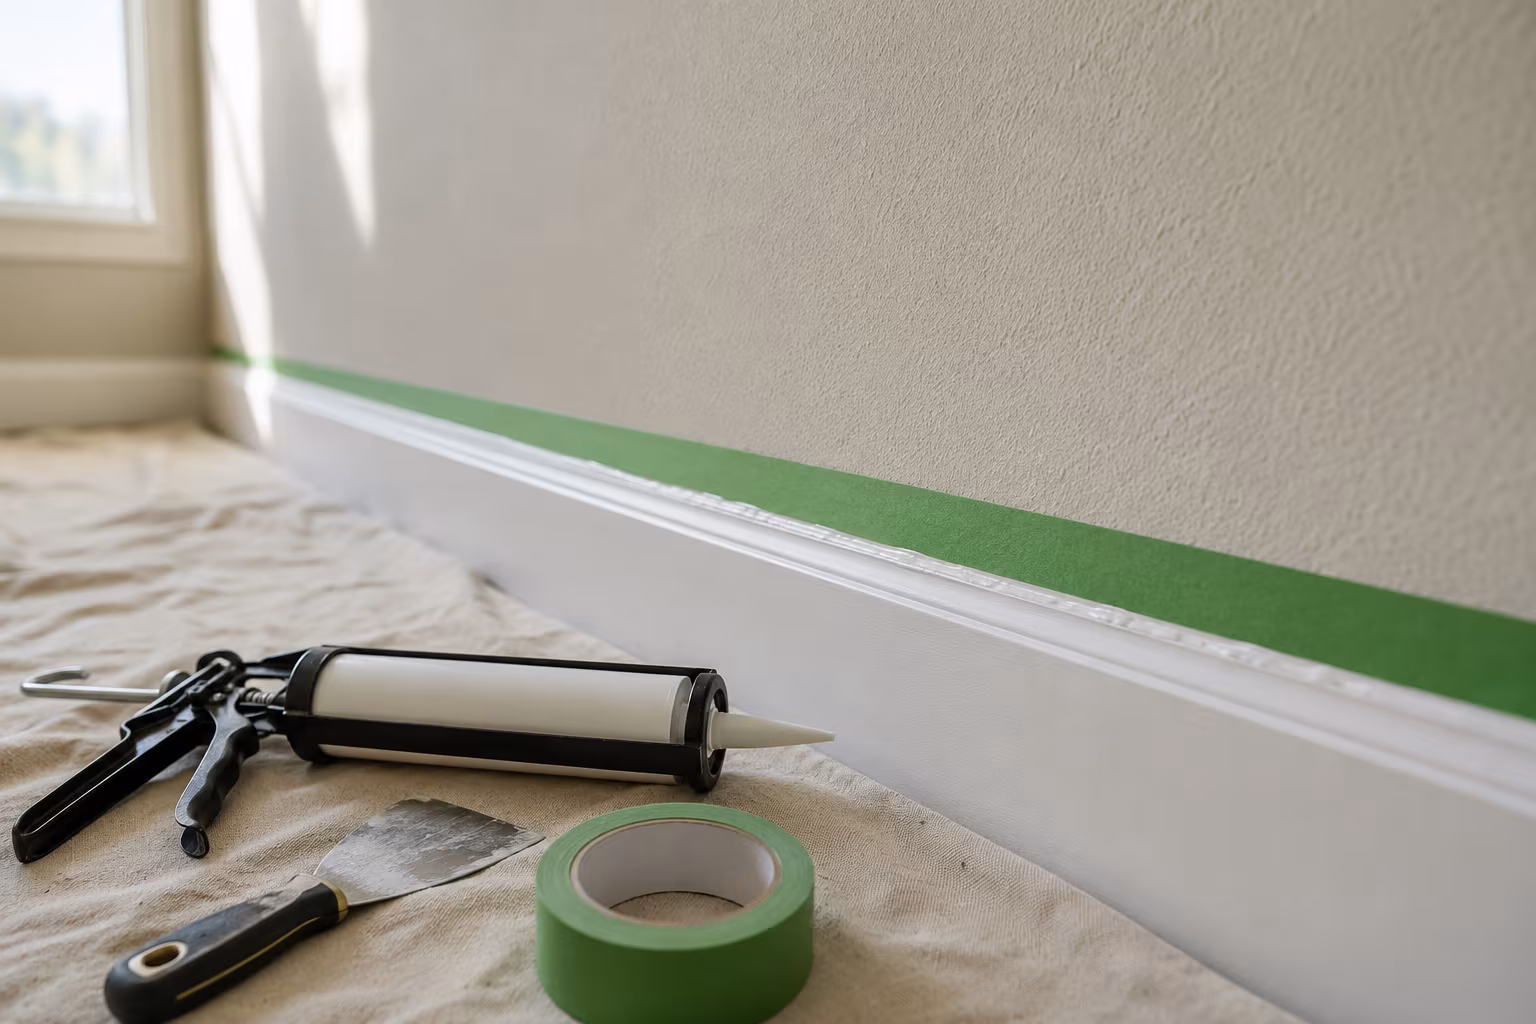
Painter's Tape for Crisp Lines on Textured Wall Surfaces
Standard blue tape bleeds on textured walls. The specialty tapes, caulk-edge-seal step, and...
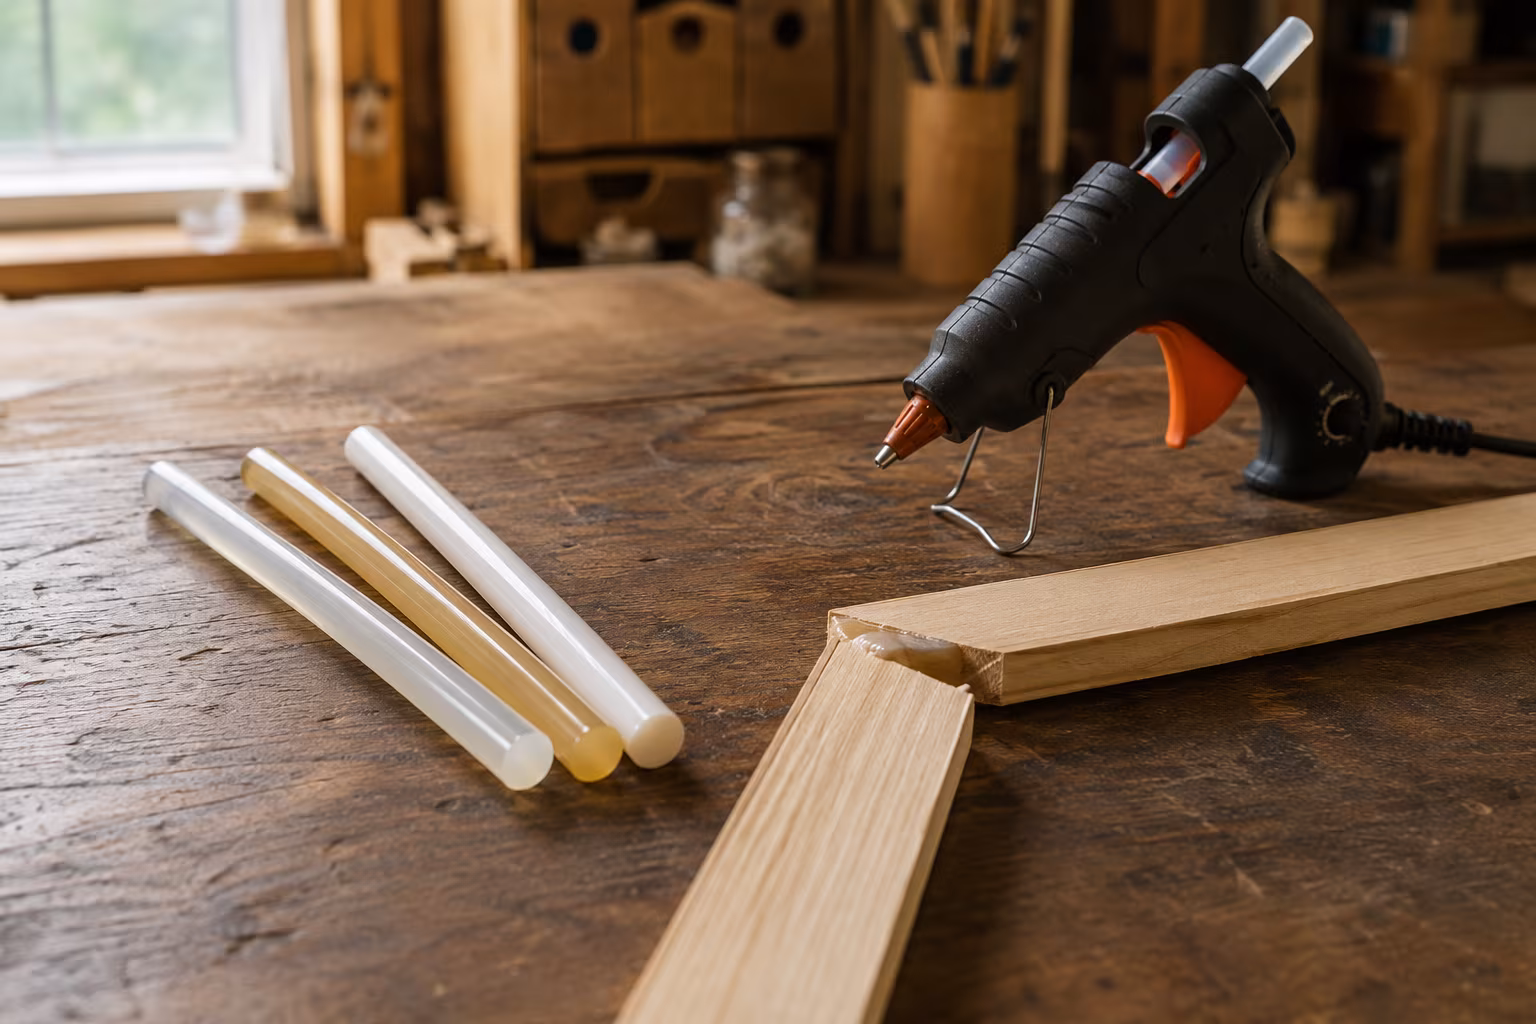
Hot Glue Sticks Compared: Low-Temp, High-Temp, Specialty
Low-temp glue sticks melt near 250°F, high-temp near 380°F. Compare stick types, specialty...

Sandpaper Grits Demystified: When to Stop Going Finer
Sand 80 to 120 to 180 for film finishes, 220 for oil, and stop there: finer burnishes wood and...