Why Paper Quilling is Making a Comeback in Modern Card Design
Why Paper Quilling is Making a Comeback in Modern Card Design
Hey there, fellow makers! 👋 You know that feeling when you stumble upon an old craft, something your grandma might have done, and suddenly you see it with fresh eyes?
Like, maybe it felt a little dated before, a bit too prim and proper. But then, you see a modern twist, and your brain just explodes with possibilities?
That's exactly how I felt about paper quilling. For years, I kind of overlooked it, picturing intricate little flowers on dusty Victorian cards. But boy, was I wrong.
Lately, quilling is showing up everywhere in modern card design, and honestly, it’s giving me all the good vibes. It’s got this incredible texture and dimension that you just can't get with flat designs.
Today, we're going to dive into what makes quilling so special, why it's popping up again, and how you can totally get started with it yourself. We'll talk tools, techniques, and even a few common oops moments I've definitely experienced.
Why This Actually Matters
In a world absolutely swimming in digital messages and mass-produced greetings, a truly handmade card feels like a warm hug. It's a real, tangible connection.
You know, the kind of card someone actually keeps on their mantelpiece, not just glances at on their phone. That's where quilling shines.
It adds an undeniable "wow" factor, a depth that makes people pause and wonder, "How did they even do that?" It transforms a simple card into a tiny piece of art.
For me, it’s about putting a little bit of my time and my creativity into something for someone else. It's a personal touch that says, "I thought about you enough to make this."
And let's be real: making things with your hands is just good for the soul. It’s a quiet, focused activity that pulls you away from screens for a bit.
I mean, I spend a lot of my day online for HobbyRig, so having a craft that forces me to slow down and work with my hands? That's golden.
What Even is Paper Quilling? the Basics
Okay, so what are we actually talking about here? At its heart, paper quilling is the art of rolling, shaping, and gluing thin strips of paper to create decorative designs.
Think of it like drawing with paper, but in 3D. You take a long, skinny piece of paper, curl it around a tool, and then let it relax a bit before gluing it down.
The beauty of it is in how those simple coils and curves can be transformed into incredibly intricate patterns. You can make flowers, animals, intricate abstract designs – you name it.
Historically, quilling dates back to the 15th century, often done by nuns and monks to decorate religious items. They’d use feather quills (hence the name!) to roll paper.
Today, we use much simpler, more accessible tools. And the cool part? It looks super fancy and complicated, but the core techniques are actually pretty easy to pick up.
It’s a craft that rewards patience, sure, but you don't need years of experience to make something beautiful.
Why It’s Resurfacing Now
So, why the comeback? I think there are a few big reasons this old-school craft is finding new life in modern card making.
It totally aligns with the growing appreciation for handmade items. People are tired of everything looking the same, you know?
- Texture and Dimension - In a world of flat screens and printed images, quilling offers something truly tactile. It pops off the card, creating shadows and depth that grab your attention. This adds a visual interest that's hard to replicate with other techniques.
- Affordability and Accessibility - You don't need a huge, expensive workshop to start quilling. The basic supplies are incredibly cheap – paper, a simple slotted tool, and some glue. This makes it a great entry point for anyone wanting to try a new craft without a big investment.
- Mindfulness and Stress Relief - The repetitive motion of rolling paper can be really meditative. It’s a wonderful way to unwind and focus, much like knitting or even simple sketching. For me, it's a perfect antidote to a busy day.
- Customization and Personalization - Because you’re working with individual paper strips, the possibilities for unique designs are endless. You can match any color scheme, create any shape, and tailor a card specifically to the recipient's taste, making it truly one-of-a-kind.
- A Modern Aesthetic - Designers are using quilling in fresh, minimalist ways. Think bold, geometric shapes on a simple background, or a monochromatic design that emphasizes the texture. It’s not just about tiny flowers anymore; it's about art.
How to Actually do It: Getting Started with Quilling
Alright, ready to roll? This is the fun part. You’re going to be surprised at how quickly you can make some really cool stuff.
Don't worry about perfection right away. My first attempts at uniform coils were... well, let's just say they were "rustic." That's part of the process!
Step 1: Gather Your Basic Supplies
You really don't need much to get started, which I love. This is definitely a budget-friendly hobby. I found a starter kit with a tool, paper, and glue for about $10 online, or you can buy pieces individually.
You'll need: quilling paper strips (usually 1/8 inch wide, various colors), a slotted quilling tool (this is key for easy rolling), PVA glue (white craft glue works, just make sure it dries clear), tweezers (super helpful for handling tiny pieces), and a craft mat or wax paper (to protect your surface and prevent sticking).
Step 2: Learn the Basic Tight Coil
This is your foundation. Take a strip of quilling paper and insert one end into the slot of your quilling tool. Hold the paper taut with one hand and turn the tool with the other, rolling the paper around the tip of the tool.
Keep the edges even and tight as you roll. Once you’ve rolled the entire strip, gently slide the coil off the tool. Immediately apply a tiny dot of glue to the very end of the paper strip and secure it to the coil. This is your tight coil!
Step 3: Create a Loose Coil
The loose coil is just as important. Start exactly like the tight coil, rolling the paper around your tool. But instead of gluing it immediately after sliding it off, let the coil expand naturally.
You can even gently place it inside a circular template (many quilling boards have these) to control the size. Once it’s expanded to your desired looseness, glue the end. This allows for more organic shapes.
Step 4: Shape Your Coils Into Common Forms
This is where the magic happens! Once you have loose coils, you can pinch and shape them using your fingers or tweezers. A few common shapes you’ll use constantly:
- Teardrop: Make a loose coil, then pinch one side to create a point.
- Marquise (Eye): Make a loose coil, then pinch both opposite sides to form two points.
- Heart: Make a loose coil, pinch it into a marquise shape, then gently indent the top center with the back of your quilling tool or a toothpick.
- Leaf: Similar to a marquise, but gently curve the sides a bit.
Experiment! Pinching, bending, and gently nudging the paper will give you so many different forms. This is where you really start to see the creative potential.
Step 5: Practice Gluing Techniques
Less is definitely more with glue in quilling. You want a tiny, tiny amount. I often put a small dollop of PVA glue on a piece of wax paper and use a toothpick or the very tip of my quilling tool to pick up a tiny bit.
Apply the glue to the side of the coil where it will touch the card, or to the very end of the strip to secure it. Hold it in place for a few seconds. Patience here prevents frustration.
Step 6: Plan Your Card Design
Before you start gluing coils to your card, it's a good idea to sketch out your design. Do you want a simple flower? A geometric pattern? A border?
Cut out the paper shapes you think you'll need and arrange them on your card base without glue first. This lets you play around with the layout and colors before committing. I've definitely skipped this step and regretted it, ending up with awkward gaps.
Step 7: Assemble Your Quilled Design
Once you’re happy with your arrangement, start gluing your quilled shapes onto your card. Begin with the innermost shapes or the ones that form the foundation of your design.
Work slowly and deliberately. Use your tweezers to place the shapes precisely. Allow each glued piece to dry a bit before adding the next, especially if they are touching.
Step 8: Add Finishing Touches (optional)
Once your quilled design is complete and dry, you can add other elements to your card. Maybe a stamped sentiment, some glitter, or a simple border around your quilled art.
A touch of clear sealant can protect your quilling, especially if it’s going to be handled a lot, but for most cards, it's not strictly necessary. Let your quilling be the star!
Making It Stick: Common Mistakes & How to Avoid Them
Like any craft, quilling has a few little quirks that can trip you up. Don't worry, I've made all of these mistakes myself, probably more than once.
The key is to recognize them and adjust, not get frustrated and toss your perfectly good paper strips across the room (been there).
One of the biggest issues I see with beginners, and something I struggled with, is too much glue. Seriously, it's like a tiny, sticky superpower – a little goes a long way. If you use too much, your paper gets soggy, takes forever to dry, and can leave shiny, unsightly marks.
My tip? Put a tiny bead of glue on a scrap piece of paper, then use the tip of a toothpick or a clean quilling tool to pick up just a microscopic dot. Only apply where the paper absolutely needs to stick.
Another common hiccup is inconsistent coil tension. You want your coils to be relatively uniform if you're aiming for a symmetrical design. If some are super tight and others are loose, your finished piece can look a little lopsided.
Practice helps here, but also, try to keep an even pressure as you roll the paper. Don’t grip the paper too tightly or too loosely at the start. It's all about that gentle, consistent pressure.
Then there's the impatience factor. Oh, I know it well. You've just shaped a perfect teardrop, and you want to place it right now and move on. But rushing the drying process can lead to coils shifting or popping off later.
Give your glue time to cure! Especially when layering pieces. Go grab a cup of tea, scroll through HobbyRig for a few minutes, then come back. It'll be worth it, I promise.
Finally, a big one for new crafters: over-ambition. It's easy to see these incredible, elaborate quilled artworks online and want to jump right into making one. But that can lead to frustration when your first attempt doesn't match the Pinterest perfect image.
Start small. Make a few simple coils, then arrange them into a basic flower or a simple border. Build your skills piece by piece. You'll gain confidence and get to those intricate designs eventually.
"Every beautiful quilled piece starts with a single, perfectly rolled coil. Master the small steps, and the big designs will follow."
Frequently Asked Questions
What are the Absolute Essential Tools to Start Quilling?
You really only need three things to get going: quilling paper strips, a slotted quilling tool, and clear-drying craft glue (PVA glue is perfect). Tweezers are super helpful but not strictly essential for your very first attempts. You can honestly get a starter pack with all of these for under $15.
Is Paper Quilling Difficult for Beginners?
It looks more intimidating than it is! The basic techniques like rolling a tight or loose coil are quite simple to learn. The challenge comes with consistency and patience, but the core movements are easy. My first few flowers weren't perfect, but they were definitely recognizable and felt like an accomplishment!
How Long does It Take to Quill a Card?
This really depends on the complexity of your design. A simple card with one or two small quilled elements might take you anywhere from 30 minutes to an hour once you get the hang of it. More intricate designs, like a full quilled landscape, could easily take several hours over a few sessions. It's a great project to pick up and put down.
What Kind of Paper is Best for Quilling? Can I Just Cut My Own?
You can definitely cut your own paper, but I'd recommend starting with pre-cut quilling strips. They're specifically designed for this craft, usually 1/8 inch wide and a consistent weight, which makes them much easier to roll smoothly. Regular printer paper is often too flimsy, and cardstock can be too stiff. Specialty quilling paper is just right.
Can I Sell Quilled Cards I Make? is There a Market for Them?
Absolutely, there's a market for handmade cards, especially with the unique artistry of quilling! Many makers sell their quilled creations online or at local craft fairs. Just be mindful of your time and material costs when pricing your work. Start by making some for friends and family to get feedback and build your confidence.
How do I Make Sure My Quilled Elements Stick Firmly to the Card?
The trick here is using the right amount of glue and allowing ample drying time. Use a tiny dot of clear-drying PVA glue. Apply it to the edge or bottom of the quilled shape where it will contact the card. Hold it gently in place for about 10-15 seconds, and then let it air dry completely, ideally for at least an hour, before handling the card too much. Don't rush it!
The Bottom Line
Paper quilling isn't just a blast from the past; it's a super relevant, beautiful way to add texture and a personal touch to your cards and other paper crafts. It's affordable, accessible, and surprisingly meditative.
You don't need fancy equipment or years of experience. Just some paper, a simple tool, and a bit of patience. And maybe a willingness to make a few slightly wonky coils at first, just like I did. 😉
So, why not grab a few strips of paper and give it a try? Start with a simple tight coil, then a loose one. See what shapes you can make. I bet you'll be hooked! Happy quilling! ❤️
Related Posts
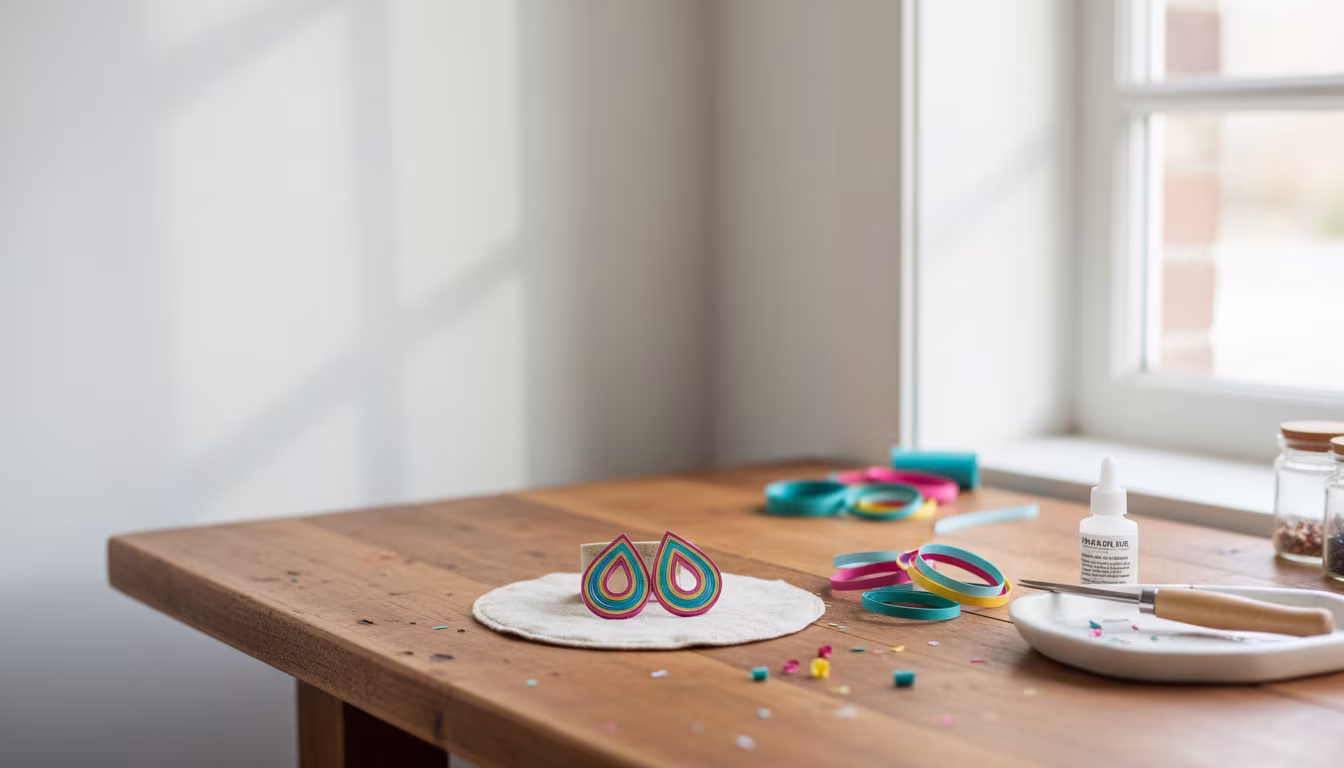
Why Quilling Earrings Are the Most Profitable Craft to Sell Online
Thinking about starting a craft business? You might be surprised to learn that delicate, colorful...
How to Build a Tabletop Kiln for Small Ceramic Projects
Dreaming of firing your own small ceramic creations at home? This beginner-friendly guide shows y...
How to Make Custom Wax Seal Stamps for Wedding Invitations
Dreaming of a truly unique touch for your wedding invitations? Craft your own custom wax seal sta...
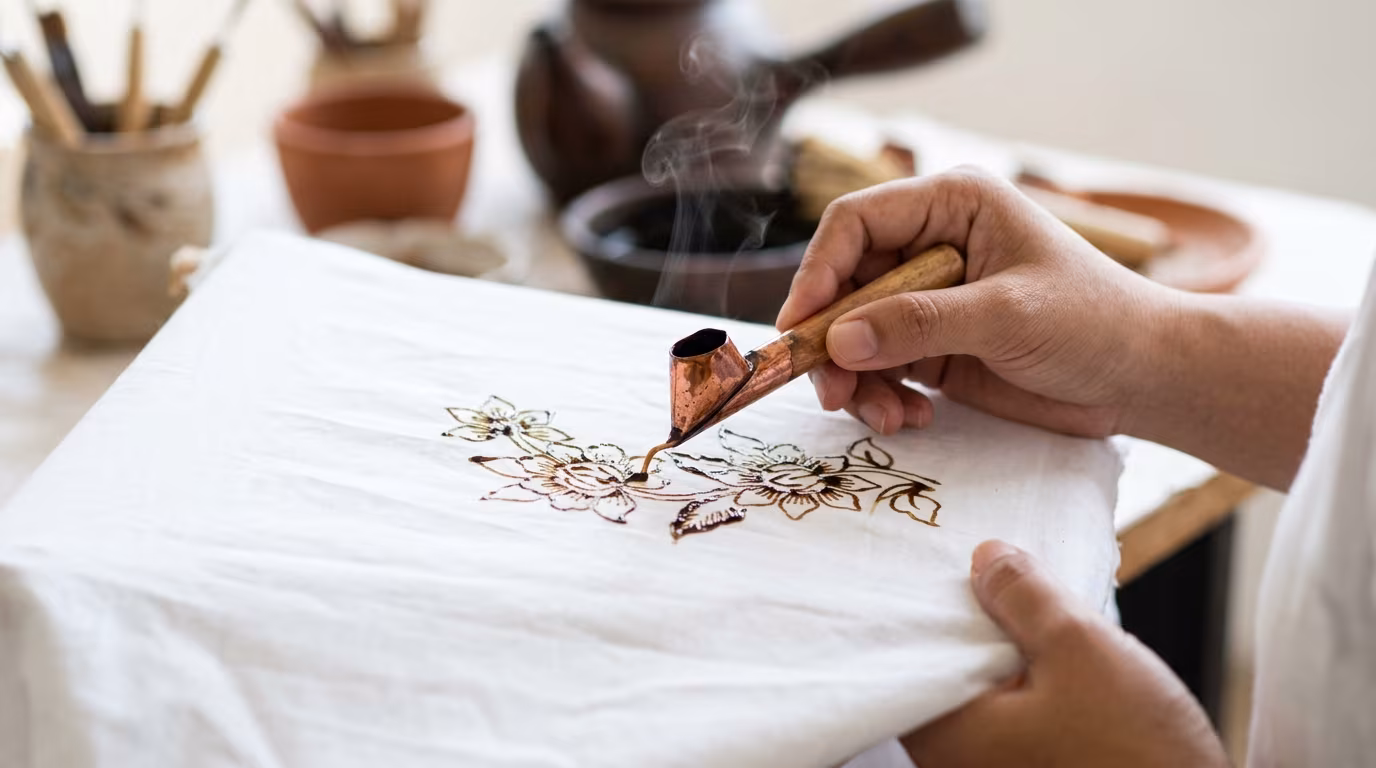
Why Batik Dyeing Creates the Most Unique Patterns on Cotton
Ever wondered how those intricate, one-of-a-kind designs appear on batik fabric? It's all in the ...