Why Limewash Paint is the Ultimate Minimalist Wall Transformation
Limewash gives a wall the soft, cloud-like depth of aged plaster or a faded fresco, something a flat coat of latex cannot reproduce. It is an old material, used across Europe for centuries, and it behaves nothing like modern wall paint, which is exactly why it delivers character and why it trips up first-timers. This guide covers what limewash is, how it compares to standard paint, the tools and technique that produce the cloudy finish, and the mistakes to sidestep.
What Limewash Is
Limewash is made from limestone that has been burned, slaked with water into lime putty, and aged. Once brushed on, the lime reacts with carbon dioxide in the air and carbonates back toward stone, a process that hardens the coating and makes it durable and breathable. That same chemistry is why whitewash and limewash grow stronger over time rather than sitting on the surface as a film. It dries to a matte, chalky finish with natural tonal variation, so the wall looks intentionally uneven, with subtle movement like watercolor or drifting cloud. Uniform flat color is not the goal; the irregularity is the point.
Limewash vs Standard Paint
Before committing a room, it helps to see how limewash differs from the latex most people know. The two are not interchangeable, from the primer up.
| Factor | Limewash | Standard latex |
|---|---|---|
| Finish | Matte, chalky, variegated | Uniform, from matte to gloss |
| Application tool | Large natural-bristle brush | Roller or synthetic brush |
| Primer | Breathable mineral primer | Standard latex primer |
| Breathability | Porous, lets walls breathe | Forms a plastic-like film |
| Coats | Usually two, sometimes three | Typically two |
| Cure time | Days to weeks to fully harden | Hours to touch, days to cure |
| Cost per gallon | Roughly $60 to $70 | Roughly $40 to $50 |
The higher cost and slower process buy an artisanal, high-end look that latex cannot fake cheaply, which is why limewash pairs well with minimalist and Wabi-Sabi interiors that rely on a quiet, textured use of negative space.
Why Makers Reach for It
Beyond the look, limewash has practical draws. Most brands use natural pigments and carry very low or zero VOCs, which helps indoor air quality if you are sensitive to paint fumes. It is breathable, so unlike a latex film it lets moisture move through the wall, a real advantage in older homes and damp-prone rooms where it helps discourage mildew. And it is durable once cured: it does not chip or peel the way film paints can, and it continues hardening as it carbonates. In a high-traffic living room it holds up to daily wear, and a damp cloth clears most minor marks.
How to Apply It, Step by Step
The technique is different from rolling on latex, but forgiving once you stop chasing perfection. You are building organic variation, not flat coverage.
Prep the Walls
Clean thoroughly to remove dust, dirt, and grease; a damp cloth with a little dish soap handles most walls. Fill holes and cracks, sand smooth, wipe off the dust, and let everything dry fully. Skipping prep shows through the thin, translucent coats.
Use the Right Primer
This is where beginners most often fail. Limewash needs a breathable mineral primer, sometimes sold as an alkali-resistant or limewash primer, which leaves a slightly absorbent surface the lime can bond to and react through. A standard latex primer seals the wall too tightly and forces a flat, patchy result. Apply one or two coats per the maker's instructions and let it dry, usually a full 24 hours, before the limewash.
Stir, Then Brush
Limewash separates more than latex, with pigment and lime settling to the bottom, so stir it well with a stick before starting and keep stirring every few minutes as you work. Do not use a mechanical paint shaker, which whips in air. Skip the roller too: reach for a large natural-bristle masonry brush, roughly 4 to 6 inches wide, which holds more material and lays the cross-hatched, irregular strokes that create the cloudy effect. A quality 5-inch brush runs around $25 and is worth it.
Apply the Coats
Dip the brush without overloading it and work in loose, random, overlapping strokes, thinking in X or W patterns rather than straight lines. Move in small sections of about 2 by 2 or 3 by 3 feet, keeping a wet edge and blending strokes into one another. The first coat looks thin, transparent, and streaky; that is expected, and it dries lighter and more opaque. Wait 8 to 12 hours, or overnight, then apply the second coat with the same random strokes. This layer intensifies the color and brings out the multi-dimensional, cloud-like depth. Resist touching up an area once it starts to set, since going over partly dry limewash leaves brush marks.
Curing and the Final Look
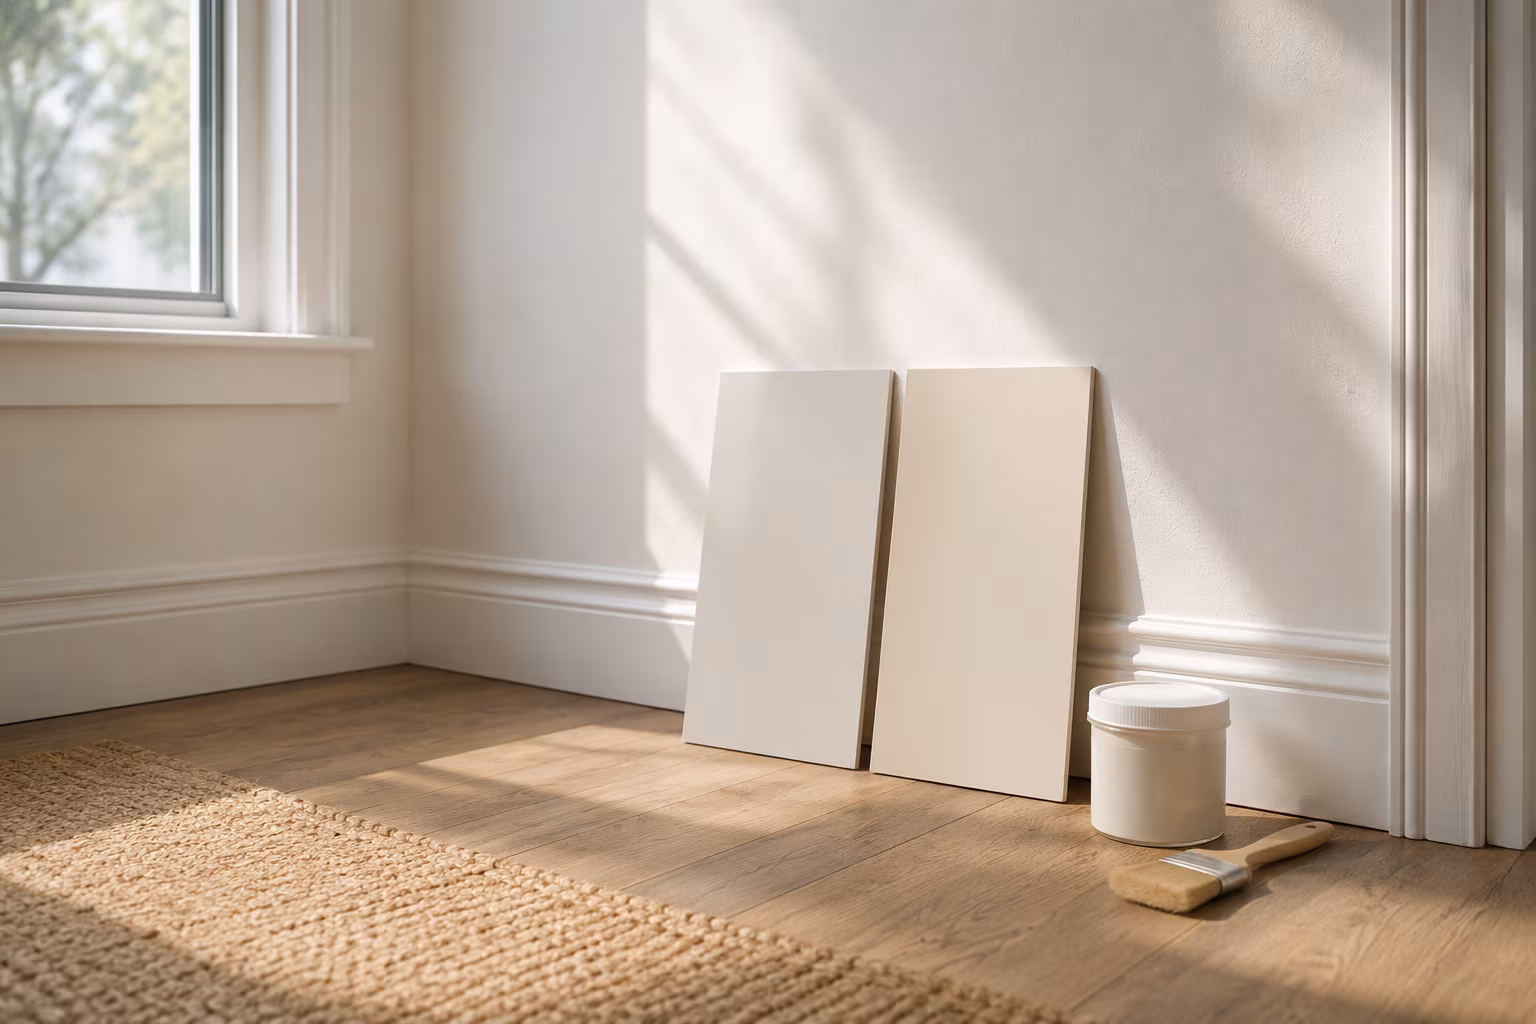
After the last coat, limewash needs time to cure, anywhere from a few days to a few weeks depending on humidity and ventilation. During that window it keeps reacting with the air, hardening into its full chalky matte finish, and the color may deepen or shift slightly as it carbonates. Because of that, colors dry noticeably lighter than they look wet, so judge only cured samples, not the bucket. The reward is a wall with genuine texture and quiet movement that changes subtly as the light shifts through the day.
Common Mistakes to Avoid
A handful of errors account for most disappointing results. The biggest is skipping the correct primer; a latex primer or bare wall will not let the limewash adhere or carbonate properly, giving patchy or peeling coverage. The second is applying too uniformly out of habit, which reads as streaky rather than cloudy, so embrace the irregular strokes. The third is using a roller or a small synthetic brush, neither of which produces the varied texture a wide natural-bristle brush does. The fourth is failing to test a patch: paint at least a 2 by 2 foot area, let it dry through both coats, and view it in different light before committing. The fifth is stirring too rarely, which lets the pigment and lime separate and leaves visibly inconsistent color.
Where It Works Best
Once cured, limewash suits living rooms, hallways, bedrooms, and even light-commercial walls, and its breathability lets it handle bathrooms and kitchens better than many paints, though it is not built for vigorous scrubbing or direct water splashes. For a shower surround or a sink backsplash, add a compatible breathable sealer; for general walls in those rooms it delivers a calm, spa-like feel. If you want to change color later, you do not strip limewash off, you prime over it with a compatible primer to create a fresh surface. For a first attempt, start with a single accent wall to learn the rhythm before committing a whole room, the same low-risk approach that makes peel-and-stick accent walls a safe way to test a look. For a manufacturer's color range and technique notes, Farrow & Ball is a useful reference.
Related Posts
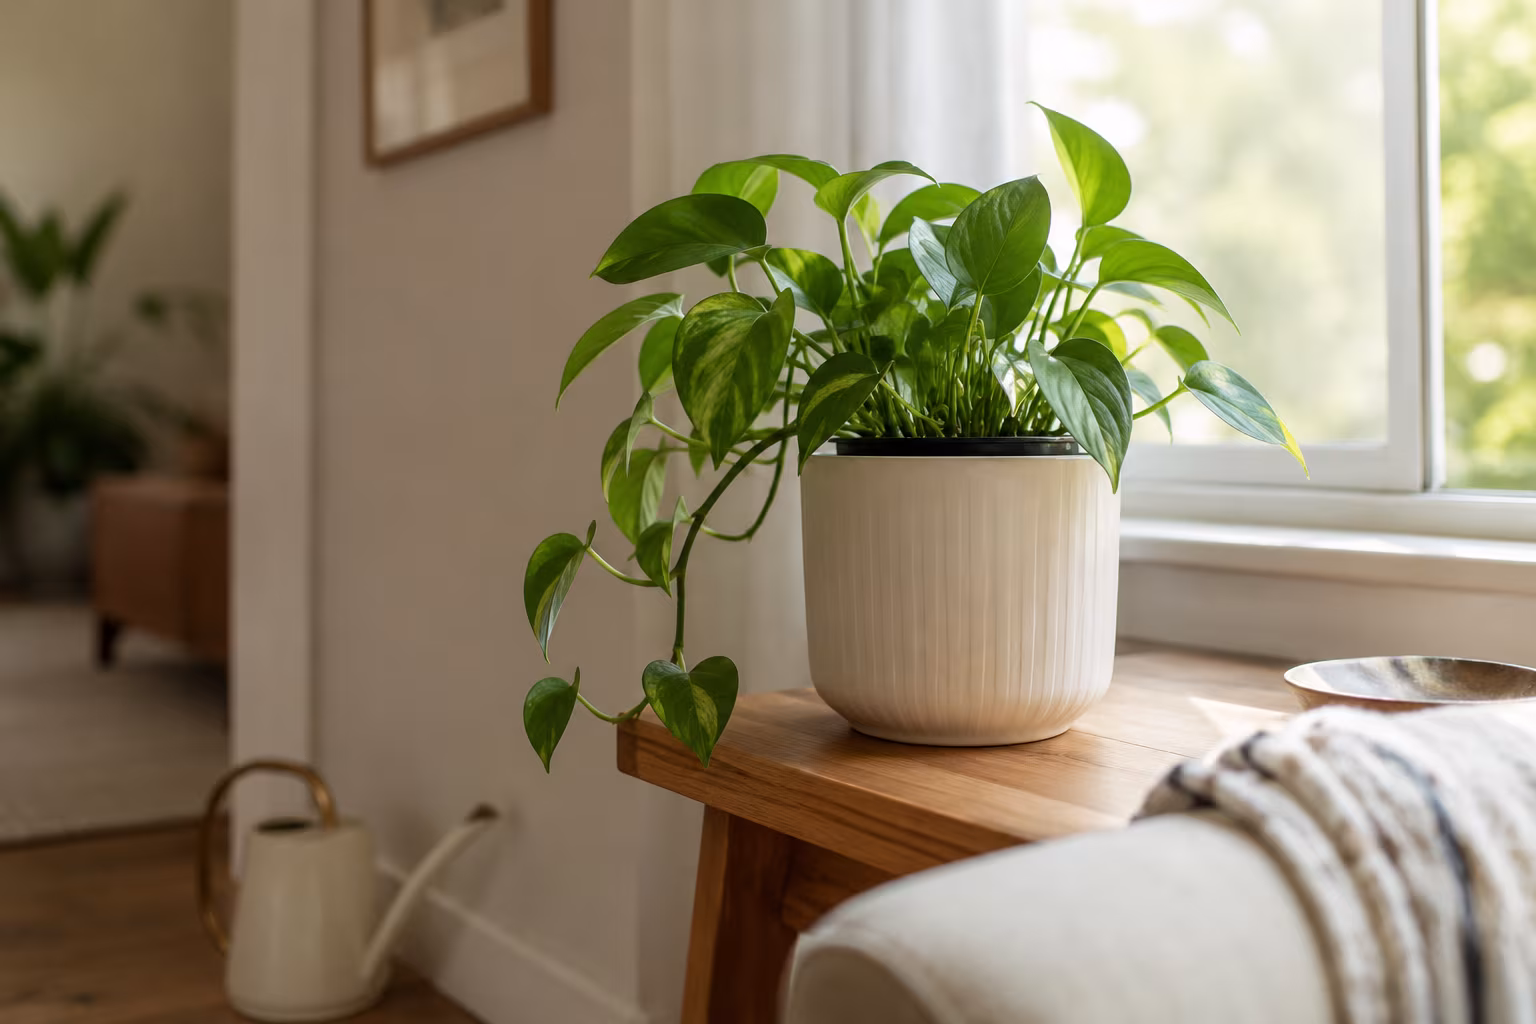
Indoor Plant Pot with No Drainage Hole: How to Make It Work
A no-drainage pot rots roots fast. Use the double-pot method, skip the gravel myth, pick...
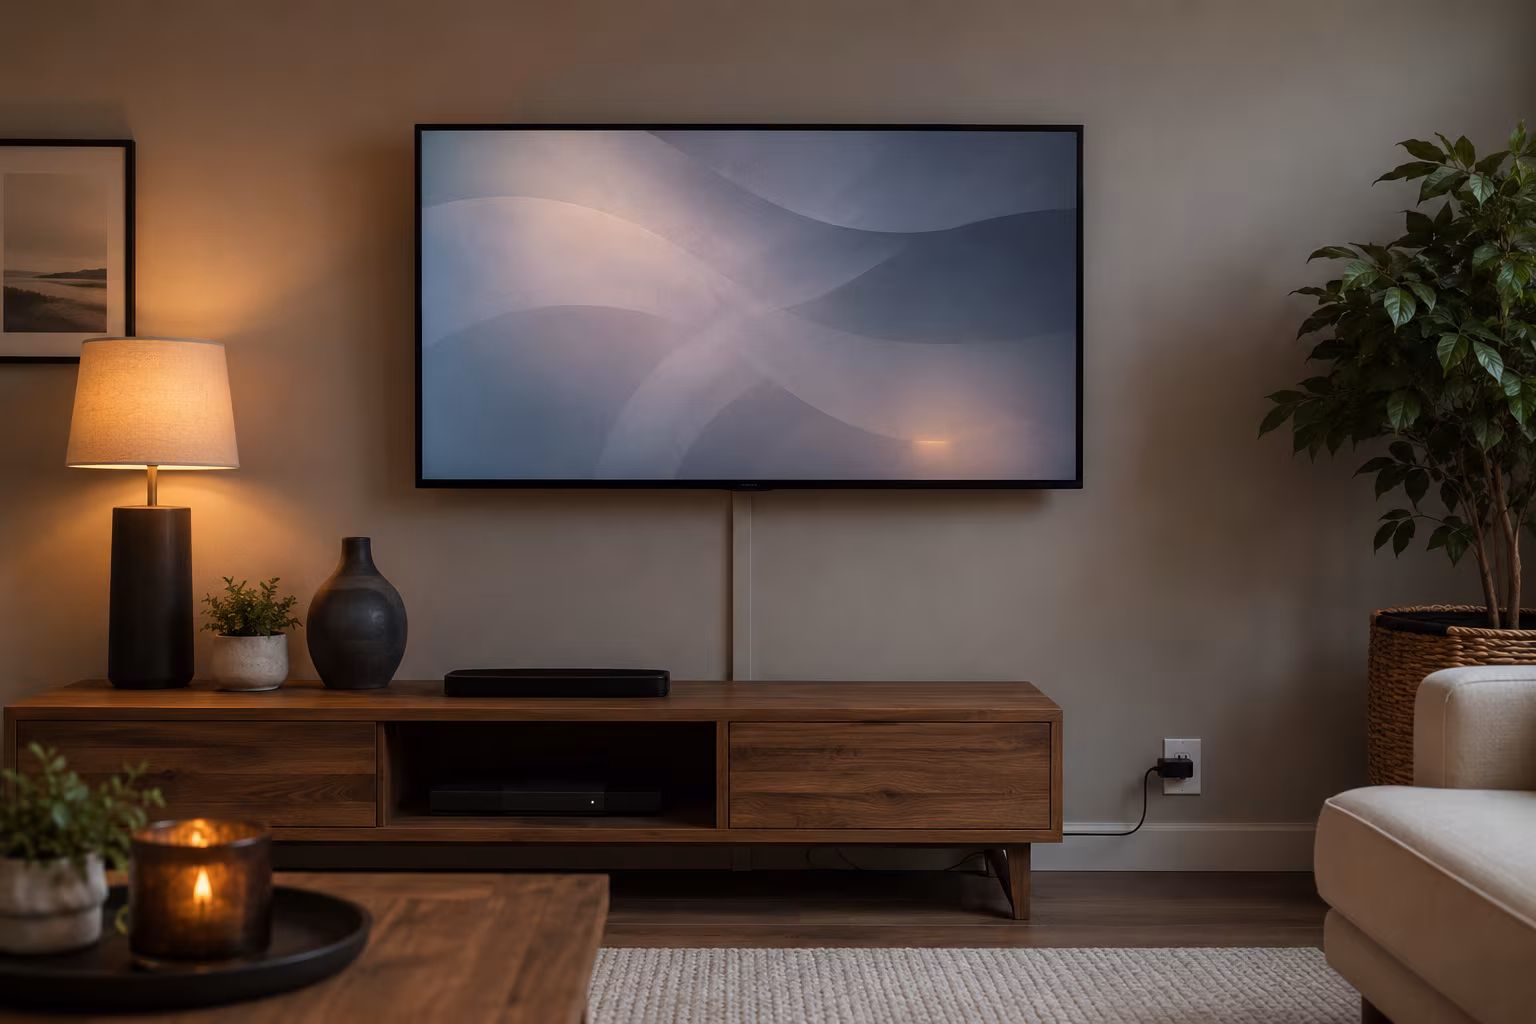
Hide TV Cable Clutter Renter-Safe Without Drilling
Hide a wall-mounted TV's cables without drilling: a paintable adhesive raceway to the outlet, a...
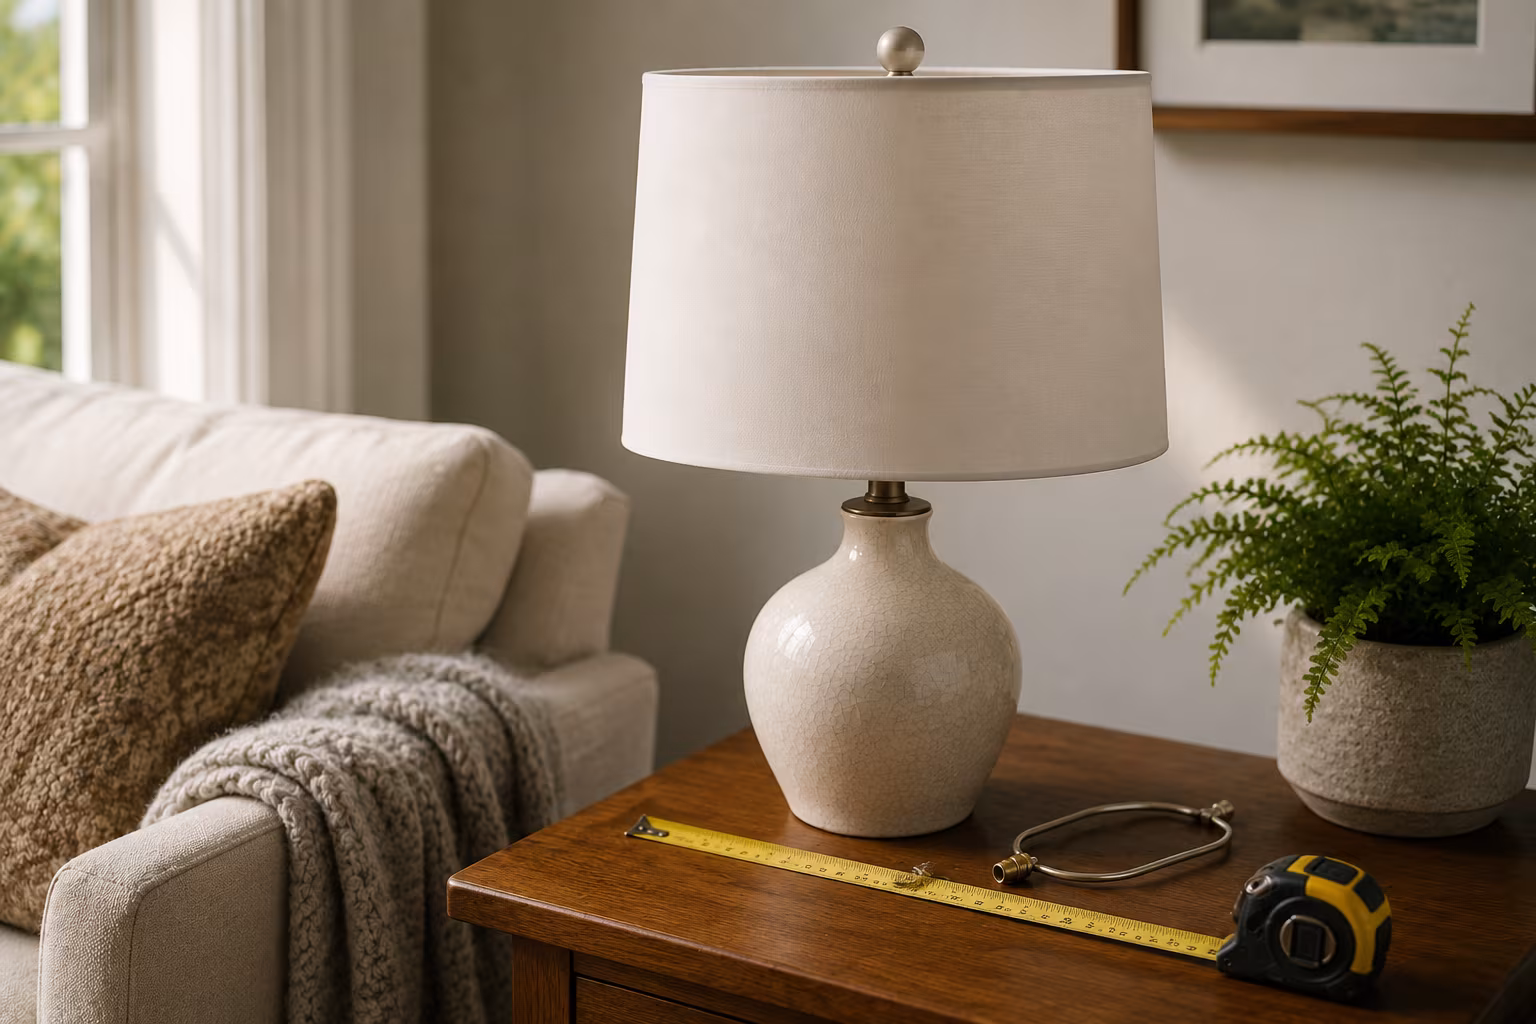
Lampshade Sizing: Harp, Bulb, and Drum Math Explained
Lampshade fit is three numbers: harp height near shade height, 3.5 inches of bulb clearance, and...
Color-Match Trim Paint to Existing Off-White Walls
Matching trim to aged off-white walls is about undertone, not lightness: cut a real chip, have...