
Bathtub Resealing: When Silicone Beats Caulk and Vice Versa
The short answer
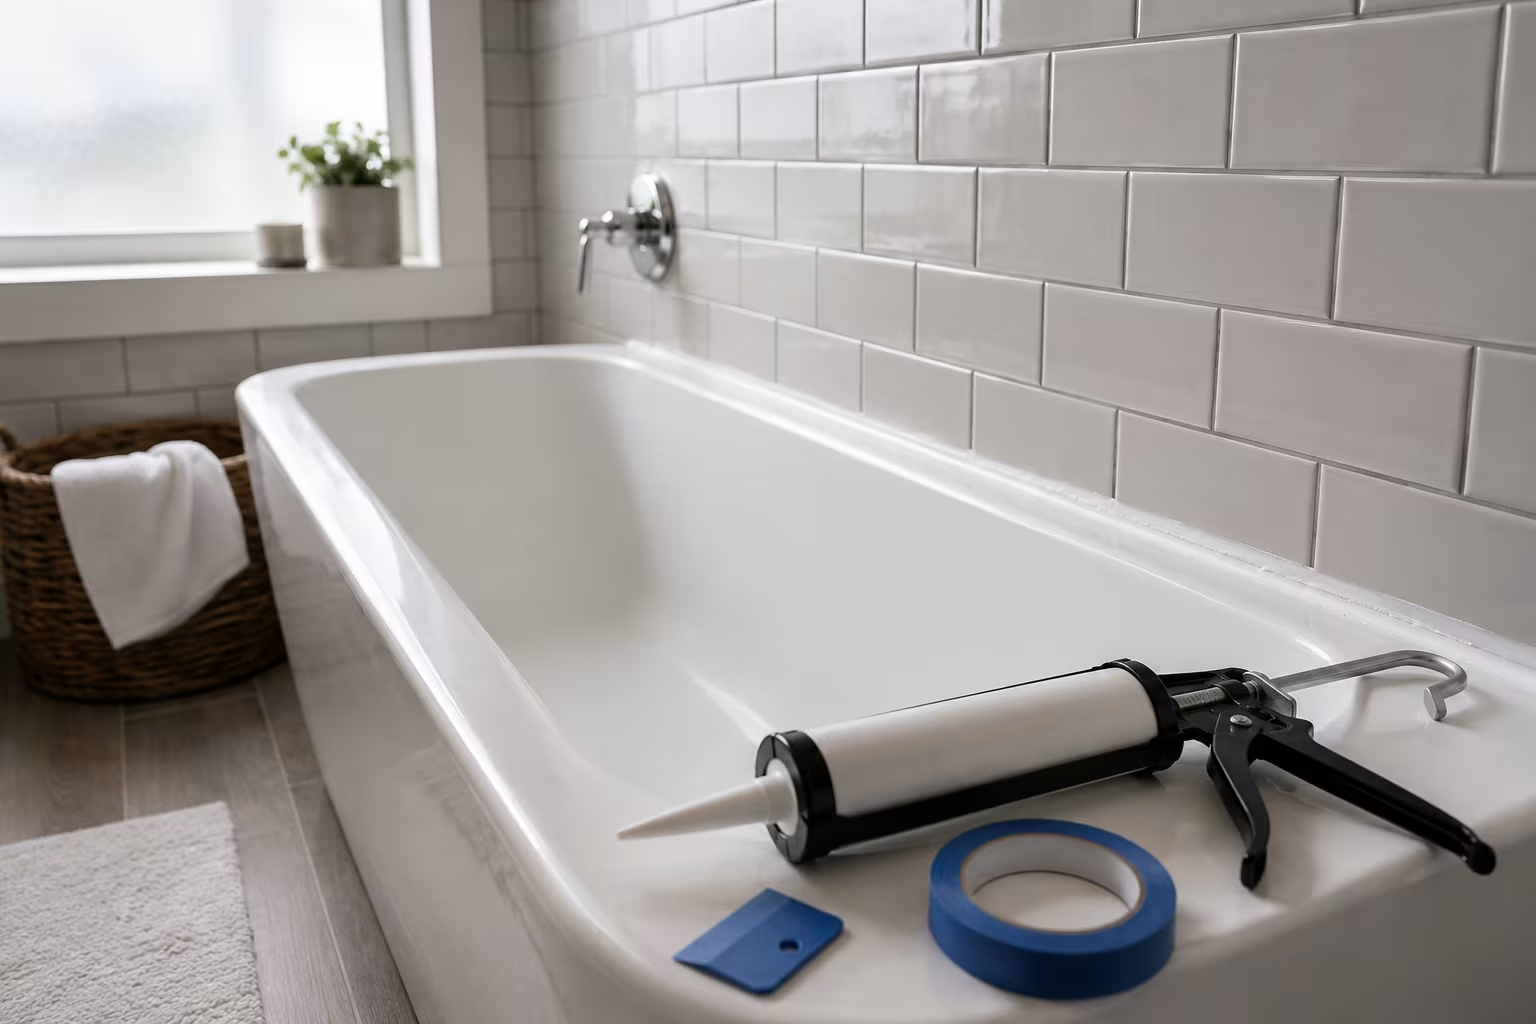
For the joint where a bathtub meets a tile or stone surround, use 100% silicone sealant — not acrylic caulk, not siliconized acrylic, not anything else sold as "caulk." The tub joint moves slightly every time the tub fills, flexing under several hundred pounds of water and body weight, and silicone is the only sealant both flexible and waterproof enough to survive that movement year after year.
Acrylic caulk has its place around a bathroom — at baseboard edges, on wood trim near but not in the wet zone, on painted surfaces you want to paint over. But at the actual tub-to-wall joint, silicone wins with no close runner-up. The fix for a failing seal is to remove the old material completely, clean and dry the joint, and apply fresh 100% silicone with proper technique. Half-measures — caulking over old silicone, patching a gap without full removal — fail again within months because the real problem was never resolved.
What makes the tub seam unique
The joint does two jobs at once: it keeps water from running behind the tub during a shower, and it accommodates movement between the tub, which flexes under load, and the wall, which stays rigid. Water exposure is constant — even with a curtain or door, the joint sees standing water during baths and spray during showers, and any failure lets water reach the cavity behind the tub, where it slowly damages drywall, framing, and floor structure.
Movement is the harder requirement. A cast-iron or steel tub flexes a small but real amount when filled with water and a person, and the joint has to bend with it without breaking. Rigid materials such as cement or acrylic caulk crack within weeks; flexible silicone bends back and forth indefinitely. Together, constant water and constant movement rule out most general-purpose sealants and leave 100% silicone as the only material with both properties.
Why caulk and siliconized acrylic fall short
Acrylic latex caulk is made for stable joints in dry places. It dries fairly rigid, paints well, and smooths easily — none of which helps in a tub joint. When it flexes with the tub's movement it cracks, cracks let water through, the water reaches the back of the bead, adhesion fails, and the joint lets go. Within months of installation acrylic caulk in a tub joint shows visible cracks, and within a year water damage may already be forming behind the tub.
Siliconized acrylic — a hybrid marketed for kitchens and baths — is slightly more flexible than pure acrylic but still falls short of pure silicone at the tub joint. It is acceptable for low-stress spots such as around a vanity top, where movement is minimal. The marketing language matters less than the actual material: look for "100% silicone" or "pure silicone" on the tube, because "tub and tile caulk" is ambiguous and covers both real silicone and siliconized acrylic depending on the brand. Read the ingredient line.
Removing the old seal completely
New sealant cannot bond over old, and silicone in particular bonds poorly to any surface carrying silicone residue, so full removal is the first real job. Score the old bead along both edges with a sharp utility knife or a dedicated silicone-removal tool to release it from the tub and the wall, then pull it away in strips — most failing bead comes out in long pieces with patient pulling, and needle-nose pliers grip the stubborn segments.
Residue always remains on both surfaces. A silicone digester (DAP Silicone Be Gone, McKanica, or a generic equivalent) softens it chemically; apply per the instructions, wait the stated time, and scrape clean with a plastic scraper. For the last film, wipe with denatured or isopropyl alcohol on a clean cloth until both surfaces feel clean to the touch. Then let the joint dry completely — water trapped in the joint or in porous grout blocks adhesion. Twenty-four hours with the room ventilated is usually enough, longer if the grout absorbed water during cleanup.
Applying fresh 100% silicone
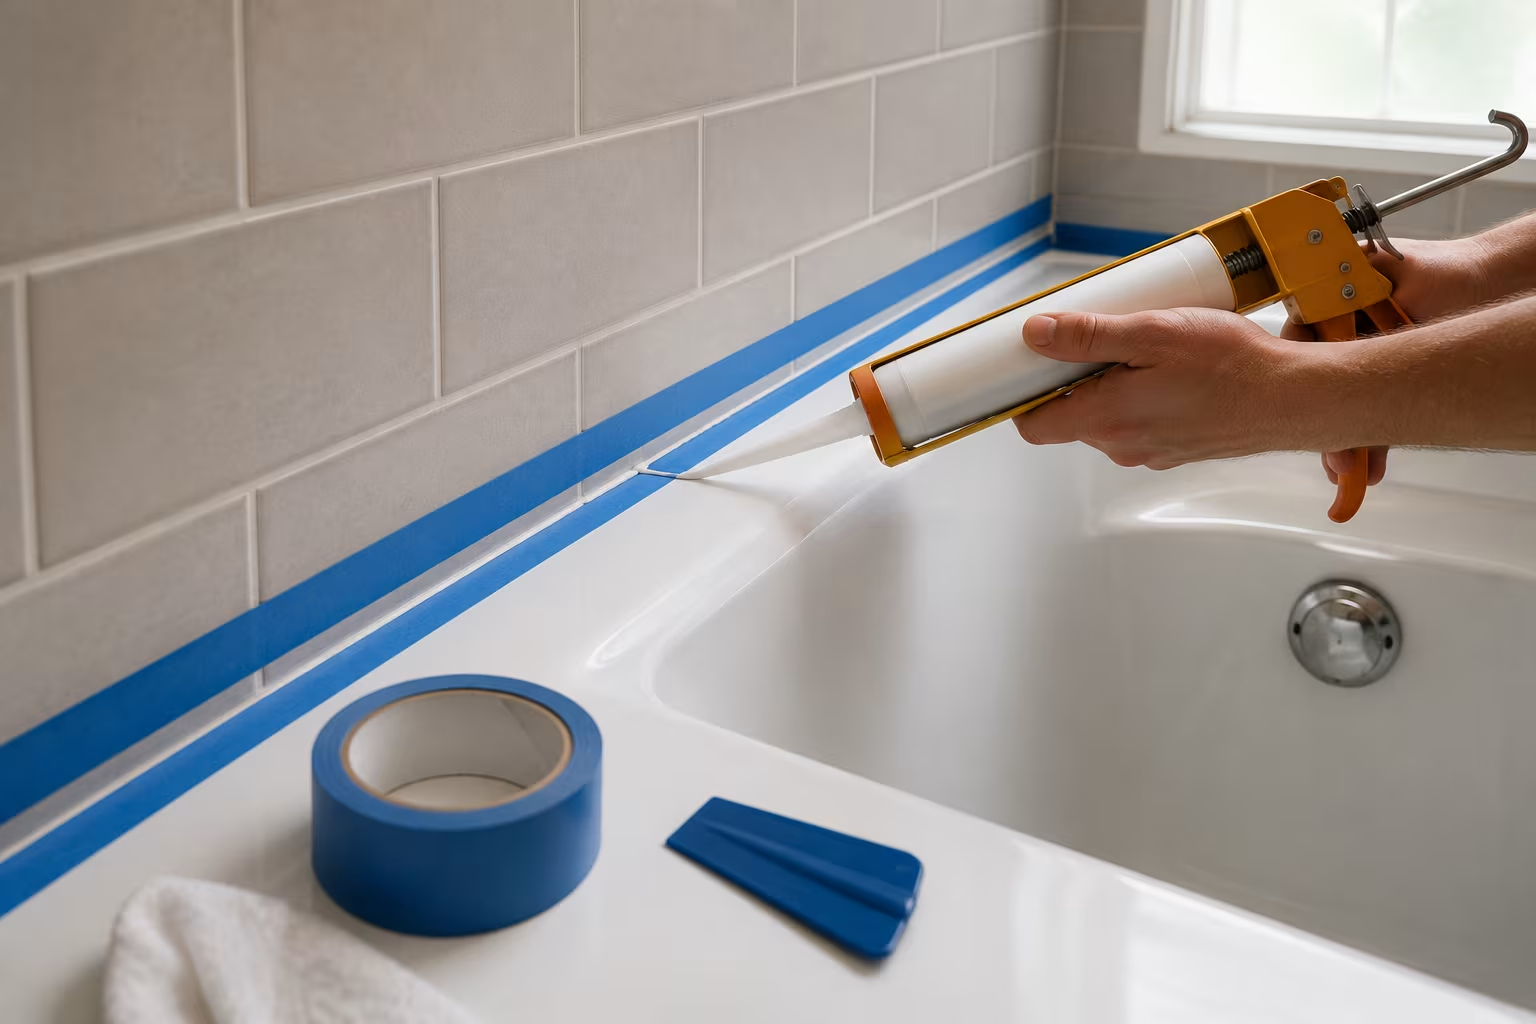
Application matters as much as product choice. Tape both edges of the joint with painter's tape, leaving a gap that matches the bead width you want — typically 1/4 to 3/8 inch. Cut the tube tip at a 45-degree angle sized to roughly that bead width; a smaller opening gives more control, a larger one fills faster. Run the bead in a single continuous motion along the whole joint, since stops and starts create weak points, holding the gun at about 45 degrees and pushing rather than pulling so the silicone is forced into the corner instead of laid across the surface.
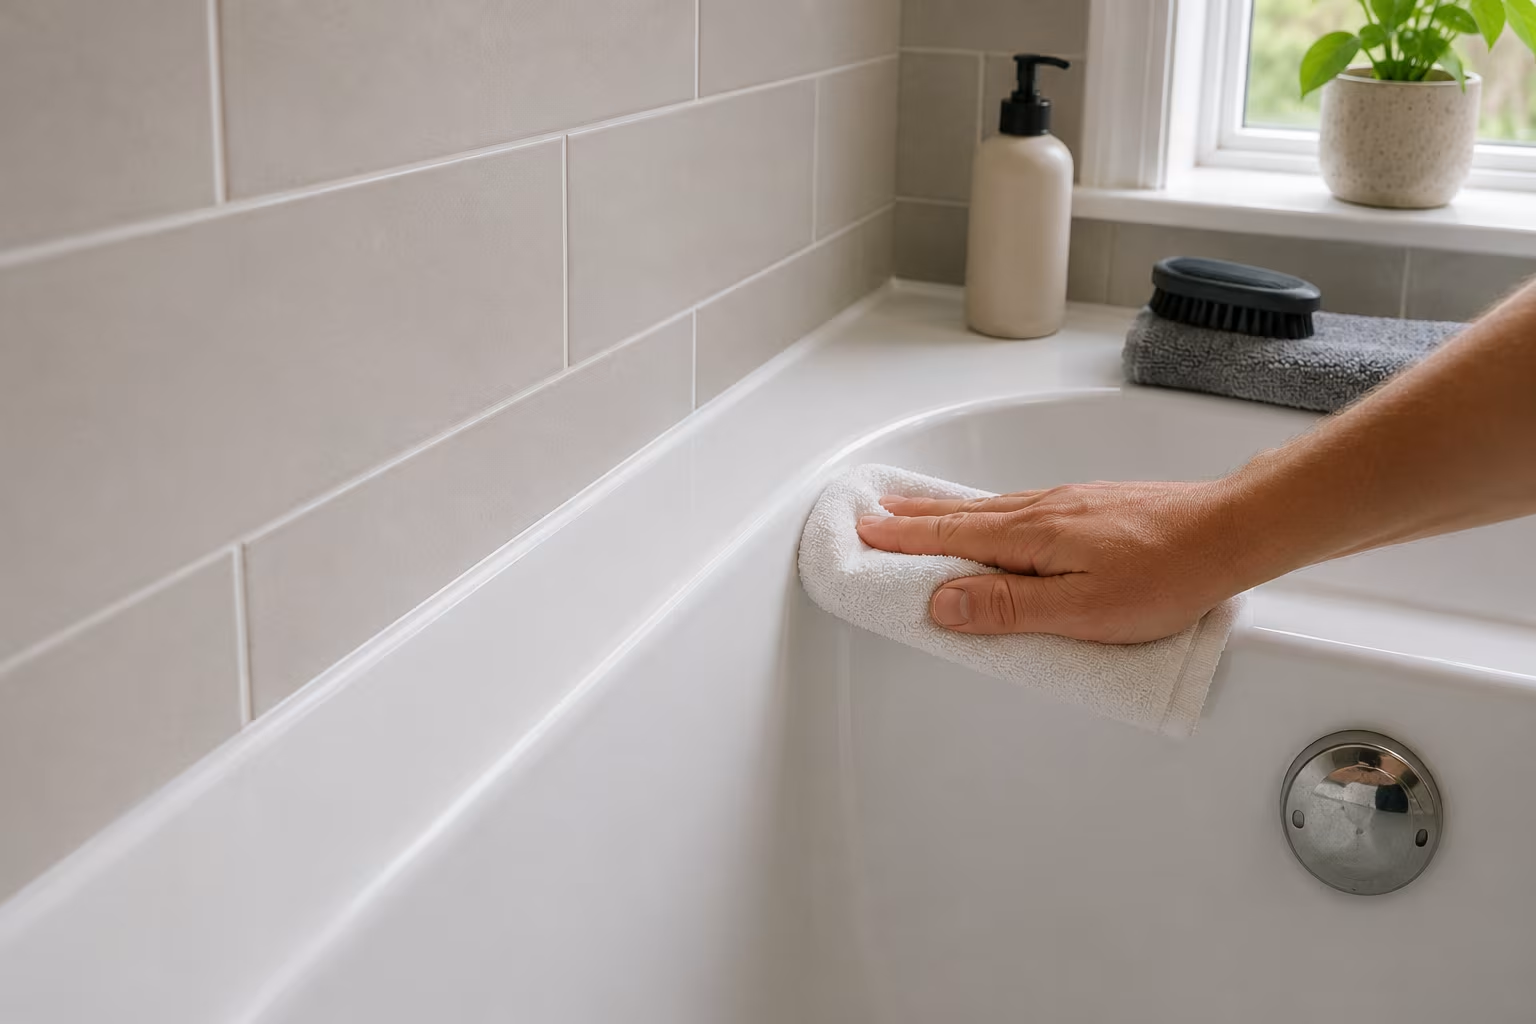
Smooth the bead immediately while wet with a wet finger, a silicone smoothing tool, or a damp cloth over a fingertip; the smoothing presses silicone into the joint and forms a clean fillet. Pull the painter's tape away right then, while the silicone is still wet, at a 45-degree angle away from the bead, so it lifts the excess and leaves a sharp edge. Then wait the full cure time before any water touches the seal — standard cure is 24 hours for full waterproof strength, though some fast-cure silicones reach it in 4 to 8 hours. Read the label and respect it, because showering early washes the bead out and you start over. A common failure is smoothing with a dry tool, which drags the silicone into ridges; the finger or tool must stay wet.
Colour choice and product labels
Silicone comes in clear, white, almond, biscuit, and a few coloured options. White suits white tubs and most tile; clear suits most tile colours but shows the joint behind it, including any imperfect cleanup, so clear rewards thorough removal while white hides residue the old material left behind. Coloured silicones meant to match grout exist from specialty sources, but the match is usually approximate, and for most homes white is the safe default.
On the label, "100% silicone, mildew-resistant" is the right choice for the tub joint, with anti-mildew additives that slow black mold on the bead surface. Acrylic latex caulk belongs on trim and baseboards, not tub joints. Hybrid sealants like MS polymer or polyurethane work in many settings but the standard tub joint does not need their cost or complexity. The same logic carries into non-traditional bathrooms: RV, trailer, and boat showers take the same 100% silicone, but a marine-grade formula handles constant moisture and travel vibration better than the household version, and the extra cleaning and dry time before application matter even more where the joint gets shaken on the road.
Bigger problems and ongoing maintenance
Sometimes the failed seal is a symptom of something larger. A gap wider than about 1/2 inch leaves the bead spanning unsupported distance and prone to tearing; press a foam backer rod into the joint before sealing to support it and reduce the silicone depth needed. A tub that is not properly secured shifts more than silicone can tolerate, so shim or re-secure it before resealing. And if the seal failed long ago, the cavity behind the tub may already have moisture damage — resealing does not undo softness or staining in the wall, which needs a more involved repair.
A correctly applied 100% silicone seal lasts five to ten years in normal use, and simple habits extend it. Wipe the bead dry after each shower, since standing water speeds mildew even on anti-mildew silicone. Clean monthly with a non-abrasive cleaner and avoid harsh solvents that soften silicone or strip its additives. Inspect the bead once a year for cracks, gaps, or lifting edges, and when widespread failure begins, remove and replace the entire bead rather than patching — patches do not hold reliably, and a small failure caught early is far cheaper than the cavity damage a late one causes.
Silicone vs. caulk, settled:
| Question | Answer | Why |
|---|---|---|
| Tub-to-tile joint | 100% silicone, always | constant water + constant movement |
| Label check | “100% silicone” / “pure silicone” | marketing words matter less than the material |
| Bead width | 1/4–3/8 inch, taped both edges | cut the tip at 45° to match |
| Failing seal | remove ALL old material first | fresh silicone over old fails again |
Related Posts

Toilet Seat Slow-Close Hinge Replacement
A broken slow-close hinge makes the toilet seat slam or fail to stay up. Replacement is a...

Drywall Corner Bead Replacement After Damage
Damaged drywall corners with dented or split corner bead show ugly visible damage. The...
Strip Painted Brass Hardware Without Eating the Patina
The slow-cooker method strips paint from brass cleanly while keeping the aged surface intact....
Fix Squeaky Hardwood Floors From Above (No Access)
Fix squeaky hardwood floors from above with no access below: talcum powder for board-on-board...
Comments
No comments yet. Be the first to share your thoughts!