Painter's Tape for Crisp Lines on Textured Wall Surfaces
The short answer
Standard blue painter's tape (Scotch Blue, ScotchBlue Original, and similar consumer-grade tapes) bleeds heavily on textured walls because the texture creates tiny channels under the tape edge that paint flows through. The tape that works on textured surfaces is a specialty product — FrogTape Pro Grade, Scotch Rough Surface Painter's Tape, or ScotchBlue Sharp Lines — engineered with stronger edge adhesives or paint-blocking technology.
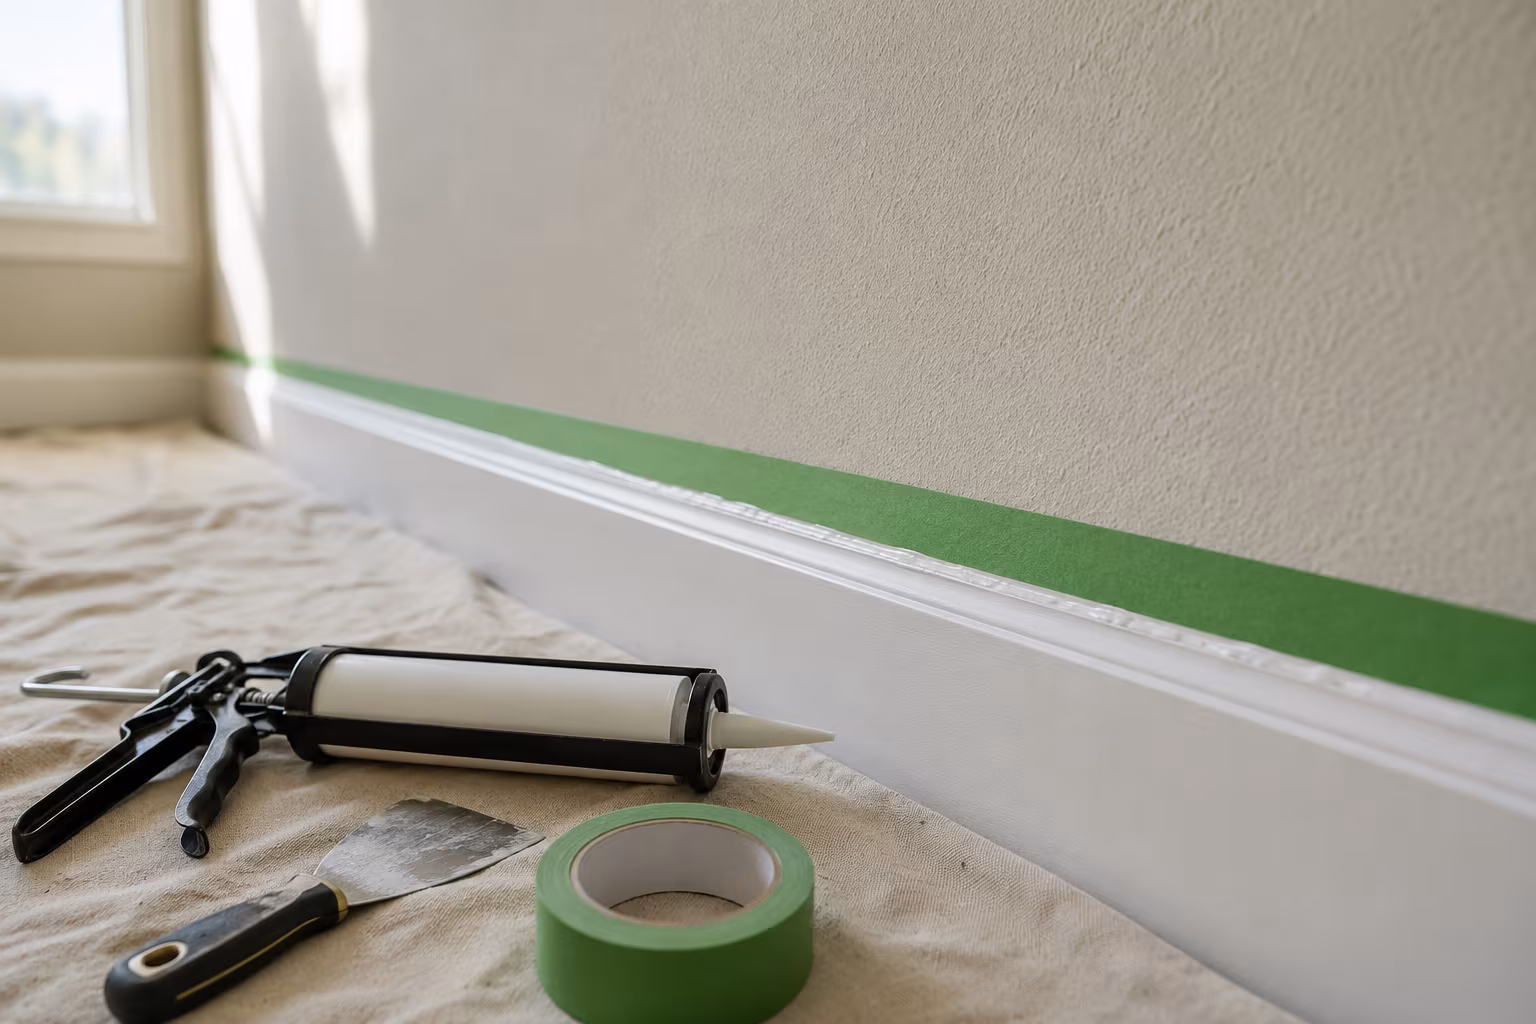
Even the right tape needs a sealing step for textured walls. The most reliable technique is to apply the tape, press the edges firmly with a putty knife, then run a thin bead of paintable caulk along the tape edge. The caulk fills the texture's tiny valleys; the tape's adhesive holds against the wall surface. Pull the tape at the right time (paint still wet) and the line is crisp.
For the deepest textures (heavy knockdown, brick, stucco), no tape alone gives a perfect line. The caulk seal step is mandatory; sometimes a finishing touch-up with a small brush is needed regardless.
Why textured walls defeat standard tape
Painter's tape works by pressing flat against a smooth surface and creating a paint-impermeable barrier along the edge. On a smooth wall, the tape edge sits flush against the wall and paint cannot get under it.
On a textured wall, the texture creates microscopic peaks and valleys. The tape lies across the peaks; the valleys remain open as small channels under the tape edge. When you paint the unmasked side, paint flows into these channels and bleeds under the tape, leaving a fuzzy edge.
The depth of the bleed depends on the texture's depth. Light orange-peel textures bleed less; heavy knockdown or skip-trowel textures bleed more; brick or stone surfaces bleed dramatically.
The tape choices that actually work
FrogTape Pro Grade. Contains "PaintBlock" technology — a polymer in the tape's adhesive that activates with moisture from the paint and forms a barrier at the tape edge. Works on most light to medium textures. Brand-name and slightly more expensive than basic blue tape; in our experience the price difference is worth it for textured surfaces.
ScotchBlue Sharp Lines Painter's Tape. Edge-Lock technology — a different chemistry that creates a similar paint-blocking edge seal. Performance is comparable to FrogTape; the choice between them is mostly brand preference.
Scotch Rough Surface Painter's Tape. Specifically designed for rough or textured surfaces (concrete, brick, stucco, deeply textured walls). Stronger adhesive than smooth-wall painter's tape. The right choice for the toughest textures.
Standard blue painter's tape. Acceptable for very light textures and smooth walls. Will bleed visibly on anything with real texture; not recommended for textured walls if a crisp line matters.
The price difference between basic and specialty painter's tapes is real but small per linear foot, and the time saved on touch-up afterwards justifies the upgrade. For a typical room (say, taping baseboards, crown molding, and a few corners), the tape cost difference is small in total.
The caulk-edge-seal technique
For textured walls, the most reliable crisp-line technique combines specialty tape with a caulk seal at the tape edge. Steps:
Clean the wall along the line where the tape will go. Wipe with a slightly damp cloth and let dry fully. Dust and debris in the texture's valleys interfere with both tape adhesion and caulk seal.
Apply the painter's tape along the desired line. Press firmly along the entire length with a putty knife or plastic spatula. The pressure pushes the tape's adhesive into the texture's valleys.
Run a thin bead of paintable acrylic latex caulk along the tape edge on the side that will be painted. Use a caulking gun with the tip cut to a small opening. Smooth the caulk bead immediately with a damp finger or a small smoothing tool — the goal is a thin uniform fillet, not a thick bead.
Let the caulk dry to touch (5-15 minutes for most paintable caulks). Then paint the wall in the colour you want, painting right up to and over the caulk bead.
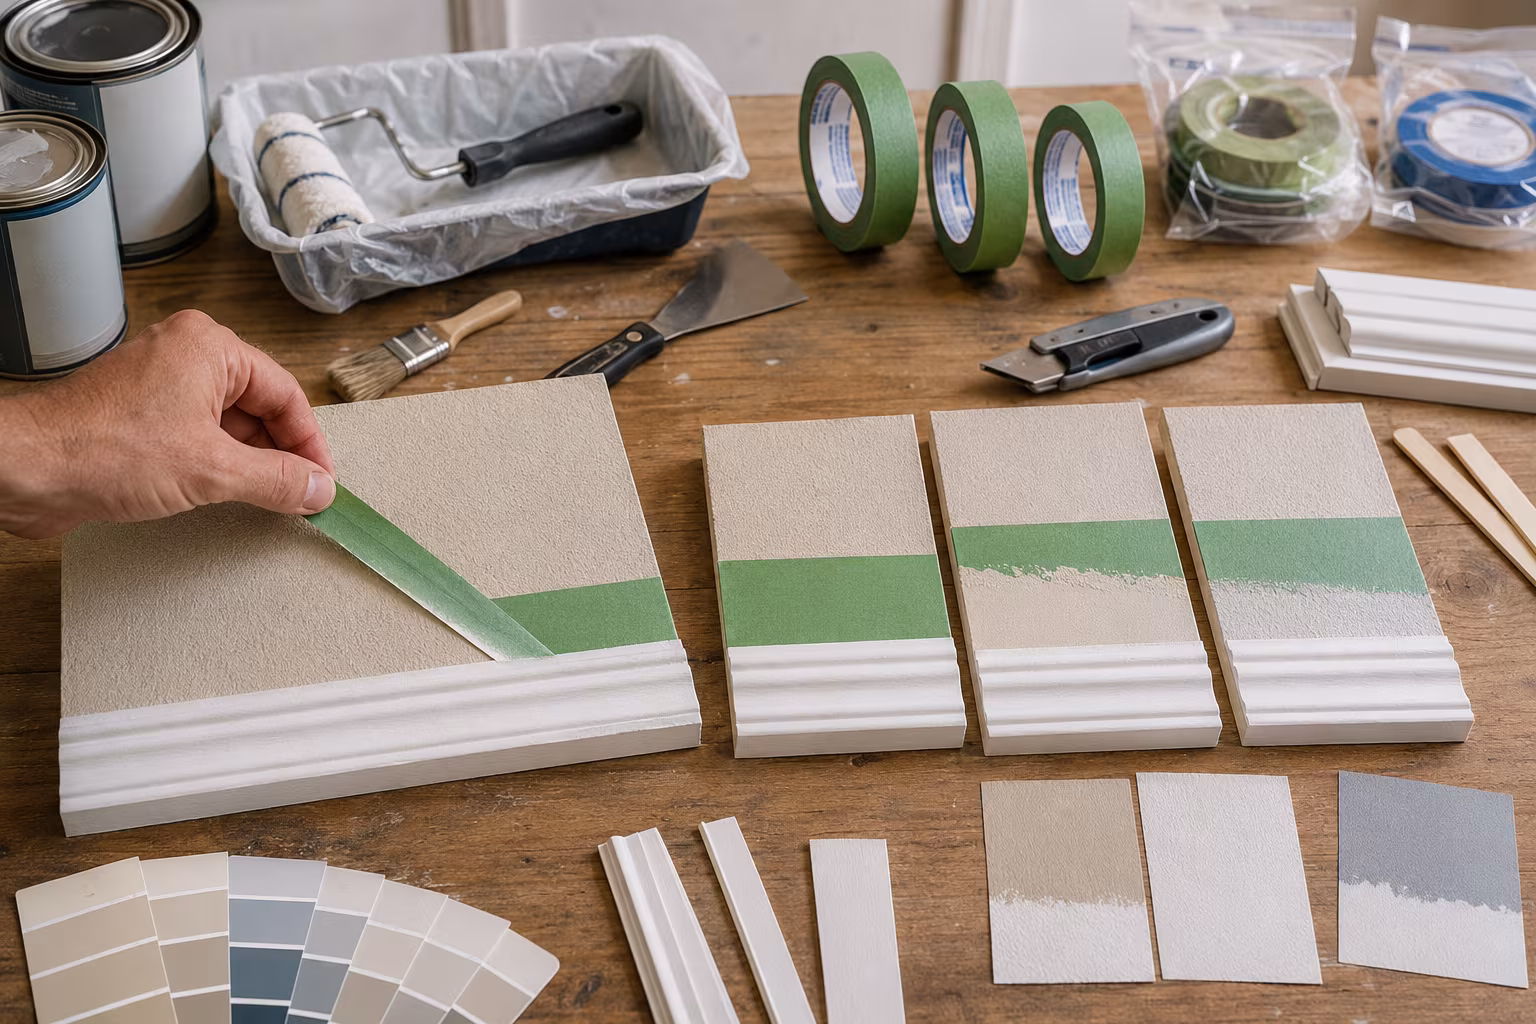
Remove the tape while the paint is still wet (typically within 1-2 hours of painting). Pull at a 45-degree angle away from the painted side, slowly and continuously. The tape lifts with the caulk seal intact, leaving a crisp paint edge.
The angle and timing of tape removal
The right tape removal angle and timing significantly affects the line crispness.
Angle: Pull the tape back over itself at roughly 45 degrees, away from the freshly painted side. Pulling straight up or pulling toward the painted side stresses the paint at the edge and can lift small chunks.
Timing: While the paint is still wet (within an hour or two for most water-based paints). Wet paint releases cleanly from the tape; fully dried paint can bond the tape to the wall and pull paint off when removed.
The exception is heavy oil-based paint or very humid conditions where the paint takes much longer to dry — in those cases, remove tape within the first 4-6 hours regardless.
If you find the tape resisting removal or pulling paint off, score along the tape edge with a sharp utility knife before pulling. The score line breaks the paint's bond to the tape side without disturbing the painted side.
Application tips that improve results
Apply tape in straight runs as long as practical. Joining short pieces creates a weak point at every join; long single runs hold better.
Press the tape edge firmly with a putty knife or plastic burnishing tool. This is the difference between an OK seal and an excellent one. Spend the time on this step.
For tape running along curved surfaces or corners, use the narrower (1-inch) tape; wider tape resists curves.
If a tape line crosses two different textures (e.g., a smooth ceiling meeting a textured wall), the tape and seal technique must work for the rougher of the two surfaces. The roughness wins.
For corners and edges where two tapes meet at an angle, overlap the tapes by an inch and burnish the overlap. The double layer at the corner gives a sharper edge than a butt join.
When even the caulk-seal technique still bleeds
Some textures (heavy hand-applied stucco, brick, very deep knockdown) defeat even the careful caulk-seal approach. The tape's edge cannot perfectly bridge the deepest valleys.
For these surfaces, the practical answer is freehand cutting in with a small brush — accepting that the line is human-cut rather than tape-perfect. With practice, a steady hand and a quality angled brush gives a line as crisp as taped at first glance.
The other answer is to design the room so the precise edge does not matter. A trim colour that flows visually into the textured surface (similar tone, slight contrast) is more forgiving than a high-contrast crisp edge.
For commercial-grade results on tough textures, specialty masking products (drywall masking film with built-in tape edges, paint shield tools) work better than any tape alone but require a learning curve and are usually overkill for residential.
Cleanup and storage
Tape that has been applied and then removed cannot be reused — the adhesive contaminates and the tape no longer seals.
Unused tape rolls store well in a cool dry place. Tape exposed to summer heat or freezing temperatures can dry out and become brittle (adhesive failure) or stay tacky and difficult to unroll. Most consumer tapes have a shelf life of 1-2 years from manufacture in normal storage.
The caulk used in the edge-seal step stores in its tube with the tip plugged (a small nail in the tip works) for several months. Caulk that has cured in the tube is wasted; buy small tubes for occasional use.
Materials worth investing in for a paint kit
A roll of FrogTape Pro Grade or ScotchBlue Sharp Lines in 1-inch and 2-inch widths, a small tube of paintable acrylic latex caulk and a basic caulking gun, a 2-inch metal putty knife for burnishing, and a sharp utility knife for scoring tape lines. This kit handles most home painting projects with consistently crisp results on textured walls.
Brick and stone surfaces
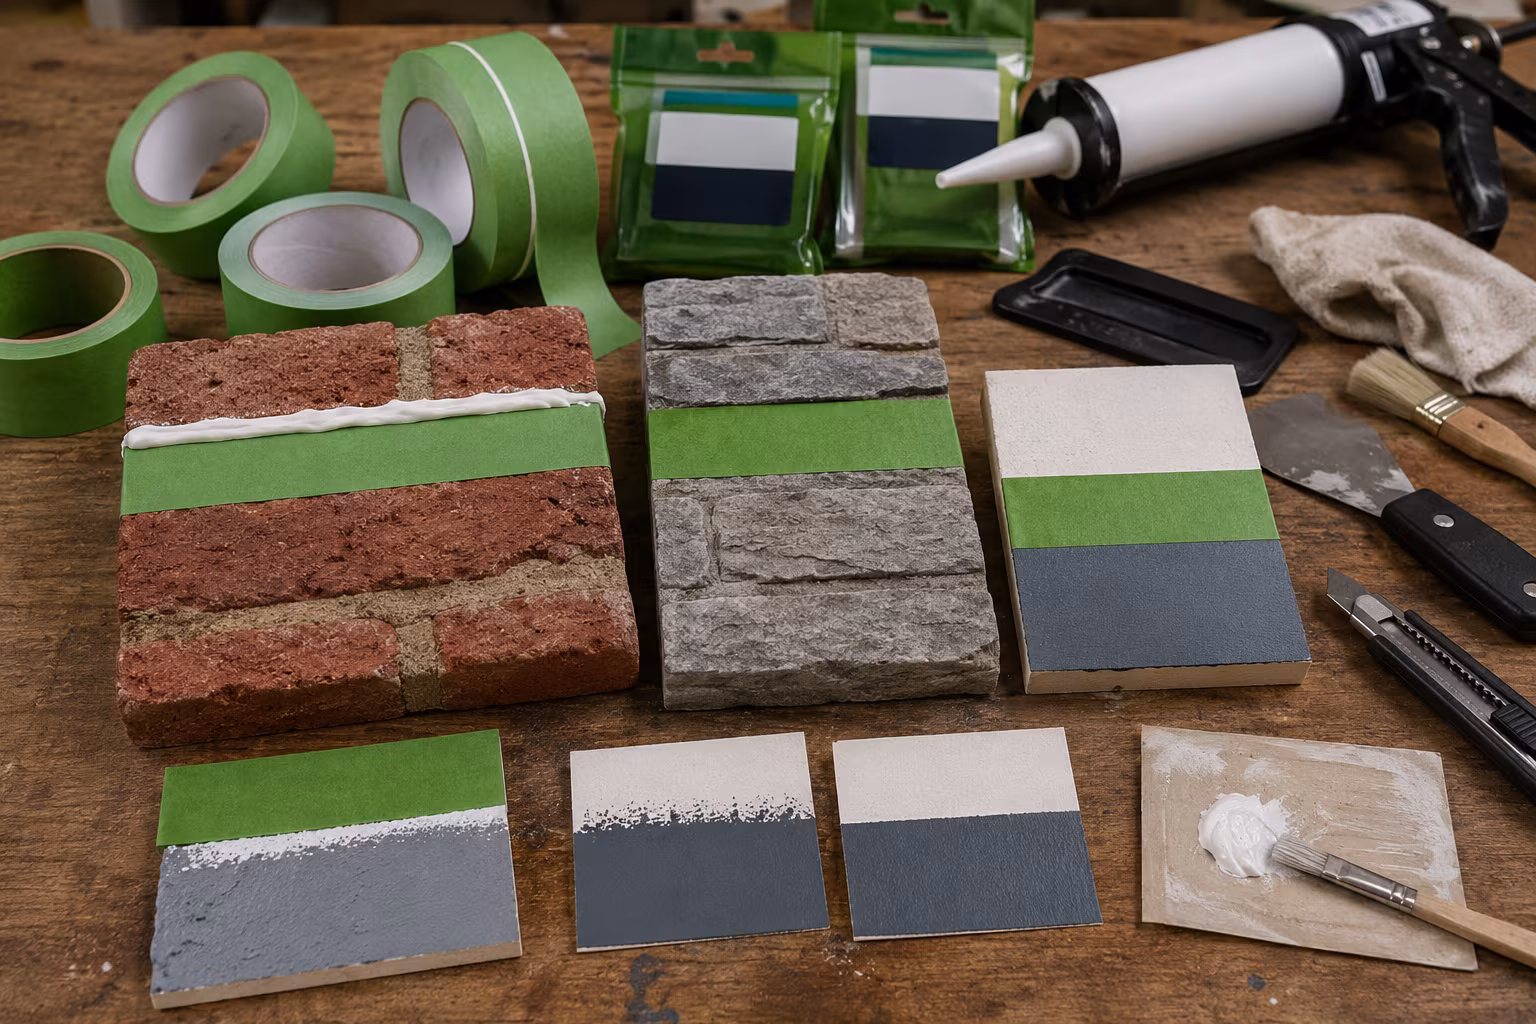
Brick, stone, and rough masonry are the toughest surfaces for any painter's tape. The texture depth is dramatic, the surface is rough enough to abrade tape adhesives, and the colour variation in the substrate makes any bleed more visible.
For brick and stone walls where a crisp line is needed:
Use Scotch Rough Surface Painter's Tape (the strongest adhesive in the consumer range). Burnish heavily. Apply the caulk-edge-seal step described above, using a thicker caulk bead than for smooth walls.
For very deep mortar joints (older or hand-laid brick), the tape cannot fully bridge the mortar valleys. The caulk does most of the work; the tape mostly holds the caulk in place during paint application.
In some cases, the right answer is to paint into the masonry's natural lines rather than across them. A paint line that follows a mortar joint is visually crisp because the eye reads the mortar as the edge, not the paint.
Spraying versus brushing and tape behavior
Tape behavior differs between brush/roller application and spray application.
Brushed or rolled paint sits on the surface and the wet film is relatively thin near the tape edge. Standard painter's tape and the caulk-seal technique work well.
Sprayed paint atomizes into very fine droplets that travel further before settling. Spray paint penetrates under tape edges more aggressively than brushed paint and bleeds further into texture valleys.
For spray application against textured walls, increase the caulk bead and consider an additional masking layer (paper or plastic on top of the tape) to catch overspray. The tape's role becomes mostly as a paint stop, not as a clean edge.
For projects where the line is on a smooth surface but the paint is sprayed (cabinet doors, woodwork), the tape-and-caulk approach still works because the underlying surface is smooth.
When to remove tape
Tape removal timing affects edge crispness more than people realize.
Within 1 hour of painting (paint still wet): The cleanest release. Paint film is fully formed but not yet bonded to tape edge. The crispest line.
1-4 hours after painting: Acceptable for most water-based paints. Paint is touch-dry but not fully cured. Tape releases cleanly.
More than 4 hours after painting: Risk increases. Paint can bond to tape adhesive, especially in humid conditions. May need to score along tape edge with a sharp blade before pulling.
After 24 hours: Tape may take a chunk of paint with it as it pulls away. Almost always requires scoring along the tape edge first; sometimes requires careful sanding and touch-up afterward.
The general rule: remove as soon as the paint is touch-dry. Don't leave tape on overnight unless the paint instructions specifically say to.
Paint type effects on tape behavior
Water-based latex (most modern wall paints) is the most forgiving for tape removal — the paint film is flexible enough to release cleanly.
Oil-based paints (some trim paints, some specialty coatings) form a harder, more brittle film. They bond more aggressively to tape adhesive and need scoring before removal.
Chalk paints, milk paints, and specialty matte finishes vary widely; test on a small area before relying on tape for the main job.
The difference between a painted line that reads as a fuzzy bleed and a line that reads as designed crispness is measured in minutes of preparation. The specialty tape, the caulk seal, the burnish, the timed removal — none individually transforms the result, but together they produce the line the room deserves.
Reusable masking products
For crafters and pros who tape frequently, several reusable masking products extend painter's tape with adhesive sheets, masking film with built-in tape edges, and specialty tools. These reduce the per-line cost over time at the price of a higher upfront purchase. Reusable masking pays back for shops doing many similar projects; for once-a-year homeowners, basic tape is the right tool.
The biggest reusable item is a length of painter's plastic with adhesive along one edge. Roll it out, stick the adhesive edge to the wall or floor, paint, and re-use the plastic for future projects. The plastic gets paint-spattered over time but remains functional for many projects.
Related Posts
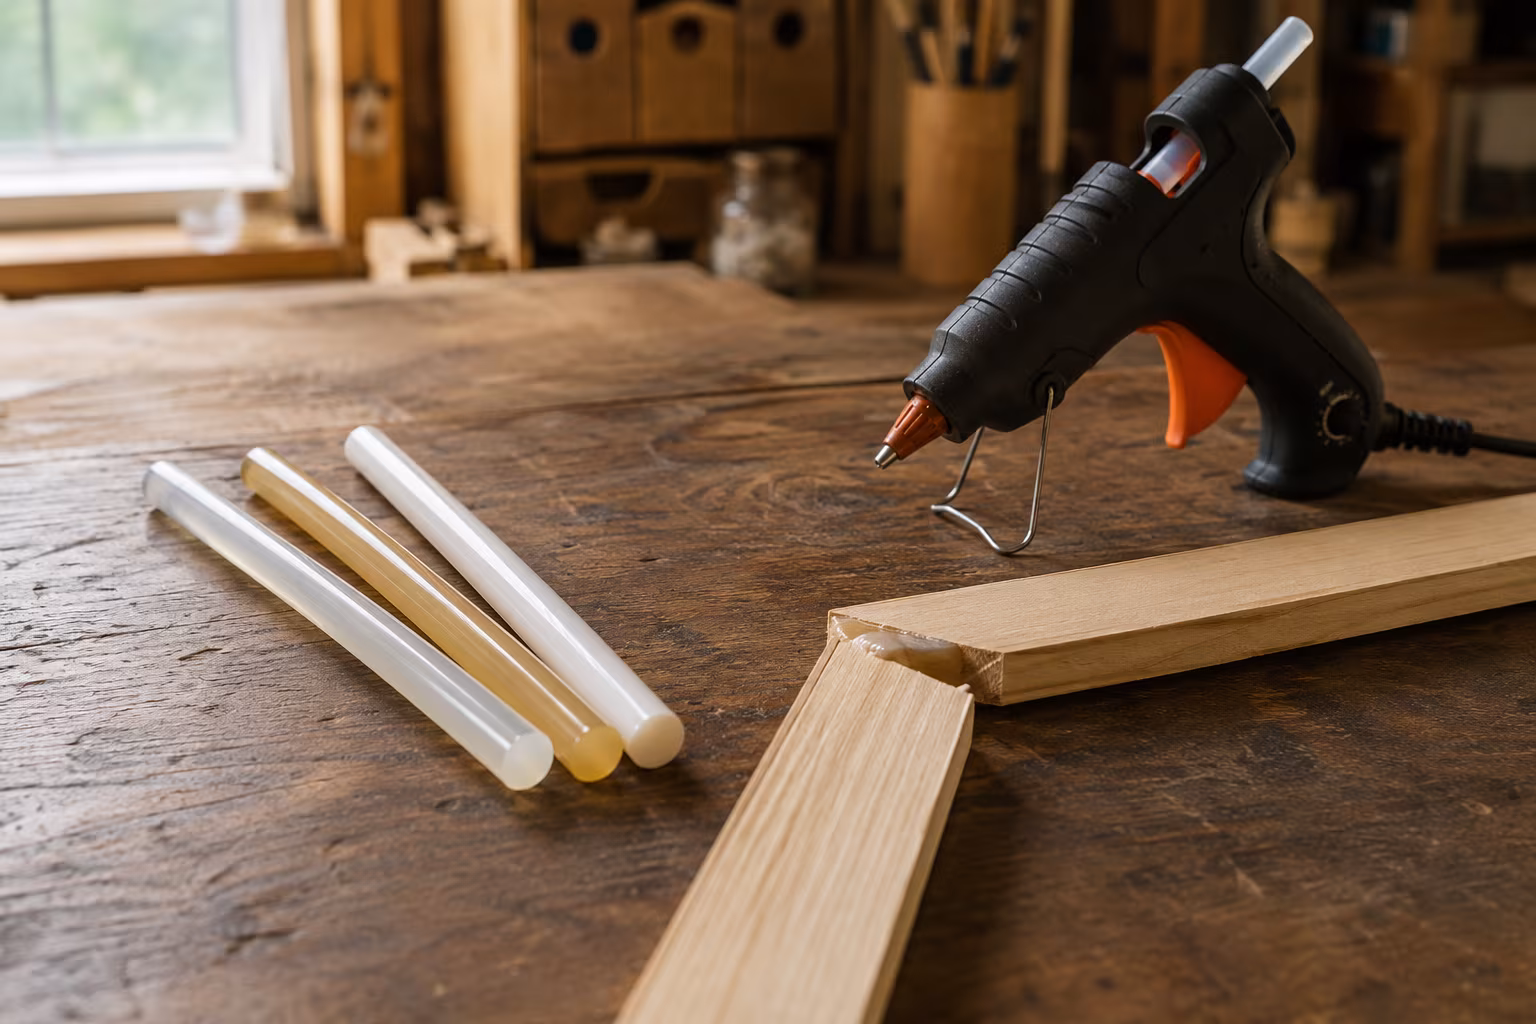
Hot Glue Sticks Compared: Low-Temp, High-Temp, Specialty
Why a stick that worked in one gun melts in another — the temperature ranges, material trade-offs...

Sandpaper Grits Demystified: When to Stop Going Finer
The grit progression that actually matters, where to start, where to stop, and why finer is often...
PVA vs Polyurethane Wood Glue for Indoor Furniture
Which wood glue wins indoors: a clear-eyed look at joint strength, open time, gap-filling claims,...
Why Beeswax and Mineral Oil Are the Safest Wood Finishes for Food
Wondering how to protect your wooden kitchenware without harsh chemicals? Beeswax and mineral oil...