Patching Drywall Anchor Holes Without Sand-Through Halos

The short answer
Halos appear when a patch is sanded into the surrounding drywall surface, creating a slight depression that reads as a shadow once paint dries. The fix is to apply spackle in two thin coats instead of one thick one, sand only the patch (not the surrounding wall), prime the patched area, and feather the final paint touch-up wider than the patch itself.
Most halos come from three mistakes: filling the hole with too much spackle in one pass (which shrinks as it dries and leaves a small dimple), sanding the spackle until it disappears (which thins the drywall paper around the patch), and painting only the patch instead of feathering the new paint into the old. Avoid those three and the patch becomes invisible.
What actually goes wrong on a quick patch
Standard drywall anchor holes range from about a quarter inch (small picture hooks) to half an inch (toggle bolts and snap-toggle anchors). The hole has torn paper around its edges where the anchor passed through, and often a small lip of paper hanging into the cavity behind.
If you just smear spackle over the hole and call it done, three failures wait. The torn paper edges show through the spackle as a slight texture irregularity. The spackle shrinks as it dries because lightweight spackle is mostly air and water; one thick fill becomes a small dimple. And the surrounding paint is older than the patch, so when you paint over the spackle to match, the new paint reads as a different sheen.
Each failure is small. Combined, the patch reads as a small lighter or darker disc on the wall — the halo.
The two-coat spackle method
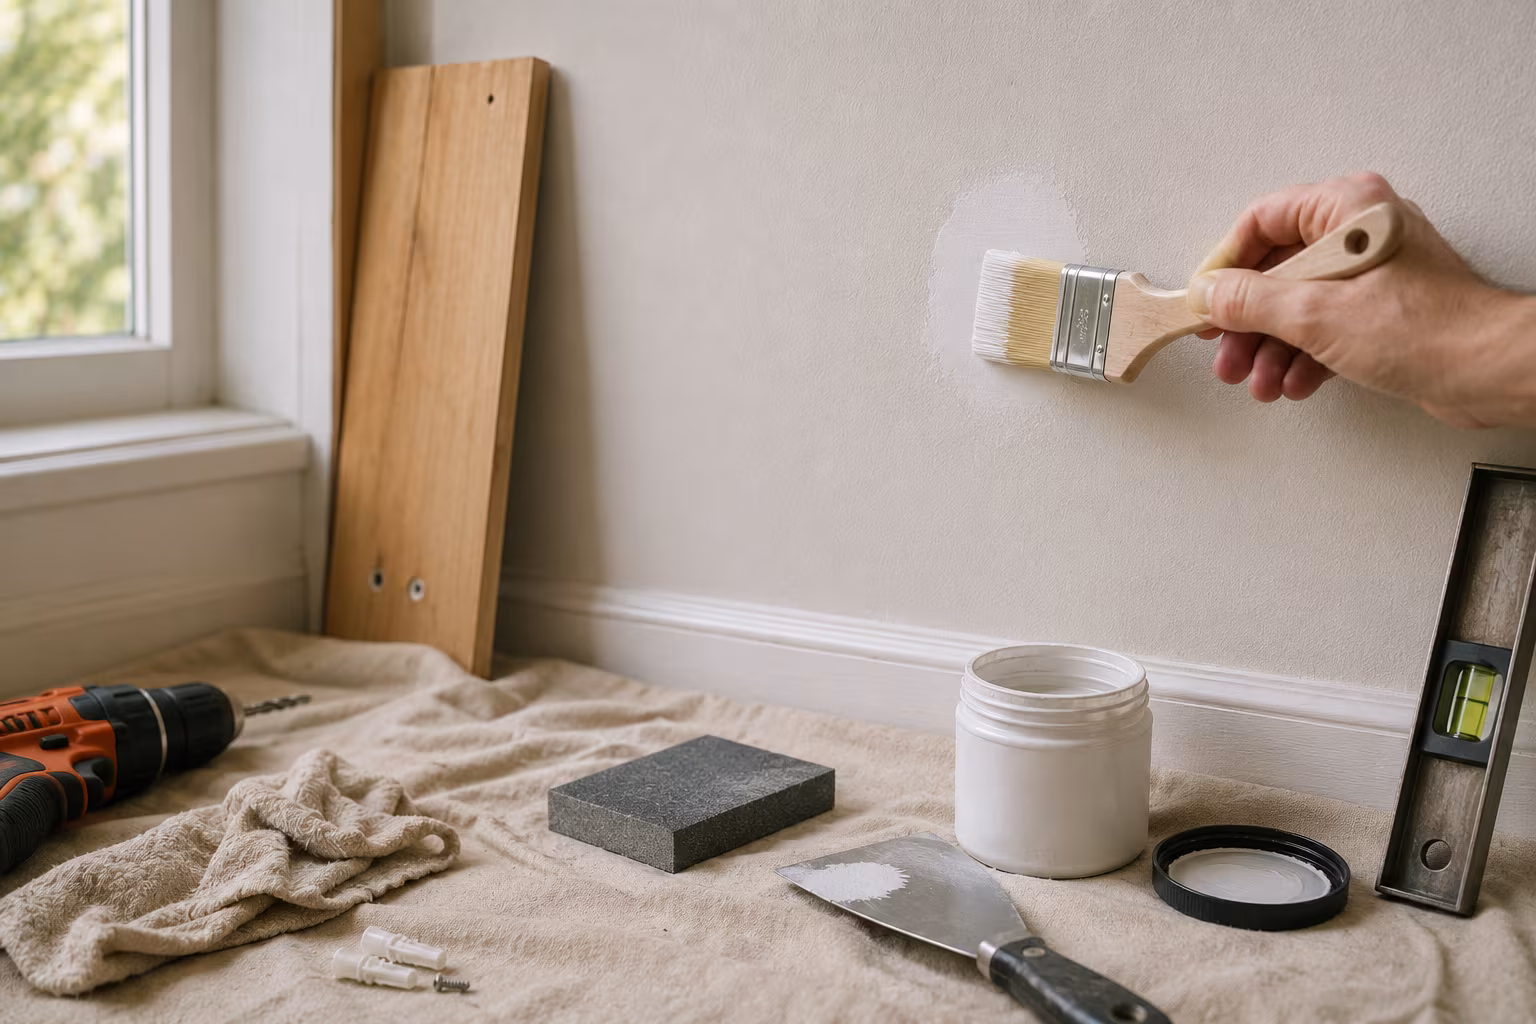
Lightweight spackle (DAP DryDex, 3M Patch Plus Primer, Red Devil OneTime, or similar consumer products) is the right product for anchor holes. It dries in 20-30 minutes, sands easily, and is white or pink-when-wet-white-when-dry for visual cure indication.
Before applying spackle, trim any tattered paper edges flush with the wall using a sharp utility knife. Use the knife to score around the torn paper rather than tearing further; cleaner edges fill cleaner.
For holes up to about a quarter inch, apply spackle directly with a 2-inch putty knife. Push the spackle into the hole rather than over it, pressing through to fill the cavity behind the surface. Skim the surface flush with the wall, leaving a slight high spot rather than a low spot.
For holes between a quarter and half inch, stuff a small wad of paper towel or kraft paper into the hole first as a backer. This gives the spackle something to grip on the back side and prevents the spackle from falling through the cavity. Apply spackle over the backer, push through to fill, skim flush.
Let the first coat dry until the pink-when-wet indicator turns white (typically 20-40 minutes depending on humidity).
The first coat will have shrunk slightly. Apply a second thin coat that brings the patch back flush with or just slightly proud of the wall. Skim with the putty knife at a shallow angle to feather the edges of the patch into the surrounding wall. Let dry.
Sanding discipline (the part where halos form)
Sand only the patch. Use a sanding sponge or fine-grit sandpaper (220 grit) and very light pressure. The goal is to smooth the patch's surface and edges, not to remove material from the patch or from the surrounding wall.
The mistake that creates halos is pressing harder around the patch edges to blend them in. Hard sanding wears down the paper face of the surrounding drywall, leaving a slight depression around the patch. Once primed and painted, this depression shows as a shadow.
If the patch is slightly proud of the wall after sanding, that is fine — it is invisible under primer and paint. If the patch is slightly recessed, apply a third thin coat and try again. Slightly proud always beats slightly recessed.
Wipe the sanded area with a dry microfibre cloth to remove dust. Wet wiping smears spackle dust into the surrounding paint surface and creates a different halo problem.
Why priming the patch matters
Fresh spackle absorbs paint differently from the surrounding wall. The cured patch is more porous than the painted wall around it, so the first coat of finish paint soaks in and reads matte while the surrounding paint reads at its original sheen. The patch shows as a slightly different lustre even when the colour matches.
A coat of latex primer applied just to the patched area solves this. The primer seals the spackle, equalises the porosity, and gives the finish paint a uniform surface to bond to. Use a small brush or a 2-inch foam roller and let dry 30-60 minutes.
Some lightweight spackle products are labelled "patch plus primer" and claim to skip the priming step. They are close to working — better than bare spackle — but in our experience an explicit primer coat still produces a more invisible patch.
For dark wall colours, prime with a tinted primer that approximates the wall colour. White primer under a dark wall will show through the first finish coat and require multiple coats to cover.
Feathering the touch-up paint
The final paint coat is where the patch becomes truly invisible — or where it stays visible because the painter applied only to the patch.
Use the same paint that is on the wall. The same can, ideally; if the original paint is gone, have the store match it from a fresh chip from the wall (see the color-matching article).
Apply the paint to the primed patch with a small foam roller or brush. Extend the paint about 2-3 inches beyond the patch on all sides, feathering the edges with very light pressure on the last strokes. The feathered edge blends the new paint into the old without a hard line.
Let dry. If a second coat is needed (almost always with darker colours), apply slightly less paint than the first coat and feather even wider. The progressive feathering hides the boundary between new and old paint.
What feathering looks like in practice
A 1/2-inch anchor hole gets a roughly 6-8 inch diameter painted area: the patch in the middle, then primer extending an inch beyond, then finish paint extending 2-3 inches further on each side with progressively lighter coverage at the edges.
The painted area is much larger than the patch. That is correct. The largest invisible feathered area is also the most invisible feathered area. The visible halo problem is small touch-ups; aggressive feathering on a slightly larger area solves it.
When the wall texture matters
Smooth walls take patches the most easily because the patch's surface only has to match a flat plane. Textured walls (knockdown, orange peel, popcorn, skip-trowel) require texture matching after the patch is flat.
For orange peel or knockdown: spray a small amount of texture compound from an aerosol can onto the patched area after priming. Let partially dry, then flatten lightly with a wet trowel to match the surrounding texture. Practice on a piece of cardboard first.
For knockdown specifically: spray texture, let sit 30-60 seconds, then knock down with a flat trowel held at a shallow angle.
For popcorn ceilings: do not attempt the patch yourself unless you are confident with texture spraying. Popcorn ceiling repair tends to fail visually, and the original texture is often asbestos-containing if pre-1980. A professional handles this safely.
How many anchor holes a beginner can safely patch
A first-time patcher can do 3-6 small holes in a session without losing concentration on the technique. After that, the second coat of spackle, the sanding, or the touch-up paint gets rushed and the patches start to show.
Spread larger jobs across two or three sessions. The spackle has to dry between coats anyway; a 30-minute window between coats is enough time for a coffee break.
For a renter facing 20+ holes to patch at move-out, professional patching services or a basic-grade patch-everything approach (knowing the patches will be visible but acceptable) is often the right answer. Quality at scale is harder than quality on a few patches.
Materials worth owning if you do this often
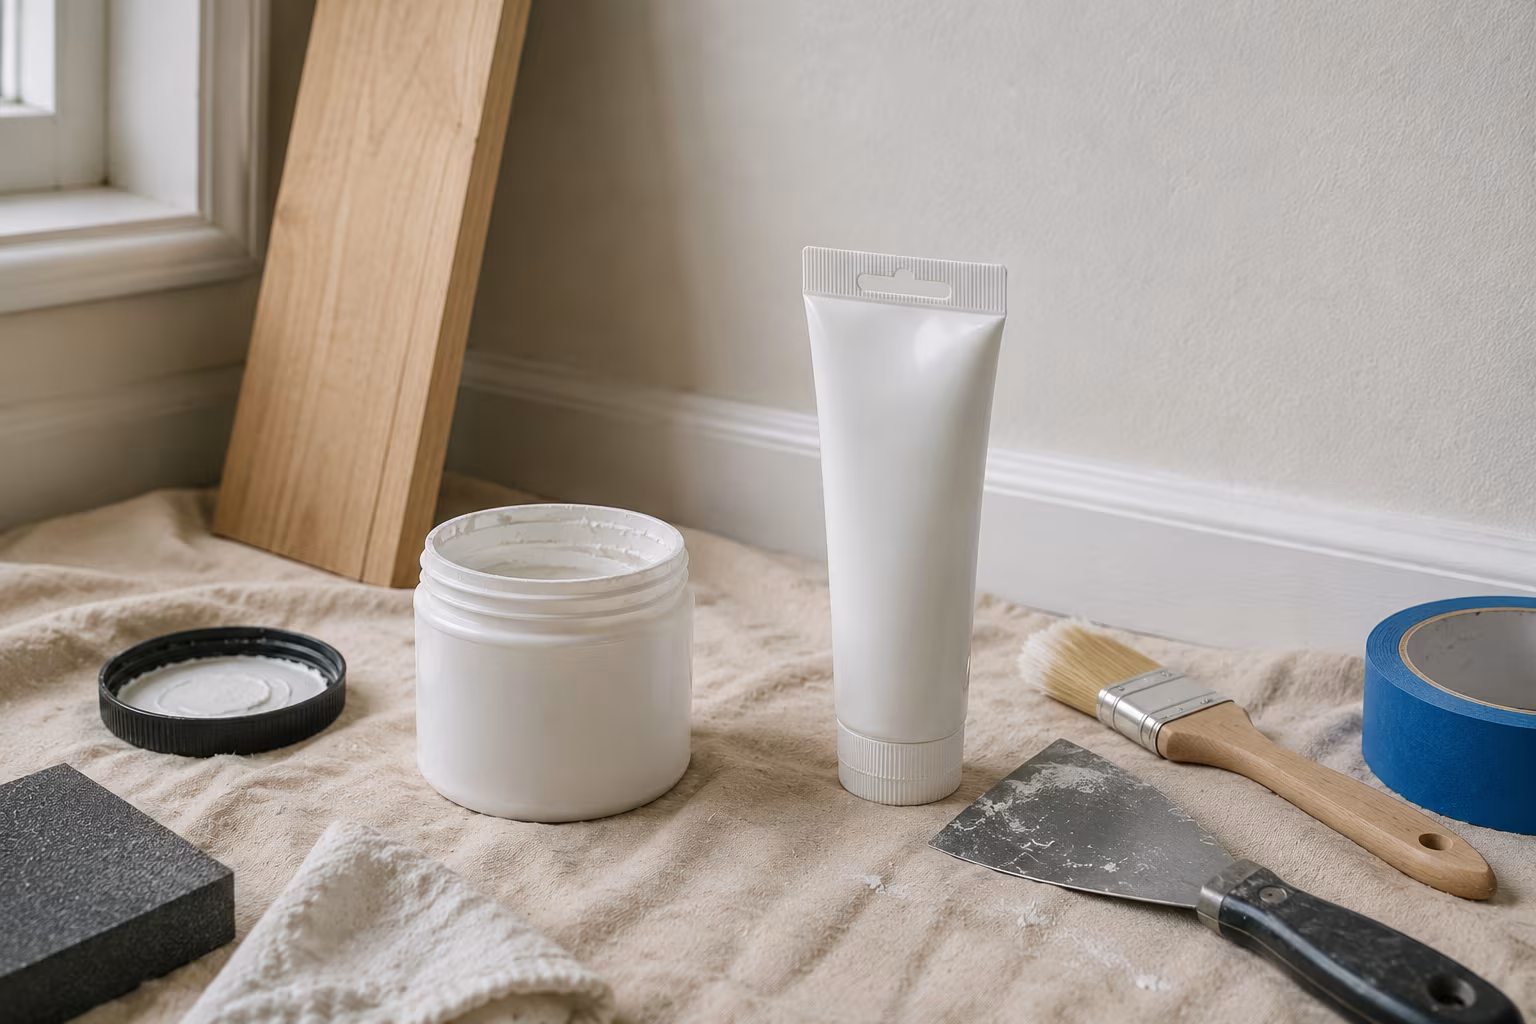
A small tube of lightweight spackle (8 oz lasts a long time), a 2-inch and a 4-inch putty knife, a pack of 220-grit sanding sponges, a small jar of primer, a small bottle of touch-up paint matched to each room's wall colour, and a few foam rollers. Most of this kit fits in a small toolbox and pays back the first time you patch instead of paying a handyman.
For renters: the same kit plus a few cans of aerosol texture (orange peel and knockdown) and a small assortment of spackle colours (white for white walls; pre-tinted for dark walls) covers most move-out scenarios.
Painted finishes that hide patches better
The wall finish itself affects how visible a patch is. Some finishes hide patches more easily than others, regardless of patch technique.
Flat finish. Hides patches best because there is no sheen to vary. Most forgiving for first-time patchers. Used in bedrooms, ceilings, low-traffic walls.
Eggshell finish. Slight sheen, still forgiving. The most common interior wall finish. Patches blend reasonably well with careful primer and feathering.
Satin finish. More sheen, less forgiving. Patches show as slight sheen differences more easily. Used in hallways and lightly used areas.
Semi-gloss finish. Significant sheen. Patches almost always show as a visible disc unless the priming and feathering are done meticulously. Used in trim, doors, kitchens, bathrooms.
Gloss finish. Maximum sheen. Patches are nearly impossible to hide without repainting a large area. Used on doors, woodwork, very wet areas.
For renters facing move-out and a wall with many anchor holes, switching to a flat finish (where the original was eggshell or satin) hides patches at the cost of one repaint. The trade-off is real and worth considering.
The reusable wet-patch approach
For situations where you need to patch and the area cannot dry for hours (renter facing immediate move-out, a quick repair before guests arrive), wet-set drywall patches (3M Patch Plus or similar products) skip the dry-and-sand cycle.
Apply the wet patch material to the hole, smooth with a putty knife, and let dry for an hour or two. The product is engineered to dry to a flat surface without shrinkage. Sand lightly if needed, prime, paint.
These products cost more per patch than basic spackle but save 4-6 hours of cycle time. For occasional one-room patches, they are luxury; for someone repairing dozens of holes on a deadline, they are the right call.
Old-paint scenarios that complicate the patch
Walls with several layers of old paint behave differently from freshly painted walls. The layers absorb new paint at different rates, and the patched area may end up with a different sheen even with proper priming.
If you suspect multiple paint layers, sand a small test area lightly before patching. If the sanded area reveals stripes of different colours, the multi-layer assumption is correct. The fix is to prime the patch with a higher-build primer (a stain-blocking primer or a high-quality bond coat) so the new finish paint has a uniform substrate.
For walls older than about 1980 with unknown paint history, test for lead before disturbing the surface. Lead test kits (small swab kits sold at home centers) confirm or rule out lead-based paint. If present, the safe answer is to encapsulate rather than disturb — paint over without sanding, with awareness that the patches may be more visible.
The quality difference between a competent patch and an invisible patch is the willingness to do four small steps where one would technically work. Two thin spackle coats instead of one thick. Light sanding only on the patch. A primer pass before paint. A feathered paint touch-up wider than the patch. Each step is short; together they make the difference.
Related Posts
Cabinet Hinge Adjustment: Side, Depth, and Height Fix
Three screws, three directions, one diagnosis. Stop fighting misaligned cabinet doors — learn whi...
How to Hang a Heavy Mirror on Drywall Without Studs
No stud where you want the mirror? The anchor choices, weight math, and install routine that hold...
The Best Way to Weatherproof and Stain an Old Wooden Deck
Is your old wooden deck looking a little worse for wear? We'll show you the easiest, most effecti...
Why Wainscoting Panels Make Plain Hallways Look High-End
Dreaming of a more sophisticated entryway? Learn why wainscoting panels are a game-changer for ma...