
Hide TV Cable Clutter Renter-Safe Without Drilling
The short answer
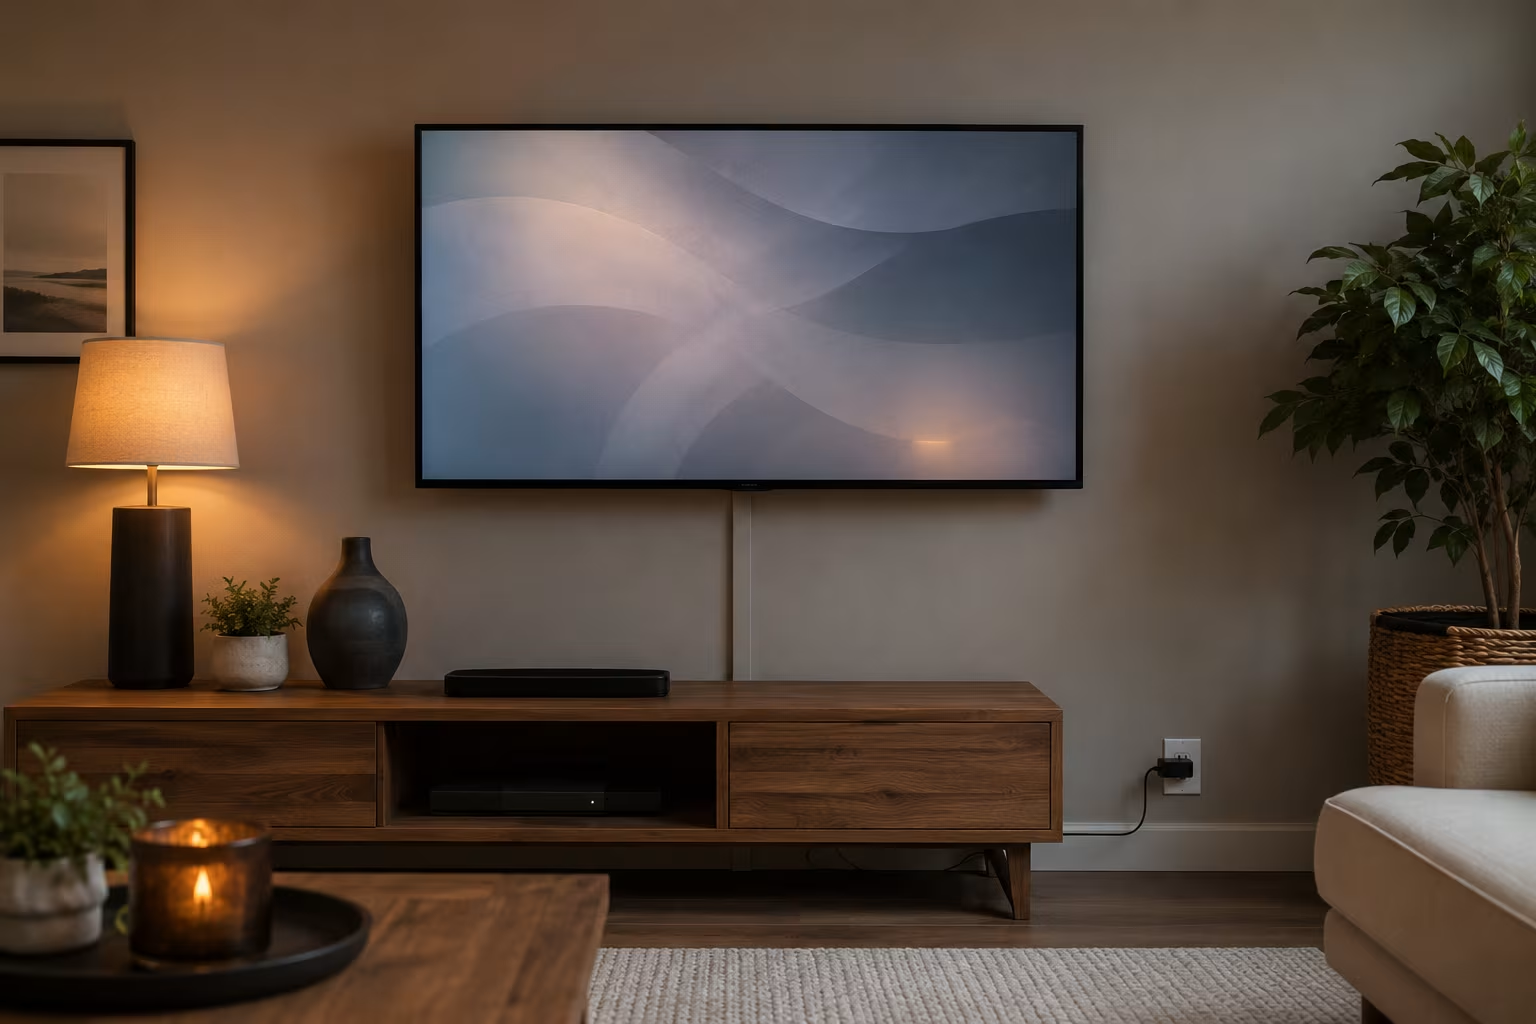
The cleanest no-drill fix is an adhesive paintable cable raceway run vertically from behind the TV down to the nearest outlet, then painted the wall colour. It costs a few dollars, installs in under half an hour, and peels off cleanly at move-out — no holes, no lost deposit. Skip in-wall cable kits entirely: they require drilling and most landlords treat them as alterations.
The second half of the job is bundling. Loose cables read as clutter even when each one is technically routed; the same cables gathered into a single fabric sleeve read as one thin, deliberate line. Raceway plus sleeve together give the cleanest result.
Adhesive cable raceway, step by step
A raceway is a thin plastic channel that sticks to the wall on 3M VHB-style tape, holds cables inside, and snaps shut with a removable cover (D-Line, Wiremold, Legrand, and generic equivalents all work). Measure from behind the TV to the outlet, cut a length slightly shorter than that run, peel the backing, and press the channel firmly along its whole length. Snap off the cover, lay the cables in, and snap it closed. Width decides how much it holds:
| Raceway width | Typical capacity | Best for |
|---|---|---|
| About 0.5 inch | 2-3 thin cables | A minimal mount: one HDMI plus a power cord |
| About 1 inch | 4-6 cables, or HDMI plus power plus coax | The standard TV install |
| Baseboard channel (wide, low-profile) | Multiple cables at floor level | Surround-speaker runs across a room |
Paintability is what makes it disappear. Scuff a paintable raceway with fine sandpaper, then brush on two thin coats of the wall's own colour-matched paint; against a coloured wall an unpainted white channel stands out, while a painted one takes a close look to find. At move-out, warm the adhesive with a hair dryer on its low setting, peel slowly, and wipe any residue with isopropyl alcohol — test a hidden spot first if the paint is delicate.
Bundling sleeves and behind-the-TV routing
A fabric cable sleeve is a stretchy neoprene or woven-nylon tube that wraps the whole bundle; they run from about 2 to 10 feet in black, white, or grey. Slip the cables into the sleeve before loading the raceway so they feed in as one tidy bundle. Behind the screen, route every cable to exit downward at a single point — many wall mounts include built-in cable management clips or slots on the bracket for exactly this. Cables that leave the TV in several directions and converge somewhere visible always look messier than a single defined exit. On a tilting or swinging mount, leave a few inches of slack at the TV end so the bundle does not kink when the screen moves.
The bookshelf or console trick
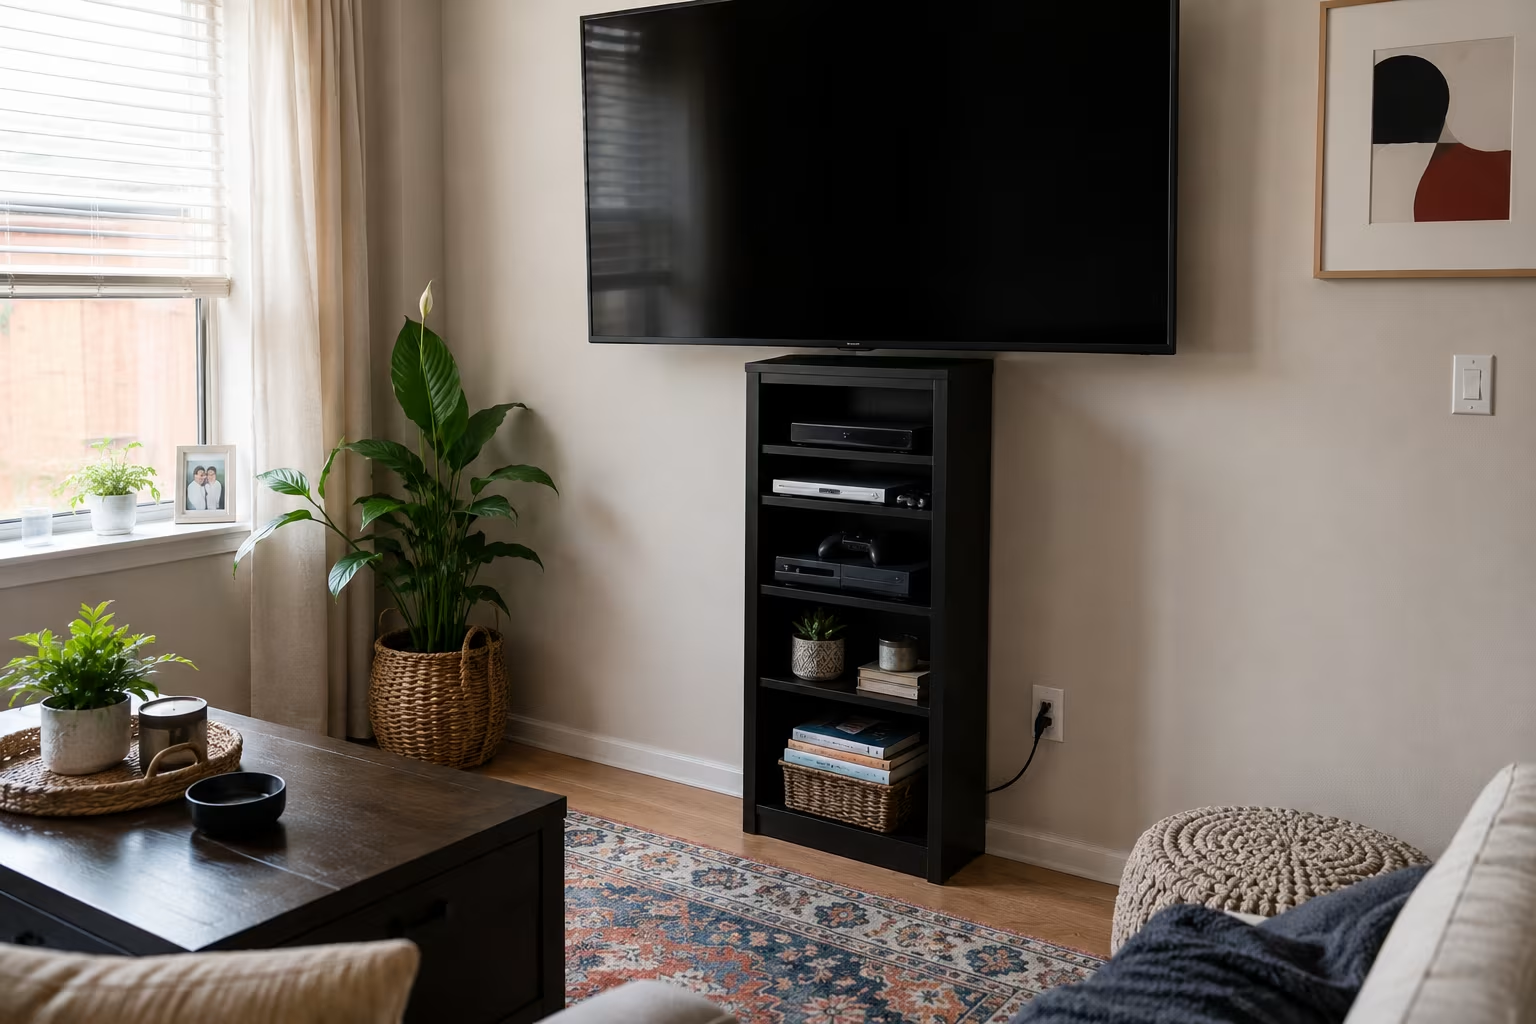
Where an adhesive channel still feels too visible, let furniture absorb the cable drop. A tall narrow bookshelf (about 60-72 inches tall, 12-18 inches wide) set under the TV hides every cable behind its back, with the streaming box and console on its shelves and power dropping straight to the outlet. A standard media console (24-36 inches tall) hides everything down to its height; for the short stretch between the TV and the console top, run a small painted raceway segment that barely registers. A floor lamp or large plant beside the TV does not hide cables but breaks the sightline so they read as less prominent — a weaker fix, but a real one.
Command strips for horizontal runs
For cables that travel sideways — a soundbar to a streaming device, side speakers — 3M Command-style adhesive clips hold the cable in a controlled path and pull off cleanly at move-out. Space them every 12-18 inches; wider spacing leaves visible sags between clips. Match the clip colour to the wall so white on white or black on dark nearly disappears rather than dotting the run.
Audio wiring adds the longest runs in most setups. For a soundbar mounted right below the TV the cable is short and fits the same vertical raceway. Surround speakers at the sides or rear of the room are the harder case: run their cable inside a low-profile baseboard channel along the floor edge, which is wider and flatter than a wall raceway and hides a cable crossing the room without a channel climbing the wall. Wireless surround systems remove the rear-speaker cable entirely and leave only the front-of-room wiring to manage, which is often reason enough to choose them in a rental.
What renters can and cannot do
Safe in almost any rental: paintable adhesive raceways removed cleanly at move-out, Command strips and adhesive clips, fabric sleeves, and furniture-based hiding. Likely to cause problems: in-wall cable kits, screw-in raceways, drilling through baseboards or trim, and routing cables behind the wall through outlet cavities, which is electrical work that usually needs landlord approval. Read the lease before anything beyond adhesive — some allow small filled holes, some prohibit any drilling, and the lease language is the reference, not assumptions.
For long runs over about 25 feet, a standard HDMI cable can lose signal; an active or fiber-optic version preserves it, or simply move the source closer to the TV to shorten the run.
Materials and a yearly refresh
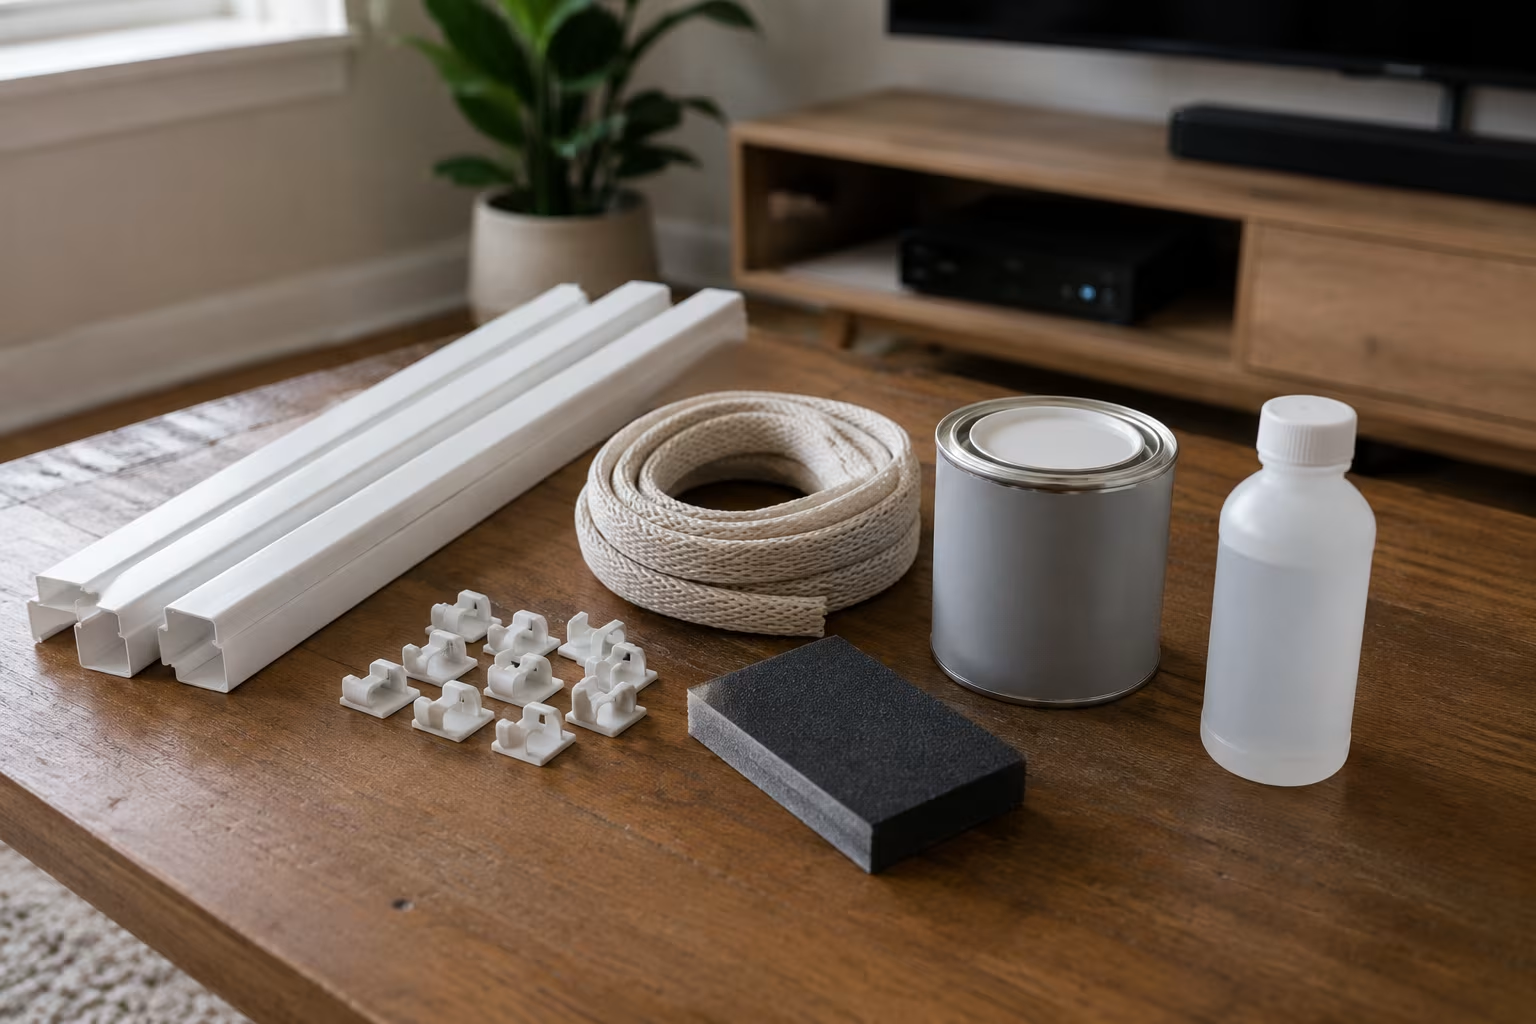
A basic kit covers most setups and several moves: a 3-foot section of paintable raceway (plus extra for longer runs), a pack of adhesive cable clips, a fabric sleeve matched to the wall, a small can of latex paint in the wall colour, a fine sanding sponge, and isopropyl alcohol for cleanup. Smart plugs can also thin the cable count a little — a device switched over Wi-Fi needs only its power cable, with control travelling wirelessly — and they stay fully portable, which suits a rental. The trade-off is reliance on the network: if Wi-Fi drops, those devices need manual switching.
Cable management is not a one-time job. A clean setup accumulates a new streaming stick, a soundbar upgrade, or a game console over a year or two, each cabled in without re-planning, until the tidy line becomes a tangle again. Pull everything out, untangle, and redo the raceway every year or so to keep the look intentional rather than accidental.
Related Posts
Area Rug Size Under Dining Table
A rug too small under dining table looks like a mistake. Chairs must stay on rug when pulled out.


Sofa Pillow Combinations That Don't Fight
Throw pillows pile up over years. Rules for color, texture, pattern, and size.

Light Fixture Height Over Dining Table: The Rule
The right pendant light height over a dining table is calculated, not guessed. The standard...

Hanging Plants Without Ceiling Hooks for Renters
Hanging plants brighten any room but drilling into the ceiling isn't always an option....
Comments
No comments yet. Be the first to share your thoughts!