
Fix Squeaky Hardwood Floors From Above (No Access)
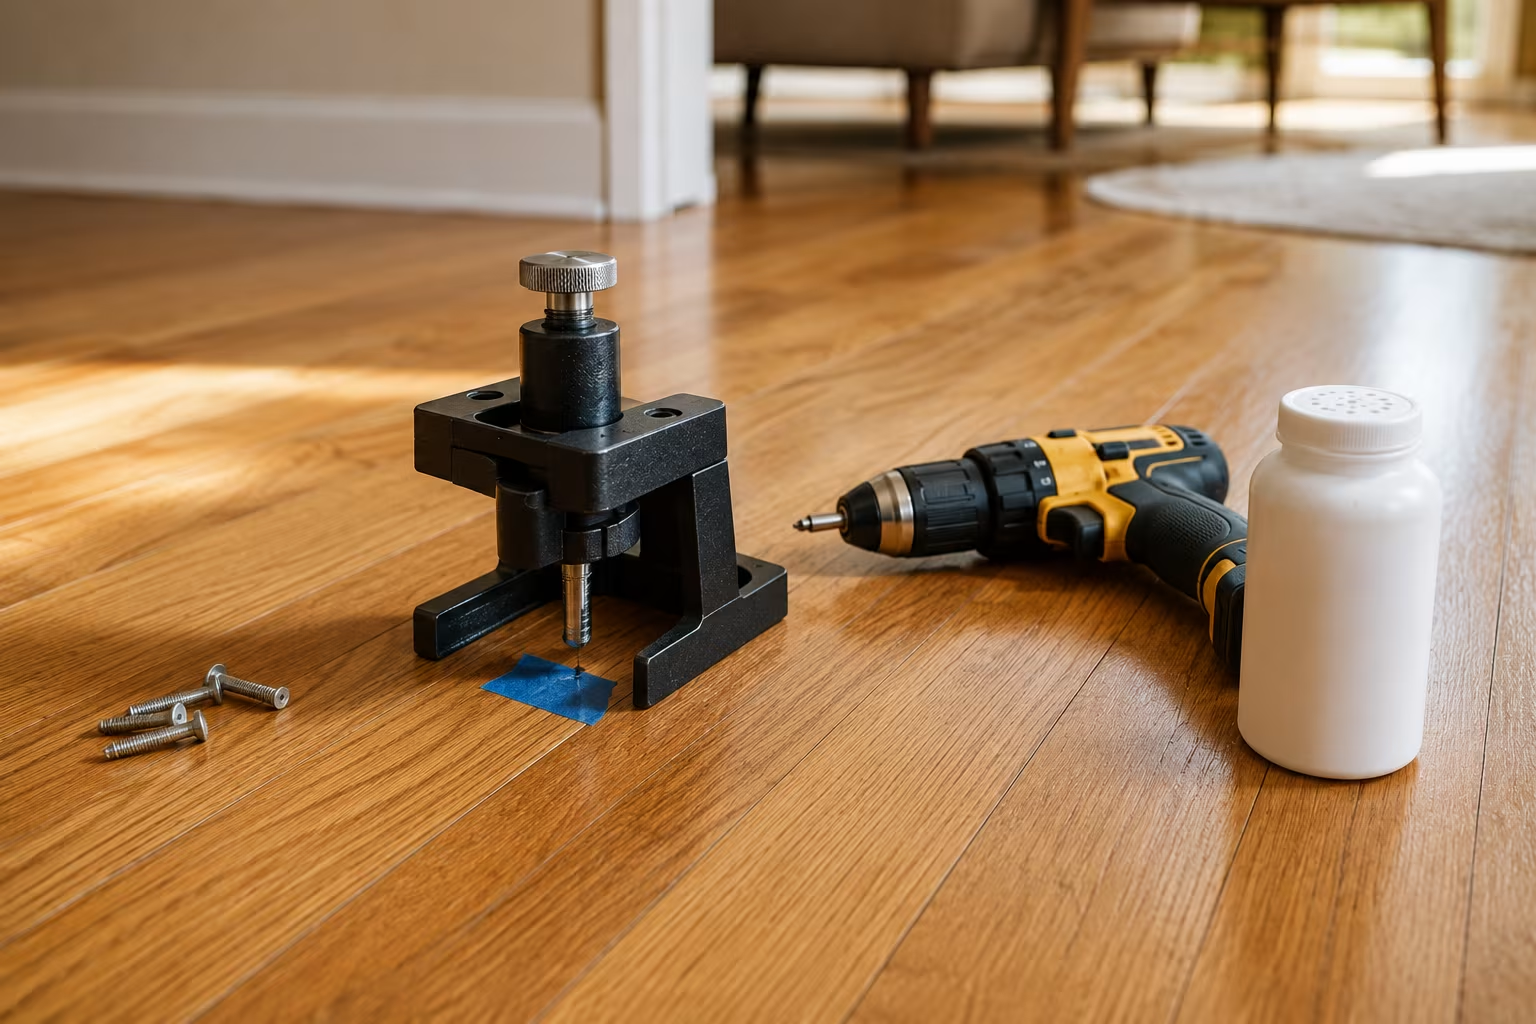
Find the squeak and its cause first
When you cannot reach the underside of a hardwood floor — the usual case in a second-floor room with a finished ceiling below, or a slab-on-grade floor — squeaks still get fixed entirely from the top. But every fix depends on first knowing what causes the noise, so diagnose before you drill.
Walk the area slowly and mark each squeak with painter's tape; most squeaks come from a spot only a few inches across, and each one needs its own fix. Then press firmly with a foot at the marked spot. If the board visibly moves up and down, the cause is board-on-subfloor movement — the board is loose and rubbing on the structure below. If the board feels solid but still squeaks, the cause is board-on-board, two adjacent boards rubbing each other. Find the joist by following the floor's nail line or using a stud finder, since two of the three fixes only work where they can bite into a joist.
Method one: talcum powder
The cheapest fix and the right first attempt for a board-on-board squeak. Sprinkle talcum powder, powdered graphite, or baby powder onto the squeaky seam, work it in with a soft brush or your fingers, then walk the floor to drive it deeper. The powder cuts the friction between the two rubbing boards, and the squeak usually goes silent immediately if friction was the cause.
The fix is sometimes temporary — humidity and dust shift the powder over weeks and the squeak returns — but re-application takes thirty seconds. Brush away excess talcum, which can be slippery, and wipe with a damp cloth. Graphite stays in the seam better but is darker and shows on light or polished floors, so choose it only where visibility does not matter. Powder does nothing for board-on-subfloor movement, which is structural rather than frictional.
Method two: breakaway screws
For a board-on-subfloor squeak, a breakaway screw pulls the loose board tight to the joist and snaps off below the surface, leaving an almost invisible repair. The Squeeeeek No More kit and similar products are the standard, packing specialized screws with a designed snap point plus a jig that controls depth and angle. Place the jig over the squeak, drill a pilot hole through it into the joist, drive the screw fully, then rock the jig side to side to snap the head off just below the surface.
The screws install through carpet or finished hardwood — through carpet they pass between fibers with no visible damage, and in hardwood the tiny entry hole sits a fraction below the surface, close to invisible at normal viewing distance. The catch is that the screw must hit a joist; drill into open subfloor with no support below and it never anchors, so the squeak stays. The screws are cheap enough that using several within a stubborn spot is fine.
Method three: wood screws with filler
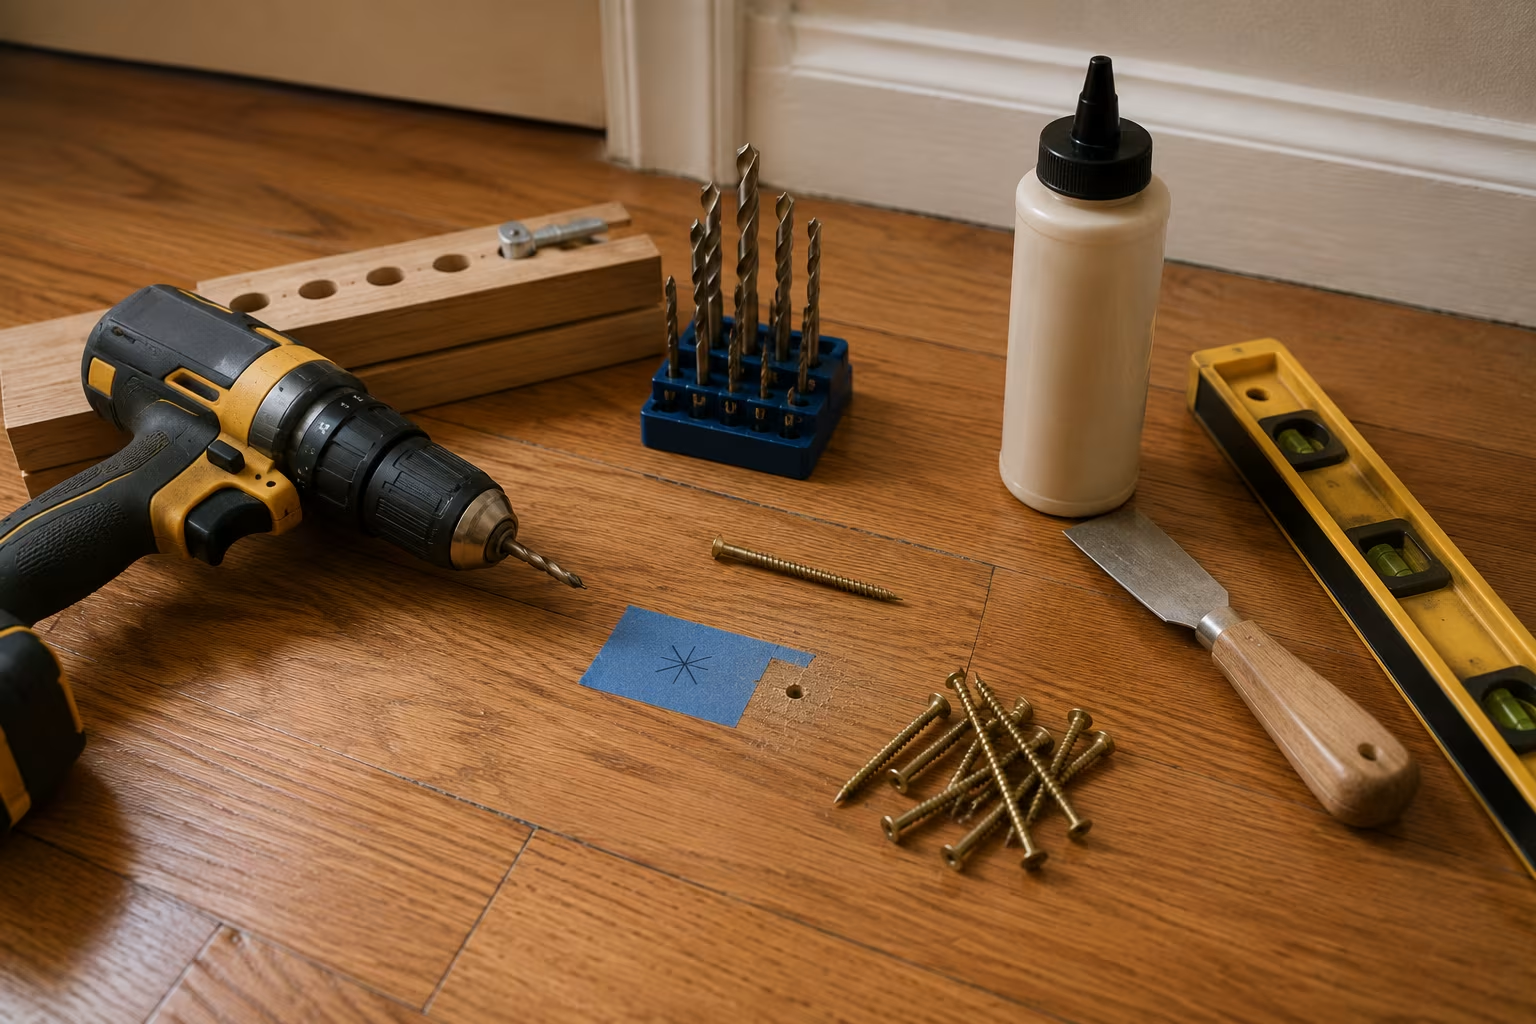
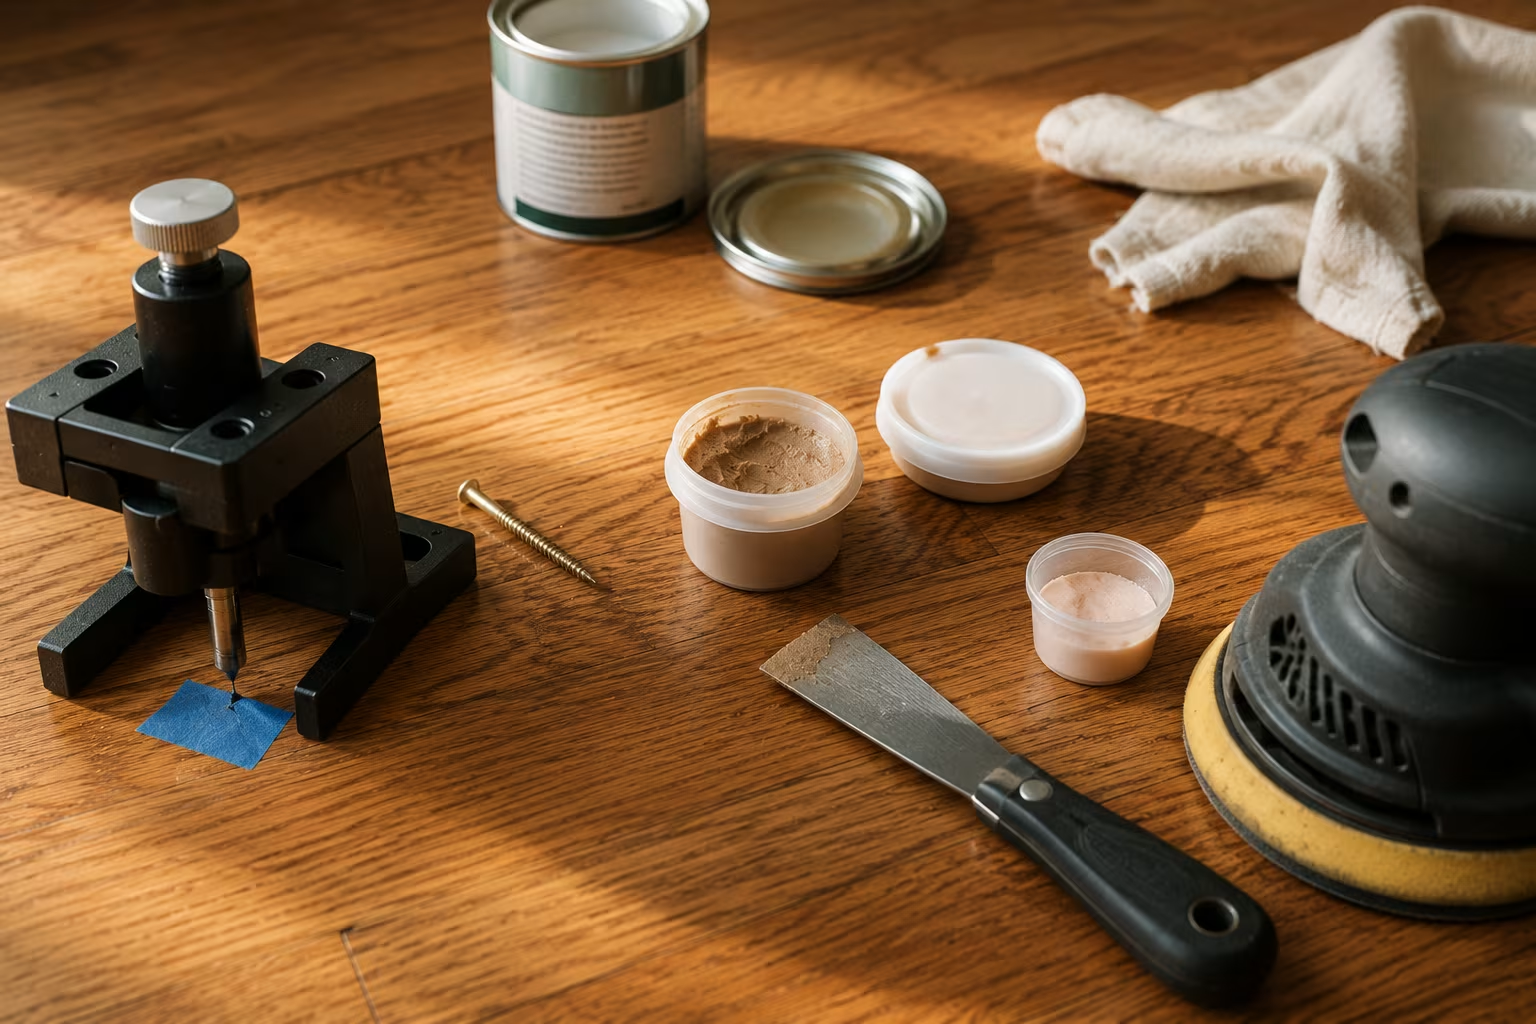
Where breakaway screws are unavailable or the floor is too thick for their design, standard 2.5 to 3 inch wood screws through the floor into the joist use the same mechanism. Size the screw so it penetrates the joist by at least an inch without passing through it. Drill a pilot hole slightly smaller than the screw shaft to keep the hardwood from splitting, countersink the top so the head sits flush or slightly below, and drive it fully — the board pulls tight and the squeak stops. Fill the head with matching wood filler and sand smooth once it cures; the patch shows up close but disappears at standing distance, especially on darker stained floors. On light natural hardwood the filled holes are more visible, and a colour-matched wax stick reduces it further at the cost of a slight gloss difference.
| Method | Fixes which squeak | Visibility | Notes |
|---|---|---|---|
| Talcum powder | Board-on-board friction | None (brush away excess) | Cheapest; may need reapplying each season |
| Breakaway screws | Board-on-subfloor movement | Almost invisible | Only works where it hits a joist |
| Wood screws + filler | Board-on-subfloor movement | Visible up close | Works when floor is too thick for breakaway screws |
When squeaks resist the fix
Some squeaks survive every standard fix. A board warped beyond what a screw can pull flat flexes no matter how tightly it is fastened at one point; spreading several screws across the warp may pull it down, otherwise the board needs replacing. A squeak between sections of subfloor, rather than between flooring and subfloor, is structural and beyond the reach of top-down screws. And a squeak in the joist itself — where it rubs a hanger or another framing member — needs access from below, which usually means cutting into the ceiling, the very thing you were avoiding.
For a squeak that resists three different attempts, the honest call is often to accept it as part of the floor's character or to plan a deeper repair for whenever the room is remodeled anyway. For a home with dozens of squeaks across several rooms, a floor contractor with squeak-specific tools finishes in hours what would cost the homeowner several weekends.
Prevention and finish considerations
Floors squeak because wood flooring moves seasonally and old fasteners loosen. The single biggest preventive step is stable humidity: hold the home at 40 to 60 percent with a humidifier in winter and a dehumidifier in summer, since wide swings expand and contract boards and open the gaps that let them move. Squeaks often appear in winter for exactly this reason — indoor heating dries the air, boards shrink, and new gaps form. Wipe up spills before water soaks between boards, because the swell-then-shrink cycle loosens fasteners over time.
The floor's finish decides how well a repair hides. Polyurethane, the common modern finish, accepts screw heads and filler with a touch-up that buffs to match the surrounding sheen. Oil finishes and waxed floors show fresh patches more, so the breakaway screw's snap-off head is the better choice there. Pre-finished engineered hardwood has a factory finish that is hard to match, again favoring breakaway screws. Keep a small kit on hand — talcum, a breakaway screw set with jig, a pack of 3-inch wood screws, a pilot bit and countersink, and colour-matched filler — and most squeaks across a home are a short job.
Related Posts

Toilet Seat Slow-Close Hinge Replacement
A broken slow-close hinge makes the toilet seat slam or fail to stay up. Replacement is a...

Drywall Corner Bead Replacement After Damage
Damaged drywall corners with dented or split corner bead show ugly visible damage. The...

Strip Painted Brass Hardware Without Eating the Patina
The slow-cooker method strips paint from brass cleanly while keeping the aged surface intact....
Bathtub Resealing: When Silicone Beats Caulk and Vice Versa
Reseal a bathtub right: 100% silicone at the flexing tub-to-tile joint, acrylic caulk only on...
Comments
No comments yet. Be the first to share your thoughts!