
Indoor Plant Pot with No Drainage Hole: How to Make It Work
The short answer
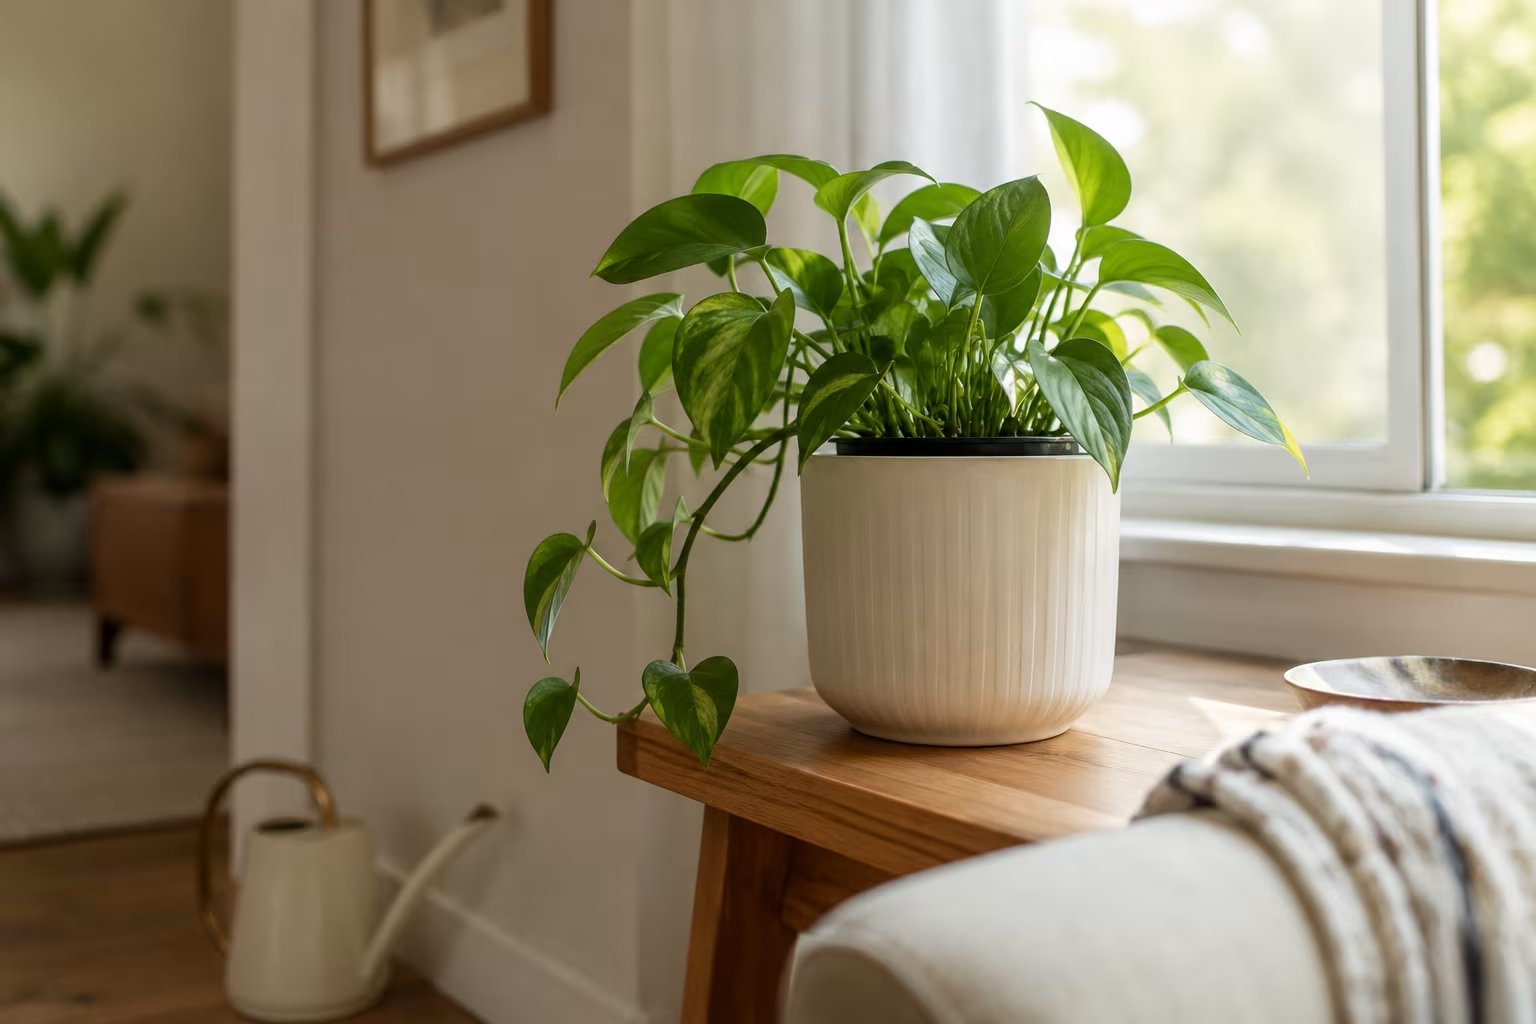
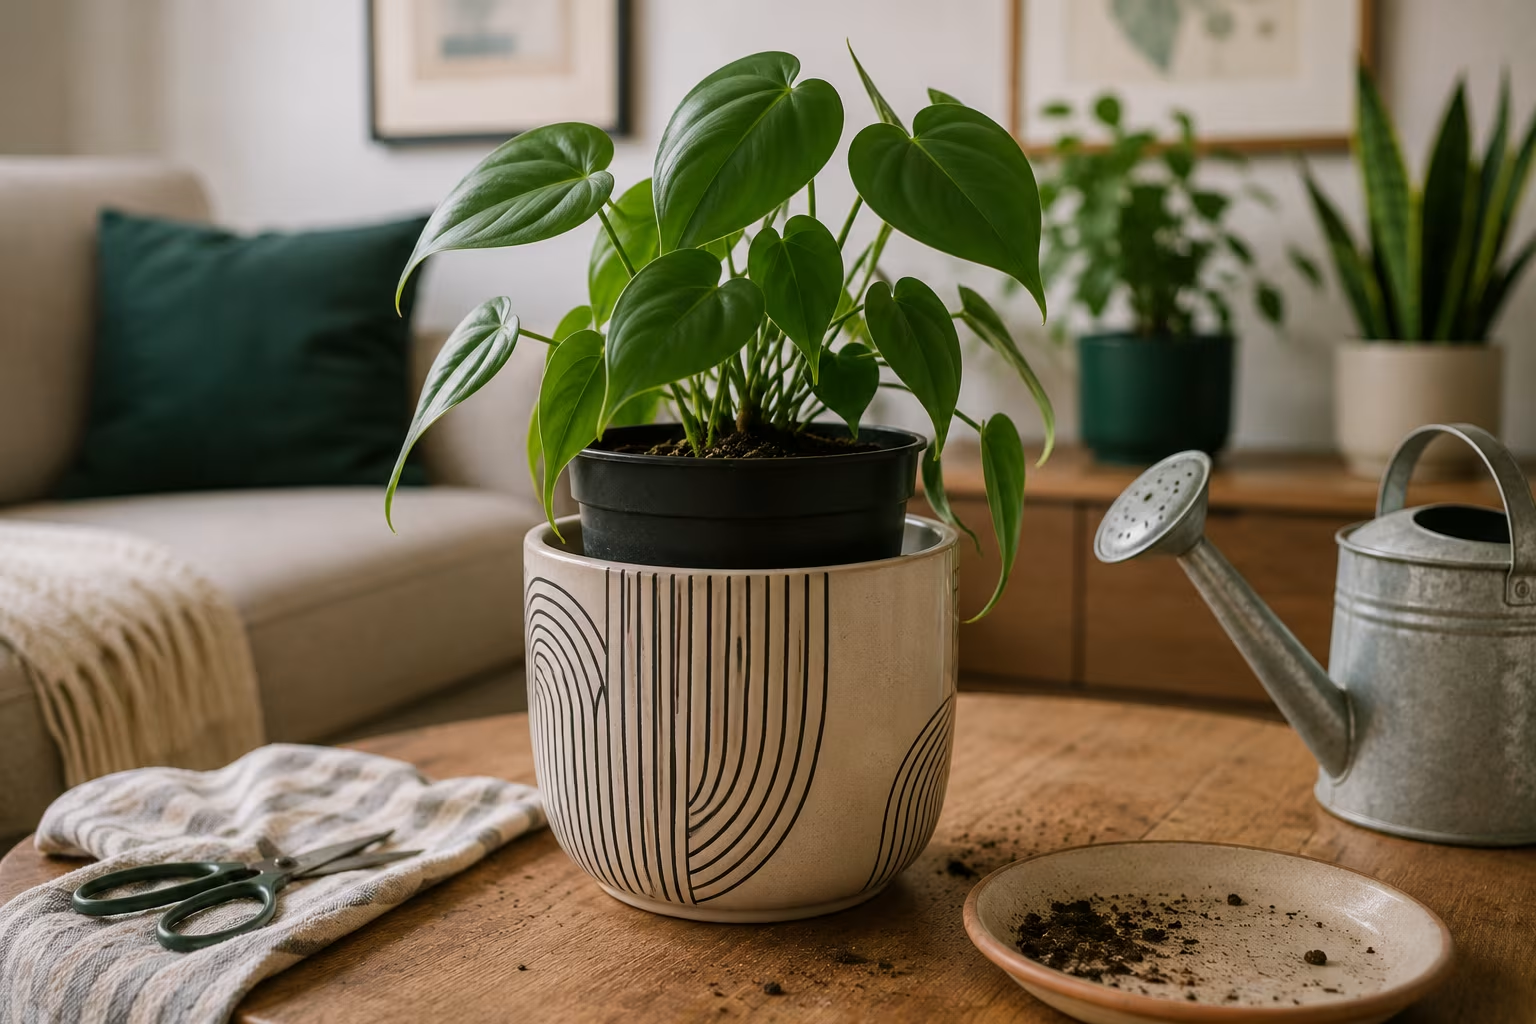
The simplest reliable answer is the double-pot method: keep the plant in a smaller plastic nursery pot with drainage holes, set that pot down inside the decorative outer pot, and lift it out to water. The outer pot stays clean and reads as a single pot, while the inner pot gives the roots the drainage they need to survive.
The popular alternative — a layer of gravel or rocks in the bottom of a no-hole pot — is unreliable and often makes things worse. The gravel pushes the soil's saturated zone upward into the root area, raising root-rot risk rather than lowering it. The double-pot setup avoids the gravel question entirely. Where a double pot will not fit (a custom-fitted planter, or a pot too narrow for a liner), the fallback is careful measured watering combined with plants that tolerate drying out between waterings.
Why drainage matters
Roots need oxygen as much as they need water. Soil between waterings holds both air and moisture; saturated soil holds only water. When water sits for days, the roots cannot get oxygen and begin to suffocate, and suffocated roots die quickly, bringing the secondary fungal infection known as root rot that spreads through the rest of the system.
Drainage holes solve this by letting excess water leave the soil after each watering. Enough moisture stays behind to feed the plant for days, and the air pockets between soil particles re-form as the surplus drains away. A pot with no hole cannot release anything you pour in — it all stays. Over weeks that means consistently wet soil and oxygen-starved roots, the single most common way houseplants die.
The double-pot method in detail
Find a plastic nursery pot (or terracotta, or anything with holes) one size smaller than the decorative outer pot. Most houseplants already arrive from the nursery in a black plastic pot that fits inside a decorative pot of the next size up, so the setup often needs nothing extra. Plant the houseplant in the inner pot with soil appropriate to the species, leaving room for root growth without over-potting, then water once to confirm it drains freely through the holes.
Set the inner pot inside the outer pot; the outer interior should be slightly larger in every dimension, and a small gap around the sides is fine and adds airflow. To water, lift the inner pot out to a sink or tray, water until it flows from the drainage holes, let it drain fully — about 10 to 15 minutes — then return it to the outer pot, which stays dry. For a plant too heavy to lift comfortably, water in place but use much less: stop pouring when water reaches the bottom of the inner pot, before it begins to pool.
This is exactly what a cachepot is designed for — the formal name for a decorative outer pot holding a nursery-potted plant. The pot is for show, the plant lives in its growing pot inside, and the whole workflow assumes the inner pot comes out for watering. Reading a beautiful no-hole pot as a cachepot rather than a planter resolves most of the tension between looks and plant health.
Why gravel and rocks make it worse
The gravel-in-the-bottom advice sounds logical — rocks create space for water to collect below the roots — but the physics runs the opposite way. Water in soil moves by capillary action: fine pores pull water away from coarse ones. A gravel layer is a region of large pores, so water moving down through the soil reaches the gravel and stops, because the soil's smaller pores hold it more tightly than the gravel can pull it away.
The result is a perched water table — a band of saturated soil sitting on top of the gravel. Roots trying to extend downward hit that saturated zone and get the same oxygen starvation as if there were no gravel at all. Gravel does have one legitimate use here: a shallow layer under the inner pot inside the outer pot keeps the inner pot from sitting in any water that pools. Mixed into the soil column, it does nothing useful.
Plants that tolerate no-drainage situations best
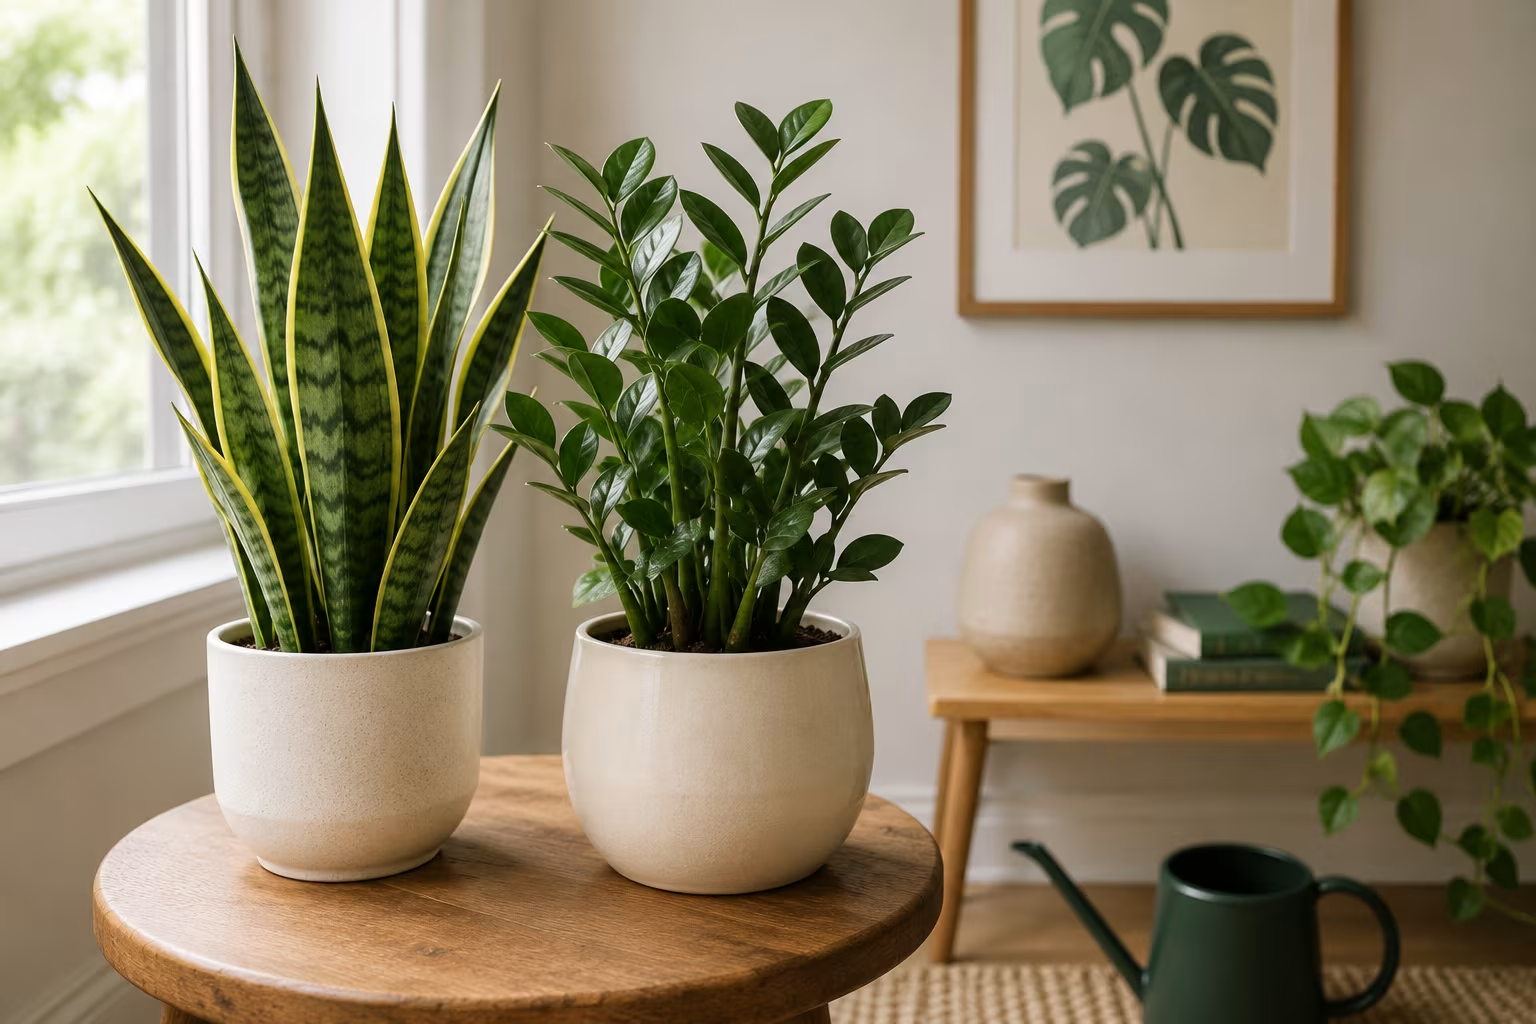
If a plant must go directly into a no-drainage pot with no inner liner, some species handle it far better than others. The snake plant (Sansevieria) stores water in its leaves, tolerates infrequent watering, and recovers from underwatering more easily than from overwatering — probably the most forgiving common houseplant for this. The ZZ plant (Zamioculcas) stores water in underground rhizomes and survives long gaps between waterings. Pothos is vigorous and forgiving of inconsistent moisture, and its roots can recover from minor rot once drainage is corrected. Succulents and cacti are built for dry conditions and survive a no-drainage pot if you water sparingly and accept slower growth.
Plants that do not tolerate the setup include ferns (they want steady moisture but also air at the roots), most flowering houseplants, and large tropical foliage like fiddle-leaf fig, which rots fast when overwatered.
Watering technique for no-drainage pots
When the double-pot method is not used, watering technique becomes the entire defense against rot. Water in small measured amounts. A typical houseplant pot takes roughly a quarter to a third of its volume in water per watering; in a no-drainage pot, aim for the low end. Pour slowly, watch the soil absorb it, and stop when the surface looks uniformly damp.
Water less often than you would a drained pot. Let the soil dry to about half its depth — checked with a finger or a moisture meter — before watering again. A plant signals thirst by drooping slightly, and waiting for that signal beats watering on a fixed calendar. Never let standing water sit in the bottom; if you over-pour, tip the pot carefully with the plant held in place and drain the excess into a sink. For a valuable plant, a cheap soil-moisture probe reading dry, moist, or wet is good insurance against the one mistake — overwatering — that a closed pot punishes hardest.
Soil choice and self-watering planters
Soil matters more in a no-drainage pot than a normal one. A heavy mix holds water longer and stretches the danger window; a lighter, more porous mix dries faster and gives the plant a better chance. Cut standard houseplant soil with 30 to 50 percent extra drainage amendment — perlite, vermiculite, coarse sand, or a bagged cactus/succulent mix — so it drains faster even inside a closed pot. Avoid heavy garden soils, peat-heavy moisture-retentive mixes, and dense black topsoils, which are designed to hold exactly the water you are trying to shed. Keep species-appropriate bases (orchid bark for orchids, cactus mix for succulents) but boost the drainage component in every case.
A self-watering planter is a middle ground: a reservoir at the bottom feeds water up through a wick, so roots draw moisture rather than sitting in it. These suit plants that like steady moisture — peace lilies, prayer plants — and suit poorly the ones that prefer to dry out, such as ZZ plants and most succulents. They cost more than a plain decorative pot but solve the drainage question more elegantly than double-potting for anyone who does not want to lift an inner pot every week.
Drilling a drainage hole when the pot allows it
For a pot whose design tolerates a discreet hole — or one you would otherwise discard — drilling drainage into the base is sometimes the cleanest fix. Terracotta and unglazed ceramic drill reasonably well with a masonry bit: use a slow speed, light pressure, and a little water to keep the bit cool, starting with a pilot hole and stepping up to size. Glazed ceramic is more brittle; use a diamond bit at very low speed with constant water cooling and accept that some pots crack anyway. Plastic and metal pots drill easily with a standard bit for the material. Once drilled, the pot behaves like any drained container — set it on a saucer or tray to catch runoff. For irreplaceable pots, the double-pot method stays the lower-risk choice.
Rescuing a plant that is already rotting
If a plant in a no-drainage pot shows rot — yellowing leaves, soft stems, a sour smell from the soil — act fast. Slide it out and rinse the roots gently under cool water to clear the soil, then inspect: healthy roots are firm and white or light tan, while rotted ones are dark, soft, and mushy. Trim every rotted root away with clean scissors and discard the cuttings rather than composting the fungus. Repot into fresh soil in a drained container and water lightly for the first few weeks while new roots form. If the rot is severe and most roots are gone, take a healthy cutting from the top of the plant and propagate from that instead of trying to save a wrecked root system.
Once the plant recovers, protect the surface it sits on. A decorative outer pot occasionally sweats condensation, so a small saucer or cork pad underneath prevents water marks on wood or floors, and a pebble tray — a shallow dish of pebbles with a thin layer of water, the pot resting on the pebbles above the waterline — raises local humidity without letting the pot base sit in water.
The cachepot routine:
| Step | Detail |
|---|---|
| Setup | plastic nursery pot inside the sealed decorative pot |
| Watering | lift the inner pot to a sink, water until it drains, let it finish dripping |
| Soil | cut standard mix with 30–50% perlite/vermiculite/coarse sand |
Related Posts
Area Rug Size Under Dining Table
A rug too small under dining table looks like a mistake. Chairs must stay on rug when pulled out.

Sofa Pillow Combinations That Don't Fight
Throw pillows pile up over years. Rules for color, texture, pattern, and size.
Light Fixture Height Over Dining Table: The Rule
The right pendant light height over a dining table is calculated, not guessed. The standard...
Hanging Plants Without Ceiling Hooks for Renters
Hanging plants brighten any room but drilling into the ceiling isn't always an option....
Comments
No comments yet. Be the first to share your thoughts!