Punch Needle Loops Pulling Out: The Tension Fix Guide

The short answer
Loops that pull out of a punch needle project almost always trace to one of four causes: yarn tension at the supply end (your skein or ball pulling against the work), foundation fabric that is too loose or too tight, yarn weight that does not match the needle size, or a punching motion that lifts the needle too high between stitches. The fix is to diagnose which cause is at play and adjust just that variable — not to start over.
The single most common cause is supply-side tension. Even a slight pull from the yarn ball or skein creates resistance that the needle cannot overcome, and the loops come out as you punch the next stitches. The fix takes thirty seconds: pull a long puddle of slack yarn from the supply before starting each line, so the yarn flows freely without any pull.
If supply tension is correct and loops still fail, work through the diagnostic below in order. One of the four causes will be the answer.
Diagnostic 1: Supply-side yarn tension
The most-missed cause. Punch needle works by pushing yarn through the foundation fabric and leaving a loop on the back. If the yarn is being pulled back through the needle from the supply end (even slightly), the loop you just made will get pulled back through the fabric as you start the next stitch.
Test: pull about three feet of yarn loose from the ball, lay it in a puddle on your work table or lap, then punch a few stitches. If loops now hold where they did not before, supply tension was the cause.
Fix: keep a yarn puddle of one to three feet of slack at all times. Pull more loose every few minutes. The yarn should flow into the needle without any pull from the supply ball.
If the yarn ball is on the floor and you are sitting in a chair, gravity adds a constant small pull. Place the ball on the table or in a yarn bowl at your work level. Some makers use a swift or yarn holder to feed yarn at the right level and angle.
Diagnostic 2: Foundation fabric quality and tension
The foundation must hold yarn loops between fabric fibres. If the weave is too loose, loops slip back through; if too tight, the needle cannot punch fully; if uneven, loops hold in some areas and not others.
The standard foundation for punch needle is monk's cloth — a heavy cotton fabric with a balanced even weave designed for punch and hook work. Oxford-style monk's cloth at roughly 13 double threads per inch is the most common; some imported monk's cloth is finer or coarser.
Test: hold a piece of the foundation fabric up to light and look at the weave. Even, regular weave with consistent thread spacing across the whole piece means good foundation. Visible irregularities, loose threads, or gaps mean the loops will hold poorly in those areas.
The fabric must also be stretched drum-tight in a frame. A loose foundation flexes as you punch and the loops do not seat properly. Use a sturdy embroidery hoop, a stretcher frame, or a Gripper-style frame designed for punch needle work. Tighten until the fabric drums when tapped.
For projects where loops fail in patches across an otherwise good foundation, check the frame tension first. Re-tighten and try again.
Diagnostic 3: Yarn weight matched to needle size
Punch needles come in different sizes (medium, regular, fine, and sub-categories within those). Each is designed for a specific range of yarn weights.
The Oxford Regular Point needle (the orange-handled standard) takes rug yarn or chunky yarn equivalent — roughly bulky to super-bulky weight. Worsted-weight yarn slips through the regular point needle without bulk; the loops have nothing to grip the foundation and pull out easily.
The Oxford Fine Point needle (the green-handled small needle) takes worsted-weight or DK yarn. Bulky yarn jams the needle and clogs; thinner yarns hold properly.
For other brands (Lavor, Punchworks, Amy Oxford miniature), match the yarn weight to the needle's stated range. The needle's instructions usually include a yarn-weight chart.
Test: hold the yarn next to the needle's shaft. The yarn should fill the hollow of the needle without compression, leaving a small visible space. Too thin and it rattles; too thick and it jams.
If you have the wrong yarn for the needle you own, the choice is to buy yarn that matches or to buy a different needle. Trying to make a mismatched combination work consistently does not happen.
Diagnostic 4: Punching motion
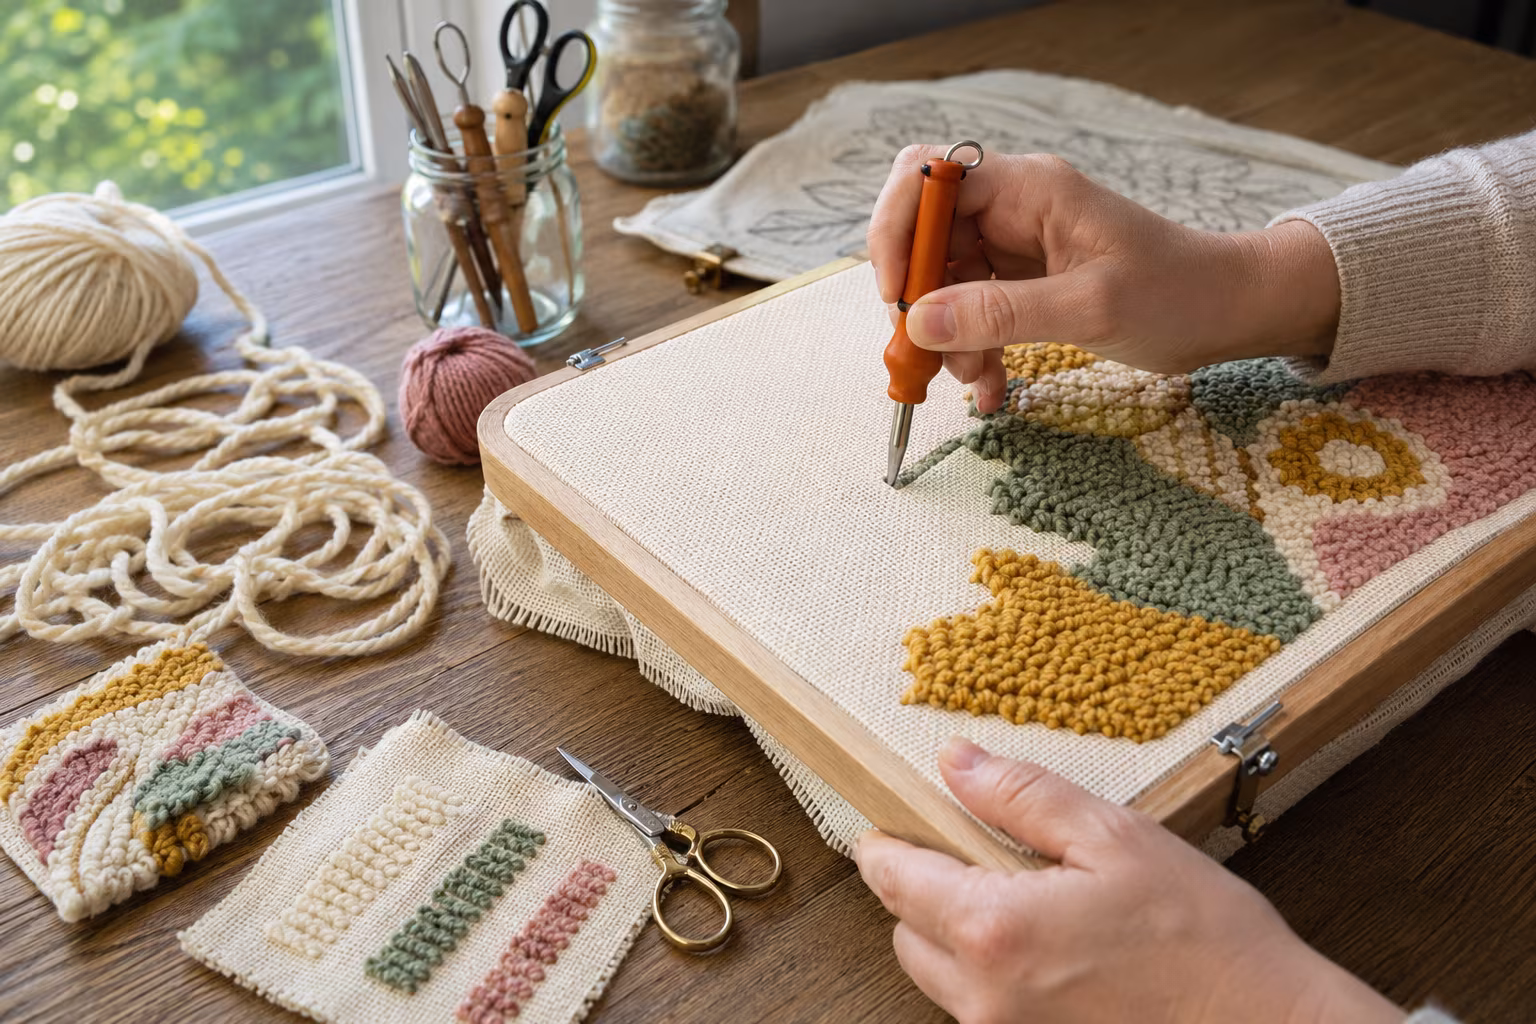
The punch motion has three controllable elements: angle of insertion, depth of insertion, and the lift between stitches.
Hold the needle at a slight angle (about 70-80 degrees to the fabric, not perfectly vertical). The slant lets the needle slide along the yarn rather than catching as it pushes through. Beginners often hold the needle too vertical.
Punch to full depth — the entire needle shaft through the fabric, with the handle nearly touching the foundation. Partial punches leave short loops on the back that pull out the moment the next stitch tugs.
Lift the needle just enough to clear the fabric surface before moving to the next stitch position. Lifting high pulls the just-made loop back through the fabric. The needle tip should graze the foundation between stitches, not lift away from it.
Test: punch a row of stitches at consistent depth and minimal lift. Then punch a row with deliberately too-shallow depth or too-high lift. The difference is visible immediately — the careful row holds; the careless row falls.
Beyond the four diagnostics
If all four checks pass and loops still pull out, the cause is usually one of these less common issues:
The yarn is splitting or fraying. Some yarns shred as they pass through the needle, leaving weak loops. Switch yarn brand or batch.
The foundation has been stretched and re-stretched too many times. Monk's cloth fatigues with repeated tensioning. After many projects in the same frame, the fabric near the staples loses integrity. Replace the foundation piece.
The room is very humid or very dry. Extreme humidity affects how yarn holds in fabric. Most makers do not notice this but it can be a factor in long projects across seasons.
The pattern crosses many loops in a tight area. Dense fillings sometimes push earlier loops out as new stitches crowd in. Plan the punch order to work outward from the centre of dense areas rather than inward.
Front loops, back loops, and which side is which
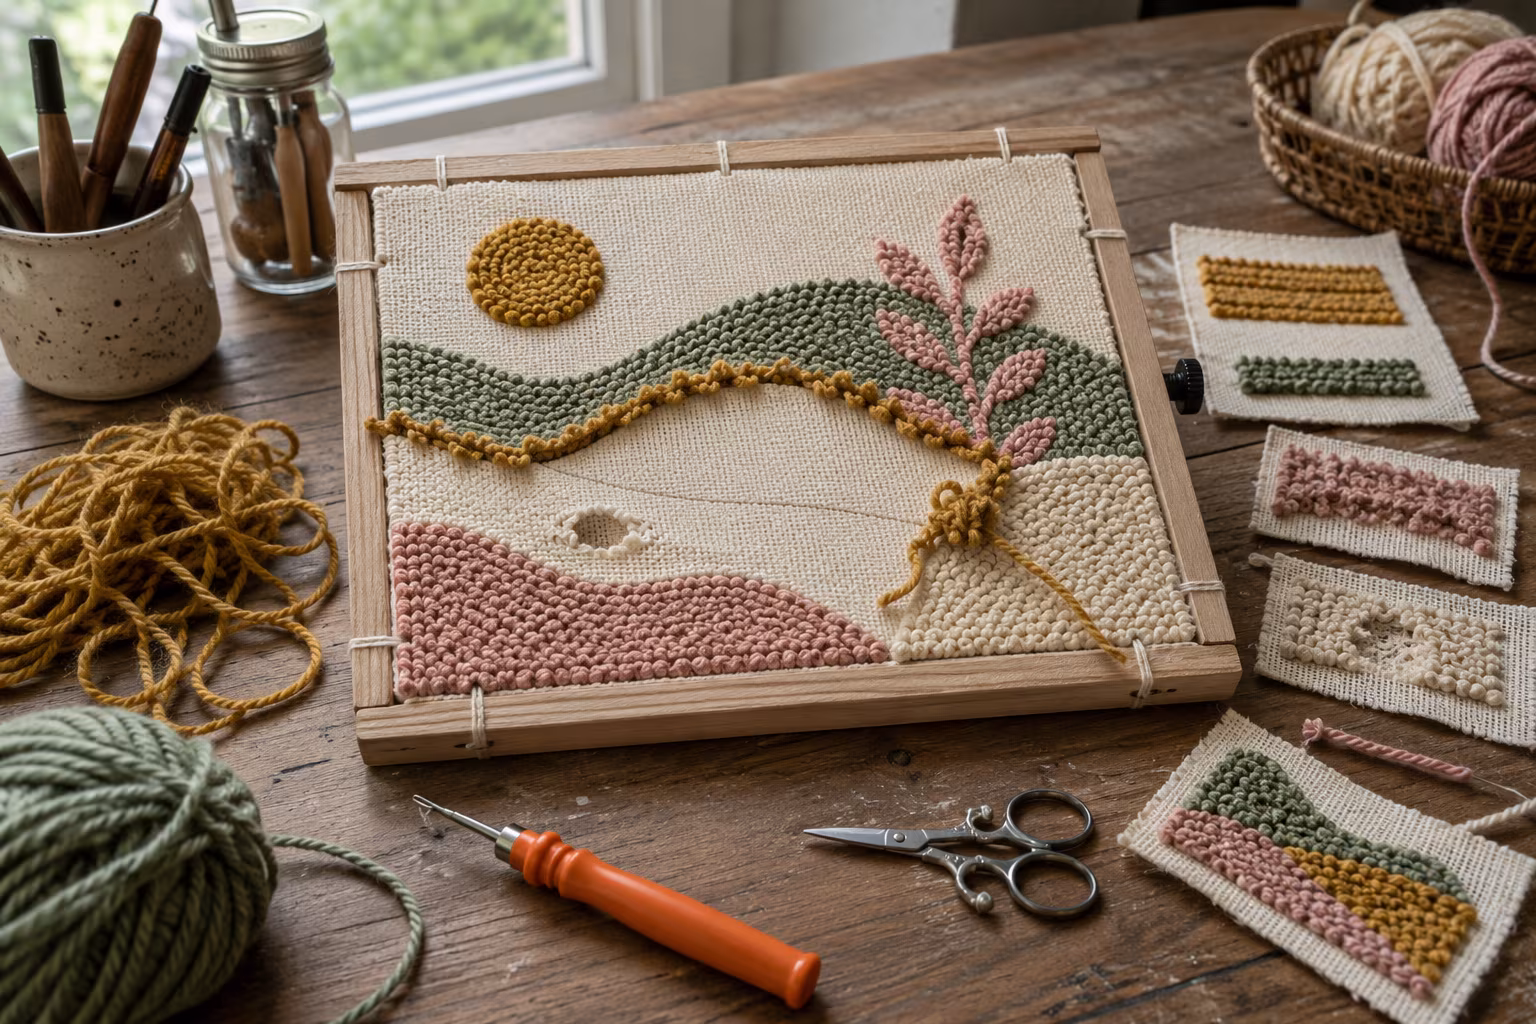
Punch needle creates two surfaces simultaneously. The loop side (often the back of the working position, though some makers flip the project so the loop side is the front) shows the textured raised loops. The flat side (often the top during work) shows a smoother surface with the yarn paths visible.
Which side you want as the finished surface depends on the style of the piece. Loop-side-up gives the rug or wall-hanging texture associated with traditional punch needle. Flat-side-up gives a different, more linear look.
The diagnosis for failing loops is the same regardless of which side you intend as finished. Loops that fall out of the loop side are visible as bald spots; loops that fall out of the flat side cause the design to lose colour intensity in patches.
Securing the start and end of each line
The beginning and end of each line of stitching are the most vulnerable to pull-out, because there is no other stitch holding the yarn in place at those points.
At the start: leave a 2-3 inch tail on the back. Bring it through to the loop side later and trim flush with the surrounding loops once the area is filled.
At the end: leave a 2-3 inch tail on the loop side. Pull it carefully through to the back side with a tapestry needle and weave it into the back of the existing stitches.
Secure long runs by working the next line in the opposite direction (boustrophedon), so the turn-around at each line end is anchored by the previous and next lines. This is much more secure than working all lines in the same direction with frequent stops and starts.
Maintenance after the project is finished
A completed punch needle piece can have loops disturbed by handling, by storage, or by use (especially rugs that see foot traffic). The loops are held by the foundation's grip on the yarn, not by any glue or sewing — physical pressure can release them.
For wall hangings and pillows, the loops typically stay in place without further work. Avoid bending or folding the piece tightly.
For rugs and floor pieces, applying a latex or rug-backing adhesive to the back side after completion locks the loops in permanently. Brush a thin even layer of liquid latex rug backing across the back, let dry per the product instructions, and the piece becomes durable for floor use.
Without a backing for rug projects, a few loops will release with vacuum use or foot traffic over years. The backing is the difference between a punch needle rug that lasts decades and one that needs repair within months.
Common beginner punch-needle frustrations and their cause
Loops different heights across the piece. The depth of insertion varies as you tire or as your hand position changes. Practice maintaining consistent full-depth punches.
Lines visibly curve where they should be straight. The needle angle drifts during the line. Mark the line with a pencil on the foundation and follow the line carefully.
The needle jams. The yarn is too thick for the needle or the yarn has a knot or thick spot. Cut the yarn at the jam, re-thread the needle, continue.
Whole patches of stitches collapse. The frame tension dropped during work, or the foundation has a weak area. Re-stretch the frame and check the area.
The diagnostic discipline works for almost every problem. Identify which of the four primary causes is in play, fix that one variable, and the project recovers.
Re-doing a section without unraveling the whole project
If a section of loops has failed badly, the right move is usually to remove that section's stitches and re-punch, not to start over.
To remove a section's stitches: turn the work over to the flat side, find the start of the failed section's yarn, gently pull the yarn back through the fabric. Most yarn comes out cleanly with patience. Some yarn fragments stay in the fabric — pluck them out with tweezers or a needle.
Re-punch the section with the diagnostic issue corrected. The replaced loops blend with the surrounding intact work if you maintain consistent depth and direction.
This selective repair preserves the rest of the project and saves hours that re-starting would consume.
Cleaning and storing finished punch needle work
Punch needle pieces hold dust over time, especially the loop side. Cleaning options:
Light dust: brush gently with a soft hand-broom or a clean paintbrush. Works for occasional cleaning.
Spot-cleaning marks: dab with a cloth and a small amount of mild soap solution. Avoid soaking the foundation cloth.
Full cleaning: the piece is generally too dense and structured for machine washing. A gentle hand-wash in cool water with mild wool wash or no-rinse fabric cleaner, followed by flat drying, restores most pieces. Some pieces with synthetic yarns or stretched foundations cannot be wet-cleaned without damage; test on a hidden corner first.
Store finished pieces flat or rolled (not folded). Folding creates permanent creases in the foundation cloth.
Yarn choice beyond the basic recommendation
The yarn you choose affects both the loop's behaviour and the finished piece's character.
Rug yarn (the traditional choice for Oxford Regular Point) gives dense, plush loops with strong colour saturation. The texture is firm.
Chunky craft yarn (Lion Brand Wool-Ease Thick & Quick, similar bulky synthetics) is easier to source and gives a softer feel. Slightly less defined loop shape.
Tapestry yarn (Persian wool, fine wool) fits Fine Point Oxford and similar fine needles. Gives subtle colour blending and fine detail.
Cotton fabric strips (cut from old t-shirts or fabric scraps) work in Regular Point needles. Gives a rag-rug aesthetic and uses up textile waste.
Mixing yarn types within one piece creates textural contrast. Match the needle to the yarn weight; do not mix yarn weights within a single needle's range.
Related Posts

Sealing Watercolor Wood Slices for Indoor Display Pieces
Watercolor on wood looks beautiful and fades fast without the right sealer. The prep, the sealer ...
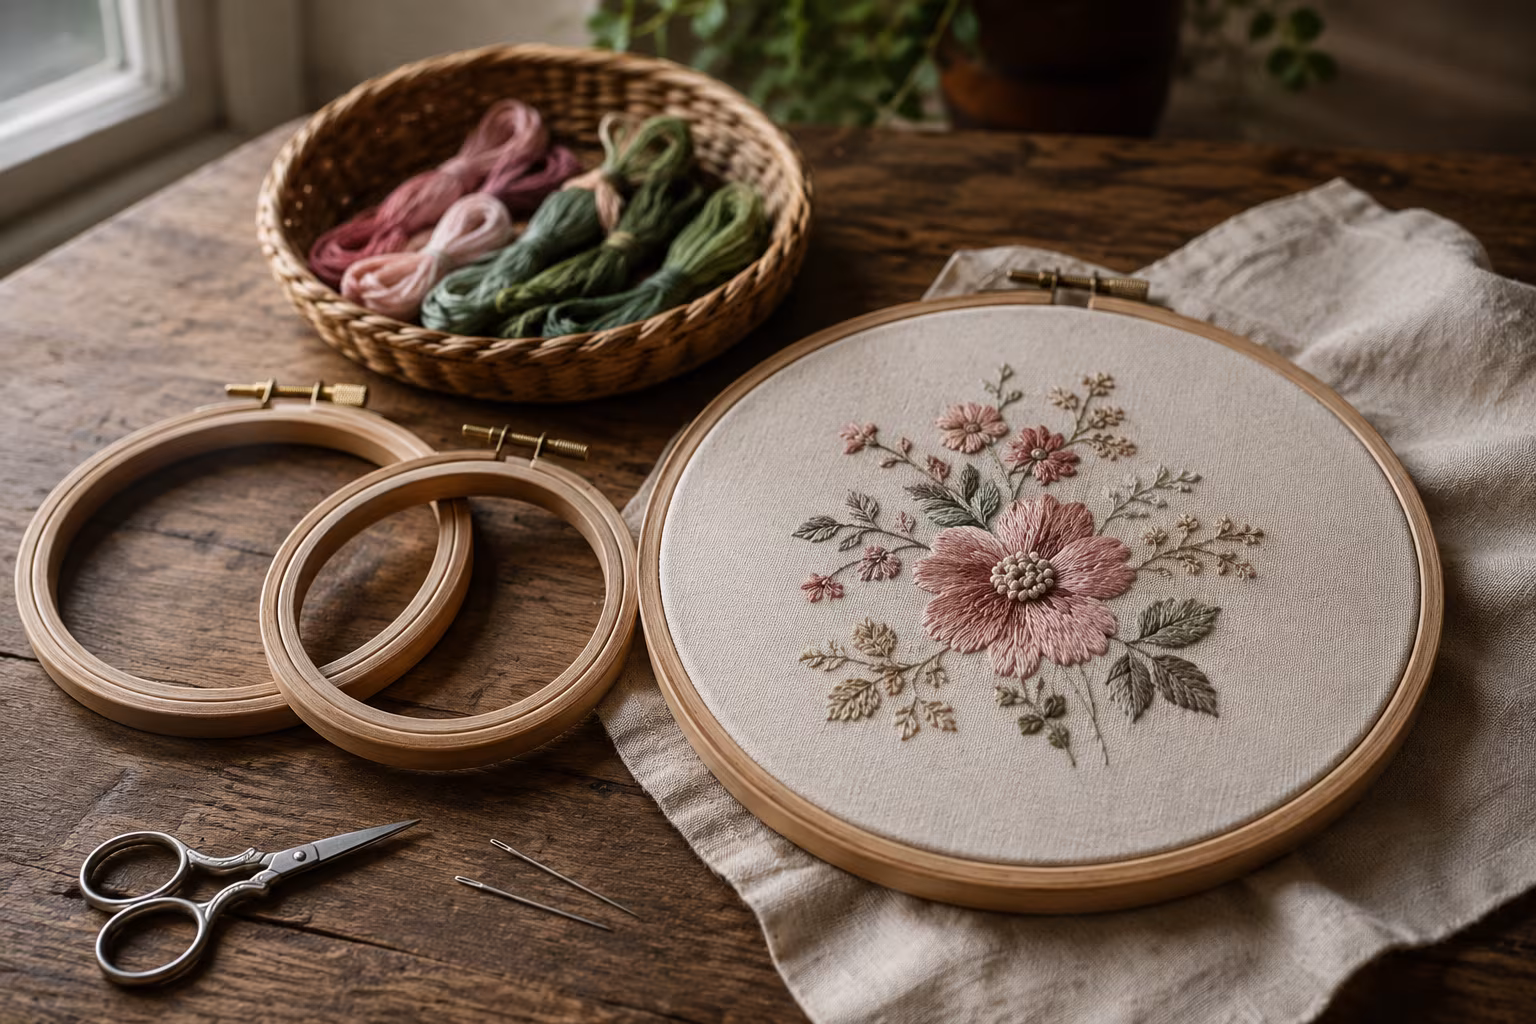
Beginner Hand Embroidery Hoops: Sizing for Long Projects
Pick the right embroidery hoop size and material for a project you will work on for weeks — what ...

Acrylic Pouring Cells: Why They Form and How to Control
Cells in acrylic pouring come from density and surface tension differences. Understand the chemis...
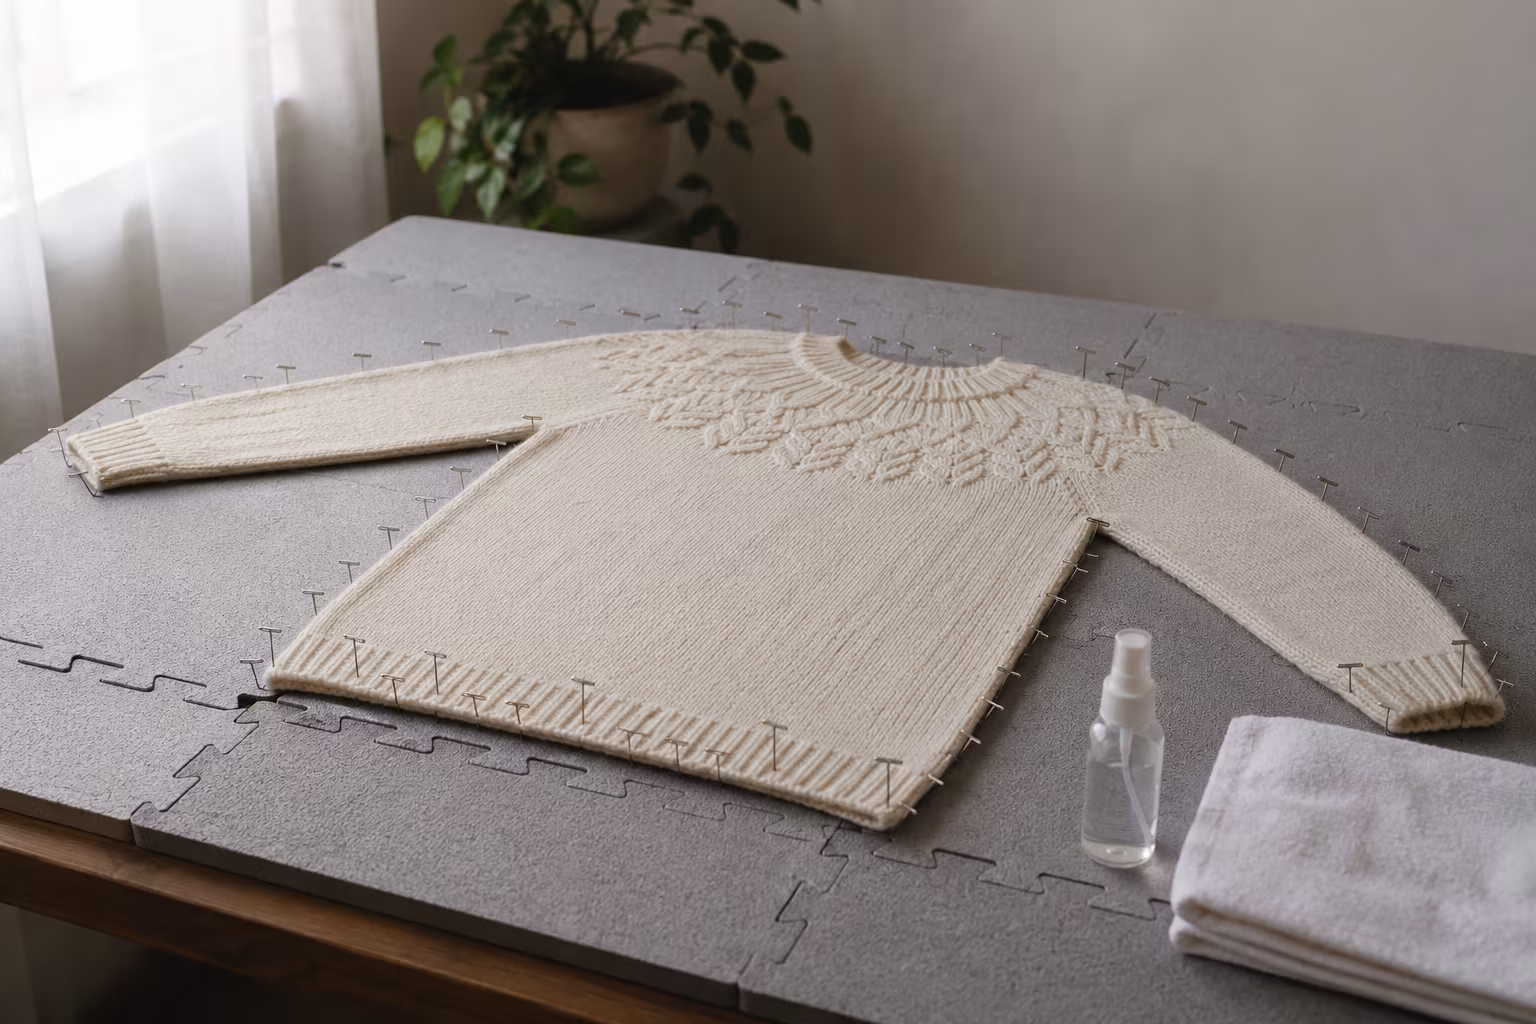
How to Block a Knitted Wool Sweater Without Felting
The blocking routine that opens stitches and sets the shape without turning your wool sweater int...