
Handmade Greeting Cards for Every Occasion
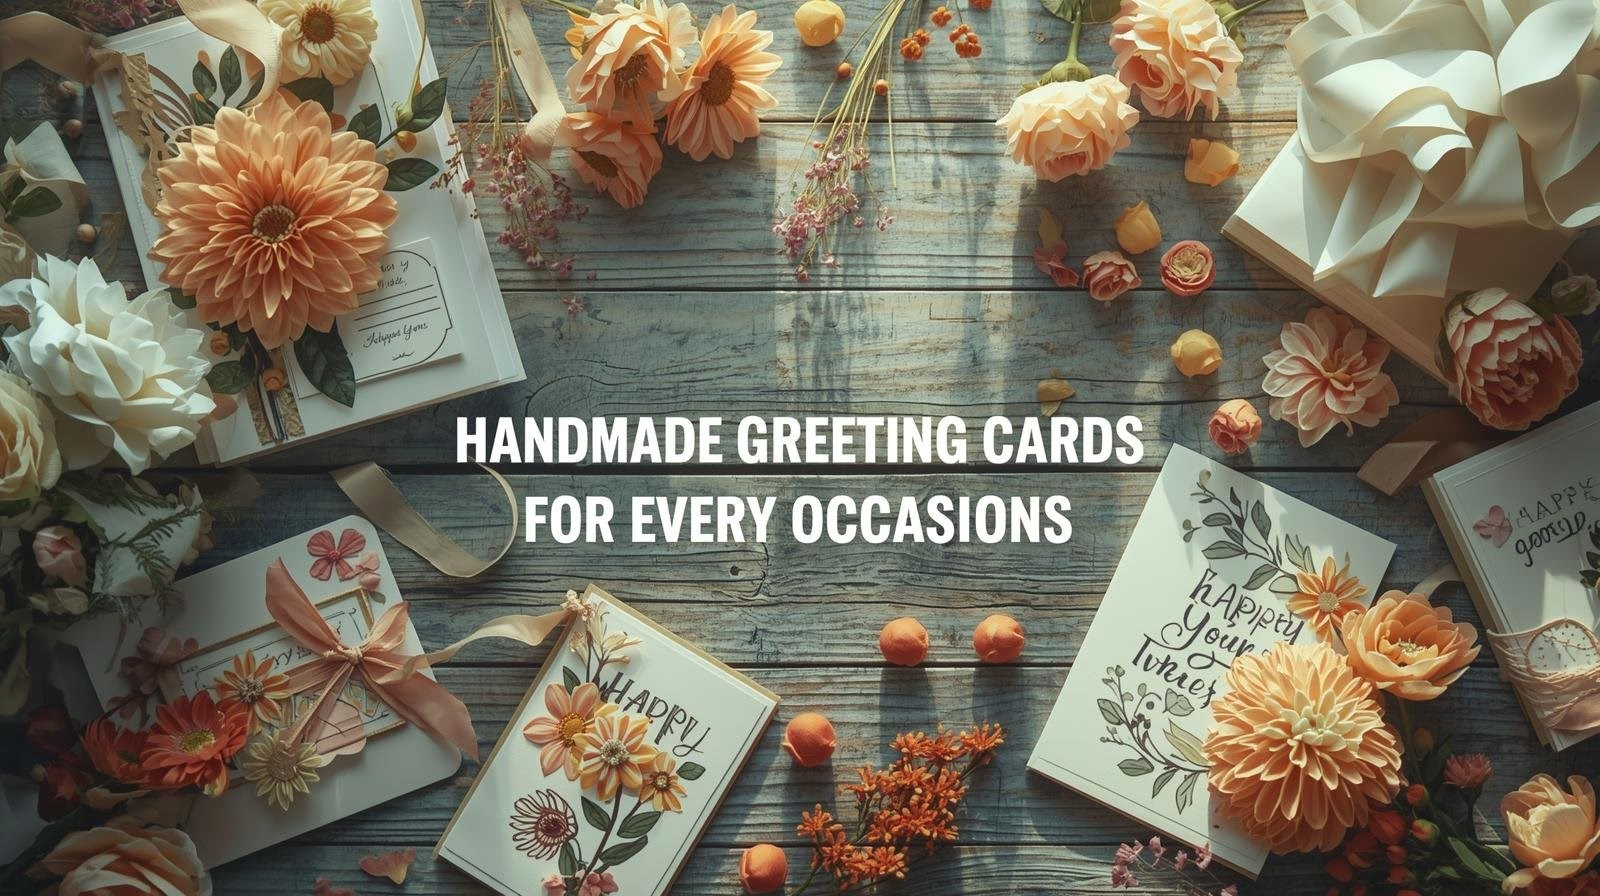
A handmade card carries something a store-bought one cannot: the message was written for one specific person, and the design was chosen to match them. It also costs a fraction of a boxed set. A single A4 sheet of quality cardstock yields two or three card bases, so a $12 pack of paper can produce a dozen cards or more. This guide covers the supplies, the core techniques, and specific ideas for the occasions people make cards for most.
A starter supply kit
You do not need a dedicated craft room to begin. A workable kit fits in a shoebox:
- Cardstock, 200–300 gsm – heavy enough to stand on its own and hold layers without buckling. Thinner text-weight paper (around 100 gsm) works only for decorative layers glued on top.
- A bone folder or scoring tool – for a crisp, crack-free fold. Skipping this is the most common reason a card base looks amateurish.
- Scissors and a craft knife with a metal ruler – the knife handles straight cuts; keep a spare blade, since a dull one tears fibers.
- Adhesive – double-sided tape for clean edges, a glue stick for large flat areas, and foam mounting squares to lift elements off the surface for depth.
- Pens and markers – a fine liner for outlines and a brush pen for lettering.
- Embellishments – washi tape, stamps, an ink pad, ribbon, and dried or pressed flowers.
Recycled materials stretch the kit further: patterned gift wrap, fabric scraps, buttons, and pages from old books all make good backgrounds. If you are also setting up a work area, our notes on budget-friendly supplies to organize a workspace pair well with a card-making corner.
Core techniques worth learning
Five techniques cover most of what you will ever make. Practice each on scrap before committing to a finished card.
Layering builds visual depth. Cut a patterned panel about 5 mm smaller on each side than a plain mat, and mount that mat onto the card base, leaving a thin border. Consistent borders are what make layered cards look tidy.
Stamping is the fastest way to repeat a clean design. Press the stamp straight down without rocking, and use a dye ink for quick drying or pigment ink when you plan to emboss. You can even cut your own stamps; our guide to making custom rubber stamps from erasers is a cheap way to get a signature motif.
Heat embossing gives a raised, glossy finish. Stamp with pigment ink, sprinkle embossing powder over the wet ink, tap off the excess, then melt the powder with a heat tool until it turns shiny. It takes only a few seconds per area and looks far more expensive than it is.
Hand lettering turns a blank front into the whole design. Downstrokes are thick, upstrokes thin; keep the pressure change gradual. If you want to teach a group or run a workshop, see our piece on teaching hand lettering to mixed skill levels.
Pop-up elements add a surprise. Fold the card, cut two short parallel slits in the fold, push that tab inward so it folds the opposite way, and glue a shape to its face. When the card opens, the shape springs forward.
Designs by occasion
The occasion sets the palette and the level of formality. A few reliable directions:
- Birthdays – paper balloon clusters on string, a shaker pocket of confetti behind an acetate window, or a minimalist white base with a single gold hand-lettered line.
- Weddings and anniversaries – restrained and elegant. Lace or vellum overlays, metallic accents in silver or gold, and the couple's monogram in a large serif letter.
- Thank-you cards – small and quick to batch. A pastel base, a hand-drawn floral border, or an upcycled book-page background with two words of brush lettering.
- Holidays – seasonal cut-outs such as layered paper trees, snowflakes, or crescent shapes, often with a touch of heat embossing for shine.
- Get-well and encouragement – warm yellows and blues, a short direct message, and pressed flowers or a leaf print for a natural, calming feel.
- Graduation – a folded black-paper cap with a thread tassel, or a before-and-after photo pairing with a forward-looking line inside.
When you add glitter, seal it with a thin layer of clear-drying glue or a glue pen so it does not shed inside the envelope.
Sizing, envelopes, and paper weights
Standardizing on one or two sizes makes envelopes easy to source and cards easy to mail. The most common finished size is A6, which is 105 by 148 mm and folds from a half-sheet of A5; a matching C6 envelope fits it. A square 140 mm card is popular for weddings but often needs extra postage, so weigh a finished card before buying stamps in bulk.
Match paper weight to the job. Use 250–300 gsm for the base so it stands, 150–200 gsm for layered panels, and lighter decorative paper only where it will be glued flat. A base that is too thin will not stay upright; one that is too heavy resists a clean fold unless you score it first.
Common mistakes and quick fixes
A handful of errors account for most disappointing results, and each has a simple fix:
- A cracked fold – folding heavy cardstock without scoring first breaks the top fibers. Always score the fold line with a bone folder, then fold with the scored crease on the outside.
- Warped panels – too much wet glue makes paper cockle. Use double-sided tape or a thin, even layer of glue applied to the smaller piece, not the base.
- Crooked layers – eyeballing placement drifts. Pencil two light registration marks, or use a grid mat, and erase afterward.
- Smudged lettering – water-based brush pens smear under later layers. Letter first, let it dry fully, or switch to a waterproof pigment liner.
- Bulk that won't mail flat – thick embellishments jam in the envelope. Keep raised elements low, or hand-deliver heavily dimensional cards.
Work in small batches of the same design so you refine the process before committing to a dozen. Cutting all your bases first, then scoring, then decorating, is faster and more consistent than finishing one card end to end before starting the next.
Storing and selling your cards
Finished cards curl and dent if they sit loose in a drawer. Store them flat in a photo box or an accordion file, sorted by occasion, with each card slipped into a cellophane sleeve to keep edges clean and to make them sale-ready. Handmade cards are broadly considered part of the wider greeting card tradition, and there is steady demand for personal, small-batch designs.
If you want to sell, photograph each design in daylight against a plain background before you give it away, so you keep a record you can reproduce. Small markets, craft fairs, and online shops all take handmade cards; price them to cover materials plus your time rather than competing with mass-printed cards, since the personal touch is the whole point. Keep a small stock of blank bases scored and folded in advance, and you can turn out a finished, occasion-specific card in fifteen to twenty minutes whenever one is needed.
Card stock weights and sizes:
| Use | Spec | Note |
|---|---|---|
| Card base | 250–300 gsm | stands on its own, holds layers |
| Layered panels | 150–200 gsm | text-weight (~100 gsm) only for glued decoration |
| Standard size | A6 = 105×148 mm from half an A5 | C6 envelope fits |
| Square 140 mm | popular for weddings | often needs extra postage — weigh first |
| Yield | one A4 sheet = 2–3 bases | a $12 pack → a dozen cards or more |
Related Posts
Beginner Pottery Wheel Speed for Centering
Centering clay needs high wheel speed and firm pressure. Most beginners use too low speed.

Calligraphy Ink Comparison for Cotton Paper
Modern dip pen calligraphy needs ink that doesn't bleed on absorbent cotton paper. India ink...
Knitting Needle Materials Compared: Wood vs Metal vs Plastic
Knitting needle material changes how stitches slide, how cold or warm the needle feels, and how...
Beginner Watercolor Paper Choice for Textured Washes
Watercolor paper is the single biggest gear decision a beginner makes. Weight, surface texture...
Comments
No comments yet. Be the first to share your thoughts!