
Beginner Pottery Wheel Speed for Centering
The short answer
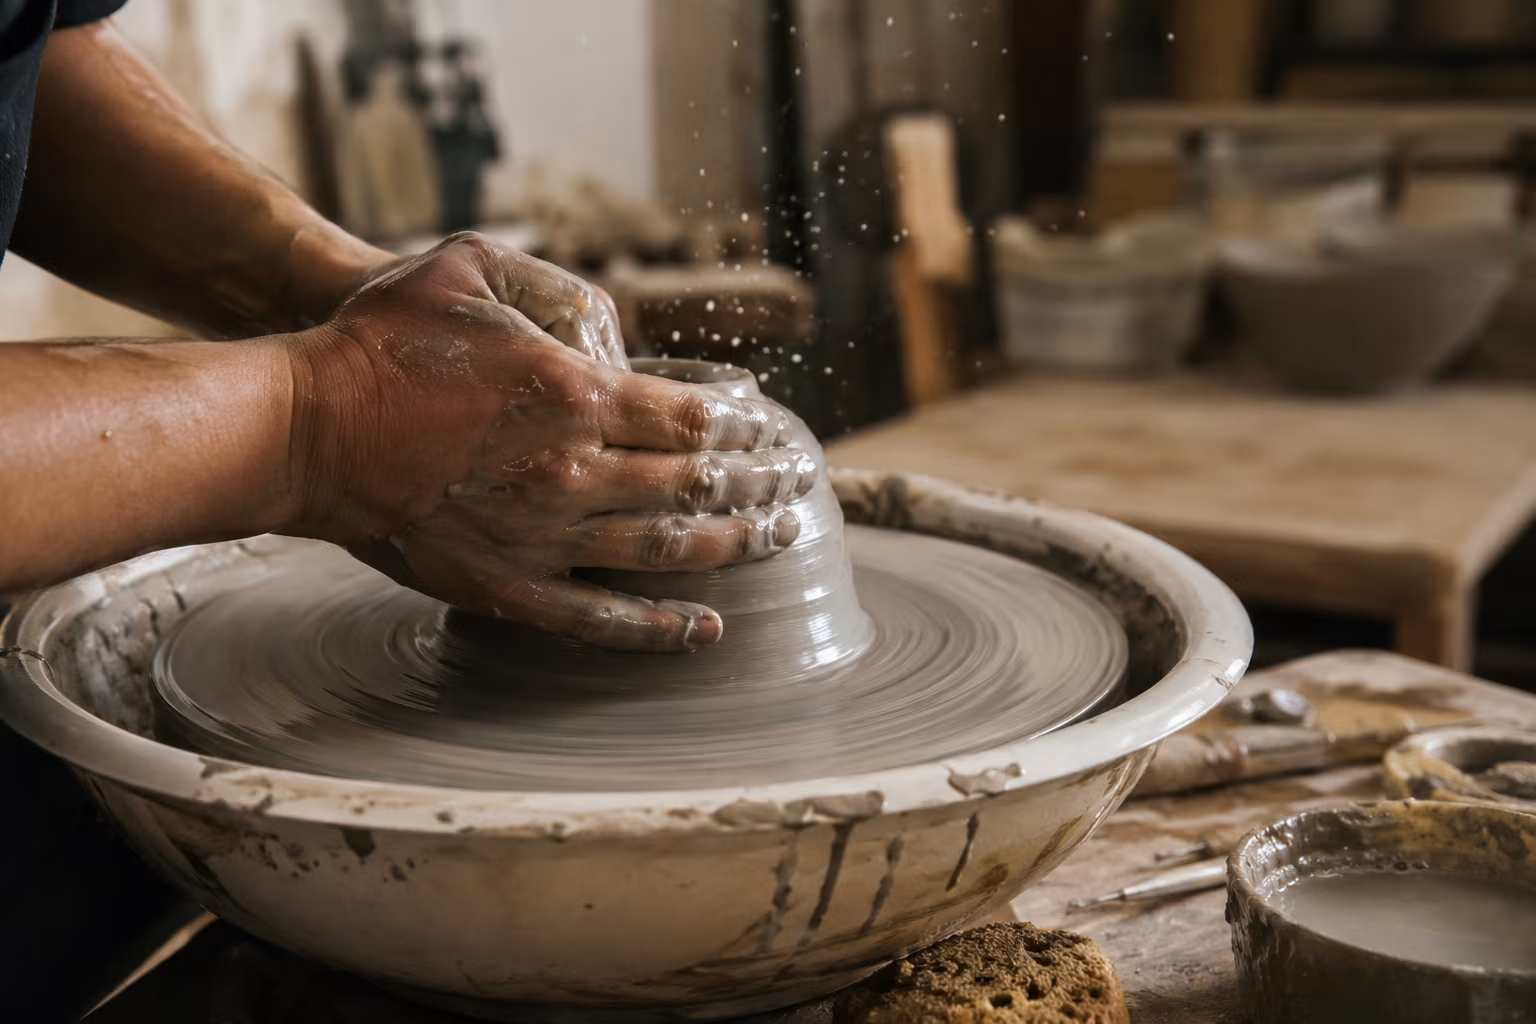
Centering clay requires high wheel speed (150-200 RPM) and firm pressure. Most beginners use too low speed and clay wobbles.
Wheel speed by task
Centering: 150-200 RPM. Opening: 60-100 RPM. Pulling walls: 40-80 RPM. Final smoothing: 20-40 RPM.
Technique
Wedge clay first. Slam onto wheel. Wet hands and clay. High speed, firm pressure. Both hands compress from sides. Centers in 30-60 seconds.
Common mistakes
Wheel too slow. Not enough water. Inconsistent pressure. Letting clay dry. Giving up early.
Pottery Wheel Centering Fundamentals
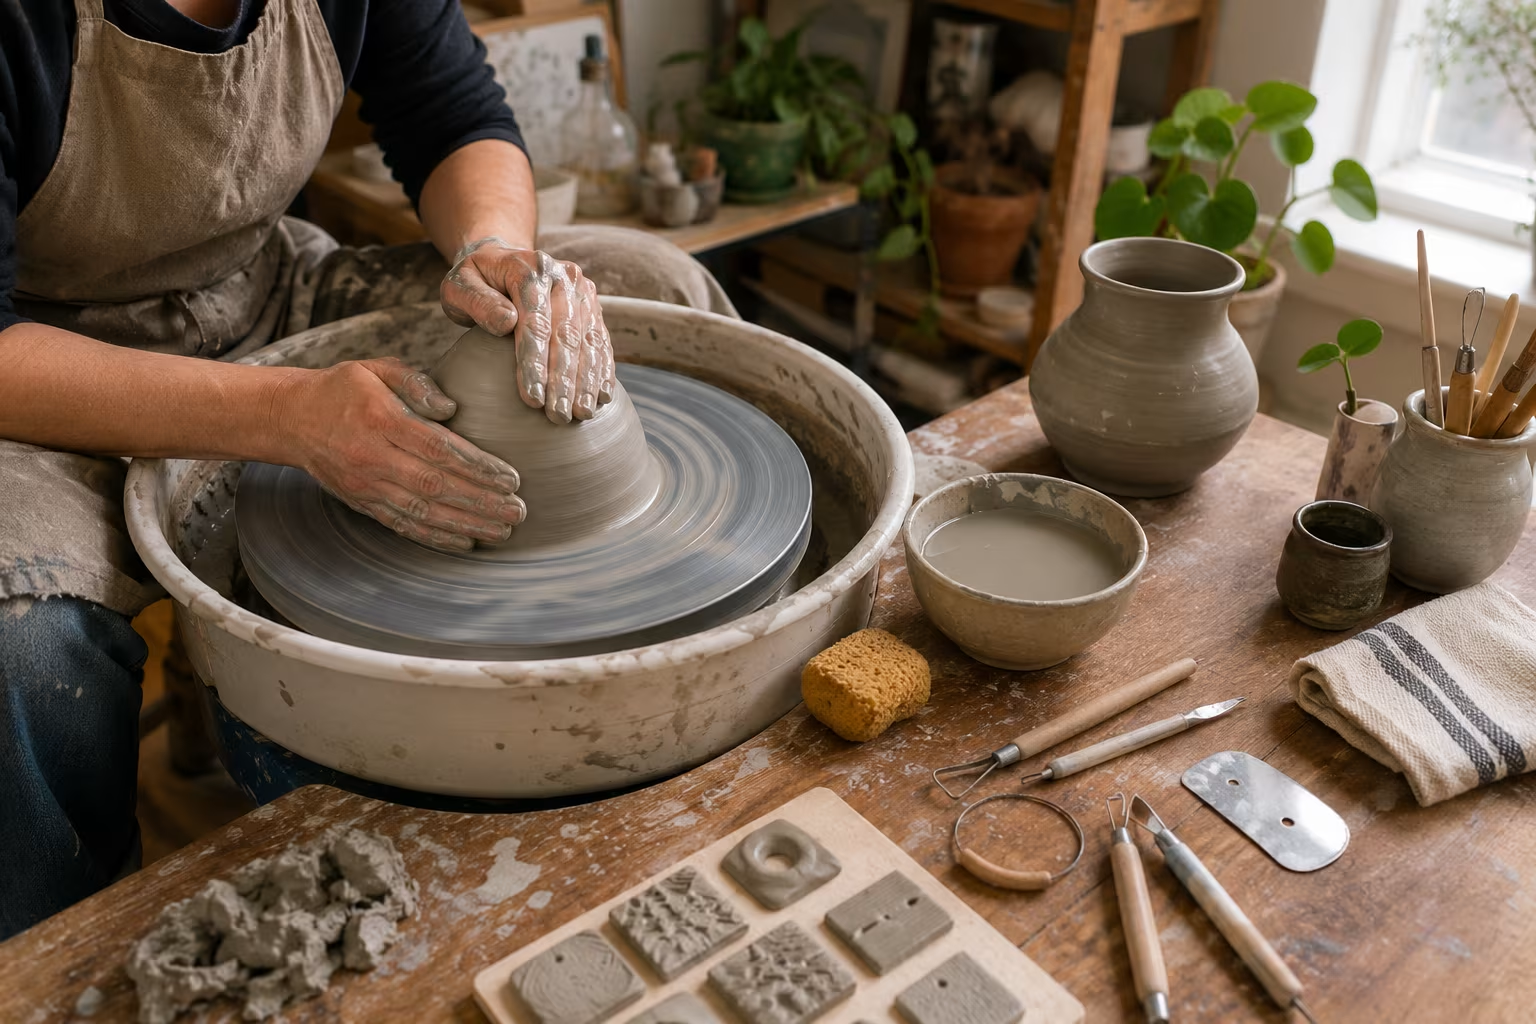
Centering clay on a pottery wheel is the foundational skill that determines whether a beginner can produce usable pottery or generates only frustrating mistakes. The technique requires a precise combination of body position, hand pressure, water management, and wheel speed control. Most beginners struggle with centering for weeks before achieving consistent results; this learning curve is normal and unavoidable.
The fundamental physics: a spinning lump of clay creates centrifugal force that wants to throw the clay outward. Centering counteracts this force by compressing the clay inward toward the rotational axis. When properly centered, the clay rotates with no visible wobble; uncentered clay throws variations in wall thickness as the wheel turns, eventually causing thinned areas that collapse during throwing.
Equipment Setup for Successful Centering
Wheel selection affects centering difficulty significantly. Brent CXC (250W motor), Skutt SK505 (300W), and Shimpo VL-Lite (250W) represent the gold standard for serious home studios — these motors deliver consistent torque without slowing when clay resistance increases. Prices range 800-2500 USD (as of 2026 — confirm current pricing). Cheaper wheels (Speedball Boss Elite at 350-500 USD) work for beginners but slow noticeably under heavy clay loads.
The bat (removable disk on top of wheel head) provides a clean surface for each piece and allows easy removal of completed work. Plaster bats absorb moisture and help bottoms set quickly; plastic bats clean easier but require more careful clay removal. Bat heads in standard sizes (10-14 inches) cost 8-30 USD each.
Clay preparation before throwing significantly affects centering ease. Properly wedged clay (kneaded to remove air bubbles and align fiber orientation) centers much more easily than poorly prepared clay. Most studios wedge clay using either the ram's head or spiral wedging technique for 30-60 cycles before throwing. Wedging table surfaces (sealed plaster or canvas-covered plywood) cost 100-300 USD or can be DIY built.
Standard pottery clay weights for centering practice: 1-2 pounds for small bowls and cups, 3-5 pounds for medium bowls and vases, 5-10 pounds for larger pieces. Beginners typically start with 1-pound balls because the small mass requires less physical effort to center.
Step-by-Step Centering Technique
Step 1: Position yourself correctly. Sit close enough to the wheel that your forearms can rest on your thighs or against the wheel splash pan. Forearms should be horizontal when working. Your dominant elbow should anchor against your hip; this provides stability that prevents your hands from being pushed off-center by clay resistance.
Step 2: Throw the clay onto the center of the bat with firm downward force. The slap should sound dull and solid; if it bounces or sounds hollow, the clay isn't sticking properly. Push down with both hands to firmly bond the clay base to the bat surface.
Step 3: Wet your hands with water from the bowl beside the wheel. Hands should be slightly damp throughout the process; reapply water every 30-60 seconds. Insufficient lubrication causes friction that prevents centering; excessive water makes clay too soft to control.
Step 4: Start the wheel at medium-high speed (roughly 100-150 RPM for centering). Faster speeds make centering easier physically but increase the danger of clay flying off the wheel for inexperienced throwers.
Step 5: Apply the "coning up" technique. Place both hands around the clay mass with thumbs together at top. Press the clay upward into a tall cone shape using consistent inward pressure. The cone height should be about three times the diameter. Then press downward with palms on top while maintaining outward pressure to flatten back to a shorter cylindrical mass. This coning process aligns the clay platelets and brings the clay into rough alignment with the rotational axis.
Step 6: Repeat coning 2-4 times. With each iteration, the clay becomes more compact and aligned. The visual indicator: the clay surface becomes smoother, less wavy, and the centerline appears stable rather than wobbling.
Step 7: Final centering position. Place left hand on the clay's outer surface (for right-handed throwers; reverse for left-handed). Apply consistent inward pressure. Place right hand on top of the clay, fingers slightly curved, applying downward pressure. The two pressures combine to push clay toward the center. Hold position steadily; the clay should rotate smoothly without visible wobble.
Step 8: Visual check. Hold a needle tool against the spinning clay at the outer edge. If the needle scratches a continuous unbroken line, the clay is centered. If the needle scratches discontinuous marks, the clay still has off-center spots requiring more work.
Common Centering Problems and Solutions
Clay wobbling persistently: insufficient pressure or unstable body position. Press more firmly, anchor forearms against thighs or wheel housing, reduce wheel speed temporarily to gain better feel.
Hands slipping off clay: too much water or not enough water. Adjust water level until clay surface feels slightly slick but hands maintain grip.
Clay tearing or developing cracks: clay too dry or worked too long. Wet hands and lightly moisten clay surface; if cracks persist, the clay needs more wedging before throwing.
Clay drilling downward into bat: too much downward pressure without outward counterforce. Balance hand pressures so clay maintains height rather than spreading flat.
Asymmetric centering (one side wobbles, other side stable): hand pressures are unequal. Check that both hands apply equal force; often the dominant hand presses too hard while the non-dominant hand presses too little.
Beginner fatigue: centering is physically demanding for new throwers. Take breaks every 15-20 minutes; centering requires sustained pressure that fatigues forearm muscles quickly.
Wheel speed too slow: clay doesn't generate enough centrifugal force to respond to centering pressure. Increase to 100-150 RPM minimum during centering.
Practice Routines for Faster Skill Development
Daily 20-minute centering practice produces faster skill development than weekly hour-long sessions. The repeated muscle memory formation requires frequent reinforcement.
Recommended progression: Week 1-2: practice centering only, no throwing. Center, observe results, recenter from same clay ball 5-10 times. Goal: achieve smooth centering within 2-3 minutes.
Week 3-4: center and open. After centering, drill a hole down through the center of the clay with thumb or finger. Practice maintaining centered status while opening.
Week 5-6: center, open, and pull walls. Begin actual pottery throwing on centered clay. Many pieces will fail; this is normal learning.
Week 7+: continued practice with progressively larger clay amounts. Aim for centering 5-pound clay balls smoothly by month three of consistent practice.
Some pottery instructors recommend recording video of practice sessions for self-review. Watching playback reveals subtle body position issues that aren't apparent during throwing.
Studio Environment and Ergonomics
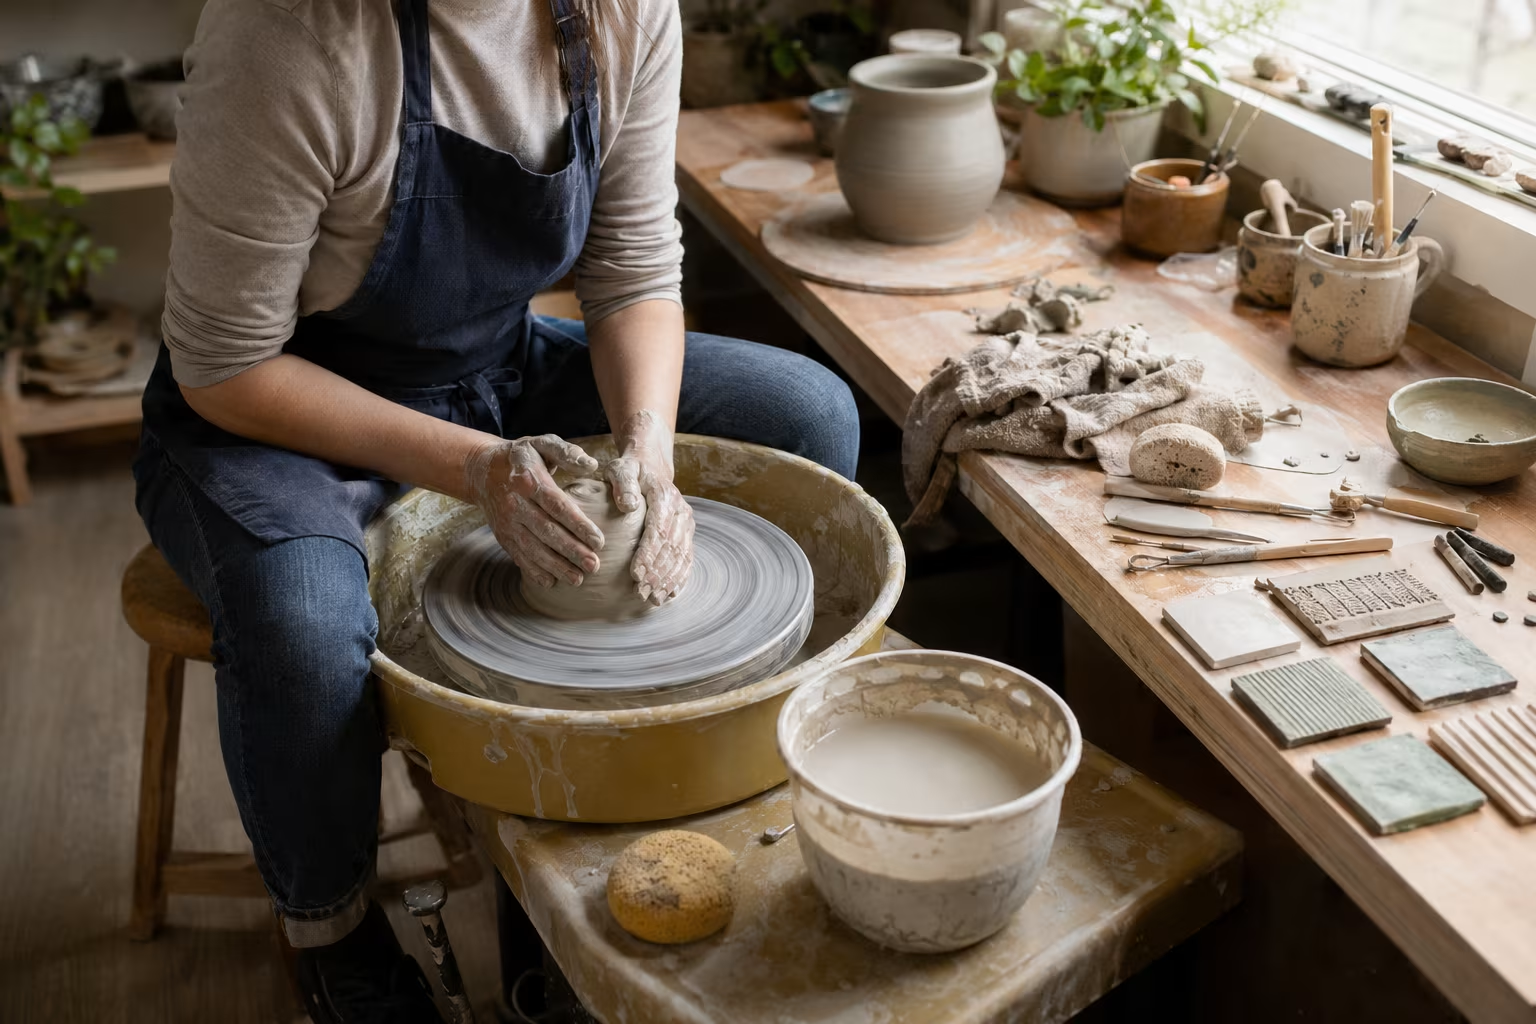
The physical setup of your pottery studio significantly affects centering success. Wheel height matters: most wheels are 18-22 inches tall from floor to wheel head, designed for sitting on a stool 18-24 inches tall. Standing wheels are uncommon outside production pottery and require different positioning techniques entirely.
Proper stool height places your hips at the same level as the wheel head with your elbows naturally falling to anchor against your thighs. If you find yourself reaching forward or upward, the stool is wrong height. Adjustable bar stools (40-150 USD) allow precise customization.
Floor surface beneath the wheel must support stable foot pressure. Many electric pottery wheels have foot pedal speed control that requires consistent pressure for stable RPM. Soft mats or unstable surfaces underneath cause unintentional speed changes that ruin centering attempts. A solid hardwood floor or installed rubber mat (Bisesi Studio Mat, 60-200 USD) provides the stability needed.
Lighting from above and slightly behind eliminates shadows that obscure clay surface detail. Inadequate lighting makes it impossible to see wobble accurately; experienced potters often install dedicated task lighting at the wheel. LED workshop lights (Stanley LED Shop Light, 30-90 USD) provide bright shadow-free illumination at 5000K color temperature.
Splash pan around the wheel head catches water, clay slip, and trimmings. Keeps the surrounding floor cleaner and reduces studio cleanup time. Most wheels include adequate splash pans; aftermarket replacements available if the original is damaged or undersized.
Teaching Resources and Community
For beginners, structured instruction accelerates centering mastery dramatically. Local pottery studios typically offer 6-8 week introductory courses for 250-600 USD. These courses provide hands-on instruction, immediate feedback on technique, and access to wheels and clay without major equipment investment.
Online resources supplement in-person learning. Bill van Gilder Pottery Channel on YouTube offers extensive free centering tutorials. Florian Gadsby's documented learning journey on Instagram shows realistic skill development. Ceramic Arts Network publishes weekly technique videos. Skillshare and Domestika host paid pottery courses from established potters (Adriana Christianson, Eric Landon, others) priced 25-200 USD.
Pottery community forums like Reddit's r/Pottery and the National Council on Education for the Ceramic Arts (NCECA) member networks provide ongoing technique discussions, equipment recommendations, and troubleshooting support.
For serious commitment, weekend pottery workshops at established schools (Anderson Ranch Arts Center, Penland School of Craft, Haystack Mountain School) offer intensive instruction from master potters. Weekend programs typically cost 600-1500 USD plus travel and accommodations; full week-long programs range 1500-3500 USD.
Many regional pottery guilds maintain shared studios where members can access wheels, kilns, and instruction at modest monthly fees (50-150 USD per month). These provide both equipment access and community support that accelerates learning.
Pottery centering rewards persistent practice. The frustration of early weeks gives way to satisfaction as the technique becomes intuitive. Most potters describe their first reliably centered clay ball as one of the most memorable moments in their craft journey — the gateway to all the pottery skills that follow.
Clay Body Selection for Beginners
The type of clay used affects centering difficulty substantially. Stoneware clay (most common in beginner studios) offers forgiving plasticity and reasonable resistance to over-thinning. Porcelain clay is much more challenging — its lower plasticity makes centering more difficult, and walls collapse easier when over-thinned. Beginners should not attempt porcelain until centering stoneware reliably.
Major clay body suppliers in North America include Standard Ceramic Supply, Laguna Clay, Continental Clay, and Mile Hi Ceramics. A 50-pound box of throwing stoneware costs 25-45 USD (as of 2026 — confirm current pricing) and provides material for 25-40 small practice pieces.
Recycled clay from previous practice failures can be reconstituted with water and re-wedged. This significantly reduces material costs for beginners who generate substantial waste during centering practice. Plaster slabs or reclaim buckets allow clay scraps to dry to workable consistency for reuse.
For the first month of practice, using only one clay body builds muscle memory specific to that material's behavior. Switching between different clay bodies confuses the learning process during initial skill development.
Safety and Health Considerations
Pottery involves several hidden health hazards that responsible studios address proactively:
Silica dust from dried clay is a long-term respiratory hazard. Always clean clay surfaces while damp; never sand or sweep dry clay. Use HEPA vacuum (Festool CT 36 AC, 800-1500 USD) rather than standard shop vacuums for studio cleanup. Wear N95 or P100 respirator when working with dry materials.
Hand strain from sustained centering pressure causes carpal tunnel symptoms in some potters. Take 5-minute breaks every 25-30 minutes of throwing. Stretching exercises before throwing reduce injury risk.
Bacterial growth in standing water bowls can cause skin infections. Change throwing water daily; use clean water for hands separate from water used on the wheel.
Glaze chemicals present serious hazards. Many traditional glazes contain lead, barium, cadmium, and other toxic materials. Modern food-safe glazes (Amaco, Mayco, Coyote) use safer formulations but still require careful handling. Wear gloves when mixing or applying glazes; work in well-ventilated areas; wash hands thoroughly before eating.
Centering is the gateway skill that unlocks the rest of pottery's possibilities. The patient practice of weeks pays back through decades of creative pottery work — bowls, vases, mugs, sculpture all begin with clay properly centered on a spinning wheel. Every potter remembers that turning point in their development. The breakthrough opens up new creative territory.
Related Posts
Calligraphy Ink Comparison for Cotton Paper
Modern dip pen calligraphy needs ink that doesn't bleed on absorbent cotton paper. India ink...

Knitting Needle Materials Compared: Wood vs Metal vs Plastic
Knitting needle material changes how stitches slide, how cold or warm the needle feels, and how...
Beginner Watercolor Paper Choice for Textured Washes
Watercolor paper is the single biggest gear decision a beginner makes. Weight, surface texture...
Hand-Sewn Leather: Saddle Stitch Spacing That Actually Holds
Saddle stitching looks simple and fails subtly. Wrong spacing pulls thin leather apart. The...
Comments
No comments yet. Be the first to share your thoughts!