
Tarp Pitching for Side Wind: A Practical Field Guide
The short answer
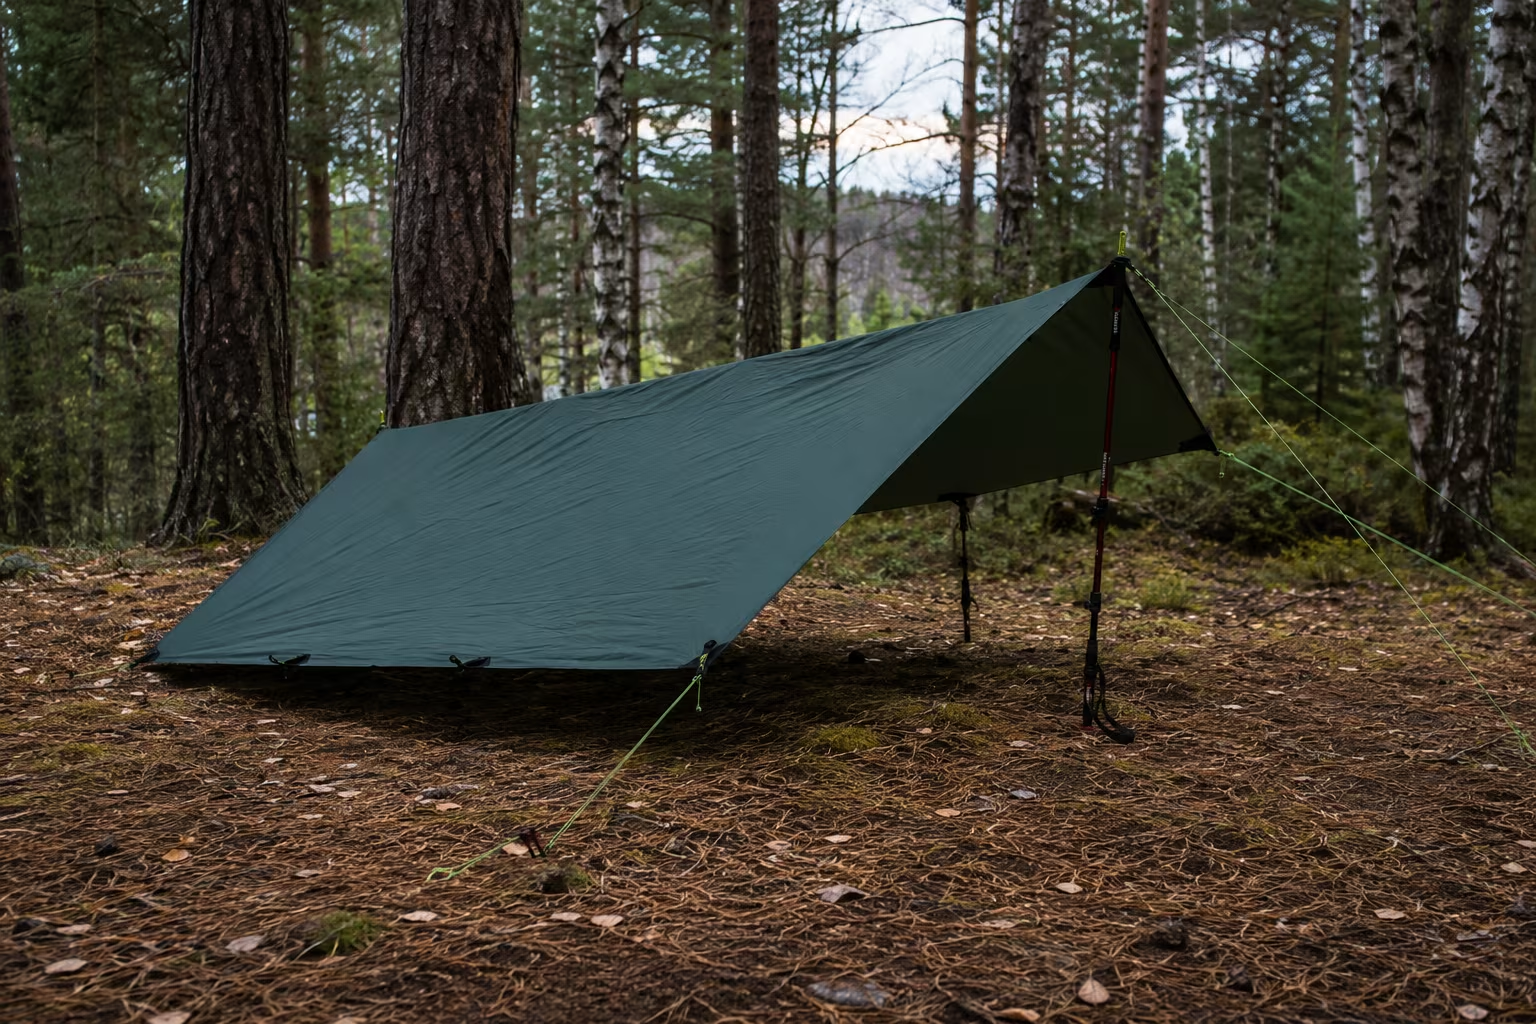
When the wind comes from the side rather than head-on, lower the windward edge, raise the leeward edge, and run the long axis of the tarpaulin parallel to the wind so it slides along the fabric instead of punching into a flat wall. The plow point (or diamond fly) is the most reliable shape for shifting side wind because its low point sheds air whatever direction it comes from. A symmetric A-frame becomes a sail in side wind and lifts its windward edge before the stakes give; it only works when one side is dropped almost to the ground.
The pitching mistakes that fail tarps in side wind are usually upstream of the shape: the windward edge is too high, the anchors are driven at the wrong angle, or the guy lines are not tensioned hard enough to stop the flapping. Solve those three and most tarps survive winds they were never designed for.
Read the wind first, pitch second
Before unrolling anything, stand at the site for two or three minutes and feel the wind — note the steady direction and the gust direction separately. In valleys and on ridgelines the gusts often come ninety degrees off the steady wind, and that gust direction is what fails tarps. Trees grown into a flag shape, bent grasses, and leaf litter banked on one edge of a clearing all point to the dominant wind better than a guess from the sky. Forecast the change, too: pre-frontal winds shift abruptly, and a south wind at dusk can be a hard west wind by midnight. Pick a pitch that survives both directions, which is another reason the plow point and diamond fly beat the A-frame — their low corner can be re-staked without redoing the whole shelter.
A-frame and lean-to in side wind
The A-frame is the default pitch: a ridgeline between two trees or poles, the tarp draped over it, the side edges staked down. It is fast and good head-on because the wind hits the steep gable end. Broadside, though, it is a sail — wind balloons the flat panel inward, the windward stakes lift, and the shelter collapses onto you, often at gusts of just 25-30 mph. The fix without changing shape is the asymmetric A-frame: drop the windward side to 12-18 inches of clearance instead of 36-48 and keep the leeward side at standing height, so the windward panel becomes a near-vertical wall and wind passes over the top. The simpler fix, when the trees allow, is to rotate the ridgeline so the gable points into the wind and the side wind becomes head-on.
A lean-to is half an A-frame: ridgeline at the back, the front edge staked low and angled down, so the whole front becomes one sloped roof and the open side faces away from the wind. It handles side wind well because it shows a low triangular profile whichever way the wind runs along the ridge axis. Its weakness is the open side — if the wind shifts to come from there you have no shelter, so site it with a natural windbreak (a boulder, a thick tree, a brush wall) on the open side as insurance. Keep the roof angle between about 35 and 45 degrees: steep enough to shed water, shallow enough that wind glides over the lip rather than catching it.
Plow point and diamond fly
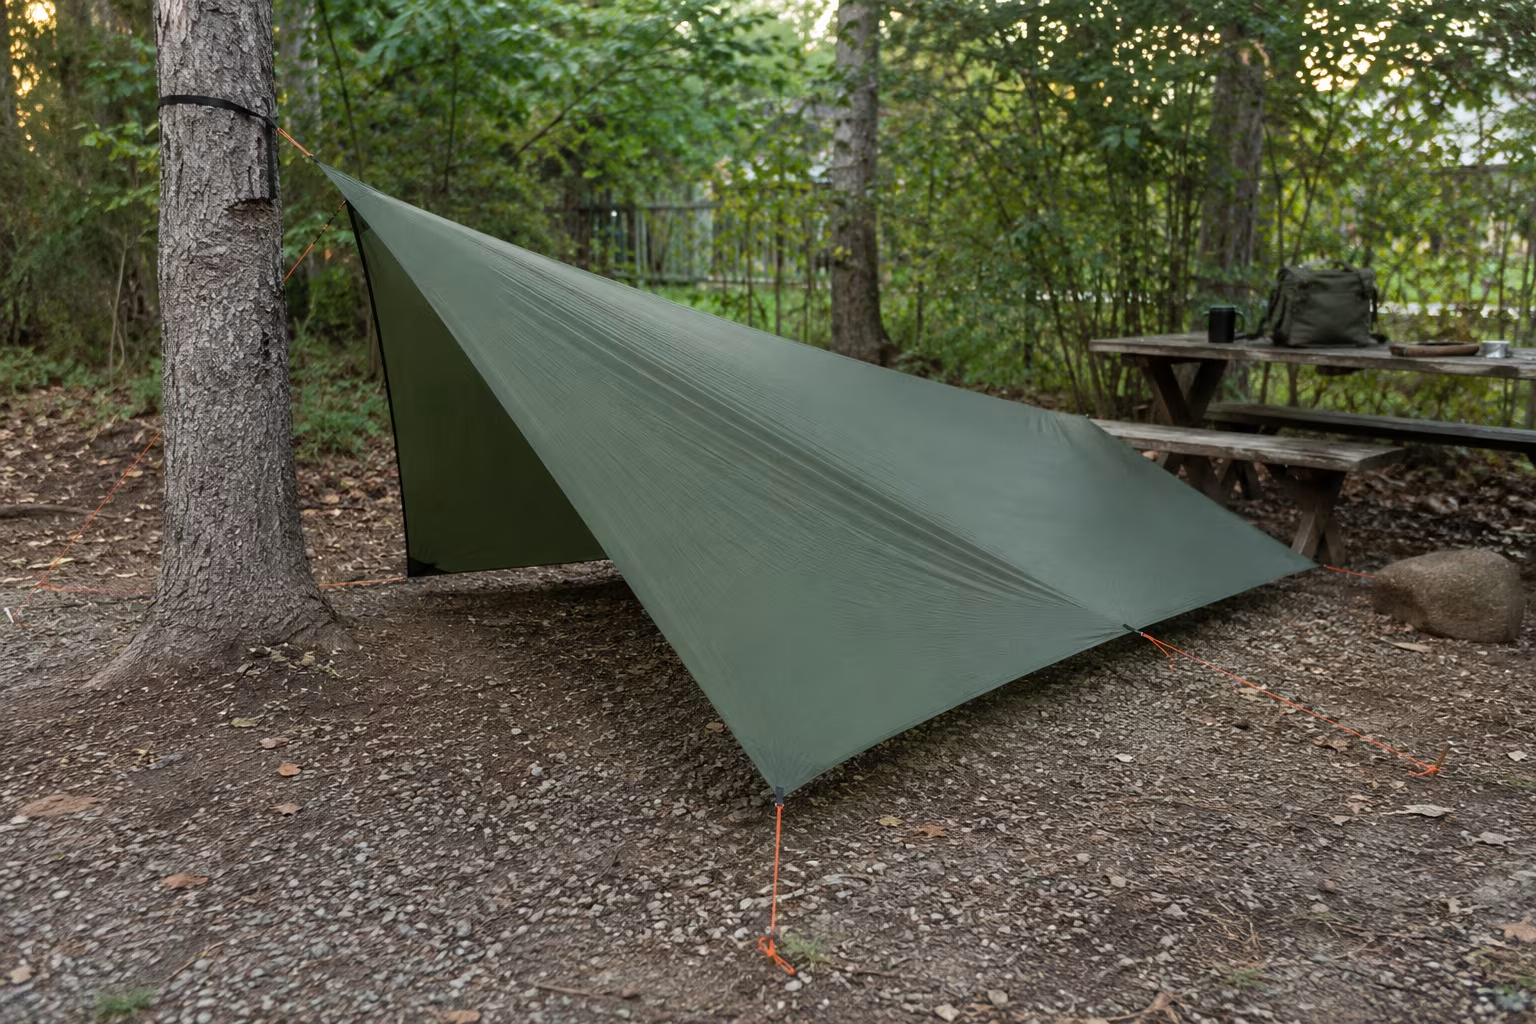
The plow point secures one tarp corner to a tree at chest height and stakes the opposite corner into the ground at the foot, with the two remaining corners guyed out to the sides. The result is a tent-like wedge that points into the wind and sheds it either way; with three of four corners under tension, the fabric barely flutters. The diamond fly is its roomier cousin — both opposite corners are elevated, front to a tree and back to a stick or pole, and the side corners are staked down. That gives more usable interior space but presents more fabric to the airflow, so it is slightly less wind-resistant. For a single occupant in unpredictable wind, pitch the plow point; for two people who need space in steady wind, the diamond fly is the right trade.
Anchors, guy lines, and tension
Anchor geometry matters as much as the shape. A stake driven straight down at 90 degrees holds badly under side load; a stake driven at 30-40 degrees away from the load, so its head leans away from the tarp, holds far better because the pull works against the stake's long body instead of levering the head out. Use longer stakes leaned harder in hard ground, and wider V-shaped stakes in soft ground; sand and snow need dead-man anchors or buried stuff sacks. Double the windward anchors — two stakes per windward corner in a triangle with the guy tied between them buys redundancy for the thirty seconds it costs. Guy lines should run at least the length of the tarp side and at the same angle as the tarp face, so the load runs straight along the line rather than levering the stake.
Tension is not optional in wind, because a loose tarp flaps and a flapping tarp tears its grommets out. Pitched right, the fabric sounds like a snare drum when flicked — a clean dull note, not a flap — while over-tight shows as distorted corner grommets and creaking seams. Put a tensioner, line lock, or trucker's hitch on every guy line; a plain bowline cannot be adjusted from the ground as the rope stretches. Retighten an hour after pitching, since cordage stretches under load for the first 30-60 minutes and everything you set at pitch is now slack, then retension every few hours in sustained wind.
Tarp choice for windy sites
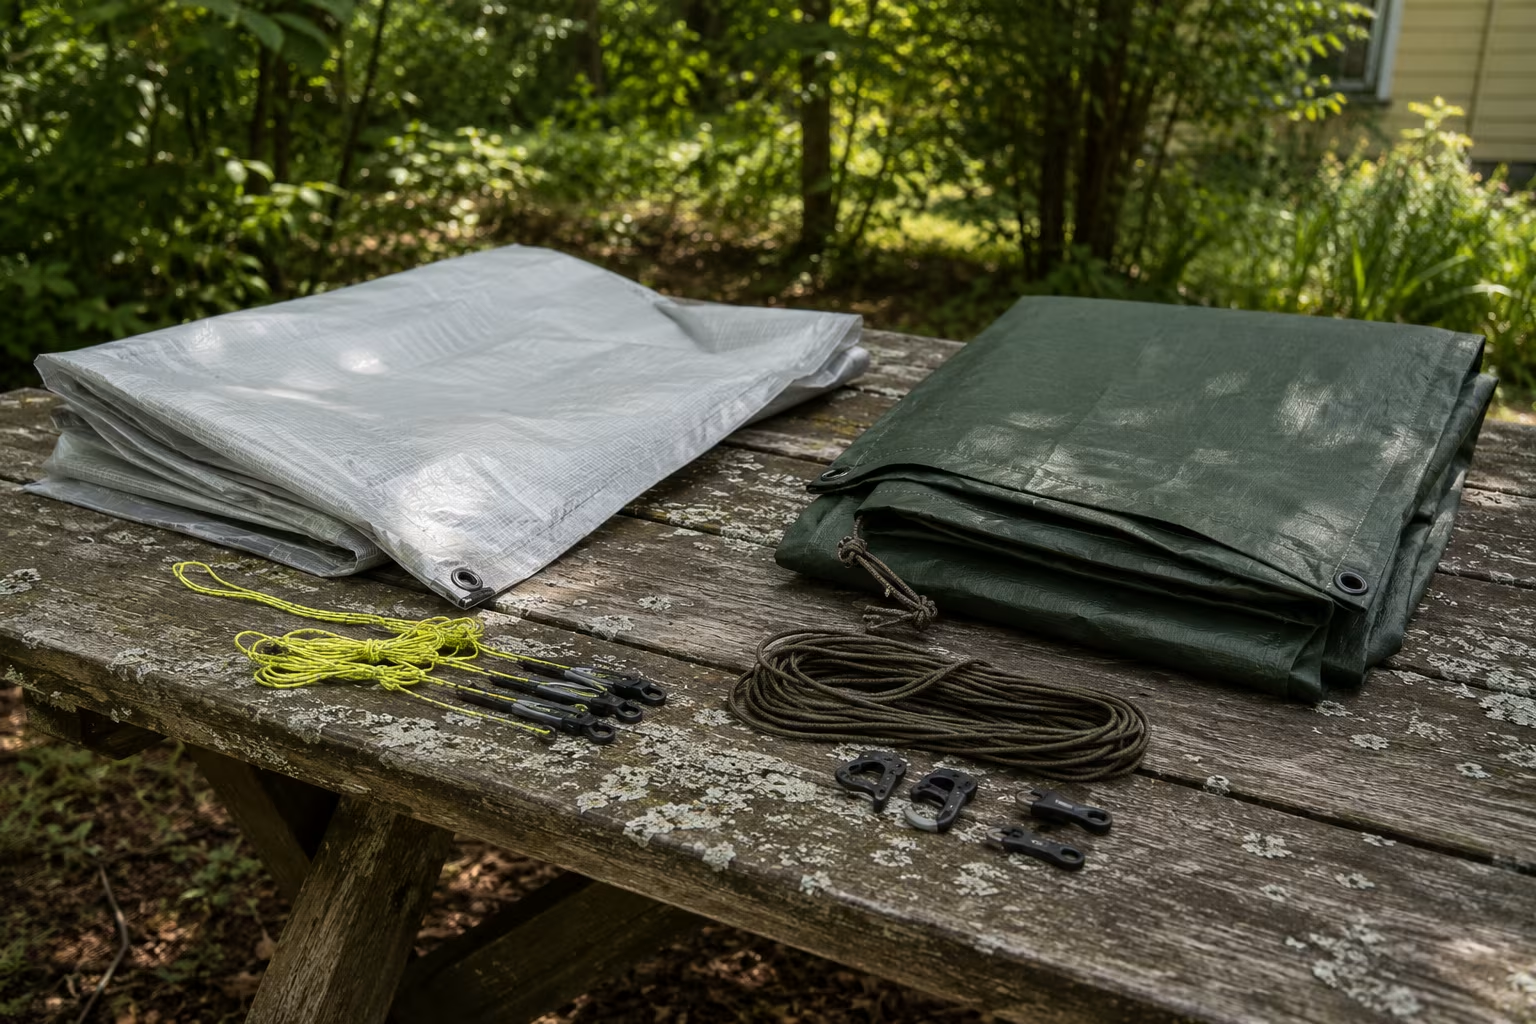
The tarp itself matters as much as the pitch. Ultralight tarps of 5-7 ounce silnylon or DCF resonate and flap audibly in side wind even when well pitched; they suit protected sites, not known windy ones. Mid-weight tarps of 8-12 ounce coated polyester or heavier silnylon hold tension better, flap less, and resist grommet abrasion — the backpack weight penalty pays back in sleep for car camping or short hikes. Reinforced grommets are the long-term durability factor, since tarps fail at the grommets first, where the thread tears out around the brass ring; storm-rated tarps carry reinforced corner and ridgeline patches that consumer tarps skip. Size counts too: a small 8x10 catches less wind and pitches tighter, while a 12x12 gives more shelter but demands more anchor strength, so for solo use in wind, smaller is usually better.
Knots, and knowing when to take it down
The knots earn their keep under sustained load. A bowline at the tarp grommet does not slip or bind, so it unties at break camp even after a wet night; a trucker's hitch at the stake or tree end gives tightening leverage and a quick release, and a taut-line or other friction hitch allows adjustment without retying. Avoid overhand loops and figure-eights at the tarp — they bind irrecoverably after a wet, windy night and leave you cutting cordage. Practice the knots at home, because a pitch in the dark in 30 mph wind is not the moment to learn one.
No tarp survives extreme weather, and taking it down in time is its own skill. The warning signs are stake heads moving in the soil, a ridgeline sagging despite retension, fabric flapping between gusts, and grommet edges whitening — any one means the wind is winning. Decide before the storm hits, not during: folding a wet, flapping tarp in 40-plus mph gusts is dangerous, while the same tarp folds cleanly at 20. Most consumer tarps tolerate 25-35 mph, so if the forecast runs higher, drop to a low storm pitch or move to natural shelter — a cluster of dense conifers or the lee of a boulder field beats any tarp work, with the tarp used as supplementary cover inside it.
Side-wind numbers that hold:
| Parameter | Value | Why |
|---|---|---|
| Windward edge | drop to 12–18 in clearance | asymmetric A-frame kills the sail effect |
| Roof angle | 35–45° | sheds water, lets wind glide |
| Stakes | 30–40° away from load | straight-down stakes lift under side load |
| Re-tension | ~1 hour after pitching | cordage stretches for the first 30–60 min |
| Fabric | 8–12 oz poly holds calmer than 5–7 oz silnylon/DCF | ultralight flaps audibly |
Related Posts
Compost Tumbler vs Static Bin: Which to Choose
Both composters work but they suit different households. Tumbler for speed and pest control...

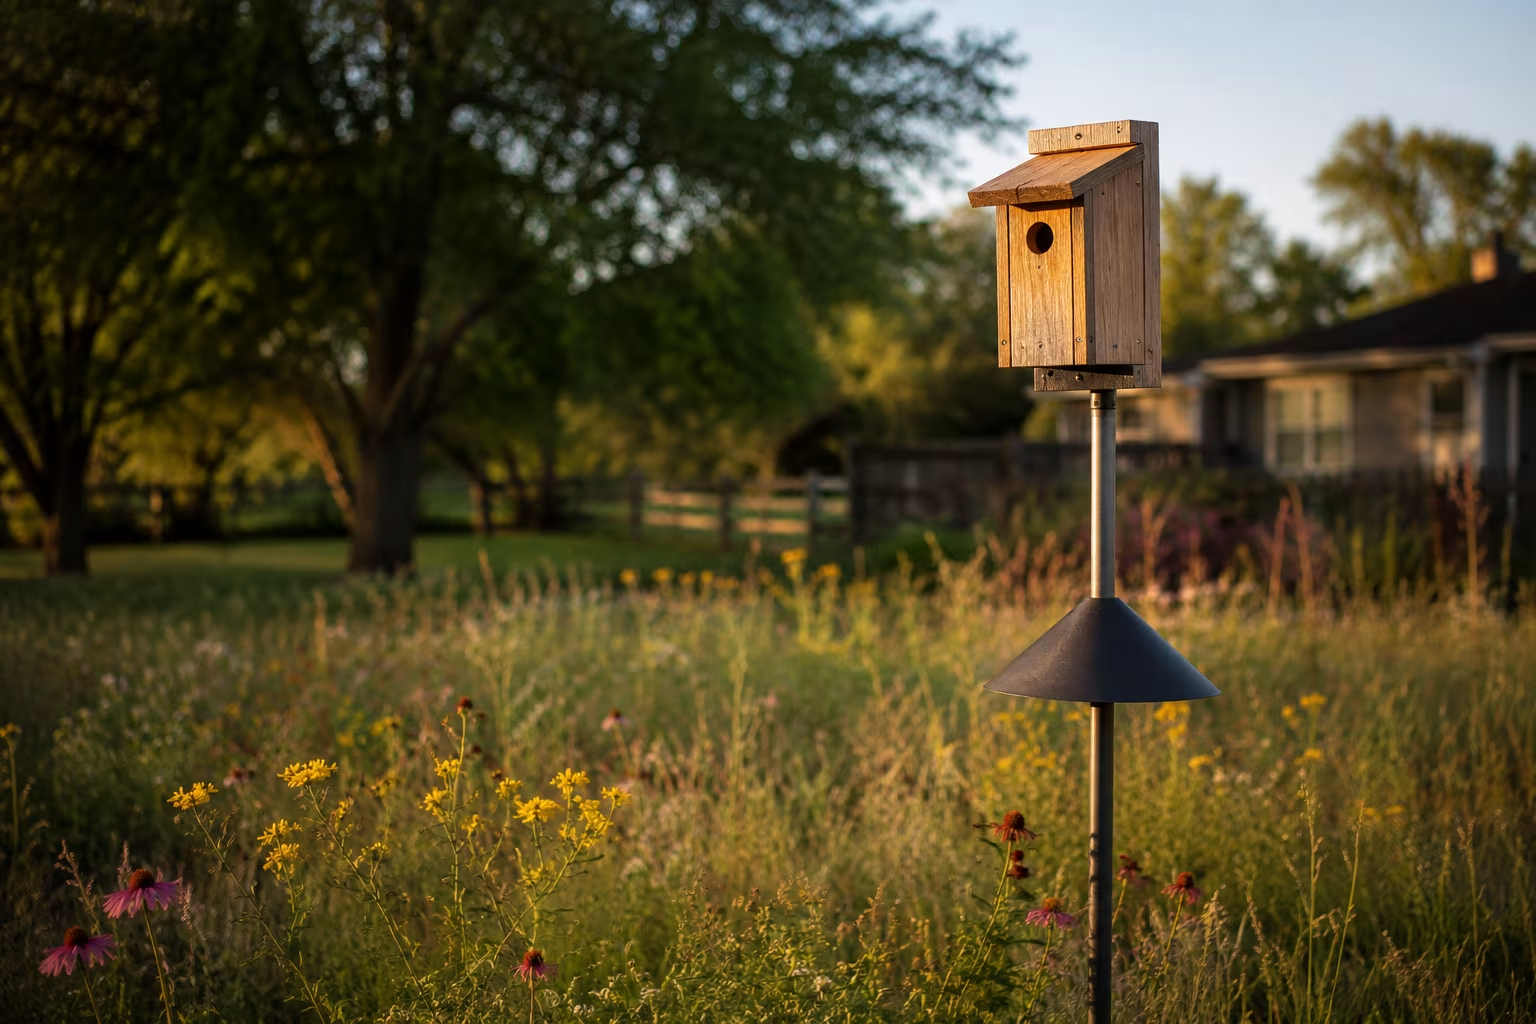
Backyard Birdhouse Placement for Songbirds
A birdhouse in the wrong spot stays empty for years. Height, direction, distance from cover, and...
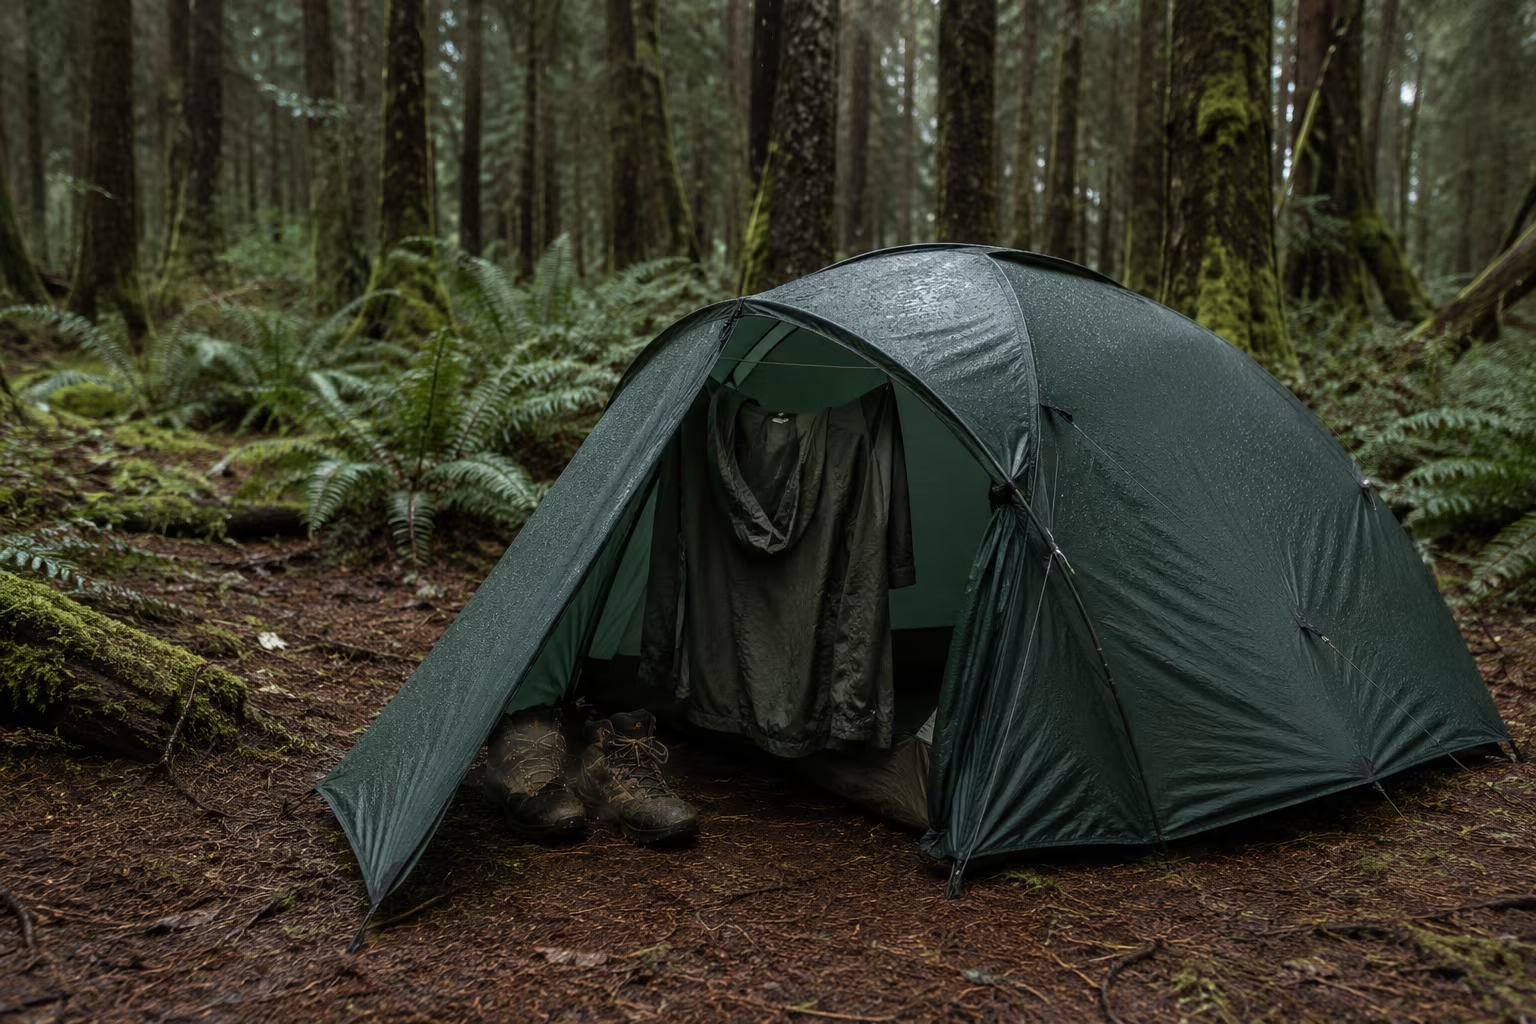
Wet-Climate Tent Camping: The Layering That Stays Dry
Three-season tents in wet climates fail predictably without the right layering. The footprint...
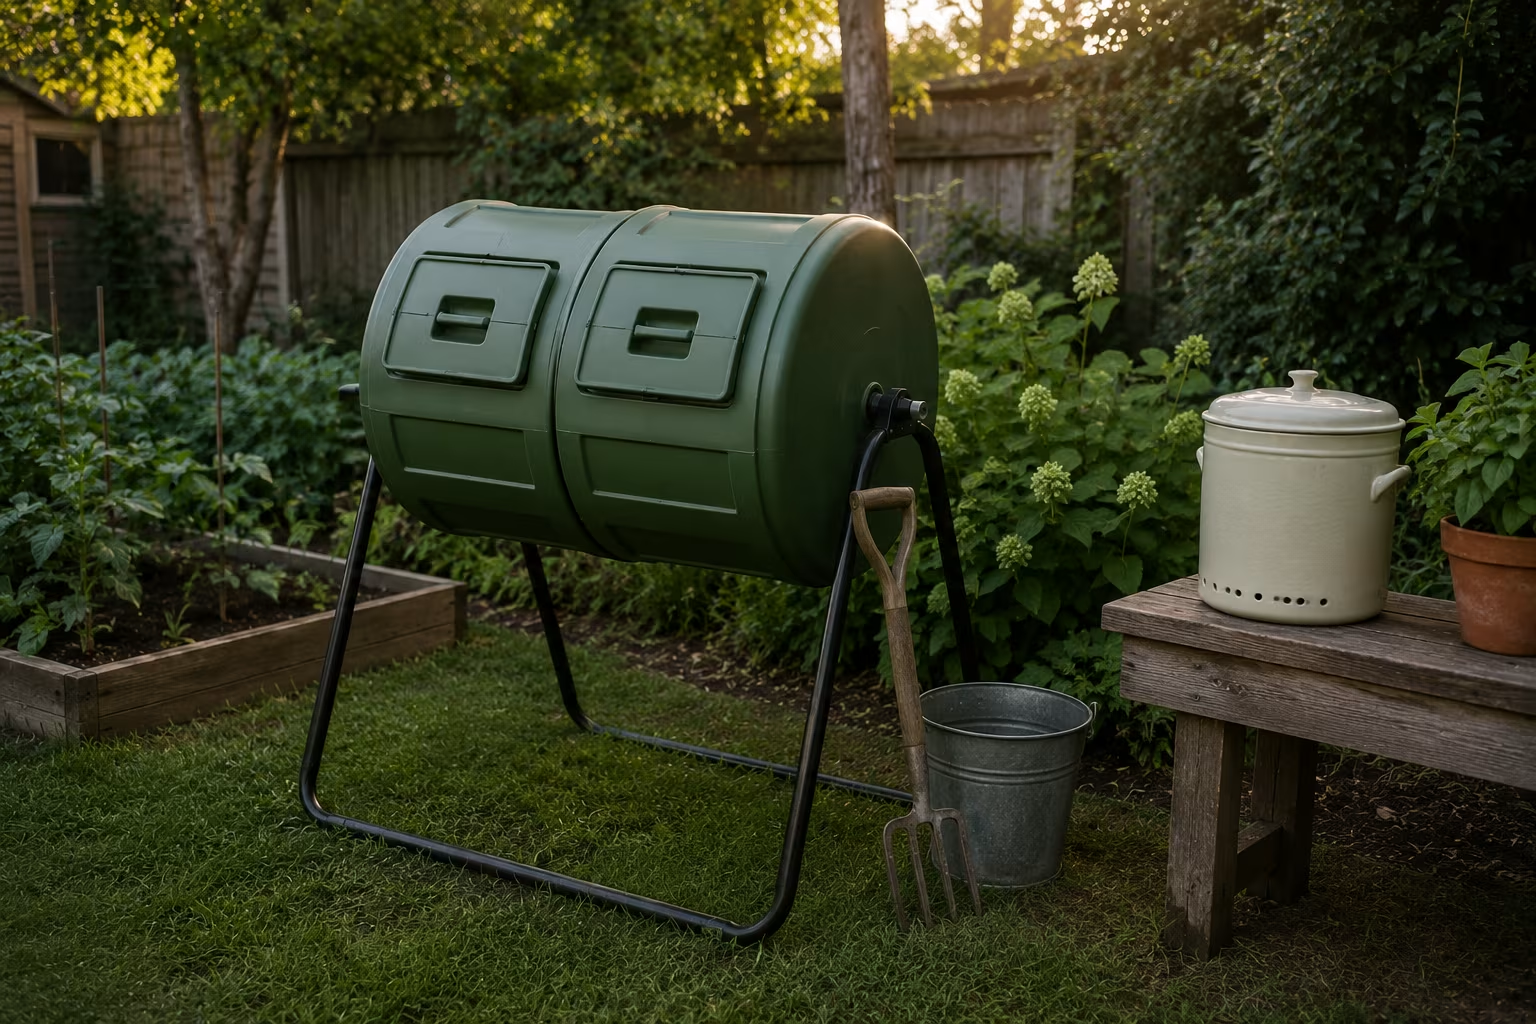
Small-Yard Composting Without Smell or Pests Attracting
Tight backyard, no room for a sprawling pile. The tumbler setup that turns kitchen scraps into...
Comments
No comments yet. Be the first to share your thoughts!