How to Choose Between Water-Based and Oil-Based Wood Stains

How to Choose Between Water-based and Oil-based Wood Stains
Hey there, fellow makers! 👋 You know that feeling when you're standing in the stain aisle at the hardware store? Your eyes are darting between a dozen different cans, all promising beautiful results, but you have no clue which one is actually right for your project.
Sound familiar? Because honestly, I've been there more times than I can count. My first few staining attempts were, let's just say, "learning experiences" mostly because I picked the wrong stain for the job.
Today, we're going to dive into the nitty-gritty of water-based versus oil-based wood stains. We'll talk about what makes them different, when to use each one, and hopefully, save you from making the same messy mistakes I did.
Why This Actually Matters
Choosing the right stain isn't just about color. It impacts everything from how easy your project is to finish, to how long it actually lasts, and even how it looks in the end.
I learned this the hard way when I tried to stain a thrift store dresser with an oil-based stain in my poorly ventilated garage one rainy afternoon. The fumes were so intense I had to stop halfway through and ended up with a blotchy finish.
The wrong choice can mean longer drying times, a finish that doesn't hold up, or even having to strip everything down and start over. Trust me, nobody wants to do that when you're just trying to make something pretty.
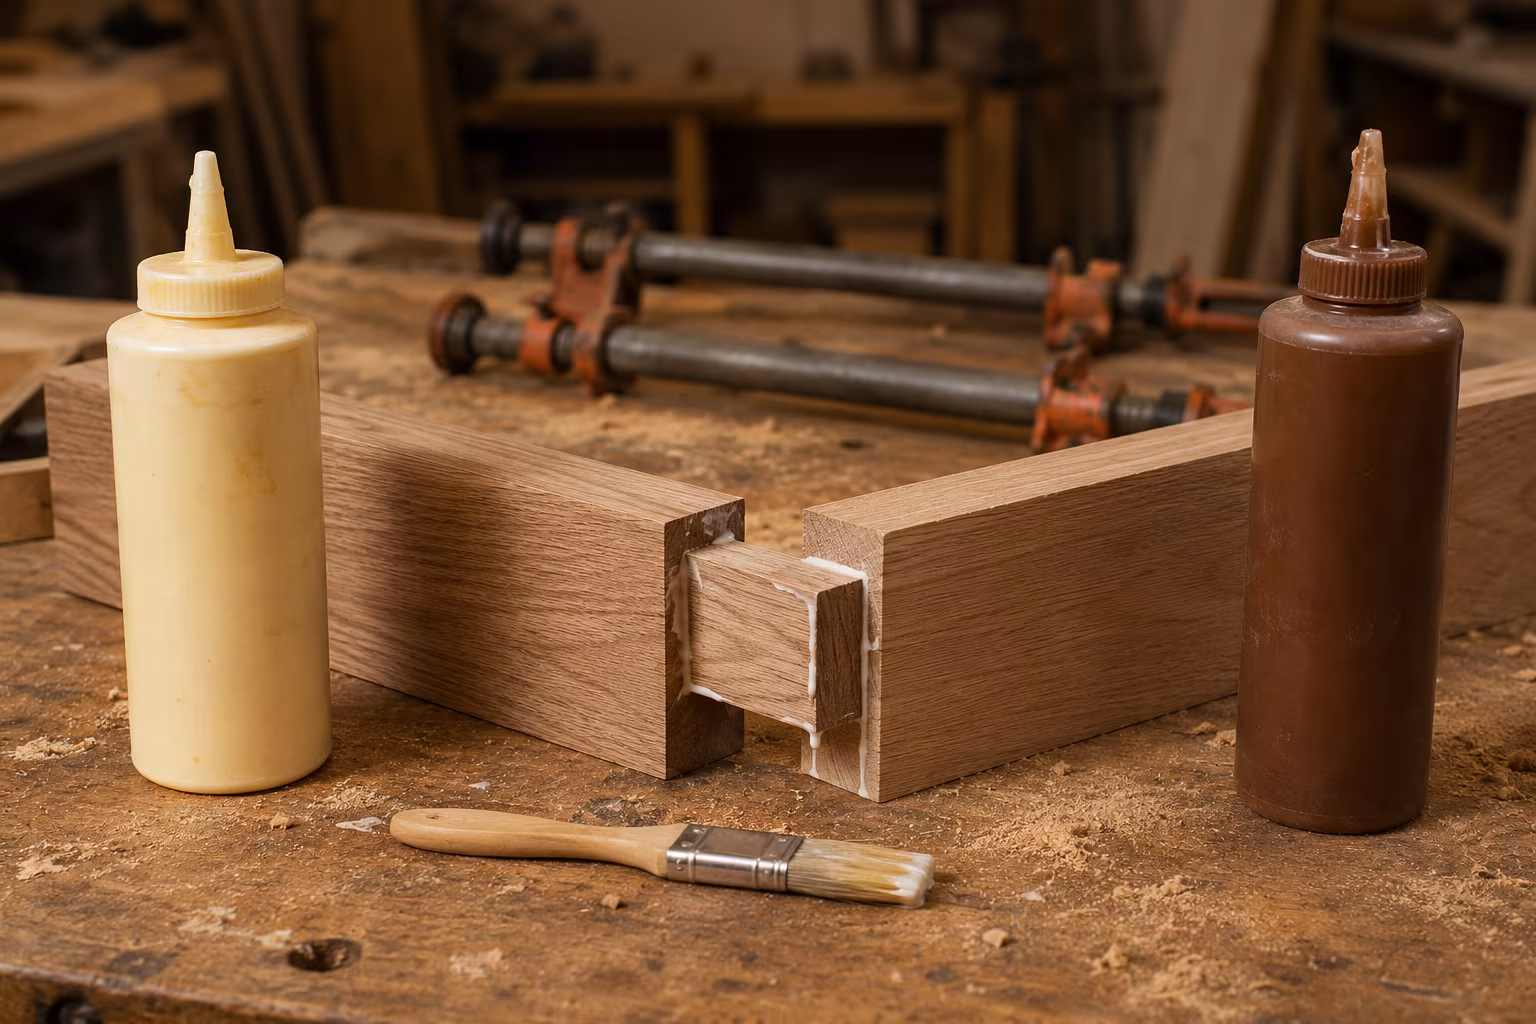
The Lowdown on Water-based Wood Stains
Let's kick things off with water-based stains. These stains use water as their primary solvent, which gives them a lot of distinct characteristics.
They're generally pretty good for projects where you want a quicker turnaround and easier cleanup.
What Makes Them Tick?
Water-based stains are known for drying super fast. You can often apply multiple coats in a single afternoon, which is a huge plus when you're impatient like I am.
They also tend to have a much milder odor compared to their oil-based cousins. This makes them a better choice if you're working indoors or in a space with limited ventilation.
- Quick Drying: You're usually looking at an hour or two between coats, sometimes even less. This is amazing if you want to finish a project in a weekend.
- Low Odor: No more intense fumes. Your lungs (and your family) will thank you for choosing these when working inside.
- Easy Cleanup: Brushes, rags, and even accidental spills can often be cleaned up with just soap and water. It's so much simpler than fussing with mineral spirits.
- Less Ambering: Water-based stains don't tend to add that yellowish or amber tone that oil-based stains sometimes do. This is great if you want a true, clear color.
- Color Consistency: They often give a very consistent color. They also tend to "raise the grain" of the wood, which means the wood fibers swell a bit. You'll want to sand lightly after the first coat dries.
- Environmentally Friendlier: Generally, they have lower VOCs (Volatile Organic Compounds), which is better for the environment and your air quality.
When I Reach for Water-based Stains
I usually grab a can of water-based stain for smaller furniture pieces, picture frames, or anything that needs to be done quickly and won't be exposed to super harsh conditions.
For example, I recently updated a $10 thrift store bookshelf in my craft room. I wanted a specific grey tone, and since I was working in my house, the low odor of the water-based stain was perfect. I got two coats done and a topcoat applied all in one day.
They're also fantastic for light-colored woods where you want to maintain the natural brightness, but add a tint. Think maple or birch where you're aiming for a wash of color, not a deep, rich tone.
The Lowdown on Oil-based Wood Stains
Now, let's talk about oil-based stains. These are the traditional workhorses of the wood finishing world, and they've been around forever for good reason.
They use oil (usually linseed oil or similar) as their solvent, which gives them a completely different set of characteristics.
What Makes Them Tick?
Oil-based stains are known for their ability to penetrate deep into the wood fibers. This often results in a richer, more vibrant color that really brings out the wood grain.
They also have a longer open time, which means they stay wet for longer. This can be a blessing and a curse, but it's great for preventing lap marks on larger surfaces.
- Deeper Penetration: They really soak into the wood, highlighting the grain beautifully. This creates a rich, classic look that many people love.
- Longer Open Time: You have more time to work the stain into the wood and wipe off the excess before it starts to dry. This is helpful for large surfaces where you want an even finish.
- Greater Durability: Generally, oil-based stains offer a bit more protection against wear and tear, and they're often preferred for outdoor projects or high-traffic indoor pieces.
- Rich Color: They can achieve really deep, warm tones. They also tend to "amber" over time, meaning they add a slight yellowish hue, which can enhance the warmth of the wood.
- Better for Certain Woods: For dense woods like oak or mahogany, oil-based stains can sometimes offer better color absorption and a more consistent finish.
- Slower Drying: This is the flip side of the long open time. You're usually looking at 8-24 hours between coats, sometimes even longer in humid conditions. Patience is key here.
- Stronger Odor: Be prepared for fumes! You absolutely need good ventilation when working with oil-based stains, especially indoors.
- Mineral Spirit Cleanup: You'll need mineral spirits or paint thinner to clean your brushes and tools. Soap and water won't cut it.
When I Reach for Oil-based Stains
I lean towards oil-based stains for bigger projects that need to stand up to more wear, like a dining table top or an outdoor planter box.
My first woodworking project was a simple cedar planter. I knew it would be outside in the Portland rain, so I went with an oil-based stain for its durability and deep color. It’s held up great for years.
I also love how oil-based stains make the grain pop on woods like pine and oak. If I'm trying to achieve that classic, rich wood finish, oil-based is almost always my go-to, as long as I can ventilate properly.
How to Actually Choose: Your Decision-making Guide
Okay, so you know the basic differences. Now, how do you actually make the call for your next project? It's all about weighing the pros and cons against your specific needs.
I've developed a little mental checklist over the years that helps me narrow down the options. No more guessing games!
Step 1: Consider Your Project & Desired Look
Is this a piece of furniture that will get a lot of daily use, or more of a decorative item? Are you aiming for a light, modern wash or a deep, traditional richness?
For example, if you're staining a kitchen table, durability might be your top priority, leaning towards oil-based. If it's a decorative wall shelf, quick drying and low odor might push you towards water-based.
Step 2: Think About Application & Cleanup
Where are you working? Do you have good ventilation? Are you okay with cleaning brushes with mineral spirits, or do you prefer simple soap and water?
My tiny garage workshop gets pretty stuffy, so for anything I can’t easily move outside, I lean heavily on water-based stains to avoid breathing in strong fumes.
Step 3: Factor in Drying Time & Durability
How quickly do you need this project done? Are you on a tight deadline, or do you have plenty of time to let coats dry overnight?
Remember that oil-based stains take much longer to dry, but often offer a harder, more protective finish. Water-based stains are speedy, but might need a slightly more robust topcoat for heavy use.
Step 4: Check Compatibility with Topcoats
This is a big one! While many topcoats are pretty forgiving, it's always safest to match your topcoat type to your stain type. You can usually put a water-based topcoat over an oil-based stain (after it's fully cured!), but putting an oil-based topcoat over a water-based stain can sometimes be tricky or lead to adhesion issues.
Always read the labels on both your stain and your chosen topcoat. If in doubt, test a small, hidden area first.
Step 5: Budget and Accessibility
Sometimes, it simply comes down to what's available at your local store and what fits your wallet. Both types of stains come in a range of prices.
I've found great budget-friendly options for both water and oil-based stains at my local hardware store. Don't feel like you need the most expensive can to get a great finish.
Step 6: Environmental Concerns & Odor
If you're sensitive to strong smells or want to keep your home's air quality pristine, the lower VOCs and milder odor of water-based stains make them a clear winner.
For outdoor projects where ventilation isn't an issue, the odor of oil-based stains is less of a concern, but the environmental impact of VOCs is still something to consider.
Step 7: the "test Patch" Rule (seriously, Don't Skip This!)
No matter what you choose, always, always, always test your stain on a scrap piece of the same type of wood you're using. If you don't have a scrap, test on an inconspicuous spot on your actual project.
Different woods absorb stains differently, and what looks great on the can might look totally different on your wood. This step has saved me from countless disappointments.
Making It Stick: Avoiding Common Staining Mistakes
Even with the right stain choice, things can go sideways. I've been there with blotchy finishes, sticky spots, and colors that were just... off.
Here are some of the most common pitfalls I've encountered and how you can steer clear of them.
Mistake 1: Skipping Wood Prep
You can't just slap stain onto raw wood and expect magic. The wood needs to be clean, dust-free, and properly sanded. I usually sand through 120, 180, and then 220 grit for most projects.
Not properly sanding can lead to uneven absorption and a splotchy finish. And always wipe away all dust with a tack cloth or slightly damp rag before staining.
Mistake 2: Not Using a Pre-stain Conditioner
Some woods, like pine or maple, are notorious for absorbing stain unevenly. This leads to what's called "blotching."
A pre-stain conditioner (available for both water and oil-based stains) helps to seal the wood pores partially, allowing for more even stain absorption. I learned this after my first pine project looked like a spotted leopard.
Mistake 3: Applying Too Much Stain
More isn't always better, especially with stain. You want to apply a thin, even coat, let it sit for the recommended time (usually 5-15 minutes), and then wipe off the excess thoroughly.
Leaving too much stain on the surface can result in a sticky, uneven finish that won't dry properly and can actually hinder your topcoat from adhering.
Mistake 4: Not Wiping off Excess Thoroughly
This goes hand-in-hand with applying too much. Use clean rags and wipe with the grain of the wood. Change rags often as they become saturated.
If you don't wipe off the excess, the stain will sit on top of the wood rather than soaking in, creating a patchy, sometimes glossy, mess.
Mistake 5: Ignoring Drying Times
I know, waiting is hard. But trying to apply a second coat or a topcoat before the previous layer is fully dry is a recipe for disaster. It can lead to bubbling, peeling, or a murky finish.
Always check the product label for specific drying times and err on the side of caution, especially in humid conditions. Patience really is a virtue here.
Mistake 6: Not Stirring Your Stain Enough
Pigments in stain tend to settle at the bottom of the can. If you don't stir it thoroughly before and periodically during use, you'll end up with inconsistent color.
My first few projects started out light and ended up super dark because I wasn't stirring properly and all the pigment was concentrated at the bottom. Oops!
"The best stain isn't about perfection, it's about preparation and patience. Embrace the mess, learn from it, and keep going."
Frequently Asked Questions
Can I Put a Water-based Topcoat over an Oil-based Stain?
Generally, yes, you can! The key is to make sure your oil-based stain is completely, fully cured. This means giving it extra time, sometimes a few days or even a week, to ensure all the solvents have evaporated. If you try to apply water-based too soon, it can react poorly, causing bubbling or poor adhesion.
Can I Use Water-based Stain Outdoors?
You definitely can use water-based stains outdoors, but you'll absolutely need to follow up with a strong, weather-resistant outdoor topcoat. Water-based stains themselves don't offer as much inherent protection against the elements as oil-based ones do. Make sure your topcoat is rated for exterior use!
How do I Clean Brushes After Using Each Type?
For water-based stains, cleanup is a breeze! Just use warm water and soap. I like to use an old toothbrush to really work the soap into the bristles and rinse until the water runs clear. For oil-based stains, you'll need mineral spirits or paint thinner. Pour a little into a container, swirl your brush around, then wipe it off with a rag. Repeat until clean, then wash with soap and water to get rid of any residue.
What About "gel Stains"? Where do They Fit In?
Gel stains are a bit of a hybrid. They're typically oil-based but have a much thicker, non-drip consistency, like pudding. They don't penetrate as deeply as traditional liquid stains but sit more on the surface, making them fantastic for woods that tend to blotch or for achieving a very uniform color. They're also great for vertical surfaces because they don't run!
Is One Type Better for Beginners?
I'd lean towards water-based stains for beginners, honestly. The quick drying time means less waiting, and the easy soap-and-water cleanup is a huge convenience. Plus, the milder odor makes the whole experience much more pleasant when you're just starting out and might not have a dedicated ventilation system.
The Bottom Line
So, water-based versus oil-based? There's no single "best" answer. It truly depends on your project, your preferences, and your working conditions. Think about the look you're going for, how much time you have, and where you'll be working.
Don't be afraid to experiment a little on scrap wood! That's how I figured out what I like and what works for me. You've got this, and I can't wait to see what beautiful things you create! ❤️
Related Posts

Sandpaper Grits Demystified: When to Stop Going Finer
The grit progression that actually matters, where to start, where to stop, and why finer is often...
PVA vs Polyurethane Wood Glue for Indoor Furniture
Which wood glue wins indoors: a clear-eyed look at joint strength, open time, gap-filling claims,...
Why Beeswax and Mineral Oil Are the Safest Wood Finishes for Food
Wondering how to protect your wooden kitchenware without harsh chemicals? Beeswax and mineral oil...
Why Brad Nailers Are the Most Versatile Power Tool for Craft Rooms
Think power tools are just for big woodworking projects? Think again! A brad nailer might just be...