How to Choose the Right Paintbrush Type for Every Art Medium
The right paintbrush does not make you a better artist, but the wrong one makes every stroke a fight. A stiff craft brush drags on delicate detail work; a soft watercolor mop collapses under thick oil paint. Choosing well comes down to two things: matching the bristle type to your paint's consistency, and matching the head shape to the mark you want. None of it requires expensive brushes, and most of a working kit costs under $10 per brush.
Bristle Basics: Natural Versus Synthetic
Every brush has three parts worth naming. The handle is what you hold, short for close detail work and long for standing back at an easel. The ferrule is the metal band that clamps the bristles and holds the shape. The bristles are the working end, and their material drives most of your decision.
Natural bristles come from animal hair, typically hog, sable, or squirrel. They hold a lot of liquid and release it smoothly, which makes them excellent for watercolor and thinned oils, but they cost more and wear faster. Synthetic bristles, made from nylon or polyester, are more durable, cheaper, hold their shape against sticky paint, and clean up easily. They range from very soft to quite firm. Neither is objectively better; most artists keep a mix and reach for synthetics for acrylics and general craft work, natural hair for fluid washes. The word "brush" covers a surprising range of construction, and the general history of the paintbrush and its bristle types is a useful starting point.
Common Brush Shapes and What They Do
The head shape dictates the mark. You do not need every shape, but knowing a handful lets you build a purposeful kit rather than a drawer of impulse buys.
- Round: pointed tip, full belly. Versatile for lines, washes, and detail. The first brush most people should own.
- Flat: square end for bold strokes, filling large areas, and sharp edges. Turned on its side it makes thin lines.
- Bright: like a flat but with shorter, stiffer bristles, good for thick paint and controlled, scrubbing strokes.
- Filbert: a flat with a rounded, oval tip. Blends the qualities of round and flat, ideal for soft edges and natural shapes like petals and leaves.
- Fan: spread bristles for textures such as grass, fur, and foliage, and for softening edges.
- Liner or rigger: very long, thin bristles and a fine point for lettering, signatures, and continuous fine lines.
- Wash or mop: large, soft, and absorbent, built to lay down broad washes, especially in watercolor.
Matching Brushes to Your Medium
Once you know bristles and shapes, choosing by medium is straightforward. The table below covers the paints most hobbyists actually use.
| Medium | Best bristle | Go-to shapes | Cleanup |
|---|---|---|---|
| Acrylic | Synthetic | Flats, rounds, filbert, wash | Soap and water immediately |
| Oil | Hog bristle or firm synthetic | Flats, brights, filberts, rounds | Mineral spirits, then soap |
| Watercolor | Sable, squirrel, or soft synthetic | Pointed round, mop, small flat | Rinse in clean water |
| Gouache | Soft synthetic or natural | Rounds, flats, filberts | Soap and water |
| Craft paint / upcycling | Sturdy synthetic or foam | Flats, foam brushes, small rounds | Soap and water |
A few practical notes. Acrylics dry fast and get sticky, so synthetics that snap back into shape are the safe default; a basic kit of a few flats, a couple of rounds, and one filbert covers most work. Oils are thick and slow-drying, which is why stiff hog bristle pushes texture well while softer synthetics blend smooth, but oil brushes must be cleaned with a solvent first or they harden permanently. Watercolor lives on absorbency and a fine point, so a good pointed round plus a larger mop handles most paintings. Gouache behaves like opaque watercolor and takes either soft synthetic or natural hair. For craft paint and furniture upcycling, durability and coverage beat finesse, and inexpensive foam brushes give streak-free coats on flat surfaces.
Detail, Wash, and Texture Brushes
Some jobs need a specialist. For fine detail, a liner, rigger, or a very small detail round (a 000 round for tiny highlight dots) holds a sharp point even when loaded. For large areas and background washes, a big soft flat, wash, or mop moves paint or water quickly without leaving harsh streaks; a 2 to 3 inch synthetic flat covers a canvas background in a fraction of the time a small brush would. For texture and blending, a fan brush creates grass and foliage, a filbert blends soft shapes, and a stippling brush dabs dappled effects. Even an old, frayed flat earns its place for dry-brushing rough texture. These are the brushes that make a creative project feel effortless once you have the basics.
Brush sizes follow a numbering system that runs from the very fine (10/0, 5/0, and 000, used for miniature detail) up through 0, then 1, 2, 4, and higher for progressively larger heads. The scale is not standardized across every manufacturer, so a size 4 round from one brand may differ slightly from another. Buy in person when you can, and judge a round by whether it snaps back to a crisp point after you wet it.
Care and Common Mistakes
Cleaning is where most brushes die. For water-based paints, rinse under running water and swirl in mild soapy water until it runs clear, then reshape the bristles and dry the brush flat or tip-down so water does not seep into the ferrule. For oils, clean with a solvent or dedicated brush cleaner first, then soap and water. Two minutes of cleaning can add years to a brush; dried paint in the ferrule ruins it for good. The routine is the same whether you use water-based or oil-based finishes on other projects.
Three other mistakes trip up beginners. Using the wrong brush for the medium bends and breaks bristles, so stick to the pairings above. Buying expensive brushes too early wastes money; mid-range synthetics perform well and let you focus on technique. And using one brush for every color muddies your palette, so keep a few dedicated to light colors and a few to dark, or clean thoroughly between them. Start with three to five versatile brushes (a small round, a medium round, a medium flat, and a wash brush), learn how they behave, and add specialists only when a real need shows up.
Related Posts
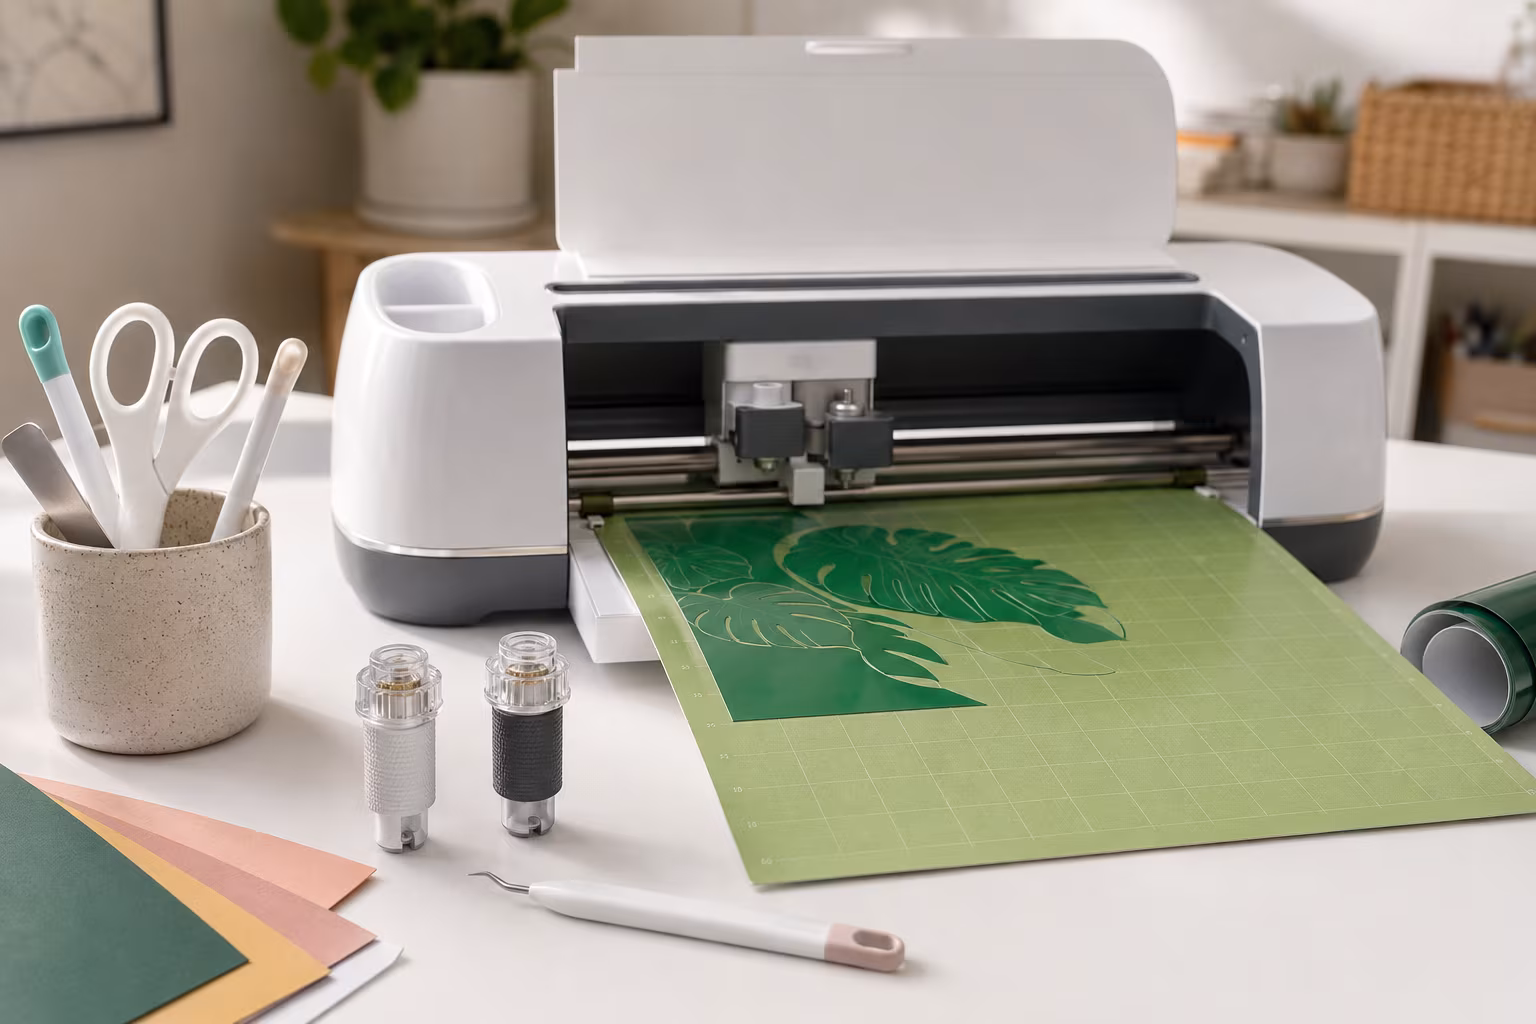
Beginner Cricut Blade Set: What You Actually Use Daily
The Cricut starter blade list is longer than most beginners need. The two or three blades that...
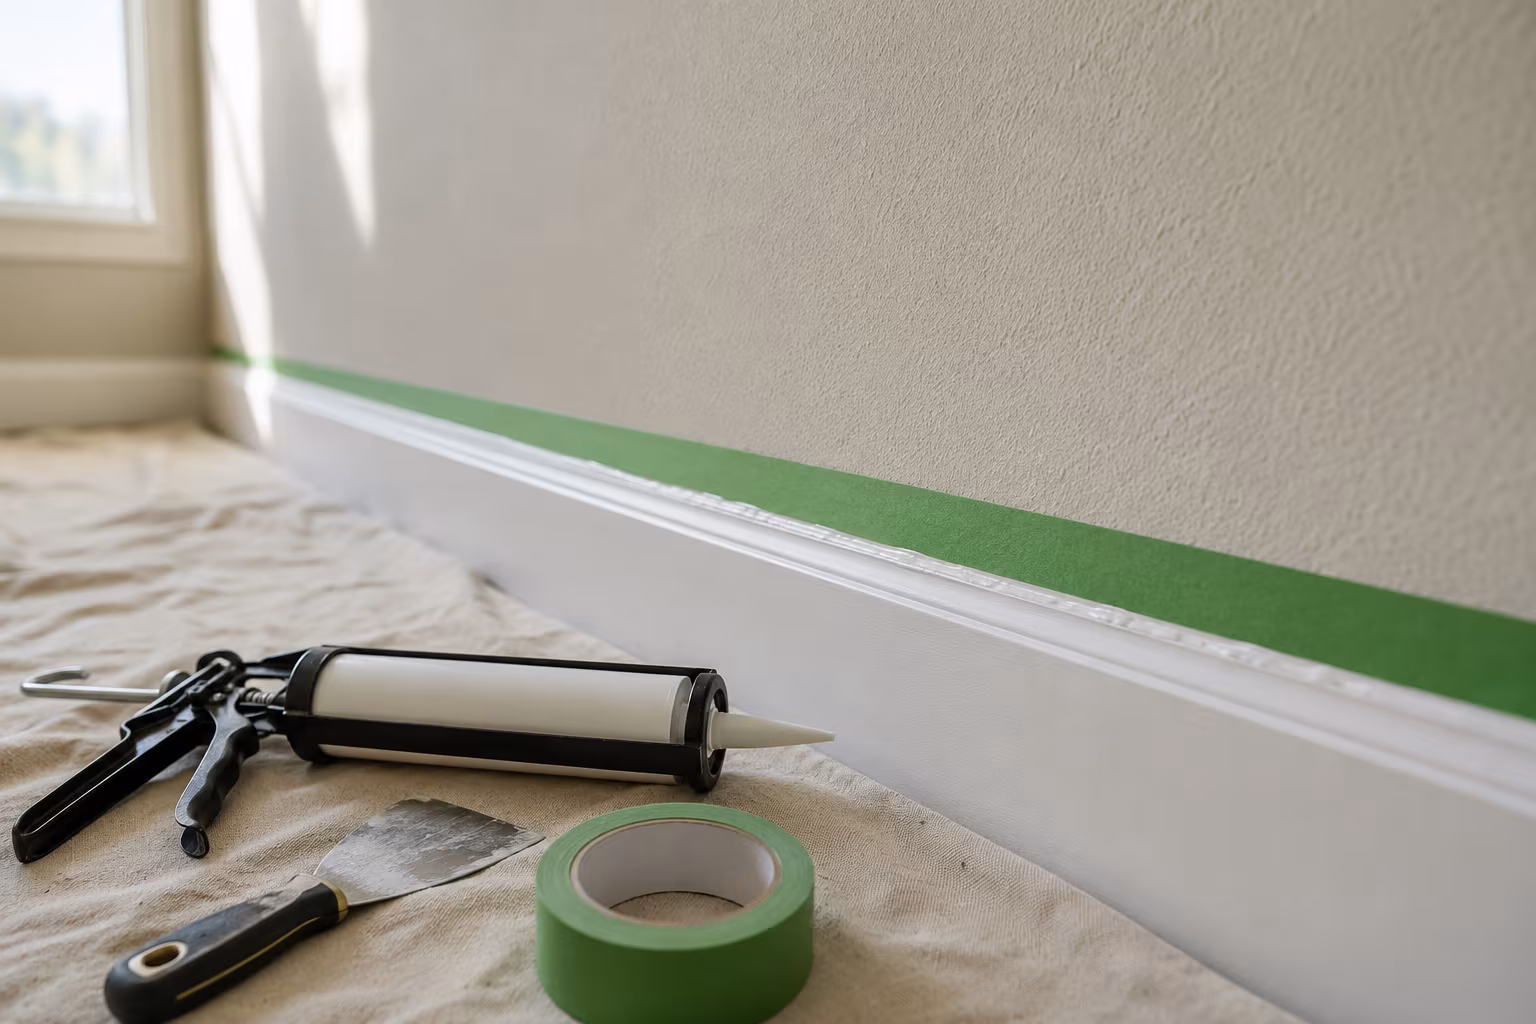
Painter's Tape for Crisp Lines on Textured Wall Surfaces
Standard blue tape bleeds on textured walls. The specialty tapes, caulk-edge-seal step, and...
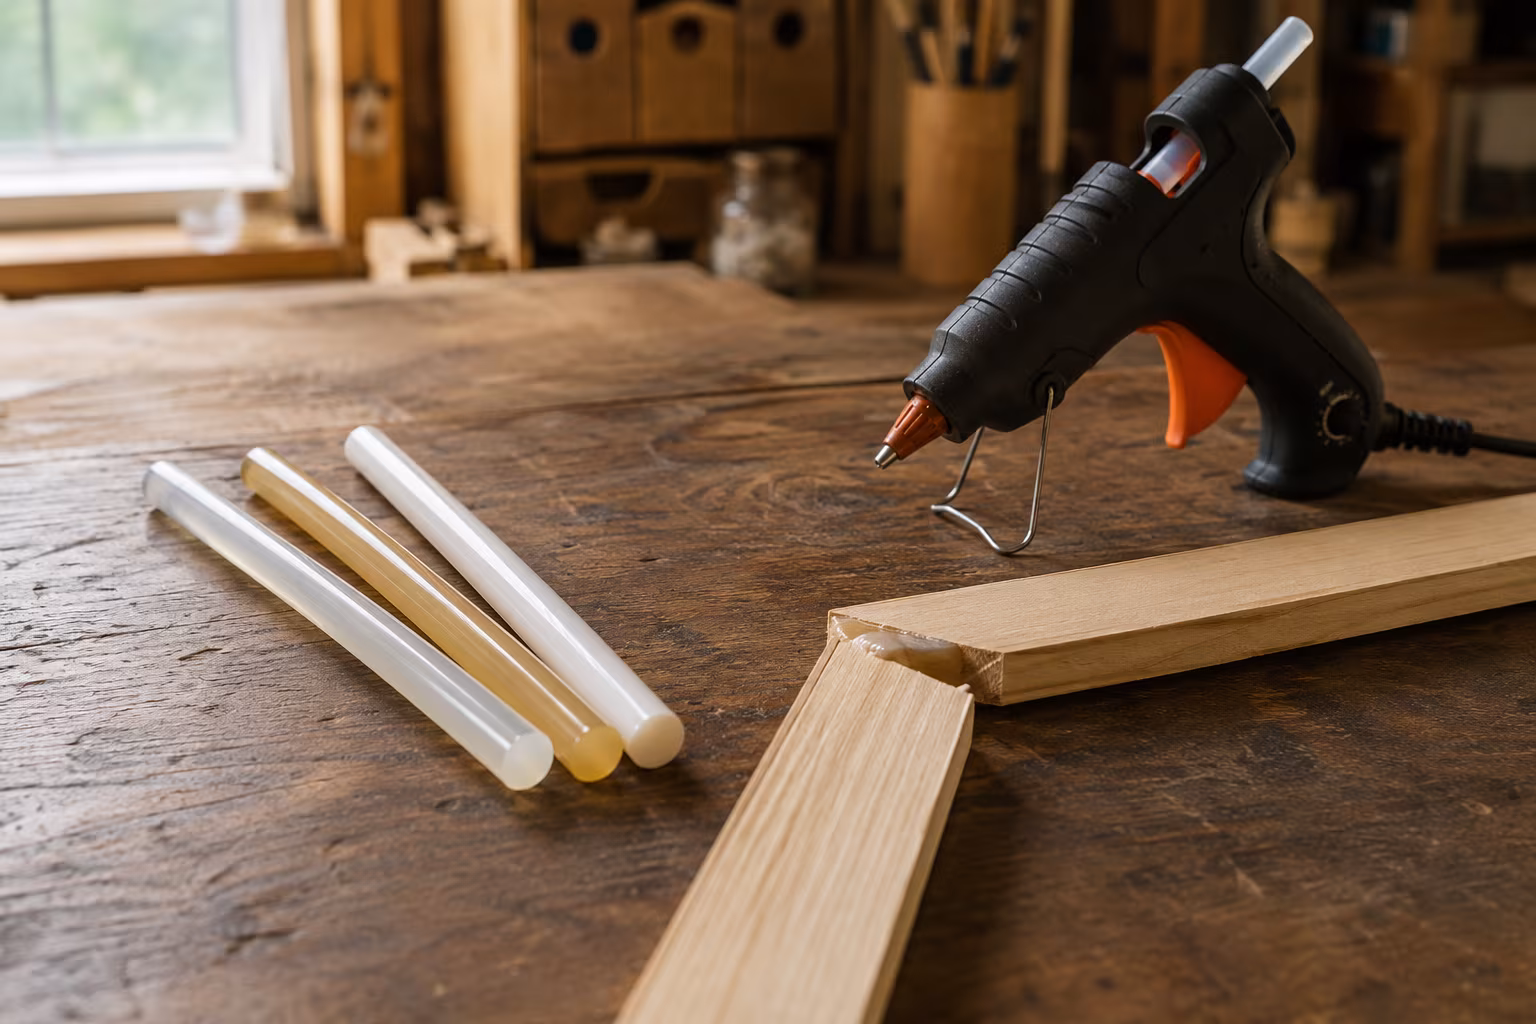
Hot Glue Sticks Compared: Low-Temp, High-Temp, Specialty
Low-temp glue sticks melt near 250°F, high-temp near 380°F. Compare stick types, specialty...

Sandpaper Grits Demystified: When to Stop Going Finer
Sand 80 to 120 to 180 for film finishes, 220 for oil, and stop there: finer burnishes wood and...