How to Choose the Right Sandpaper Grit for Every Finishing Project

How to Choose the Right Sandpaper Grit for Every Finishing Project
Hey there, fellow makers! 👋 You know that feeling when you've spent hours on a project, you're finally ready for that perfect finish, and then you just stare at your pile of sandpaper? Coarse? Fine? What's the deal with all these numbers? It's confusing, right?
I’ve been there so many times. I used to just grab whatever roll felt right, only to find out later my project had weird scratches or a dull finish. It’s seriously frustrating to put in all that work and not get the result you want.
Today, we're going to demystify sandpaper grit. We'll talk about what all those numbers mean, when to use which one, and how to get that super smooth, professionalprofessional-looking surface you're dreaming of.
No more guessing games. We're going to make sure your next finishing project is smooth sailing, literally!
Why This Actually Matters
You might think, "It's just sanding, does it really make that much difference?" And I get it, I really do. Sanding can feel like the boring part, the step you just want to get through to get to the fun stuff like painting or staining.
But here's the honest truth: the right sandpaper grit, used correctly, can make or break your entire project. It's the secret sauce for a finish that truly pops and lasts.
I once spent a whole weekend building a really cool planter box out of some scrap cedar. I was so excited. I rushed the sanding, went straight from a rough 80 grit to a 220, thinking I was saving time. When I applied the stain, every single scratch from the 80 grit paper showed through like a spotlight.
It was a total disaster. I had to sand the whole thing back down, starting over with the correct progression, and it easily added another three hours to my work. That experience taught me that sanding isn't just about making things "smooth"; it's about intentionally preparing your surface for the next step.
Using the right grit saves you time, prevents wasted materials, and most importantly, ensures your final finish looks absolutely amazing. It also helps your finishes like paint or stain adhere better and last longer.
The Basics: What Even Is Sandpaper Grit?
Okay, let's break down the core concept first. When you look at sandpaper, you'll see a number on the back – like 60, 120, 220, or even 400. This number refers to the "grit" of the sandpaper.
Think of sandpaper as a bunch of tiny little chisels or knives glued to a backing. The grit number tells you how many of these abrasive particles are packed into one square inch.
Grit Numbers Decoded
It's pretty simple once you get the hang of it:
- Lower Numbers (e.g., 40-80 grit): These are your coarse grits. They have fewer, larger abrasive particles. They're like big, aggressive chisels. Coarse grits remove a lot of material quickly and leave noticeable scratches.
- Mid-Range Numbers (e.g., 100-180 grit): These are your medium grits. They have more particles, and they're smaller. They're good for smoothing out the marks left by coarser paper and preparing the surface for finishing.
- Higher Numbers (e.g., 220-400+ grit): These are your fine grits. They have lots of tiny particles, like really fine chisels. Fine grits create a super smooth surface, perfect for delicate finishes or between coats. They remove very little material.
I like to think of it like this: if you're trying to chop down a tree, you start with a big axe (coarse grit). Once the tree is down, you use a smaller axe to remove branches (medium grit). Then you might use a carving knife to smooth the trunk (fine grit).
Abrasive Materials: a Quick Peek
Beyond the numbers, the actual material used for the grit matters too. You don't need to be an expert, but knowing a little helps.
Most common sandpaper you'll find for DIY projects uses aluminum oxide. It's a tough, durable abrasive that works well on wood, metal, and painted surfaces. It's a great all-around choice and what I use for about 90% of my projects.
You might also see silicon carbide. This stuff is sharper and cuts faster. It's great for really aggressive material removal, sanding between coats of finish (especially wet sanding), or working with plastics and composites. Sometimes it's a darker, almost black color.
Garnet sandpaper is another one. It's a natural abrasive that's softer and breaks down during use, creating new sharp edges. It tends to leave a really nice finish on wood, but it's not as aggressive or long-lasting as aluminum oxide. I usually stick with aluminum oxide because it's so versatile and affordable.
How to Actually do It: a Step-by-step Grit Progression Guide
Sanding isn't just about rubbing sandpaper on wood until it feels smooth. It's a methodical process, a journey that progressively refines your surface. You don't jump from hiking boots to ballet slippers. You change shoes gradually, right?
The key here is called "grit progression." You start with a coarser grit to remove big imperfections, then move to successively finer grits to remove the scratches left by the previous one. Let's walk through it.
Step 1: Assess Your Starting Point
Before you even pick up sandpaper, take a good look at your project. What state is it in?
Are you starting with rough, unsawn lumber? Or is it a piece of furniture with an old, peeling paint job? Maybe it's a smoothly planed piece of wood that just needs a little refining before stain.
The rougher your starting material, the coarser you'll need to begin. Look for deep saw marks, glue squeeze-out, dings, or old finish you need to remove.
Step 2: Start Coarse (the Heavy Lifting)
Grit Range: 60-80 grit
This is where you bring out the big guns! Coarse sandpaper is for heavy material removal. Think about getting rid of deep saw marks from a lumber mill, aggressively shaping a piece of wood, or stripping away stubborn old paint or varnish.
For example, if I'm building something from rough-cut pallet wood, I'll definitely start with 60 or 80 grit. It feels rough, and it leaves very obvious scratches, but that’s totally okay at this stage. We just want to get the major imperfections out of the way quickly.
Don't be afraid to press a little. This sandpaper is designed to cut. Just make sure you're moving your sander (or hand) consistently across the surface.
Step 3: Mid-range Magic (smoothing out the Bumps)
Grit Range: 100-120 grit
Once you've removed the major flaws with your coarse grit, it's time to refine the surface. The goal of this step is to completely remove the scratches left by the previous 60 or 80 grit paper.
This is a crucial step that many beginners skip, and it's where those persistent scratches come from! When you move from 80 to 120, you should be focused on making sure no traces of the 80-grit scratches remain.
Run your hand over the surface. It should feel significantly smoother than after the coarse grit. I typically use a random orbit sander for larger areas at this stage, keeping it moving to avoid swirl marks.
Step 4: Getting Smoother (prepping for Finish)
Grit Range: 150-180 grit
Now we're really getting somewhere! This grit range is usually the stopping point for many projects, especially if you're going to apply stain or paint.
150 or 180 grit will leave a surface that feels quite smooth to the touch, and it's perfect for most stains to penetrate evenly. If you go too fine with grit (like 220+), the wood pores can get "burnished" or closed off, and stain might not absorb as well, leading to a lighter or blotchy appearance.
If you're painting, 150-180 grit is also a good final sanding step before priming. The primer will fill any tiny remaining imperfections, and the slightly textured surface from this grit range gives the paint something good to adhere to.
Step 5: the Finer Touches (super Smooth Finishes)
Grit Range: 220-320 grit (and sometimes higher, 400+)
This is where you reach for that silky-smooth feel. 220 grit is often used as a final sanding step for projects receiving a clear coat (like polyurethane or lacquer) where you want a truly smooth, almost glass-like finish.
You might also use 220 grit or higher for sanding between coats of finish. For example, if you're applying multiple layers of polyurethane, a light sanding with 220 or 320 grit between coats can knock down dust nibs and create a smoother base for the next layer.
I sometimes use 320 or even 400 grit for things like cutting boards or serving trays that I want to feel incredibly soft and luxurious to the touch. This high grit isn't always necessary, but it definitely elevates the feel of certain projects.
Step 6: the "goldilocks" Principle (finding Your Stopping Point)
Remember, not every project needs to be sanded to 400 grit. It’s all about the intended use and finish.
For something like a rustic shelf where I'm just going to paint it, I might stop at 120 or 150 grit after an initial sanding with 80. The primer and paint will fill any tiny imperfections.
For a coffee table top I want to stain and then apply a durable clear coat, I'll definitely go to 180 or 220. It really depends on what you're trying to achieve and how the final piece will be used.
Don't over-sand if you don't need to. It's just extra work! The Goldilocks principle applies: not too coarse, not too fine, but just right for your specific project.
Step 7: Cleanliness is Key!
This is a rule I learned the hard way. Every single time you switch to a finer grit, you MUST clean your project surface. Seriously, don't skip this.
Why? Because tiny particles of the coarser grit sandpaper break off and become dust. If you don't remove this dust, these coarser particles can get caught under your finer grit paper and leave new, unwanted scratches.
I've been there, sanding with 220 grit, thinking I'm doing a great job, only to realize I'm just grinding old 120 grit dust into the surface and creating new scratches. So frustrating!
So, after each grit, take a moment. Use a shop vacuum to suck up the bulk of the dust. Then, wipe the surface down thoroughly with a tack cloth or a damp rag (if appropriate for your material) to pick up any remaining fine dust. Compressed air works wonders too, especially in crevices.
Making It Stick / Common Mistakes
Even with the best intentions, it's easy to make mistakes. I've made all of these, probably multiple times!
Learning from them helps you avoid future headaches and get to that perfect finish faster.
Mistake 1: Skipping Grits
This is probably the most common beginner mistake. Going straight from 80 grit to 220 grit because you think you're saving time. You're not. The 220 grit paper is too fine to remove the deep scratches left by the 80 grit. You'll sand and sand, and those coarser scratches will still be visible, especially under a stain or clear coat. Always progress through the grits: 80, then 120, then 180, then 220.
Mistake 2: Not Cleaning Between Grits
As we talked about, those microscopic bits of coarser grit left on your surface will cause scratches when you move to a finer paper. Always, always, always clean your surface thoroughly between each grit change. A tack cloth is your best friend here, after a good vacuuming.
Mistake 3: Uneven Pressure or Sanding Direction
If you're using a random orbit sander and you press down too hard in one spot, you can create deeper swirls or low spots. Keep the sander moving constantly and apply even, light to moderate pressure. If you're hand sanding, always try to sand with the grain of the wood. Sanding across the grain leaves very noticeable scratches that will be highlighted by stain.
Mistake 4: Not Inspecting the Surface Enough
It's hard to see scratches under normal lighting. A trick I learned from a friend is to use a "raking light." Shine a bright flashlight or work light across the surface at a low angle. This will highlight any remaining scratches, dents, or imperfections. You might be surprised what you find! Check both before moving to the next grit and especially before applying finish.
Mistake 5: Using Worn-out Sandpaper
Sandpaper isn't meant to last forever. Once the abrasive particles become dull or clogged with dust and debris, it stops cutting and starts polishing (or just generating heat). It takes forever, and you won't get good results. Replace your sandpaper frequently. It's relatively inexpensive, especially compared to the frustration of a bad finish or wasted project materials.
"Sanding isn't just about making things smooth. It's about intentionally preparing your surface for the next step, making sure every coat of paint or stain looks its absolute best."
Frequently Asked Questions
Do I really need all those different grits? Can't I just use one?
Not if you want a truly good finish! Each grit removes the scratches of the previous one. Skipping grits means the finer paper won't be able to effectively remove the deeper marks, leading to visible imperfections in your final project. Think of it as painting a wall; you wouldn't just use a finish coat without primer.
How do I Know when I'm Done with a Specific Grit?
You should no longer see any scratches from the previous, coarser grit. Use that raking light trick to really inspect the surface. Run your hand over it; it should feel consistently smooth with no rough patches or discernible lines from the last grit. It takes a keen eye and practice, but you'll get the hang of it.
What's the Best Way to Sand Corners or Detailed Areas?
For tricky spots, hand sanding is often your best bet. You can wrap sandpaper around a small block of wood or a specialized sanding block to get into corners and maintain a flat surface. For very intricate details, sometimes just a folded piece of sandpaper is all you need. Detail sanders (the ones with triangular pads) can also be helpful here.
Is Hand Sanding Better Than Power Sanding?
Both have their place! Power sanders (like random orbit sanders) are fantastic for large, flat surfaces because they're fast and efficient. Hand sanding gives you more control and precision for delicate work, detailed areas, or when you absolutely need to sand with the grain to avoid swirl marks on certain wood species. I honestly use both on almost every project.
What Kind of Sandpaper Should I Buy for General Projects?
If you're just starting out or want a good all-around selection, grab a variety pack of aluminum oxide sandpaper. Look for discs or sheets in 80, 120, 180, and 220 grit. This range will cover most of your woodworking and general DIY finishing needs. It’s worth investing a tiny bit more for decent quality paper; it lasts longer and works better.
The Bottom Line
Sanding might not be the flashiest part of making, but it's absolutely fundamental to a beautiful, lasting finish. Remember the key takeaways: it’s a progressive process, don't skip grits, and always clean your surface between steps.
Don't be afraid to experiment a little on scrap wood to get a feel for how different grits behave. It takes practice, but once you understand the "why" behind grit progression, your projects will start looking so much more polished and professional.
You've got this! Go grab some sandpaper and make something beautiful. ❤️
Related Posts

Sandpaper Grits Demystified: When to Stop Going Finer
The grit progression that actually matters, where to start, where to stop, and why finer is often...
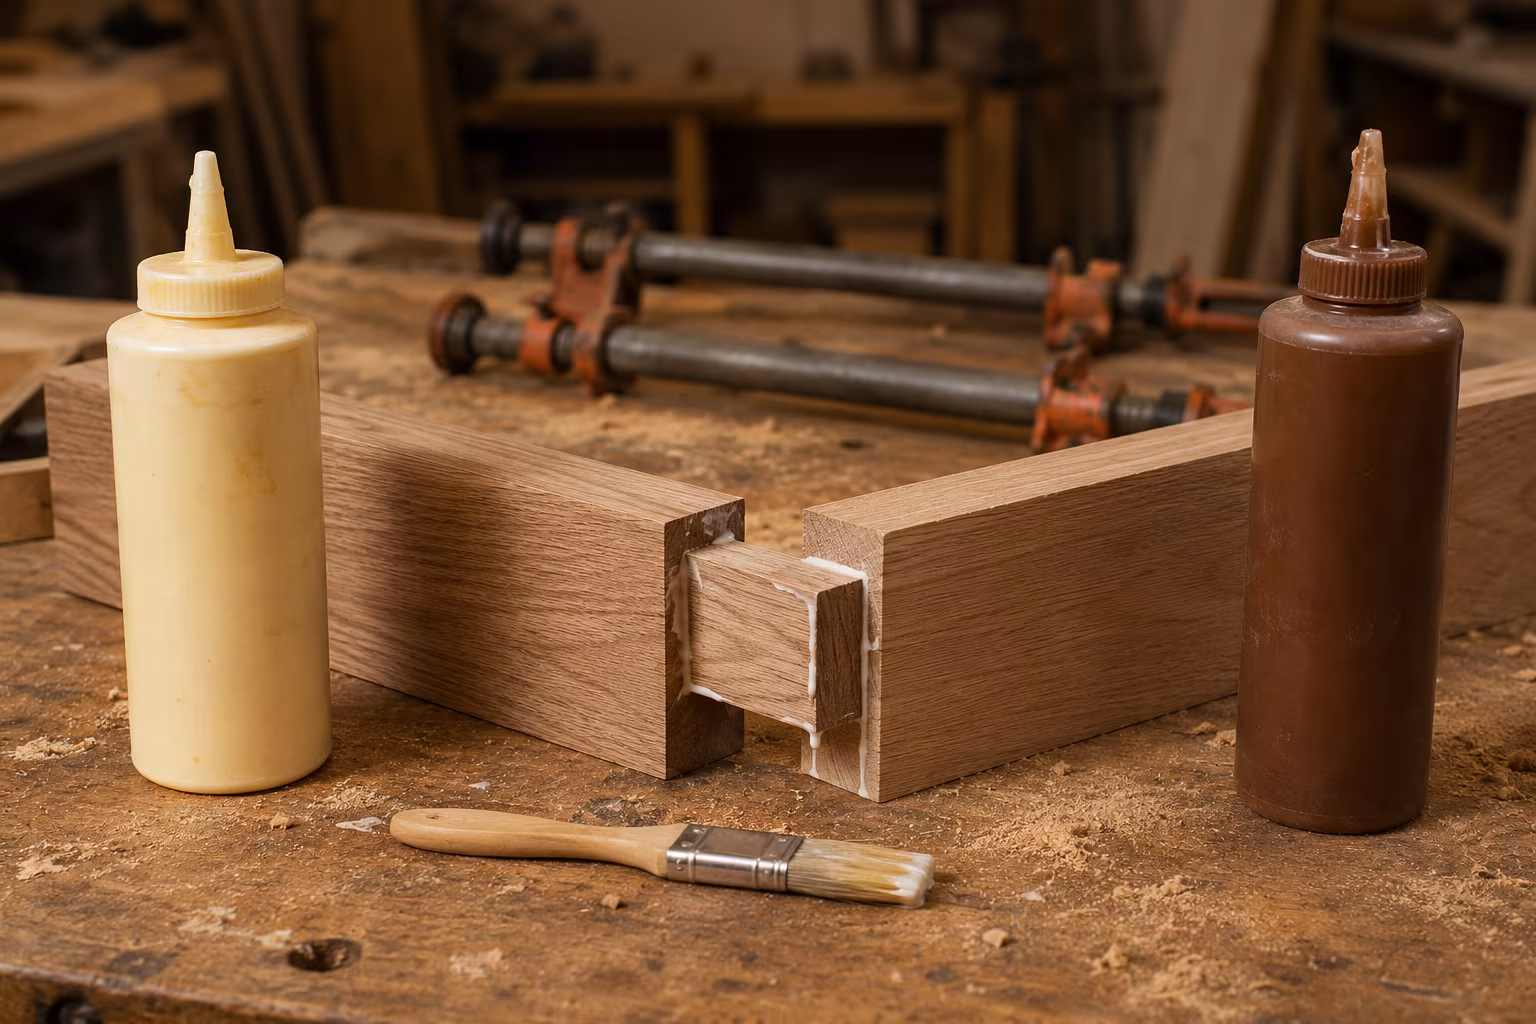
PVA vs Polyurethane Wood Glue for Indoor Furniture
Which wood glue wins indoors: a clear-eyed look at joint strength, open time, gap-filling claims,...
Why Beeswax and Mineral Oil Are the Safest Wood Finishes for Food
Wondering how to protect your wooden kitchenware without harsh chemicals? Beeswax and mineral oil...

Why Brad Nailers Are the Most Versatile Power Tool for Craft Rooms
Think power tools are just for big woodworking projects? Think again! A brad nailer might just be...