How to Make Minimalist Concrete Planters for Your Succulents
How to Make Minimalist Concrete Planters for Your Succulents
Okay, raise your hand if you’ve scrolled through Pinterest, seen those perfectly chic concrete planters, and immediately thought, "Ugh, I could never make that." I’ve been there, so many times. My first thought was probably, "Isn't concrete... for sidewalks?"
But then I tried it. And you know what? It wasn't as hard as I thought. Plus, making something that looks like it came from a fancy boutique, but really it came from your garage? That’s my kind of crafting. 👋
Today, we're going to dive into making those sleek, modern concrete planters that are just perfect for your little succulent friends. We'll cover what you need, how to mix and pour, and even some of the bumps I hit along the way. Get ready to make some dust!
Why This Actually Matters
Minimalist concrete planters aren't just trendy; they're incredibly versatile. They add a touch of modern sophistication to any space, whether it’s your desk, a bookshelf, or that empty spot on your patio table. They make your plants pop in a really cool, understated way.
For me, there's something so satisfying about holding a finished planter that started as a bag of gray powder. It's a tangible reminder that you can create beautiful things with your own hands, even if it feels a little outside your comfort zone. Plus, those store-bought ones? They can get pricey fast.
I remember wanting a few for my kitchen window sill last year, and I nearly choked at the price tag for just three small ones. We’re talking over $50 for something pretty basic. That’s when I decided to just try making my own.
My first attempt was a total mess – too much water, a lopsided shape, and I completely forgot about a drainage hole. But even that lumpy failure sparked something. It showed me that the process was actually pretty simple to grasp, and the potential for custom creations was huge.
Getting Started: What You'll Need
Before you get your hands dirty, it’s good to gather everything. This isn't one of those crafts where you can just wing it with half the supplies; concrete waits for no one! Don't worry, most of this stuff is pretty easy to find.
Think of it like baking a cake. You wouldn't start without flour, right? Same deal here. Getting prepared will save you so much frustration down the line, trust me.
The Essentials: Basic Materials
- Concrete Mix: You don't need fancy, heavy-duty structural concrete. Look for a fine-grain mix, like RapidSet Cementall or a basic Quikrete sand/topping mix. These are smoother and easier to work with for smaller items. I usually grab a 10lb bag; it goes a long way for small planters.
- Molds: This is where the minimalist shape comes in. You'll need two containers for each planter: an outer mold and an inner mold. Think plastic food containers, old yogurt tubs, even sturdy cardboard boxes lined with plastic wrap. The inner mold needs to fit inside the outer mold with enough space for your concrete wall thickness, maybe an inch or so all around. I've had great luck with dollar store plastic bowls.
- Non-Stick Cooking Spray or Petroleum Jelly (Mold Release): This is absolutely non-negotiable! Without it, your concrete will bond to your molds, and you'll have a very permanent, very ugly, concrete-covered container. Just a thin layer does the trick.
- Water: Cold water is generally best. You’ll be adding it slowly to get the right consistency. Have more than you think you’ll need on hand, but don't dump it all in at once.
- Mixing Tools: You’ll need an old bucket or mixing tub (something you don't mind getting permanently concreted) and a sturdy stick, trowel, or even a gloved hand for mixing. A plastic putty knife is also helpful for scraping down the sides.
- Safety Gear: Concrete dust can be pretty irritating. Always wear gloves to protect your hands, and a dust mask or respirator is a really good idea, especially when mixing the dry powder. Safety glasses are also smart – better safe than sorry, right?
- Drill with Masonry Bit (optional, but highly recommended): For those crucial drainage holes! A 1/4 inch or 3/8 inch masonry bit works well. You'll need a drill, too, obviously.
The Fun Bits: Decoration & Finishing
Once your planters are set, you can stop there for that raw, industrial look, or you can get a little creative. These next few items are for adding your personal touch and protecting your hard work.
- Sandpaper: Various grits, from rough (80-120) to fine (220+). This helps smooth out any rough edges or imperfections after demolding. I like a super smooth finish, so I spend a good amount of time on this.
- Concrete Sealer: An acrylic or concrete sealer protects your planter from moisture, stains, and wear, especially if it’s going outside. It also gives it a slightly richer, darker look. You can find spray-on or brush-on options.
- Paints or Stains (optional): If you want to add color, acrylic paints or concrete stains work beautifully. You can do subtle washes or bold geometric designs. I’ve done some really cool two-tone ones using painter’s tape.
Let's Get Messy: How to Actually Make Your Planters
Alright, you've got all your gear. Now comes the exciting part: making some concrete magic happen. This process isn't super fast because of curing times, but the active work is pretty quick and satisfying. Don't be afraid to get a little dirty!
I find it’s helpful to do all the mixing and pouring outside or in a well-ventilated garage. Concrete dust gets everywhere, and you really don't want to breathe it in. Lay down a tarp or old newspaper if you’re worried about spills. Trust me, spills happen.
Step 1: Prep Your Workspace & Molds
First things first, get your molds ready. Clean them thoroughly and make sure they’re completely dry. Any lingering moisture can mess with the concrete's cure. This step feels small, but it’s really important for a clean final product.
Now for the mold release. Generously spray the inside of your outer mold with cooking spray, or apply a thin, even layer of petroleum jelly. Do the same for the outside of your inner mold. This is the coating that will let your beautiful concrete creation slide right out later. Don't skimp here; a little extra spray is better than a broken planter.
Step 2: Mix the Concrete
Time to get mixing! Pour some of your dry concrete mix into your bucket. Start with maybe half of what you think you’ll need for one planter, you can always add more. Remember to put on your gloves and dust mask now.
Slowly add water, a little at a time, and start stirring. You're aiming for a consistency like thick pancake batter or oatmeal, not too watery and not too dry. It should be pourable but hold its shape somewhat. If it’s too wet, add more dry mix; too dry, add a tiny bit more water. This is where patience really pays off. My first mix was like soup, my second was like mud. Finding that "just right" spot takes a minute.
Mix thoroughly for a few minutes to ensure there are no dry pockets. You want a smooth, homogenous mixture. Lumps mean weak spots, and we definitely don’t want those in our strong, minimalist planters.
Step 3: Pour & Settle
Once your concrete is perfectly mixed, carefully pour it into your outer mold. Fill it about halfway, then gently tap the mold on your work surface a few times. This helps to release any trapped air bubbles, which can cause unsightly voids in your finished planter. You'll see tiny bubbles rise to the surface.
Next, slowly push your smaller inner mold into the wet concrete, centered within the outer mold. The concrete will rise around it. Make sure the inner mold is pressed down far enough to create the desired depth for your succulent, but not all the way to the bottom. You need a base for the planter! Use some heavy objects, like rocks or weights, to hold the inner mold down so it doesn't float up as the concrete settles. Give the whole setup a few more gentle taps to bring more bubbles to the surface.
Step 4: Cure Time – Patience, My Friend
Now comes the hardest part for me: waiting. Concrete doesn't just dry; it cures, which is a chemical process that strengthens it. For small planters, you'll generally want to let them cure for at least 18-24 hours before demolding, but 48 hours is even better for strength. It just gives it more time to harden up properly.
Keep your curing planters in a spot where they won't be disturbed, ideally in a cool, shaded area. Avoid direct sunlight or extreme temperatures, which can make the concrete cure too quickly and lead to cracks. Just let them be. Seriously, resist the urge to peek or poke at them. It's tough, I know!
Step 5: Demold Your Masterpiece
After the curing time, it's time for the big reveal! Carefully remove any weights from your inner mold. Gently wiggle the inner mold back and forth until it loosens and you can pull it out. This can sometimes take a little effort, so be patient and don't yank too hard. If it’s being stubborn, a little twist and slow pull usually works.
Once the inner mold is out, turn the entire outer mold upside down onto a soft surface (like a towel or a piece of cardboard). You might need to gently squeeze the sides of the outer mold or tap the bottom to help release the concrete planter. Sometimes, it just slides right out like a dream; other times, it needs a bit of coaxing. Don't be discouraged if it's not perfect on the first try; even minor imperfections add character. I've had a few break at this stage from being too impatient, so gentle is the key.
Step 6: Finish & Refine
Now you’ve got a raw concrete planter! At this point, it’s still relatively soft, so handle it with care. Take some sandpaper (start with a medium grit, like 120) and gently sand down any rough edges, seams, or minor imperfections. You can smooth the top rim, the sides, and the base. Switch to a finer grit (220 or higher) for a super smooth finish if you like. I always finish with a fine grit; it makes them feel so professional.
Let your planter continue to cure in the open air for another 2-3 days, or even a full week, to reach its maximum strength. Concrete gets stronger over time. After it's fully cured and any sanding dust is wiped away, you can apply a concrete sealer. Follow the product instructions for application; typically, you'll apply a thin coat and let it dry. This step is especially important if you plan to use your planter outdoors or want to protect it from water absorption. If you’re going to paint or stain, do that after full curing and before sealing. A light primer coat can help paint adhere better.
Step 7: Drill Drainage Holes
This is arguably the most crucial step for the health of your succulents. Succulents hate sitting in soggy soil. Take your drill fitted with a masonry bit. Place your cured planter on a piece of scrap wood or an old towel to protect your work surface and give the drill bit something to push into. Slowly and steadily drill one or two drainage holes in the center of the planter’s base. Don't press too hard; let the bit do the work. Concrete can chip if you're too aggressive.
A little tip: if you don’t have a masonry bit, you can try inserting a greased straw or dowel into the wet concrete when you pour it, making sure it goes all the way through the bottom layer. Then, remove it after the concrete has set but isn't fully cured, usually after a few hours. I prefer drilling because it feels more controlled, but the straw method works if you're stuck!
Oops! Common Mistakes & How I Learned from Them
Look, I'm not going to pretend every single planter I've made has been perfect. I've learned a ton from my mistakes, and honestly, that's half the fun of crafting, right? There are a few things that consistently trip people up, and I've experienced most of them myself.
It's easy to get excited and rush, but concrete has its own timeline. Trying to speed things up usually just results in a broken mess or a planter that's not quite right. Learning to embrace the waiting game is a huge part of working with this material.
"Patience isn't just a virtue in crafting; it's the secret ingredient for concrete projects that don't crumble under pressure."
One of the biggest mistakes is adding too much water to your mix. It feels intuitive to make it really smooth and pourable, but too much water makes the concrete weak and prone to cracking. I once made a batch that looked perfect, but when I demolded it, it crumbled in my hands like a sandcastle. Always aim for that thick pancake batter consistency; if it's soupy, add more dry mix.
Another common issue is rushing the demolding process. I know, you’re excited to see your creation! But pulling the molds off too early, before the concrete has had a good 24 hours to cure, can easily lead to breakage. The edges are especially fragile. I've broken off countless rims and corners because I couldn't wait. Give it the full cure time, even if it feels like forever.
Forgetting the drainage hole is a classic beginner's mistake, and yep, I’ve done it. More than once. You get so caught up in the shape and the pouring that the functional aspect slips your mind. Then you have this beautiful planter that's totally useless for a real plant! Always plan for that drainage hole, whether you're drilling it later or attempting the straw trick while pouring. Your succulents will thank you.
And finally, not using enough mold release. This one results in frustration and probably a broken mold. If the concrete is really stuck, you might have to chip away at your beautiful new planter just to get it out. A good, even coating of cooking spray or petroleum jelly saves so much heartache. It’s better to use a bit too much than not enough, trust me.
Frequently Asked Questions
How do I Make Sure My Planters Actually Drain?
The best way is to drill a proper drainage hole with a masonry bit once the concrete is fully cured. If you're drilling, use a slow, steady pressure. Some people try to create a hole by inserting a greased dowel or straw into the wet concrete and removing it when the concrete is partially set, but I find drilling post-cure gives a cleaner, more reliable hole.
Can I Use Any Kind of Concrete Mix for This?
While technically any concrete mix could work, you'll get the best results with a fine-grain or sand mix, sometimes called "topping mix" or "repair mortar." Standard structural concrete has larger aggregate (rocks), which makes it harder to get a smooth finish for small items. I always go for something like RapidSet Cementall for its fine texture and quick-setting properties.
What if My Planter Breaks when I Try to Demold It?
Oh, this happens! It's usually a sign that either the concrete wasn't fully cured, or you were a little too rough with the demolding. Don't throw it out immediately! Small chips or cracks can sometimes be repaired with a bit of concrete patch or even strong epoxy, then sanded smooth. If it's a major break, consider it a learning experience and try again. It means you're trying something new, and that's always good.
How Long does the Whole Process Take from Start to Finish?
The active working time, from mixing to pouring and placing the inner mold, is usually pretty quick – maybe 30-60 minutes per batch, depending on how many you're making. The longest part is the curing. You'll need to wait at least 24-48 hours before demolding, and then ideally another 2-3 days for the planter to fully harden before sanding, sealing, or drilling. So, while the hands-on part is fast, the entire project will take a few days from start to finish. It’s definitely not an instant gratification craft.
Is This Really Worth It Compared to Just Buying a Planter?
Absolutely, especially if you want multiple planters or specific sizes/shapes you can't easily find. A small bag of concrete mix can yield several planters for a fraction of the cost of buying them individually. Plus, there’s the huge satisfaction of saying, "I made that!" You also get to customize the exact look and finish, which you don't always get with store-bought options. For me, the creative process is a huge part of the "worth it."
Can I Make These Planters Outdoors?
Yes, you can, and it's often preferred for mixing due to the dust! However, if your planters are going to live outside permanently, definitely make sure to apply a good quality concrete sealer. This will protect them from weathering, moisture, and staining. Also, ensure they have ample drainage holes so water doesn't pool and freeze, which could crack the concrete in colder climates.
The Bottom Line
Making minimalist concrete planters is such a rewarding project. It’s tactile, a little bit messy, and results in something genuinely beautiful and functional for your home. You’re not just making a planter; you’re crafting a little piece of modern decor with your own two hands, and that’s pretty cool.
Don't be intimidated by the idea of working with concrete. Start small, follow the steps, and remember that even if your first one isn't perfect, it’s a stepping stone. Go grab some cement, get your molds ready, and let's make some awesome stuff! You got this. ❤️
Related Posts
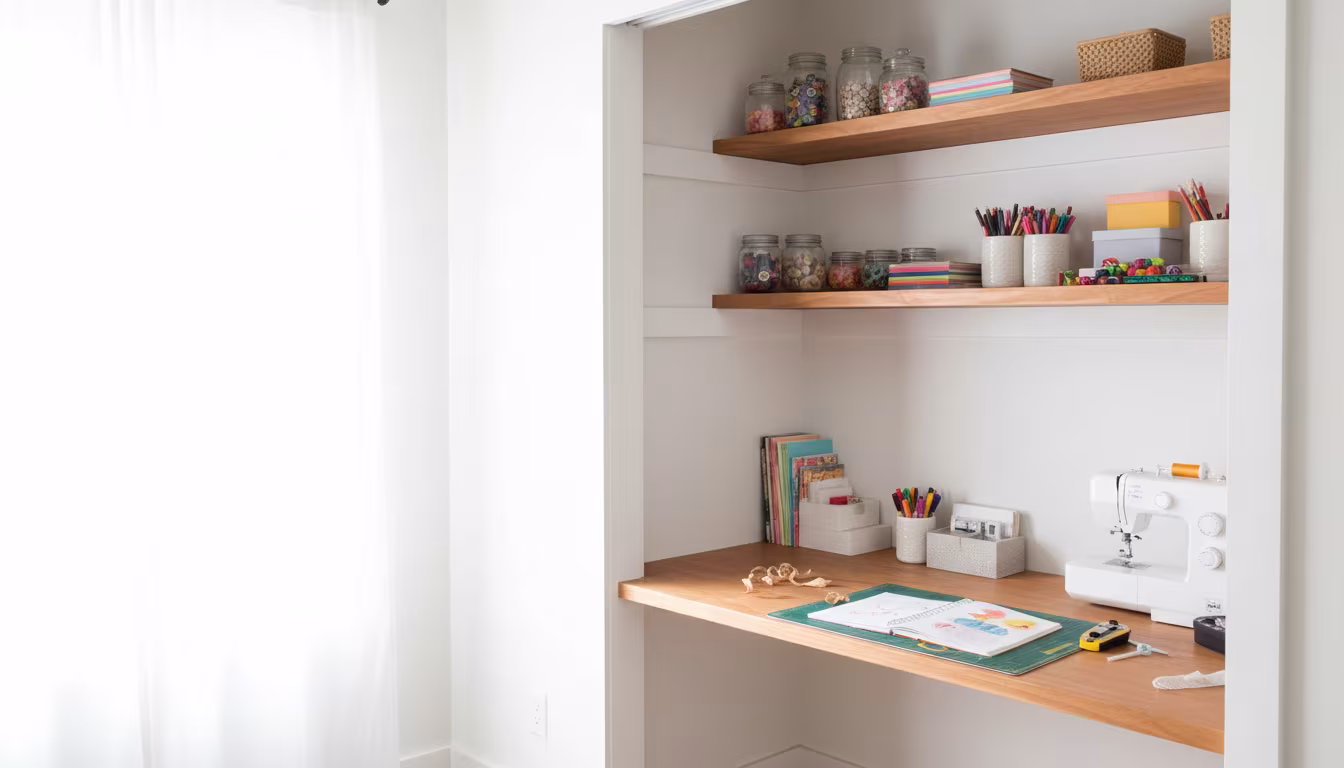
How to Convert a Regular Closet into a Functional Home Office
Dreaming of a dedicated workspace but short on space? Turn that underutilized closet into your pe...
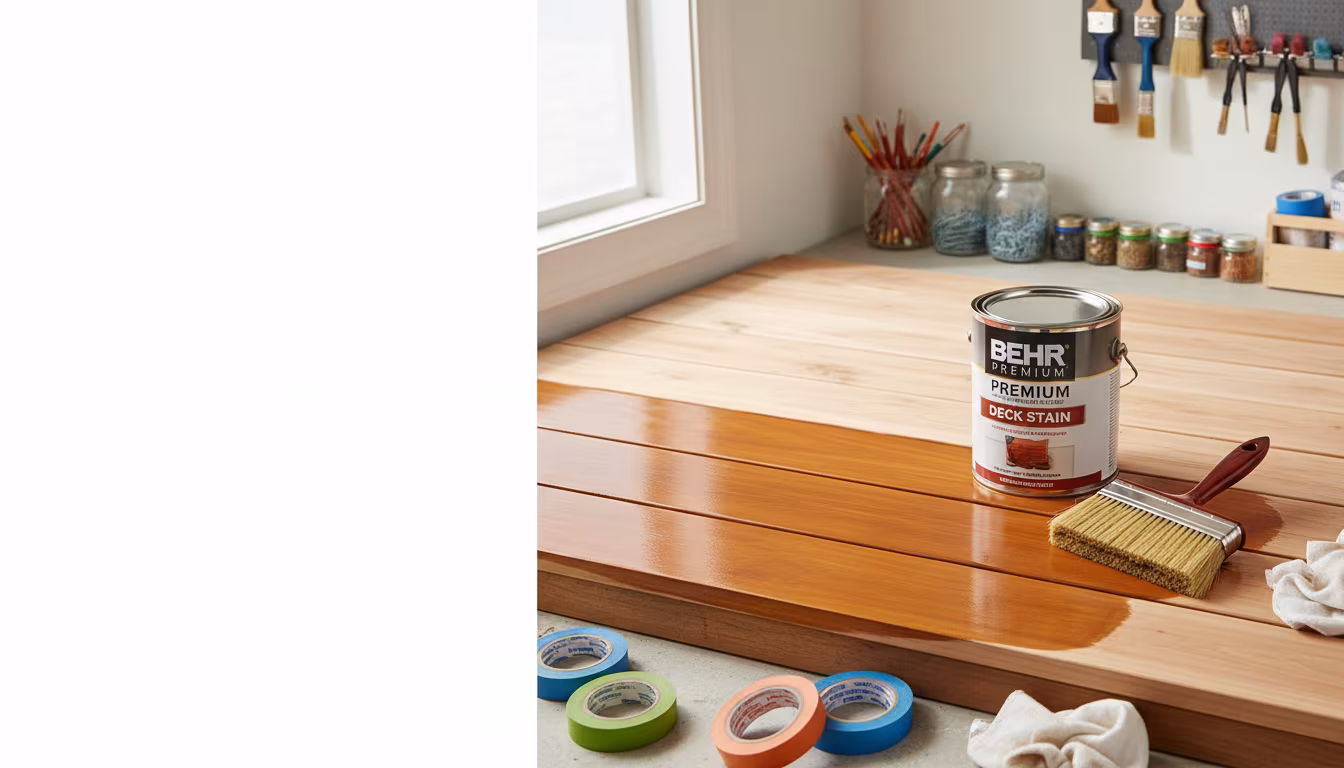
The Best Way to Weatherproof and Stain an Old Wooden Deck
Is your old wooden deck looking a little worse for wear? We'll show you the easiest, most effecti...
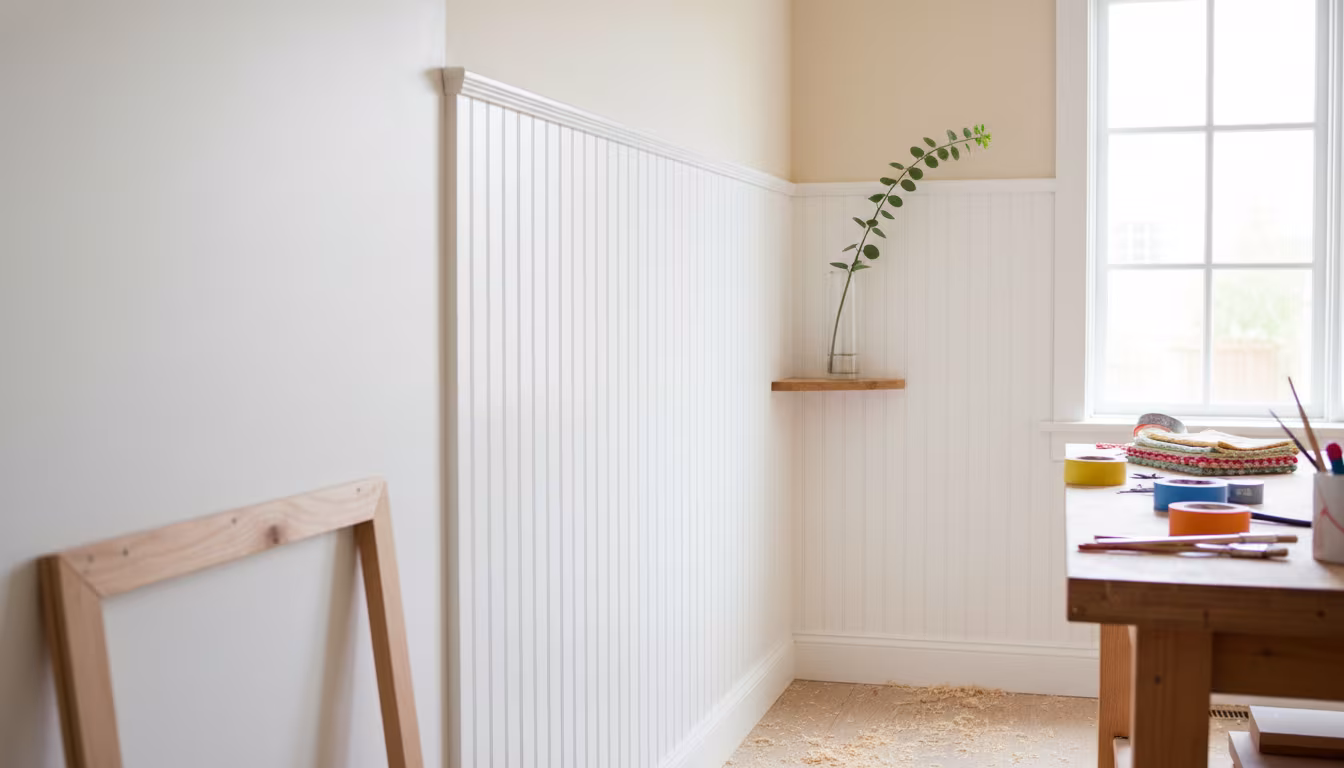
Why Wainscoting Panels Make Plain Hallways Look High-End
Dreaming of a more sophisticated entryway? Learn why wainscoting panels are a game-changer for ma...
How to Build Under-Stair Storage That Maximizes Dead Space
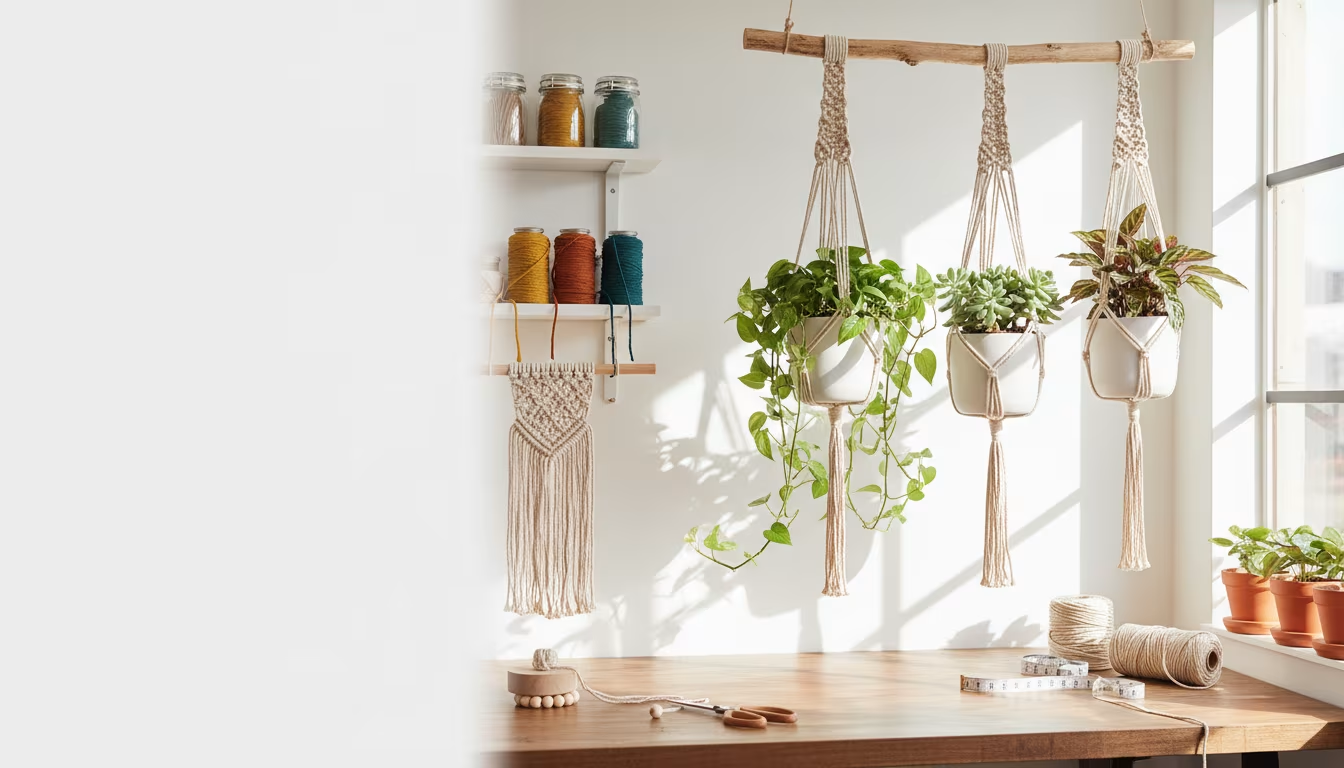
Dreaming of adding some bohemian flair to your home without breaking the bank? We'll show you how...