How to Upcycle Old Glass Jars into Aesthetic Spice Containers
How to Upcycle Old Glass Jars Into Aesthetic Spice Containers
You know that feeling, right? You open your pantry, ready to cook something delicious, and BAM! An avalanche of mismatched spice containers.
Tiny plastic bags of cumin, old store-bought jars with faded labels, maybe even a mysterious container you can't quite identify. It's not exactly inspiring.
My spice cabinet used to be a disaster zone. I'd buy new spices because I couldn't find the old ones, or worse, I'd end up with three half-empty jars of paprika.
It was a mess that made cooking feel more like a scavenger hunt than a creative process. Sound familiar?
Well, I've got a super fun, incredibly budget-friendly project for you today that’s going to turn that chaotic collection into a beautifully organized, totally personalized spice haven. 👋
We're going to take those empty glass jars you're probably about to toss – think jam, pickles, baby food – and give them a serious glow-up. We'll clean them, re-label them, and make them genuinely pretty.
It's an easy win for your kitchen, your wallet, and your inner organizer. Plus, it just feels good to make something useful with your own hands.
Why This Actually Matters
Okay, so it's not just about looking good (though that’s a huge bonus!). This little upcycling project actually brings a bunch of practical benefits.
First off, think about your wallet. Fancy matching spice jars can cost a pretty penny, especially if you're trying to outfit a whole rack. We're talking dollars per jar, and those add up fast.
By reusing jars you already have or can easily collect from friends and family, you're essentially getting them for free. Or for the cost of a delicious jar of pickles!
Then there’s the environmental angle. Every glass jar you upcycle is one less item headed to the recycling plant, or even worse, the landfill.
I mean, glass is recyclable, which is great. But giving something a new life before it even gets there? That’s next level. It’s a small step that makes a real difference over time.
For me, it’s also about finding joy in the everyday. My kitchen feels calmer and more inviting now. When I open that cabinet, I see a unified collection, not a jumble.
It makes cooking feel less like a chore and more like the creative outlet it should be. It’s a little burst of happiness every time I reach for the chili powder.
Plus, there's a certain satisfaction that comes from creating something useful and beautiful from "nothing." It's empowering to look at something destined for the trash and see potential.
It’s that core maker instinct – taking what’s already there and making it better, making it yours. This project delivers on all those fronts, big time.
The Spice Rack Struggle is Real
Before we jump into the fun stuff, let's chat about what kinds of jars work best. You don't need anything fancy, promise.
The best candidates are glass jars that originally held food items. Think jam, olives, artichoke hearts, capers, small pickle jars, or even those tiny baby food jars.
The key is that they're a reasonable size for spices. You want something that holds a decent amount, but isn't so big that your spices sit there getting old and losing their potency.
I tend to gravitate towards jars between 4oz and 8oz (about 120ml to 240ml). Most standard spice containers you buy at the store are around 1.5oz to 3oz, so your upcycled jars will likely be a bit bigger.
This is actually a good thing! It means fewer refills and often better pricing if you buy your spices in bulk from a local co-op.
Don't worry too much about matching them perfectly at first. The beauty of this project is that we can make a mismatched collection look cohesive with a little elbow grease and some thoughtful labeling.
Finding Your Jar Tribe
So, where do you find these treasures? Your own kitchen is probably ground zero.
Start saving those empty jam and pickle jars right now. Just give them a quick rinse after you've finished the contents.
Ask friends and family! I once put out a call on social media, and suddenly my neighbors were dropping off bags of clean jars. People are often happy to offload things they'd otherwise recycle.
Thrift stores can be goldmines too. Sometimes you'll find sets of jars, or even just individual ones for super cheap. I've bought small, cute jelly jars for about $0.50 each before.
Farmers markets or local food co-ops sometimes have return programs for their jars, or you might find unique shapes there. Just make sure whatever you choose has a lid that seals well.
- Collect a Variety - Don't be afraid to gather different shapes and sizes initially. We can unify them later. Aim for a good number, like 10-20 to start, depending on your spice collection.
- Prioritize Good Lids - A tight-fitting lid is essential for keeping your spices fresh. Metal lids are generally best, but some plastic ones seal well too. Avoid jars with rusty or damaged lids.
- Consider Storage Space - Think about where your finished jars will live. Do you want them on a shelf, in a drawer, or on a magnetic rack? This might influence the shapes you collect. For drawers, straight-sided jars pack in better.
Gather Your Goodies: Supplies for Spice Jar Magic
Before we dive into the step-by-step, let's make sure you've got everything you need. Most of this stuff you probably already have lying around, or you can grab it super cheap.
You don't need any fancy craft store hauls for this, which is part of the appeal!
Here’s What You’ll Want to have on Hand:
- Your collected glass jars with lids: The stars of the show!
- Dish soap and warm water: For a good scrub.
- Baking soda and vinegar: My go-to for stubborn smells and residues.
- Scraper tool or old credit card: For peeling off labels.
- Rubbing alcohol (isopropyl alcohol) or Goo Gone: Essential for sticky residue.
- Paper towels or clean cloths: For drying and wiping.
- Labels: This is where you get creative! I love sticker paper, chalk labels, or even just cardstock and tape.
- Marker or pen: Permanent marker, chalk marker, or a nice fine-tip pen.
- Optional: Paint, spray paint, or fabric scraps: If you want to decorate the lids or jars further.
- Optional: Measuring spoons: To transfer spices neatly.
- Your actual spices: Make sure you have enough to fill your beautiful new jars!
See? Nothing too wild there. I probably spent less than $10 on extra supplies when I first did this project, mostly for some good quality sticker paper for labels.
How to Actually do It
Alright, let's get those jars sparkling and ready for their big moment! This isn't rocket science, but taking your time on each step really makes a difference in the final look and feel.
Step 1: Clean up Your Act (literally)
This is probably the least exciting part, but it's crucial. You need really, truly clean jars.
Start by rinsing out any food residue with hot water. Then, wash each jar and lid thoroughly with dish soap and warm water.
I usually run them through the dishwasher if I can, especially if they had anything greasy in them. That intense heat really helps.
If they still smell like pickles (you know the smell!), try this little trick: fill the jar with warm water, add a teaspoon of baking soda, and a splash of white vinegar.
Let it sit for an hour or so, then scrub and rinse again. That baking soda-vinegar combo is a magic potion for neutralizing odors. It’s saved many a jar from smelling like a dill factory.
Step 2: Tackle Those Stubborn Labels
This can be the most frustrating part of upcycling anything, right? Those sticky, uncooperative labels.
My go-to method is to soak the jars in hot, soapy water for about 30 minutes. Often, the labels will just peel right off after that.
For the really stubborn ones, try a scraping tool. I use an old plastic credit card or sometimes a dull butter knife. Just be careful not to scratch the glass.
You'll almost always be left with some sticky residue. Don't despair! This is where rubbing alcohol or Goo Gone comes in handy.
Apply a little to a paper towel and rub vigorously. It might take a few attempts, but trust me, it works. I've spent a good 5-10 minutes on a single jar getting off that awful sticky stuff, but it's worth it for a pristine surface.
You want zero sticky spots, because anything left behind will attract dust and look messy later.
Step 3: Drying and Prepping for a Glow-up
Once your jars are completely clean and label-free, they need to be bone dry. Like, really, really dry.
Moisture can cause problems with labels sticking, or even worse, it can introduce mold to your spices. No one wants moldy cumin!
I usually air dry them on a dish rack overnight. If you're in a hurry, you can wipe them down with a lint-free towel and then stick them in a low oven (around 200°F or 90°C) for 10-15 minutes to ensure all moisture evaporates.
Just make sure the jars are at room temperature before putting them in a hot oven, or they might crack.
While they're drying, take a moment to look at your lids. Are they clean? Are they free of rust? If they're a bit dinged up, or you just want a more cohesive look, now's the time to think about decorating them.
Step 4: Picking Your Aesthetic
This is where your personal style comes into play! You can keep it super simple, or go all out. The goal is to make your collection look intentional, not just a bunch of random jars.
For a minimalist look, just clean jars and simple labels are perfect. Maybe you want white labels with black text, or vice-versa.
If your lids are mismatched colors, you can unify them. My favorite trick is to use spray paint. A quick coat of matte black, white, or even a metallic bronze can make all the difference.
Just remember to spray in a well-ventilated area, use painter's tape to protect the inside rim of the lid (you don't want paint flaking into your spices!), and do several thin coats rather than one thick one.
Another cute idea for lids is to cover them with fabric scraps. Cut a circle of fabric slightly larger than the lid, center it, and tie it with twine or ribbon. This adds a lovely cottage-core vibe.
You could also try painting designs on the glass itself with craft paint, but make sure it's food-safe and durable if you plan on washing them regularly.
Step 5: the Fun Part - Decorating!
Once you've decided on your aesthetic and your lids are dry (if you painted them), it's time for the labels. This is the visual anchor of your whole project.
There are so many options here. For my first set, I bought some simple, plain white sticker paper and printed out minimalist labels with a cute font.
You can design these in a word processor or a free graphic design tool like Canva. Just measure your jars to get the right label size.
Another popular choice is chalk labels. These are adhesive labels that look like small chalkboards, and you can write on them with a chalk marker. This gives a very rustic, farmhouse feel.
The bonus is you can easily erase and re-label if you change your mind or need to swap spices.
If you're feeling really crafty, you can cut your own labels from cardstock. Use a hole punch and some twine to tie them around the neck of the jar, or simply adhere them with double-sided tape or a dot of strong craft glue.
I’ve even seen people use a label maker for a super clean, uniform look. Just pick what sparks joy for you and fits your kitchen's vibe.
Step 6: Labels That Make Sense (and Look Good)
When you're making your labels, think about readability. You want to be able to quickly grab what you need.
Choose a clear font if you're printing, or write neatly if you're doing it by hand. Consider adding the expiration date to the bottom of the jar or a small sticker on the lid – a little hack I learned the hard way!
For placement, I like to put my labels on the front of the jar, centered. If you're going to store them in a drawer, you might want to put them on the lid instead, so you can see them from above.
Before you stick anything permanently, do a dry run. Hold the label up to the jar, see how it looks. Make sure it's straight and that the size is good.
Peeling and re-sticking can sometimes damage the label, so try to get it right the first time. Take your time, line it up, and press firmly to avoid air bubbles.
Step 7: Filling Your New Beauties
Finally, the moment of truth! It's time to transfer your spices into their new homes.
This step can be a little messy, especially with powdery spices. I recommend doing this over a tray or a large piece of parchment paper to catch any spills.
A small funnel is your best friend here. If you don't have one, you can make a quick DIY version by rolling a piece of paper into a cone shape.
Carefully spoon your spices into the jars. Try not to overfill them. Leave a little bit of space at the top so the lid can close easily without compressing the spice.
Immediately cap each jar tightly after filling to keep the spices fresh. Give each jar a gentle shake or tap to settle the contents.
Now, step back and admire your handiwork! It’s a pretty amazing transformation from discarded jars to a beautiful, organized spice collection. This is where all that effort really pays off!
Common Pitfalls and How I Avoided Them (mostly)
As much as I love a good DIY project, things don't always go smoothly, right? I've definitely learned a few things the hard way with this project.
My first attempt at painting lids resulted in sticky, uneven surfaces because I didn't clean them well enough and tried to do one thick coat. Live and learn!
One common mistake is not getting the jars completely dry. If there's any moisture inside, even a tiny bit, your spices can clump, or worse, grow mold. Always double-check.
Another one is rushing the label removal. That sticky residue? It's a magnet for dust and just looks unsightly. Take the extra five minutes with the Goo Gone. It’s worth it.
Also, don't be afraid to experiment with label materials. My first labels were just regular paper with tape, and they smudged immediately when I wiped down the counter.
Switching to waterproof sticker paper or chalk labels made a huge difference in durability. Think about how often you'll be handling and cleaning these jars.
"The beauty of upcycling isn't perfection; it's the story of transformation. Every tiny imperfection tells a tale of creativity and effort."
Frequently Asked Questions
Can I Use Plastic Jars Instead of Glass?
While you certainly could use plastic jars, I wouldn't recommend it for spices. Plastic can absorb odors over time, and some spices can even leach chemicals from certain plastics. Glass is much better for food storage because it's non-porous and doesn't hold smells or interact with the food inside. Stick to glass for freshness and safety!
My Lids are Rusty. What Should I Do?
If the rust is just superficial, you can try cleaning it with steel wool and then sealing it with a few coats of food-safe clear sealant or paint. However, if the rust is deep or has compromised the seal, it's best to discard that lid. A rusty lid won't create an airtight seal, and you definitely don't want rust flakes in your food. Always prioritize a good seal for spice freshness!
How do I Make Sure My Labels are Waterproof?
If you're printing your own labels, use waterproof sticker paper. You can find this online or at most office supply stores. If you're hand-writing labels on regular paper or cardstock, you can seal them with a thin layer of Mod Podge or a clear acrylic spray sealant. Just make sure the sealant is non-toxic and fully dry before handling. Chalk labels with chalk markers are usually pretty resistant to smudging too.
How Long does This Take from Start to Finish?
Realistically, if you're doing about 10-15 jars, I'd say plan for 2-3 hours of active work, plus drying time. The cleaning and label removal can take about an hour. Decorating and labeling might take another hour, and filling an additional 30 minutes. The biggest time sink is often waiting for jars to air dry completely, or for paint to cure on lids, so you might spread it out over an afternoon and evening.
Is This Worth It if I Only have a Few Spices?
Absolutely! Even if you only have five or six spices, having them in matching, well-labeled jars makes your kitchen feel more put-together and organized. It's also a fantastic way to practice your upcycling skills on a smaller scale before tackling a bigger project. Plus, who knows, maybe that beautiful organization will inspire you to try even more new recipes!
The Bottom Line
Upcycling old glass jars into spice containers isn't just a craft project; it's a little act of kitchen liberation. You're saving money, reducing waste, and creating a more functional and beautiful space all at once. ❤️
Don't get bogged down trying to make everything perfect. The goal is to make something useful that you love, even if it's got a few quirks. That's the beauty of handmade.
So, grab those empty jars, gather your supplies, and start making your spice cabinet a place of joy instead of chaos. You've totally got this!
Related Posts
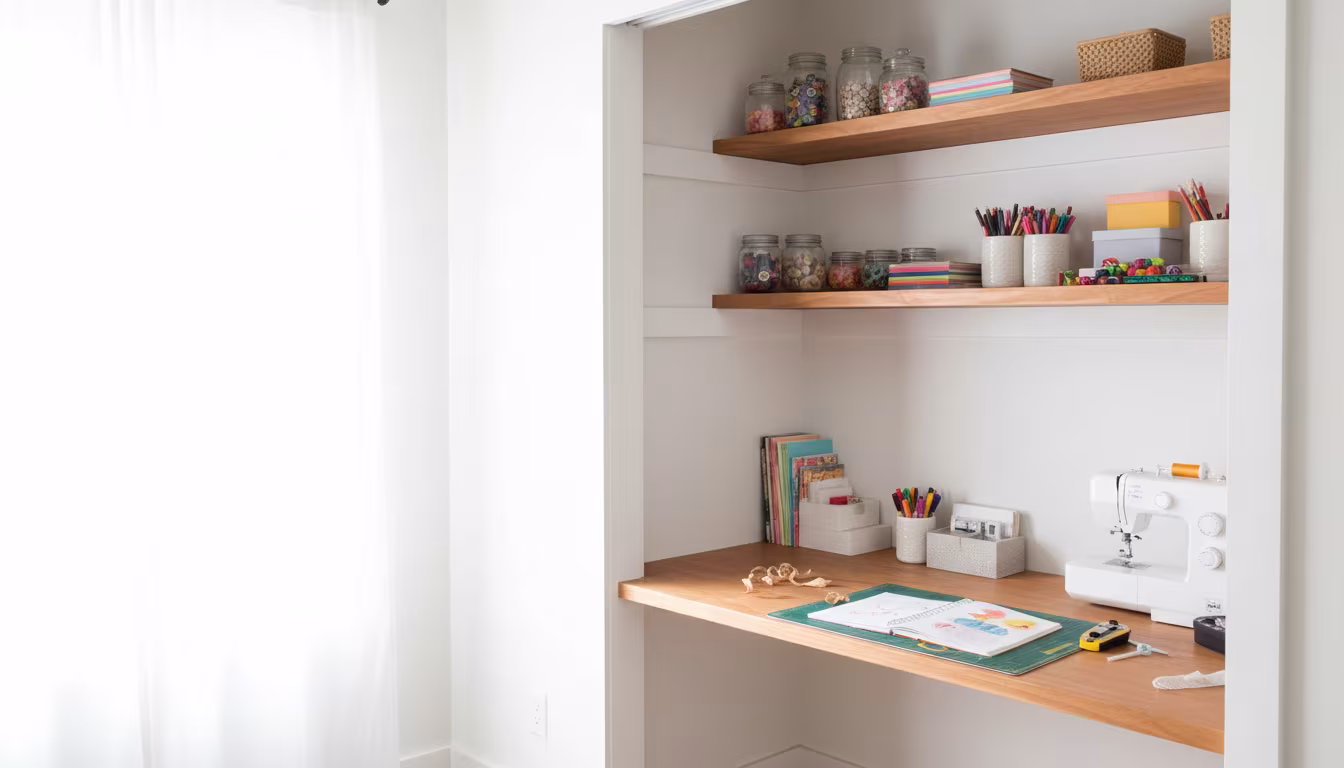
How to Convert a Regular Closet into a Functional Home Office
Dreaming of a dedicated workspace but short on space? Turn that underutilized closet into your pe...
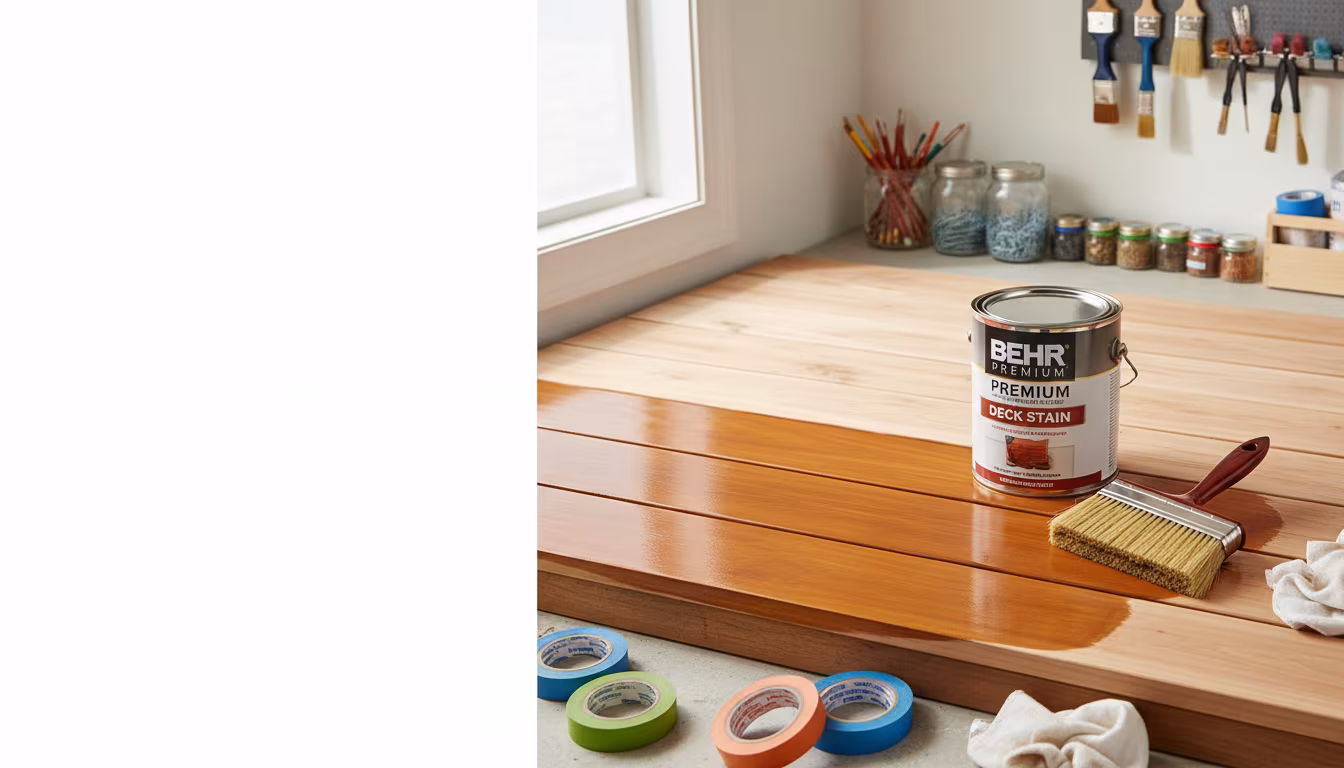
The Best Way to Weatherproof and Stain an Old Wooden Deck
Is your old wooden deck looking a little worse for wear? We'll show you the easiest, most effecti...
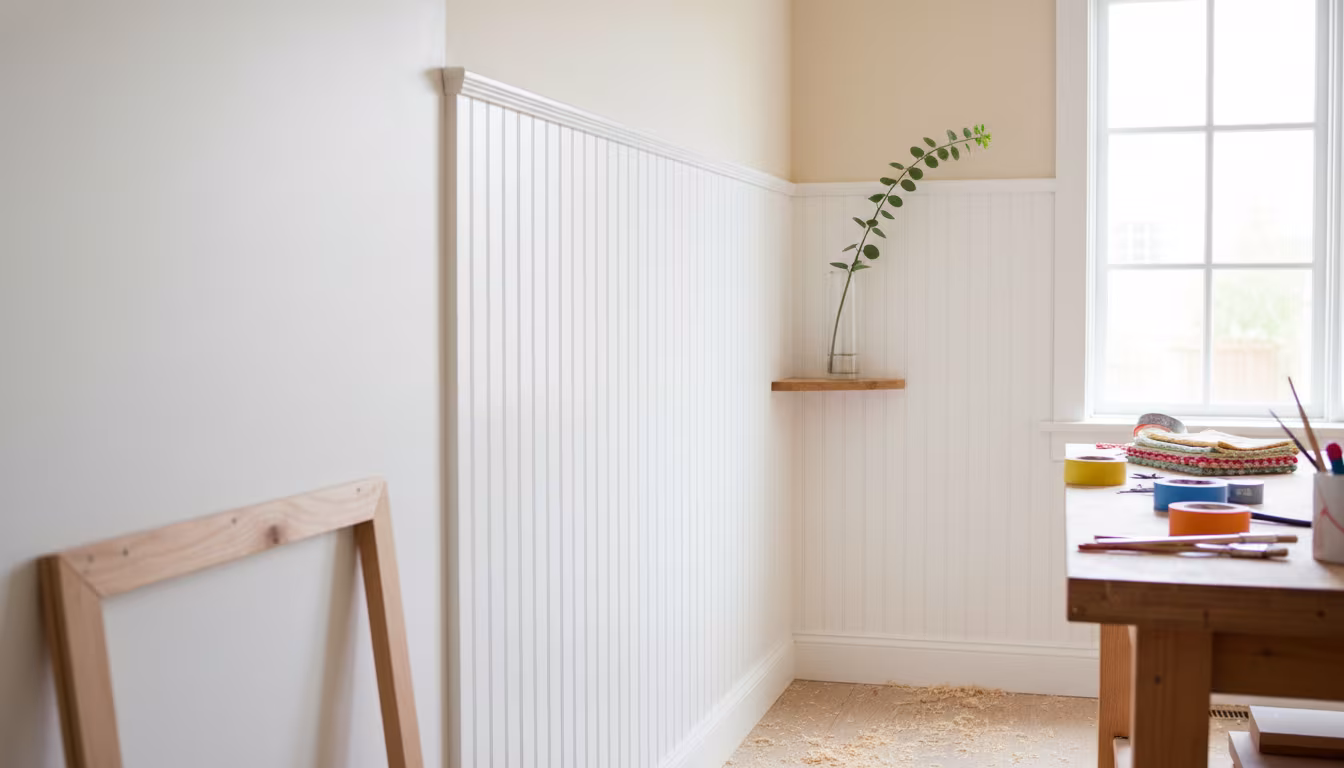
Why Wainscoting Panels Make Plain Hallways Look High-End
Dreaming of a more sophisticated entryway? Learn why wainscoting panels are a game-changer for ma...
How to Build Under-Stair Storage That Maximizes Dead Space
Dreaming of adding some bohemian flair to your home without breaking the bank? We'll show you how...