
Why Community Woodshops Are the Most Affordable Way to Build Furniture
Building your own furniture stalls for most people at the cost of tools and the lack of space. A decent table saw runs $600 to $2,000, a planer another $400 to $1,000, and a jointer, router table, dust collection, clamps, and safety gear push the figure higher fast. For a hobbyist making a few pieces a year, that outlay never makes sense. Community woodshops remove the barrier by renting access to professional-grade equipment, so you pay a fraction of the tool cost and skip dedicating a garage to machinery.
What a Community Woodshop Is
A community woodshop is a shared, usually membership-based workspace, structurally similar to a community hackerspace or makerspace but built around woodworking tools and lumber. You pay a monthly fee, a day rate, or a punch card, and in return you get access to a fully equipped shop with industrial-grade machinery few hobbyists could justify owning.
Inside a typical shop, the equipment is organized by task. A cutting area handles breaking down sheet goods and rough lumber on a table saw and often a panel saw; a milling area flattens and squares boards with a jointer and thickness planer; and drill presses, band saws, routers, miter saws, sanders, and a wall of clamps cover the rest. Larger shops add a lathe for turning bowls and spindles, dust collection ducted to each machine, and dedicated bench space for glue-ups and finishing. Knowing what each station does helps you plan a project as a sequence of steps rather than a single overwhelming task.
Beyond the tools, these shops run on people. Members range from complete beginners to seasoned professionals, and the shop floor is a place to learn, experiment, and get unstuck. Watching how someone else breaks down a large panel or sets up a jig teaches techniques no video queue delivers on demand.
What You Get for a Membership
The tool access alone justifies the fee. Instead of buying a table saw, band saw, router table, drill press, miter saw, sanders, and clamps, you use commercial-grade, well-maintained versions of all of them for a monthly rate. Alongside the machines you typically get:
- Expert guidance from staff or experienced members who offer troubleshooting and mini-lessons, plus formal classes that are often included or discounted for members.
- A structured learning environment with courses covering safety, tool operation, joinery, and design. An introductory class like "build a simple box" demystifies the table saw and miter saw quickly.
- Community and networking, since a floor full of makers is a source of ideas, feedback, and collaboration.
- Safety infrastructure, including mandatory orientations, robust dust collection, and first-aid stations, so everyone on the equipment has been trained.
- No space or storage burden, which matters for apartment dwellers and small garages; you show up, work, and leave the machinery and mess behind.
The result is a path from consumer to maker without the upfront capital, and a step away from disposable fast furniture toward pieces built to last.
Finding and Vetting a Shop
Start with a search for "community woodshop near me," "public woodworking [your city]," or "makerspace [your city]," and include "makerspace" and "hackerspace" since many include a woodworking area. Local colleges, community centers, and art studios sometimes open their shops to the public through classes or memberships.
Once you have a few candidates, read their sites for membership tiers, hours, equipment lists, and class schedules, and check reviews for a sense of the culture. Most shops run tours or open-house days, so visit at least two if you can and compare directly: is the space welcoming, is the equipment maintained, and are people actively building? A shop with active members and clean, working machines is worth more than a slightly cheaper one that feels neglected.
Membership, Orientation, and Safety
Membership pricing varies by location and facilities, but a typical range runs from around $50 a month for basic access to over $150 for premium shops with extended hours, specialized equipment, or a large class catalog. Punch passes and day rates suit occasional users who only surface for a project or two a year. Weighed against the cost of buying and housing the same machines, even a premium membership pays for itself within the first serious project. Many shops also bundle or discount classes for members, so factor that value in when comparing tiers rather than looking at the monthly fee alone.
Pick a membership tier that matches your usage, whether that is monthly unlimited access, a punch pass for a set number of hours, or a day rate for the occasional project. Almost every shop then requires a mandatory safety orientation before you touch major machinery, and this is non-negotiable for good reason.
Expect a few hours of instruction, sometimes split across sessions, covering machine operation, emergency stops, dust collection, and protective gear. Power tools are genuinely dangerous when misused, so pay full attention, take notes, and ask when something is unclear. Understand every machine before you switch it on, and if you are ever unsure how to make a cut, stop and ask rather than guess. No project is worth an injury.
Your First Projects and Budgeting
Do not open with a ten-person dining table. Start with a cutting board, a small planter box, a simple shelf, or a picture frame, and take a beginner class for your first build if one is offered, since those classes are guided, include materials, and teach accurate cuts, panel glue-ups, and sanding. A first project like a small storage box teaches lumber breakdown, precise cuts, and clamping even when the result is imperfect. As skills grow, you can move toward more ambitious work such as a reclaimed-wood headboard or other build-your-own furniture projects.
If you bring your own lumber, and most shops encourage it, make sure every board is clean, dry, and free of embedded nails, screws, or staples, since hidden metal can chip a blade or planer knife and damage shared equipment. Reclaimed wood is worth it for character, but check it carefully first, and run a magnet or metal detector over salvaged boards. Some shops also restrict certain engineered products or treated lumber, so confirm their rules before hauling material in.
Even with free tool access, lumber costs money, so plan every project with a sketch, dimensions, and a cut list. Check the shop's offcut bins and reclaimed-wood stock, and compare local sawmills and lumberyards against big-box prices. Budget the consumables too, since sandpaper, wood glue, screws, hardware like hinges and drawer slides, and finishing supplies such as stain and polyurethane add up. Small hardware upgrades, like swapping to matte black hardware, are cheap ways to lift a finished piece.
Shop Etiquette
A shared shop only runs well when everyone maintains it. Sweep your sawdust, return tools to their spots, and wipe down the bench, leaving the area cleaner than you found it. Respect the equipment: report anything malfunctioning, such as a dull blade, immediately, and never attempt a repair unless you are trained for it. Keep the focus on safe, mindful work, since a tidy shop and clear equipment protect the next person as much as you.
Common Mistakes to Avoid
The recurring beginner errors are predictable. Going too big too fast, like starting with a large dining table, invites overwhelm, wasted lumber, and abandoned projects, so build confidence on small pieces first. Treating the safety orientation casually risks injury, so absorb every machine's operation before use. Refusing to ask for help wastes time a two-minute question would save, and asking is the entire point of a community shop. Underestimating time and materials leads to rushed work and mid-project shortfalls, so pad both the schedule and the budget. Neglecting cleanup and maintenance degrades a shared resource, so clean as you go. Finally, comparing your first cuts to a veteran's dovetails is discouraging and pointless; measure progress against your own last project instead. Find a local shop, take that first beginner class, and start with something small enough to finish.
Buy-it-all vs. join the shop:
| Item | Own it | Shop |
|---|---|---|
| Table saw | $600–$2,000 | included |
| Planer | $400–$1,000 | included |
| Jointer, router table, dust collection, clamps | thousands more | included |
| Membership | — | monthly fee + one-time safety orientation |
Related Posts
Workshop Air Compressor Sizing: CFM and SCFM
Air compressor matched to your tools means smooth work; too small means constant waiting. CFM...

Workshop Dehumidifier Sizing for Tool Rust Prevention
Tools rust silently when shop humidity sits over 60%. The pint capacity that matches your shop...
Bench Vise Sizing and Mounting for First-Time Buyers
Bench vises bolted to scrap plywood pull right out. The right size for the work, the right...
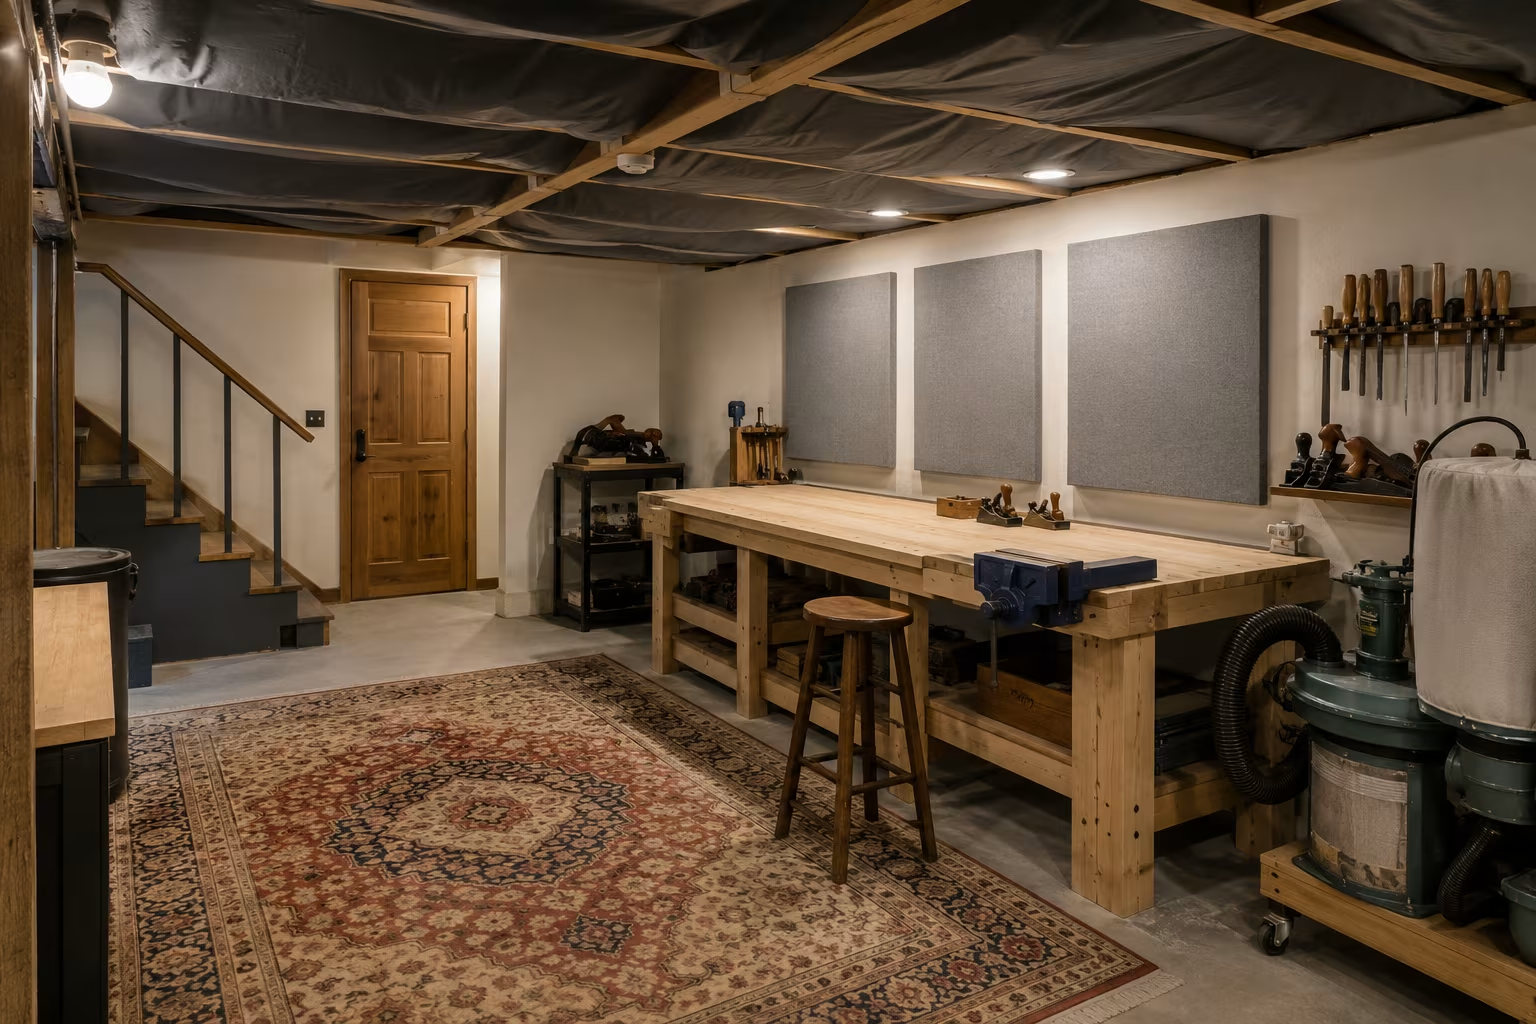
Soundproofing a Basement Workshop on a Renter's Budget
Basement shop noise traveling up to the family room is how you lose workshop privileges. The...
Comments
No comments yet. Be the first to share your thoughts!