How to Set Up a Functional Craft Room in a Spare Bedroom
How to Set up a Functional Craft Room in a Spare Bedroom
You know that feeling, right? Stacks of yarn taking over the dining table, your woodworking tools migrating from the garage to a corner of the spare room, and paper scraps slowly conquering the guest bed. Every time I tried to start a new project, I had to spend 20 minutes just clearing a space.
It was a cycle I lived for way too long. That's why finally setting up a dedicated craft room in our spare bedroom was a game-changer for me. It wasn't perfect overnight, but having a spot just for my hobbies makes all the difference.
Today, I want to walk you through how I tackled it, from wrestling with old clutter to finding those perfect thrift store gems that made my space truly mine. We'll talk about getting started, making the most of what you have, and even dodging some common mistakes I definitely made along the way. Ready to reclaim your creative space? 👋
Why This Actually Matters
Honestly, for years, I just spread my projects out wherever I could find a flat surface. My sewing machine lived on a corner of the kitchen counter, and my paint supplies were shoved under the guest bed.
It meant I spent more time hunting for supplies and clearing a spot than actually making anything. My creative spark often fizzled out before I even got started, just from the sheer effort of setting up.
Having a dedicated space, even if it's small, tells your brain, "This is where the magic happens." It reduces friction, keeps your supplies organized, and honestly, just makes you want to spend more time on your hobbies.
I remember one weekend, I wanted to try block printing. Instead of digging through three different boxes, I just walked into my craft room, pulled out the ink and blocks, and was printing within five minutes. That ease? That's what a functional craft room gives you.
Planning Your Craft Room: the Basics
Before you even think about moving a single thing, take a breath. The biggest mistake I made was just diving in, trying to organize without a real plan. It led to more mess, more frustration, and ultimately, me giving up for a bit.
The first step is figuring out what you actually need the space for. Are you a knitter, a painter, a woodworker, or like me, a bit of everything? Knowing your main crafts helps you prioritize what kind of setup you'll need.
Think about the types of projects you do most often. Do you need a big, clear workspace? Specific tool storage? Good ventilation for paints or glues? Don't skip this initial brain-dump; it saves so much headache later on.
Assessing Your Craft Habits and Needs
This isn't just about what you want to do, but what you actually do. I used to dream of an elaborate pottery studio, but the truth is, I only dabble in clay once a year. My daily go-tos are woodworking, paper crafts, and painting.
So, my space needed to cater to those primary activities. A sturdy workbench for sawing and sanding, a clean surface for paper and paint, and easy access to frequently used tools were my non-negotiables.
- Identify Your Core Crafts: Make a list of your top 2-3 hobbies. This helps you figure out the dominant requirements for your space, like heavy-duty surfaces for woodworking versus bright light for intricate paper cutting.
- Consider Your Supplies: Group your supplies by craft. How much space do they currently take up? Are there large items like fabric bolts, lumber, or a sewing machine that need dedicated spots?
- Think About Workflow: How do you usually work? Do you need to move between different stations, like a cutting area to a gluing area? Plan for smooth transitions to avoid feeling cramped or constantly reorganizing mid-project.
The Power of Zones
Okay, "zones" might sound a little fancy, but it's just a way to think about different activity areas within your room. Even a small spare bedroom can have distinct zones if you plan it right.
For me, I needed a "messy" zone for woodworking and a "clean" zone for paper crafts and painting. This keeps sawdust away from my delicate papers, which was a huge problem before.
You might have a cutting zone, an assembly zone, a drying zone, or a storage zone. It helps prevent all your supplies from merging into one giant, intimidating pile.
Decluttering Your Current Space
Before you even step foot into that spare bedroom with a craft supply, you need to declutter. Seriously, this is crucial. I had so many "just in case" items I hadn't touched in years.
I made three piles: Keep, Donate/Sell, and Trash. Be ruthless! If you haven't used it in a year or two, and it doesn't hold sentimental value, it's probably time for it to go.
This process not only reduces the amount of stuff you need to organize, but it also helps you realize what supplies you truly value and use. You'll be surprised how much hidden space you find!
How to Actually do It: Setting up Your Craft Room
Alright, you've done your planning, you've ruthlessly decluttered your current craft stash. Now for the fun part: turning that spare bedroom into your creative sanctuary. This is where your vision starts to become a reality.
Remember, it doesn't have to be perfect on day one. Mine certainly wasn't! It's an evolving process. Focus on getting the core functionality down first, and the pretty details can come later.
Step 1: the Great Empty out and Deep Clean
Before you bring anything in, make that spare bedroom truly spare. Move out any old furniture, boxes, or forgotten items that don't belong in your new craft haven. This gives you a blank slate.
Once it's empty, give it a good, thorough cleaning. Vacuum, wipe down walls, clean windows. It's amazing how much more motivated you'll feel in a fresh, clean space.
This step also lets you really see the room's potential – where the light falls, where outlets are, and what permanent fixtures you're working around. Don't skip it!
Step 2: Map out Your Zones and Layout
With an empty room, you can actually visualize your zones. Grab some painter's tape or even just old newspaper and lay it out on the floor to mark where you envision your workbench, storage units, or specific craft stations.
Think about traffic flow. Can you easily move between different areas? Will opening a cabinet block your workspace? This is where that initial planning really pays off.
I realized my original plan for a large central table would have made it impossible to get to my tool cabinet. Moving the table closer to a wall, allowing for flow around it, made a huge difference.
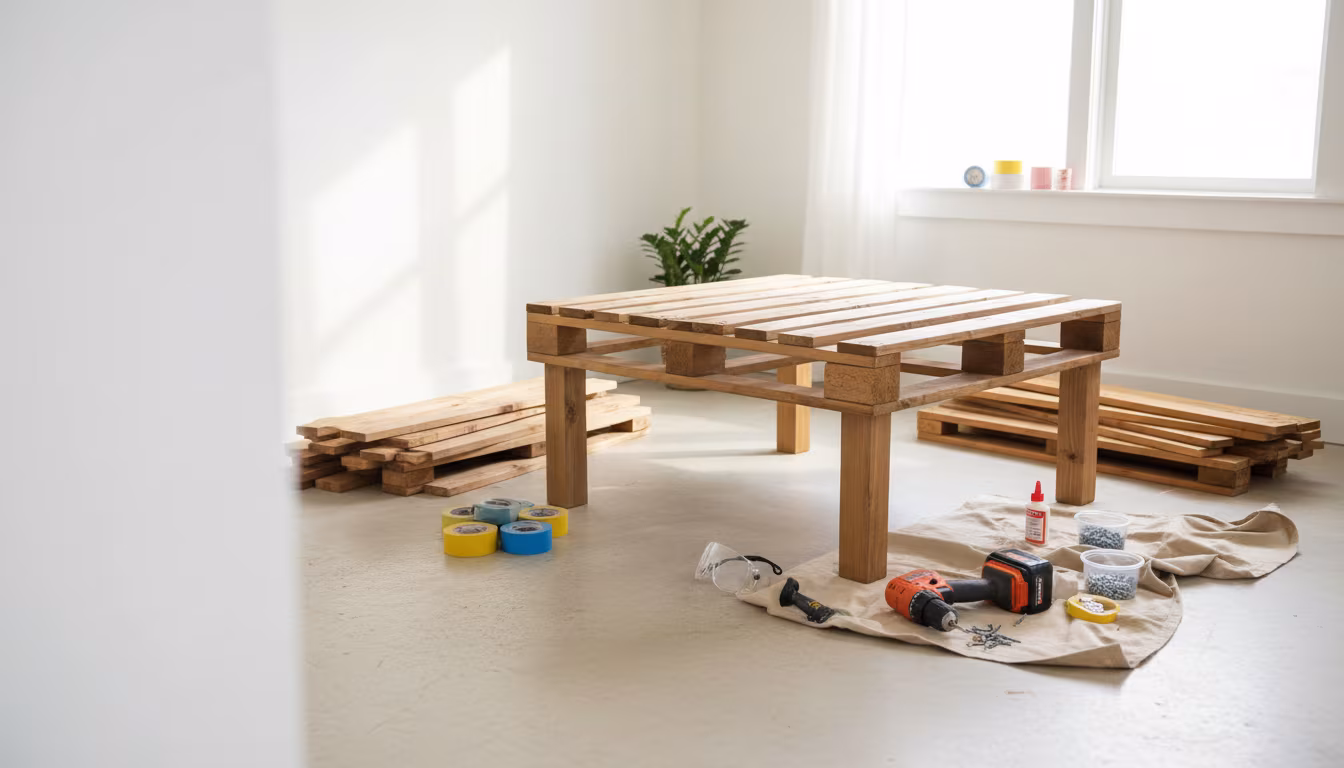
Step 3: Work Surfaces & Furniture (thrift Store Treasures!)
This is where my love for thrift stores really shines. You do not need to buy expensive, brand-new craft furniture. My main workbench? It's an old desk I found for $15 at a garage sale.
Look for sturdy tables, old dressers (great for storing fabrics or tools), or even kitchen islands. A solid, flat surface is key for most crafts, so prioritize that.
If you're into woodworking, a heavy-duty workbench is a must. For paper crafts or sewing, a smoother, lighter surface might be better. Consider adjustable-height tables if you switch between standing and sitting.
Step 4: Smart Storage Solutions (go Vertical!)
Once you have your work surfaces, it's all about corralling the chaos. This is where storage comes in, and for a spare bedroom, going vertical is your best friend. Walls are prime real estate!
My go-to's are clear plastic bins for smaller items, pegboards for tools, and wall-mounted shelves. Clear bins let you see what's inside without opening every single one, saving so much time.
Pegboards are amazing for frequently used tools, scissors, spools of thread, or even rolls of tape. You can customize them with hooks and small baskets for endless flexibility. I installed one in about an hour, and it immediately made my tools accessible.
Don't forget about repurposing! An old spice rack can hold glitter or small paint bottles. Magazine files are perfect for storing cardstock or thin wood sheets. Think outside the box, or rather, inside the thrift store!
Step 5: Lighting & Ergonomics (save Your Back!)
Good lighting is non-negotiable, especially for detailed work. Natural light is ideal, so try to position your main workspace near a window if possible. But don't rely solely on it.
Add task lighting for specific areas, like an adjustable desk lamp for fine detail work or an overhead light that fully illuminates the room. My small lamp from a second-hand shop cost me $5 and makes a world of difference for late-night projects.
Ergonomics might sound like a corporate buzzword, but it just means making your space comfortable and good for your body. Invest in a decent, adjustable chair if you'll be sitting for long periods. Make sure your work surfaces are at a comfortable height – not too high, not too low, to prevent back and neck strain.
Step 6: Power up Your Projects
Think about where you'll need power. Sewing machines, hot glue guns, power tools, cutting machines, charging stations for cordless tools – they all need outlets. Don't underestimate this!
Plan for power strips and surge protectors to avoid overloading circuits and keep your expensive electronics safe. Cable management is also key to prevent tripping hazards and keep your space looking tidy.
I ended up adding a power strip with a longer cord that I could mount under my workbench, keeping all the plugs off the floor and out of the way. It’s a small detail that makes a big difference in safety and aesthetics.
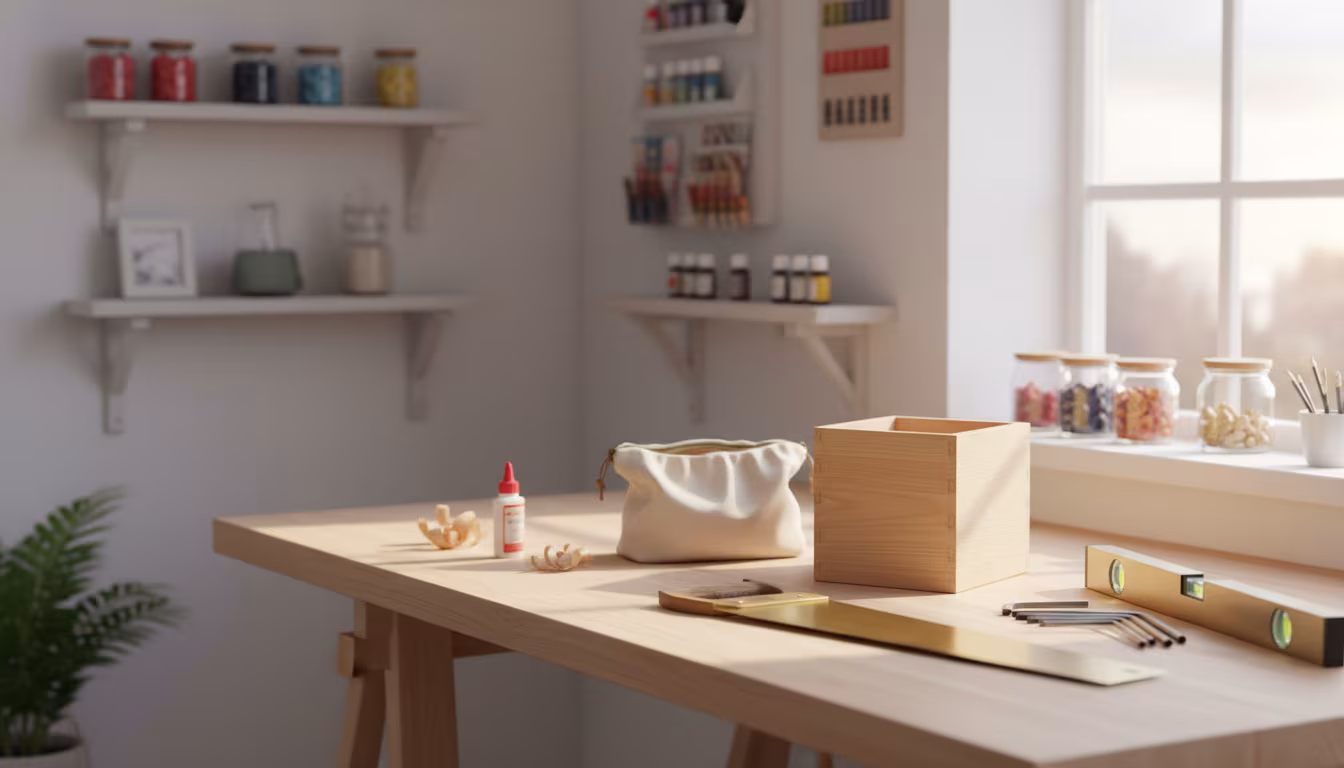
Step 7: Personal Touches & Inspiration
Now that the functional aspects are mostly done, it's time to make it yours. This isn't just a workspace; it's your creative sanctuary. Add things that inspire you.
A mood board with fabric swatches, paint chips, or photos of projects you love. Display a few of your favorite finished pieces. My wall has a small gallery of my proudest (and even some of my messiest) creations.
A comfy rug, a plant, or even just a fun splash of paint on one wall can make the room feel inviting and energizing. This is where your personality gets to shine!
Step 8: the "done for Now" State
Here's the secret: a craft room is never truly "done." It evolves as your hobbies change, as you acquire new tools, or as you discover better ways to organize. Don't feel pressured to make it perfect right away.
Get it functional, get it usable, and then allow yourself to adjust as you go. I'm constantly tweaking my setup, moving things around, or adding new storage solutions as my projects dictate.
The goal is to create a space that encourages you to create, not one that adds to your stress. So, get it good enough to start, and iterate from there. You'll thank yourself for embracing the process.
Making It Stick / Common Mistakes
Even with the best intentions, it's easy to fall back into old habits. I certainly did. After my initial setup, my room started to get messy again within a few months. It was disheartening.
The biggest challenge isn't setting it up, it's maintaining it. It's about building small habits and giving yourself grace when things inevitably get a little wild.
Mistake 1: the "everything Must be Hidden" Fallacy
I initially tried to hide every single item in cute bins or closed cabinets. It looked neat, but I never knew where anything was. I spent more time opening and closing bins than actually crafting.
Sometimes, visible storage is more functional. Pegboards, open shelves, or clear containers for frequently used items are fantastic. It's okay for your craft supplies to look like craft supplies!
Mistake 2: Buying More Storage Than You Need (or Not Enough!)
It's tempting to rush out and buy every cute storage solution you see. I did this and ended up with empty bins taking up space, or worse, not enough of the right kind of storage.
Assess your actual needs after decluttering. Buy versatile storage that can adapt as your hobbies shift. Sometimes, a simple set of sturdy shelves is far more effective than a dozen specialized organizers.
Mistake 3: Forgetting to Clean up as You Go
This is a big one for me. I get so engrossed in a project, I leave tools out, scraps on the table, and paint brushes drying in a cup for days. Then when I want to start a new project, I face the dreaded mess.
Try to dedicate 5-10 minutes at the end of each crafting session to a quick tidy. Put tools back, sweep up scraps, and wipe down surfaces. It's a small habit that prevents overwhelming messes.
Mistake 4: Not Making It Accessible
If your most-used tools are in the back of a high cabinet, you're less likely to use them. Keep your frequently accessed items within arm's reach.
Organize by frequency of use. Items you touch daily should be the easiest to grab. Things you use once a month can be stored a bit further away.
"Your craft room isn't just a place to store supplies; it's a launchpad for ideas. If it feels overwhelming, it won't launch anything."
Frequently Asked Questions
What if My Spare Bedroom is Really Small? Can I Still Make It Functional?
Absolutely! My first dedicated space was tiny. Focus on vertical storage and multi-functional furniture. A folding table that tucks away, wall-mounted shelves, and a pegboard can make a huge difference in a small footprint.
I have So Many Different Types of Crafts. How do I Store Them All Without Chaos?
Group them by craft! Use clear bins or labeled drawers for each hobby (e.g., "Paper Craft Supplies," "Sewing Notions," "Woodworking Bits"). That way, you only pull out what you need for a specific project, and everything has a "home."
Is It Okay to Mix Woodworking Tools with Delicate Craft Supplies in the Same Room?
It can be done, but with care. I do it! My solution is dedicated "zones." My woodworking bench is on one side of the room, near a window for ventilation, and I always cover delicate items or remove them from the room when I'm sanding or making a lot of dust. A good shop vac is also your best friend here.
How Long does It Realistically Take to Set up a Craft Room from Scratch?
It really depends on how much stuff you have and how much re-organizing you're doing. For a spare bedroom, I'd say plan for at least a full weekend for the initial decluttering, cleaning, and furniture placement. Then, expect another few hours over several days or weeks for fine-tuning the storage and adding personal touches. Don't rush it!
My Budget is Super Tight. Can I Still Create a Great Craft Room?
Definitely! My entire setup cost under $200, mostly from thrift stores, garage sales, and repurposing items I already owned. Look for old dressers, kitchen carts, or sturdy tables at second-hand shops. Repurpose old jars, shoe boxes, or even cereal boxes for storage. Creativity is your biggest asset here!
The Bottom Line
Setting up a functional craft room in your spare bedroom isn't about having the fanciest equipment or the biggest space. It's about creating a dedicated spot that genuinely supports your creative flow and makes it easier to actually do your hobbies.
Start small, focus on functionality over perfection, and don't be afraid to repurpose, thrift, and experiment. Your creative self will thank you for having a space that's ready for whatever inspiration strikes next. Go get started! ❤️
Related Posts

The Complete Guide to Starting a Fiber Arts Guild in Your Town
Dreaming of a local hub for knitters, crocheters, weavers, and more? Starting a fiber arts guild ...
Why Tool Libraries Let You Try Expensive Hobbies Before Committing
Dreaming of diving into woodworking or pottery but worried about the cost of specialized tools? T...
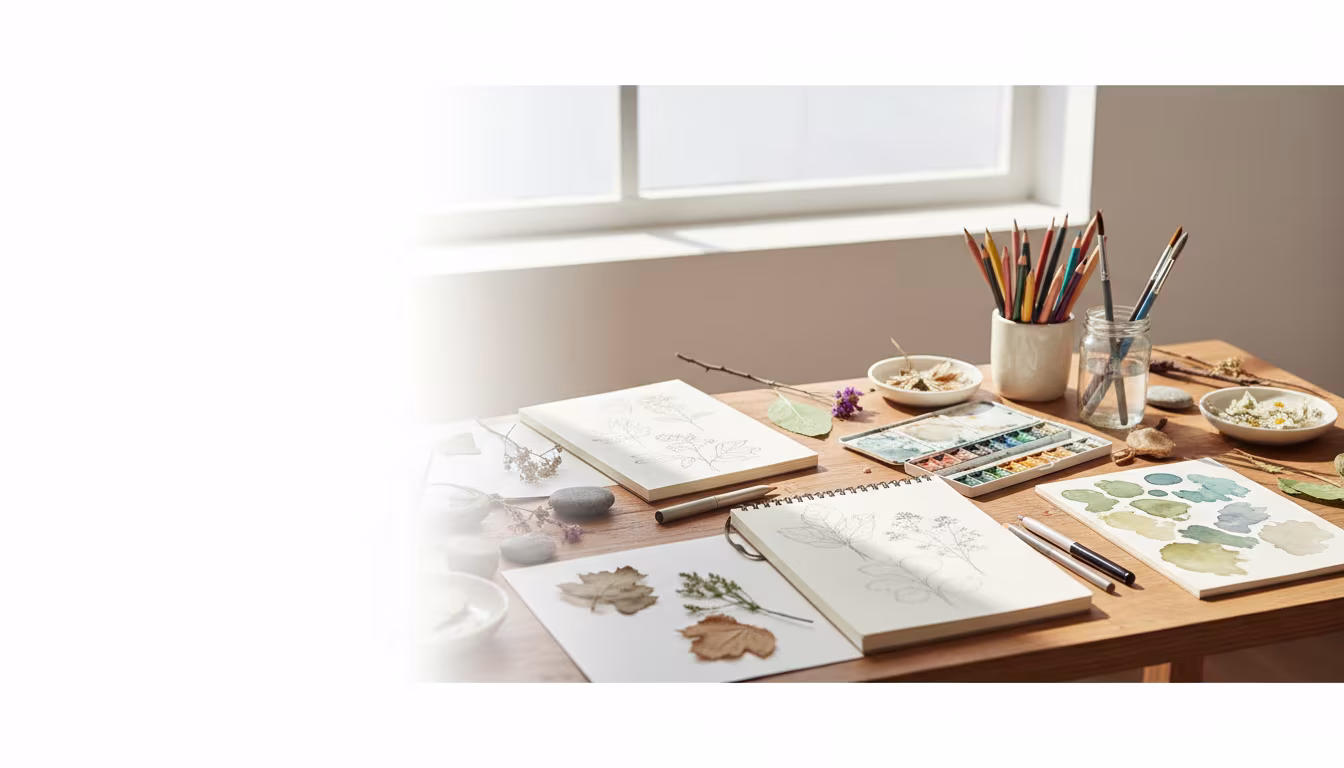
How to Plan a Nature Journaling Walk and Sketch Workshop
Ready to blend your love for nature with your creative spirit? Learn how to plan and host your ve...
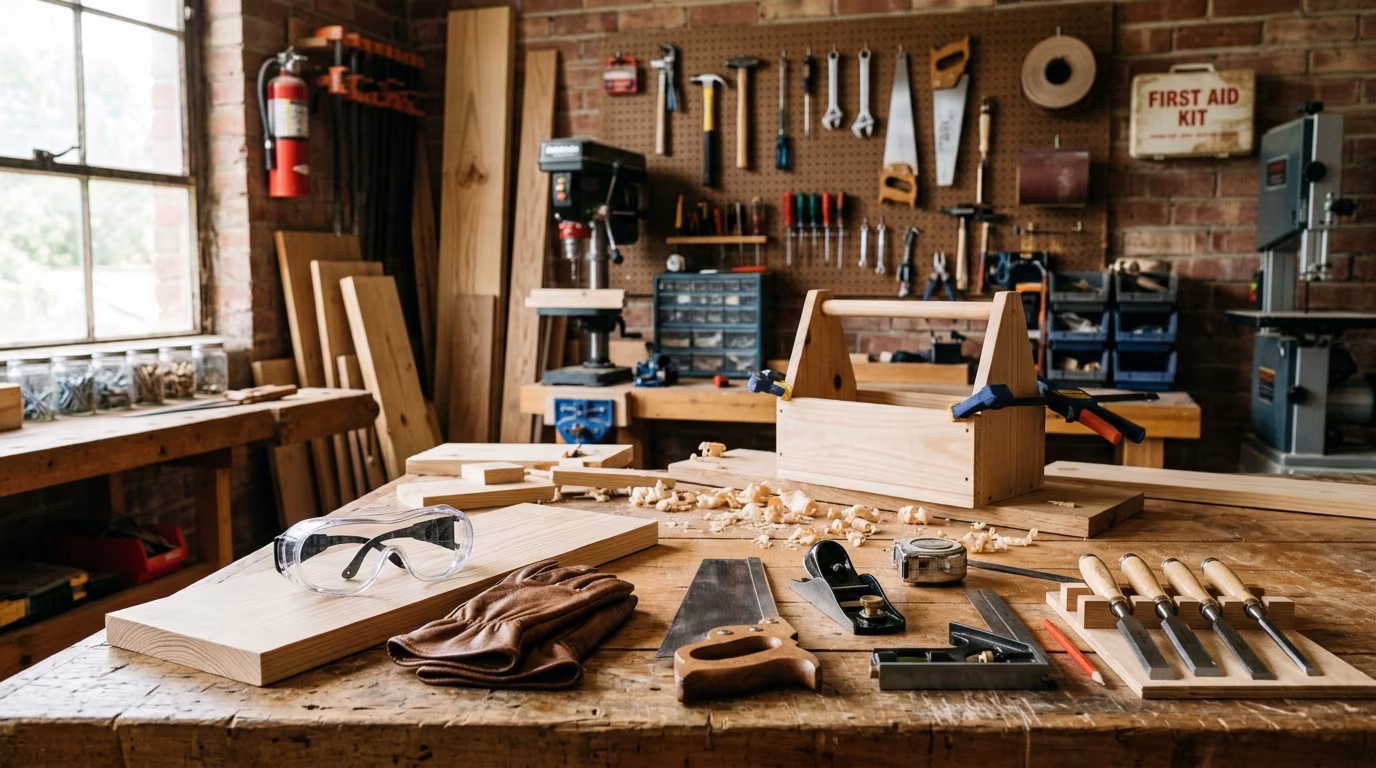
How to Host a Beginner Woodworking Safety and Skills Workshop
Ready to share your love for woodworking? Learn how to put together a beginner-friendly workshop ...