How to Organize Your Home Office Using Aesthetic Storage Solutions
Aesthetic organization is storage that works functionally and looks intentional at the same time. It is not about hiding everything in matching bins for a photo; it is about choosing containers, zones, and surfaces that suit how you actually work while matching the rest of your space. For a home office or craft corner, the payoff is concrete: less time hunting for a tape measure, fewer visual distractions, and a room you return to instead of avoid. Most of it can be done with thrifted finds and a weekend, not a store run and a big budget.
Why Aesthetic Organization Helps
A cluttered surface is a steady stream of small visual interruptions, and clearing it lowers the number of things your eye has to process. That matters more than it sounds: losing 20 or 30 minutes searching for one tool is often enough to kill the momentum on a project before it starts. There is also a use factor. Supplies you can see and reach get used, so pens in an open ceramic holder and yarn in a visible basket invite you to pick them up, while the same items buried in a drawer stay buried. Storage that looks good and stays functional is what makes an organized space hold up past the first week.
Purge Before You Buy Anything
The single most important rule is to declutter before you spend a dollar on containers. Buying bins first almost guarantees you end up with the wrong sizes and more stuff than you have room for.
Pull everything out of the office or craft area: empty the drawers, clear the surfaces, and sort into three piles, keep, donate or sell, and recycle or trash. The honest test for each item is whether you have used it in the last year and whether it earns its space. Seeing the full volume of what you own in one pile is what forces real decisions, especially with the "I might use this someday" supplies that never actually get touched. Only once the keep pile is settled do you know what and how much you need to store.
Zone the Space, Then Go Vertical
With the keep pile defined, give everything a logical home by grouping items around how you use them. Set up zones: a desk zone for computer work and writing, a craft zone for active projects, a supply zone for bulk storage, and a shipping zone if you sell. Keep the printer near the paper and the brushes near the easel. Dedicated homes cut the constant small decisions of where something goes, which is what keeps a space tidy without effort.
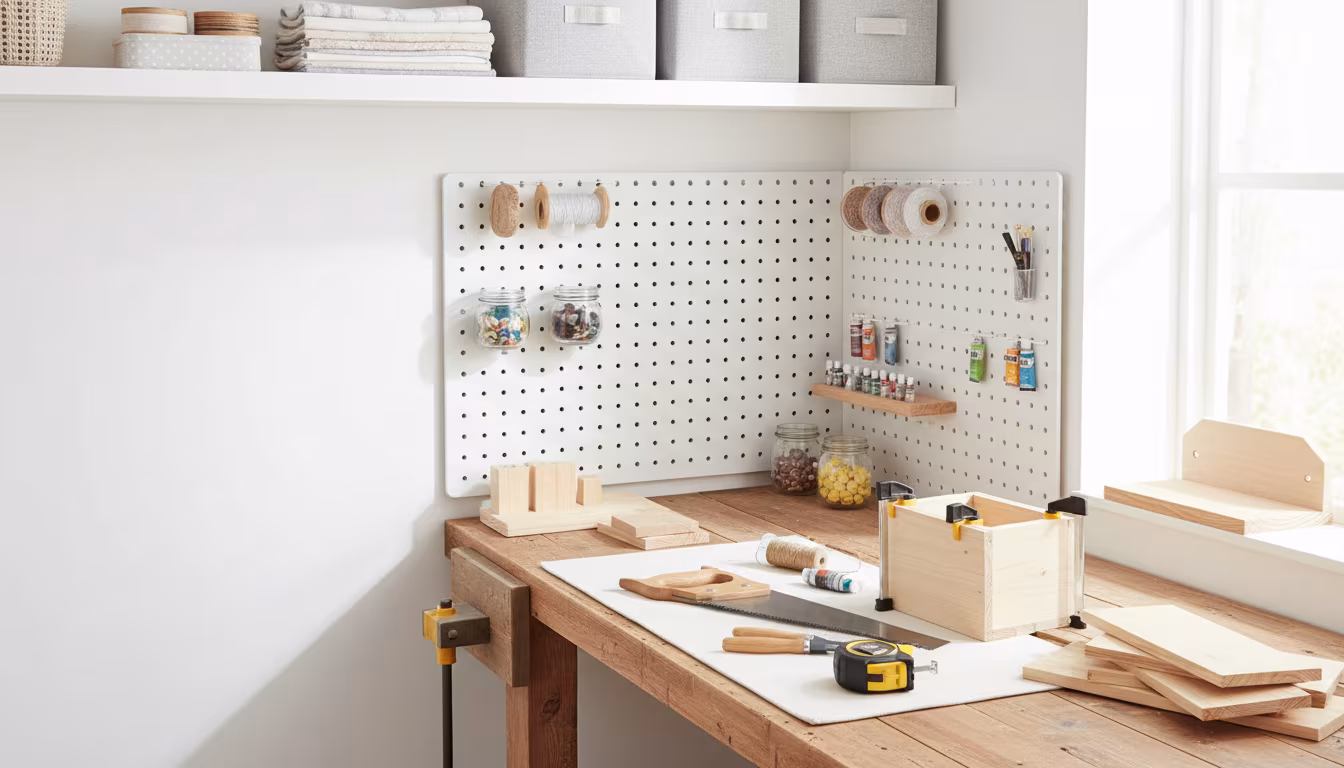
Then look up. Wall space is the most underused storage in most rooms. Shelves, a wall grid, or a pegboard panel get frequently used items off the desk and into reach, freeing surface area and making the room feel larger. A pegboard fitted with small cups for brushes and hooks for scissors doubles as a functional display. Vertical file holders and mounted racks do the same for paper and tools that otherwise sprawl across the desk.
Contain, Label, and Display
Containers are where the aesthetic and the function meet. Match the container to both the item and your style: woven baskets for textiles, clear glass jars for beads or pens, painted wooden boxes for paper, metal tins for small tools. A unifying element, one paint color across mismatched thrifted boxes, or a consistent material, ties different pieces into one intentional-looking system. Thrift stores are the cheap source here; old cigar boxes, sturdy crates, glass jars, and vintage tins cost a few dollars and take spray paint or fabric lining well.
Label once everything has a home. Clear labels on the front of each container, whether from a label maker, hand-written tags, or a chalk marker, mean you and anyone else can find an item and, more importantly, put it back in the right place. That is what stops clutter from creeping back. Leave a few genuinely attractive and useful items on display rather than hidden: a set of art pens, a bound journal, a plant. Curated display personalizes the space, as long as it stays curated and does not become new clutter.
Finish with the elements that make the room usable for long stretches. Adequate lighting is the big one; a warm, adjustable desk lamp for detail work does more for evening sessions than any storage bin. Add a comfortable chair, a soft rug, and a plant, and the organized space becomes one you actually want to spend time in.
Common Mistakes to Avoid
Four errors undo most organizing efforts. The first is doing too much too soon, trying to overhaul the whole room in one exhausting weekend and burning out into an unfinished mess. Break it into one drawer or one shelf at a time, 30 to 60 minutes each, and let small finished areas build momentum.
The second is buying before purging, which leaves you with containers that do not fit and more things you did not need. Always purge, measure, then buy only what fits your specific items and space.
The third is prioritizing looks over function, such as decorative boxes too small for your sketchbooks or lidless bins where you need dust protection. The test is simple: does this container make it easy to access and put away the item? If not, it does not matter how attractive it is.
The fourth is skipping maintenance. Organization is an ongoing practice, not a one-time event. A five-minute reset at the end of each work session, putting everything back where it belongs, plus a 15-minute weekly tidy, keeps the system from sliding back into chaos.
If you do not have a dedicated office, the same rules apply to a corner of another room: rolling carts tuck away, ottomans with storage hide supplies, and attractive boxes blend with living room decor when closed. On a tight budget, decluttering costs nothing and often removes the need for more storage in the first place; after that, repurposed shoe boxes, saved glass jars, and cardboard drawer dividers cover most needs. Start with one drawer, purge it hard, and contain what is left; the first finished corner usually supplies the motivation for the rest.
Related Posts
Indoor Plant Pot with No Drainage Hole: How to Make It Work
A no-drainage pot rots roots fast. Use the double-pot method, skip the gravel myth, pick...
Hide TV Cable Clutter Renter-Safe Without Drilling
Hide a wall-mounted TV's cables without drilling: a paintable adhesive raceway to the outlet, a...
Lampshade Sizing: Harp, Bulb, and Drum Math Explained
Lampshade fit is three numbers: harp height near shade height, 3.5 inches of bulb clearance, and...
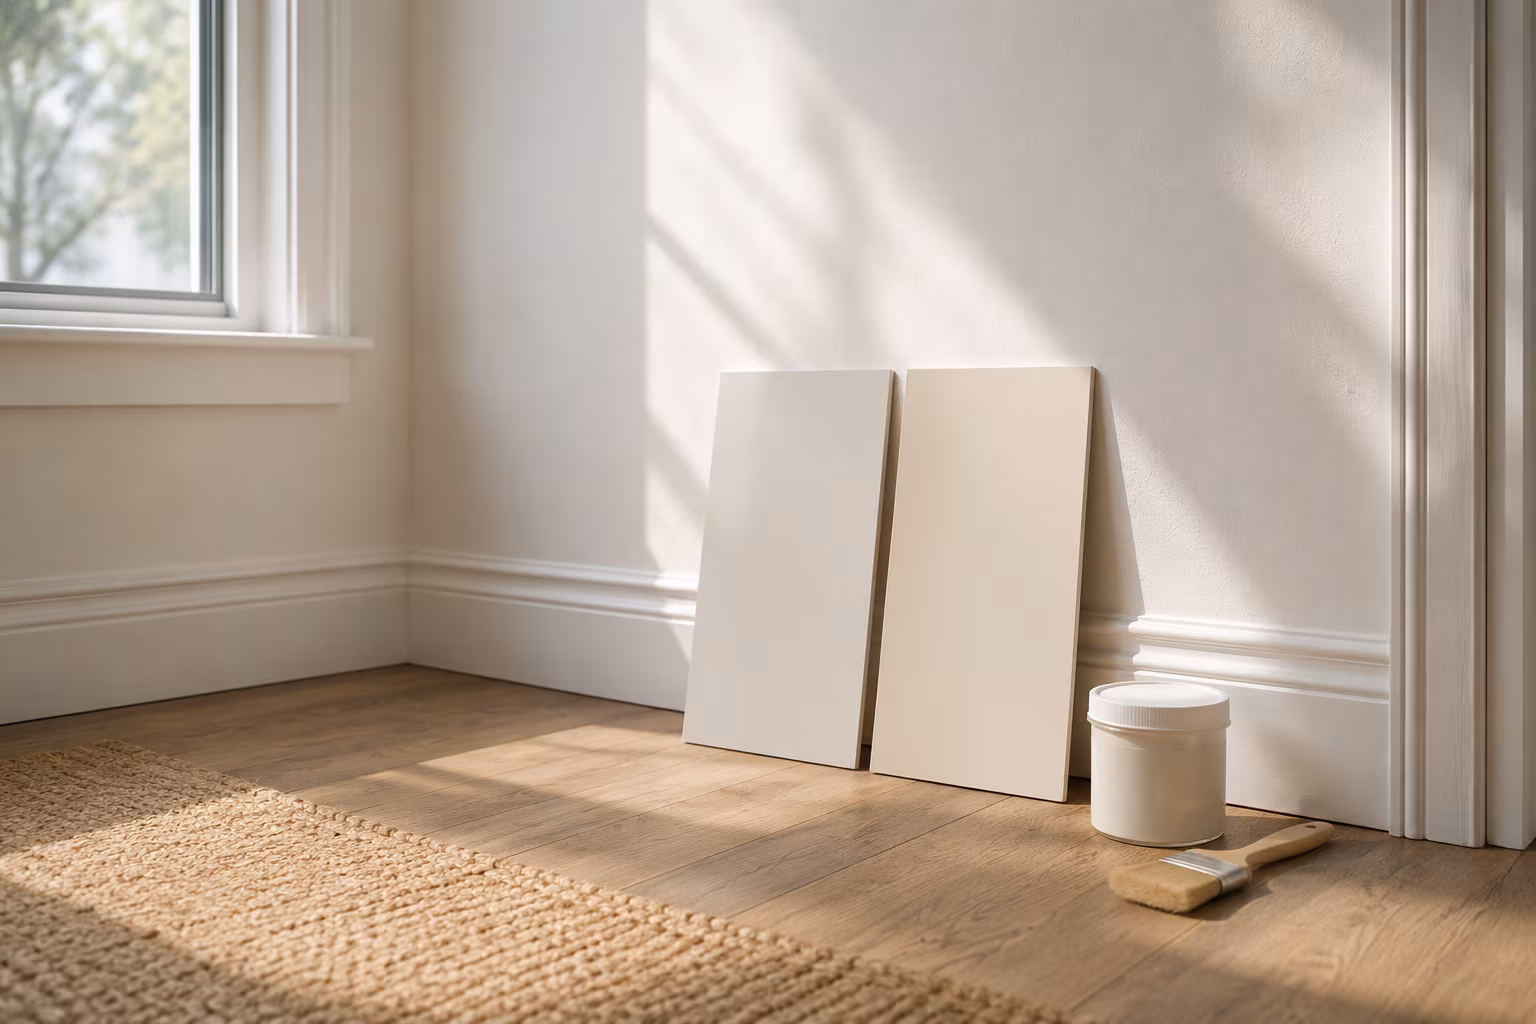
Color-Match Trim Paint to Existing Off-White Walls
Matching trim to aged off-white walls is about undertone, not lightness: cut a real chip, have...