How to Use Oversized Art to Simplify Your Wall Decor Strategy

How to Use Oversized Art to Simplify Your Wall Decor Strategy
Hey there, fellow makers and home improvers! 👋 Ever stare at a blank wall and feel completely overwhelmed? Or maybe you’ve got a wall full of little bits and pieces, but it still just feels... cluttered, not cozy?
Yeah, I know that feeling. For years, I struggled with wall decor. I tried the gallery wall thing, the mismatched frame thing, the "just put up whatever fits" thing. Nothing quite clicked until I stumbled upon the magic of oversized art. It's seriously changed my approach.
Today, we're diving into how one big piece can simplify your whole decorating strategy. We’ll talk about why it works, how to pick the right piece, and even how to DIY your own budget-friendly showstopper. Stick around – you might just surprise yourself.
Why This Actually Matters
Okay, so why should you even care about oversized art? Because it’s a total game-changer for anyone who feels stuck with their wall decor. Instead of trying to arrange a dozen small frames, one large piece does all the heavy lifting.
Think about it. You get instant impact without the visual noise. It makes a statement, tells a story, and anchors your space, all with a single decision. For a hobbyist like me, who’d rather be building something in the garage than agonizing over tiny nail holes, this is pure gold.
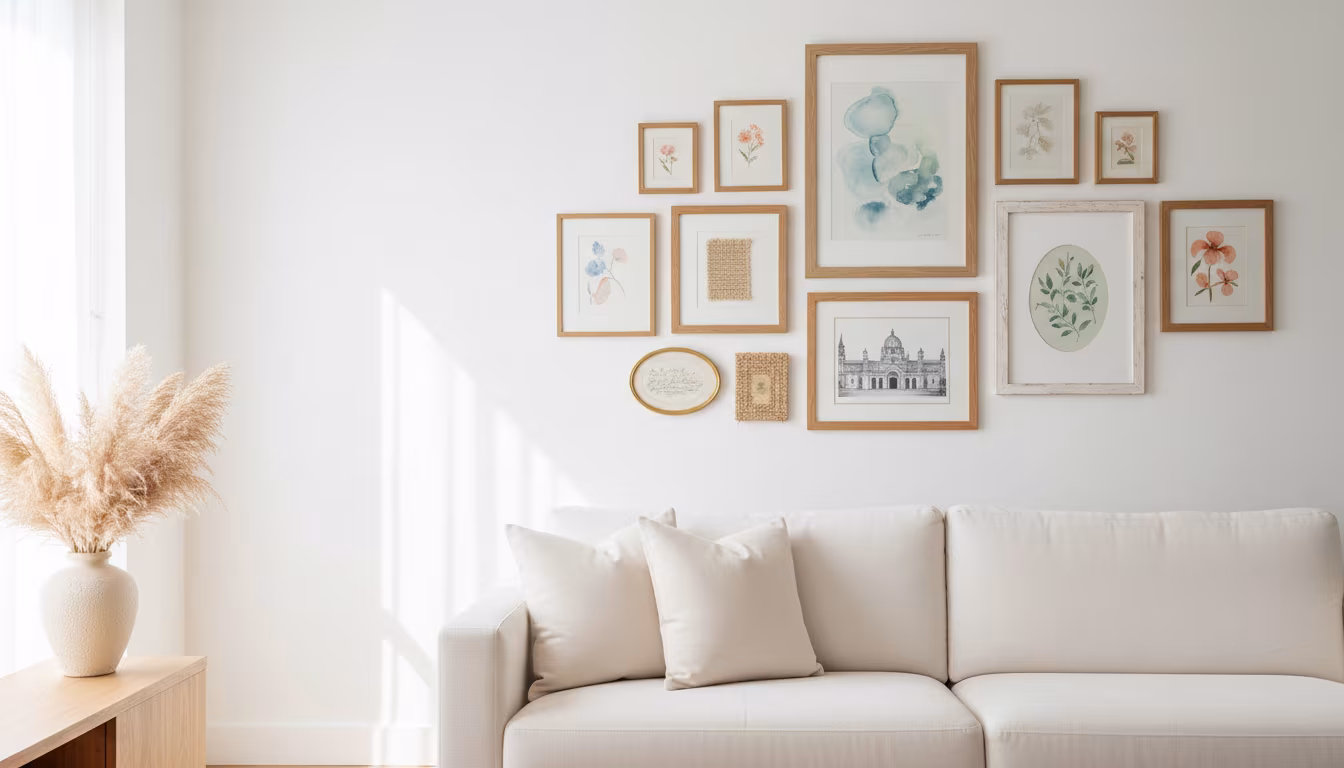
I remember trying to do a gallery wall in my living room, and after three hours, two dozen nail holes, and a significant amount of cursing, it still looked... off. The next weekend, I found a huge abstract painting at a yard sale for $20. Hung it up, and suddenly the whole room felt finished. No fuss, no endless rearranging. It was a revelation.
Embracing the Big Picture: the Basics of Oversized Art
So, what exactly is "oversized" art? It's not just any large piece you hang on the wall. We’re talking about art that’s significant in scale relative to your wall, your furniture, and the room itself.
It acts as a visual anchor, drawing the eye and establishing a focal point. Instead of your wall decor being an afterthought, it becomes a key part of your room's personality. It simplifies your decisions because one piece makes such a strong statement.
Why Bigger is Often Better for Your Space
Going big might seem intimidating, but it often solves more problems than it creates. It’s less about filling every inch and more about making a confident design choice. You don't need a massive mansion for this to work, either; it can even make a smaller room feel more expansive and intentional.
- Instant Focal Point - When you walk into a room, your eye needs somewhere to land. A large piece of art immediately gives it that place. It directs attention and sets the tone, making the room feel thoughtfully designed without needing a ton of other elements.
- Reduces Clutter - This is huge for me. Instead of scattering a bunch of smaller items that can make a wall feel busy and overwhelming, one large piece creates a clean, cohesive look. It’s visual breathing room, which is something we all need more of.
- Makes a Statement with Less Effort - Deciding on a single large piece can sometimes be easier than curating a whole collection of smaller items that need to work together. It’s a bold choice that speaks for itself, letting you spend less time agonizing over composition and more time enjoying your space.
- Potentially More Budget-Friendly - This might sound counterintuitive, but sometimes finding or making one large piece is cheaper than buying multiple smaller pieces and frames. I’ve found some amazing large canvases at thrift stores that just needed a fresh coat of paint or some fabric glue to transform them.
How to Actually do It: a Step-by-step Guide
Alright, you’re convinced! Or at least curious. Now, let’s get into the nitty-gritty of how to actually bring oversized art into your home. This isn’t rocket science, but a little planning goes a long way. Trust me, I’ve learned this the hard way with too many crooked frames and wasted nail holes.
Step 1: Measure Your Space (seriously!)
Before you even start looking for art, grab a measuring tape. Measure the wall where you plan to hang the piece. Also, consider the furniture below it – a sofa, a console table, a bed frame. Your art should generally be about two-thirds to three-quarters the width of the furniture it hangs above. This creates visual balance and avoids the "postage stamp" effect where a small piece gets swallowed up.
I usually use painter's tape to tape out the rough dimensions on the wall itself. This gives you a really clear visual of how big your art needs to be. It’s a simple trick that has saved me from buying something that was just slightly off, which makes a huge difference in how the room feels.
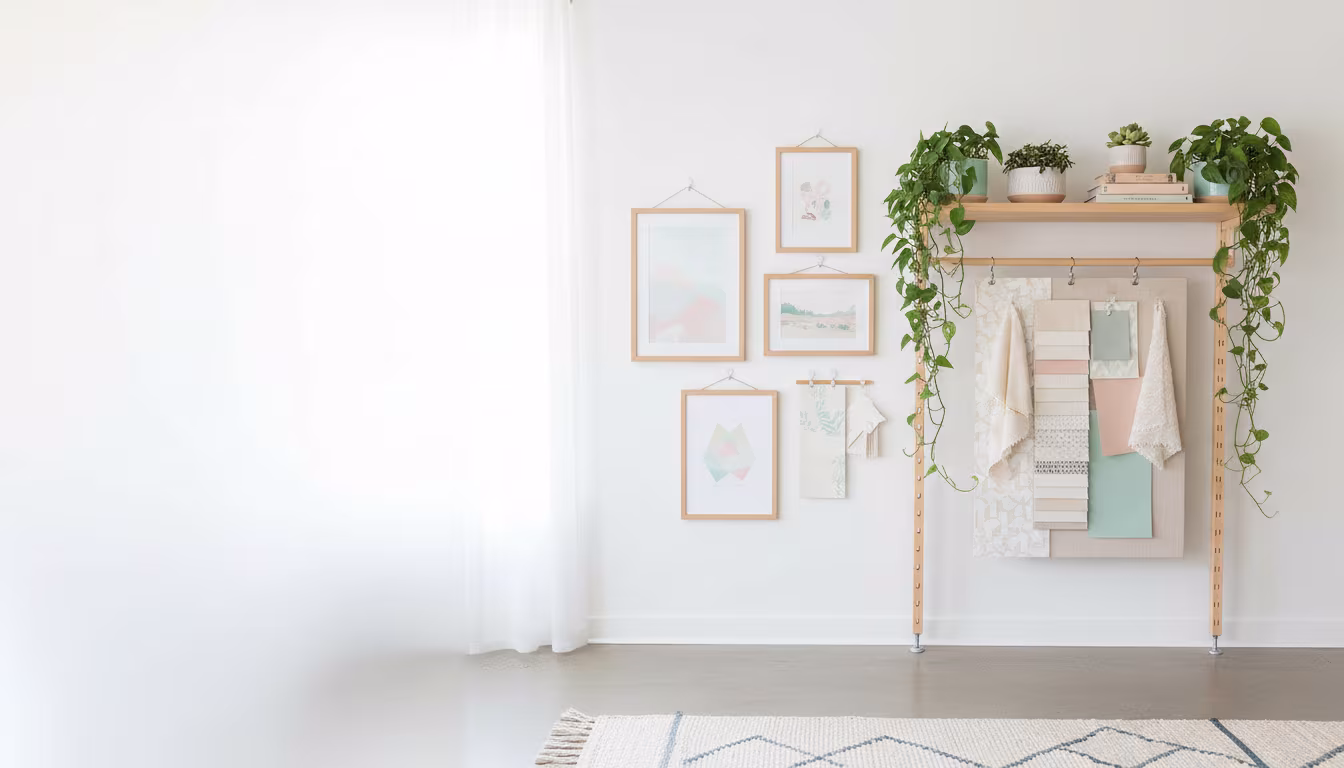
Step 2: Figure out Your Vibe and Source Your Art
What kind of art do you love? Abstract, landscape, minimalist, graphic print? Think about the colors and mood of your room. The great news is, you don’t need to spend a fortune on a gallery piece. There are so many ways to get oversized art without breaking the bank.
My absolute favorite places to look are thrift stores and estate sales. You can often find huge framed prints or even original paintings for under $50. Don't be afraid of something that's "ugly" – you can paint over canvases, or use a cool frame for a different piece of art. I once bought a huge, dated floral print for $15, just for the gorgeous vintage frame. I carefully removed the art and put in a large piece of fabric I’d tie-dyed myself. Instant custom art!
Other ideas include large digital prints you can get printed professionally, oversized tapestries or textiles, or even a huge, interesting mirror. Don't forget DIY possibilities! I’ve made abstract art on huge canvases using leftover house paint, and even created a cool piece out of corrugated cardboard and spray paint. The possibilities are endless when you get creative.
Step 3: Choose Your Canvas – or Your Medium
The "canvas" for your oversized art can take many forms. It doesn't have to be a traditional painting on a stretched canvas. Think outside the box a little bit!
A framed print gives a polished look, while an unframed canvas can feel more contemporary. Textiles, like a vintage rug or a woven wall hanging, add texture and warmth. Even a large, beautifully framed mirror can function as oversized art, reflecting light and making a room feel larger.
I once found an enormous empty frame at Habitat for Humanity Restore for $10. It was probably meant for a large family portrait. I filled it with a piece of plywood that I then covered in salvaged wallpaper remnants. It looks super professional, but it was practically free. It's about finding the right medium that speaks to you and fits your budget.
Step 4: Consider the Placement and Height
This is where many people get tripped up. The general rule of thumb is to hang art so its center is at eye level for an average person. That’s usually around 57-60 inches from the floor. But with oversized art, especially over furniture, you adjust.
If it’s over a sofa, you want the bottom edge of the art to be about 6-8 inches above the back of the sofa. This connects the art to the furniture and makes it feel grounded, rather than floating awkwardly. If it's a standalone piece on a large wall, stick closer to that eye-level sweet spot. Always measure twice, tape once!
I've definitely hung things too high and had to re-do them. It makes the room feel disconnected. So, don't rush this part. Hold it up, or have a friend help you hold it, and step back. See how it relates to everything else in the room before you commit to those nail holes.
Step 5: Hanging It Right – Safety First!
Oversized art can be heavy, so proper hanging hardware is non-negotiable. Don’t just rely on a tiny picture hook, especially for something substantial. You’ll want to find studs in your wall for heavy pieces. A stud finder is a cheap and invaluable tool for this.
If you can’t hit a stud, use heavy-duty drywall anchors. There are specific ones designed to hold significant weight. Always check the weight rating on the hardware you buy and compare it to the estimated weight of your art. A little extra caution here prevents a lot of headaches (and potential damage to your floor or head!).
For large pieces, it's also a good idea to use two D-rings or picture wire attachments, spaced apart, rather than just one in the middle. This distributes the weight better and makes it easier to level. I even made my own large fabric art by stretching fabric over a wooden frame I built, and I used strong picture wire with two anchor points into studs to be safe. It’s better to be safe than sorry with something that big.
Step 6: Balance with Simplicity
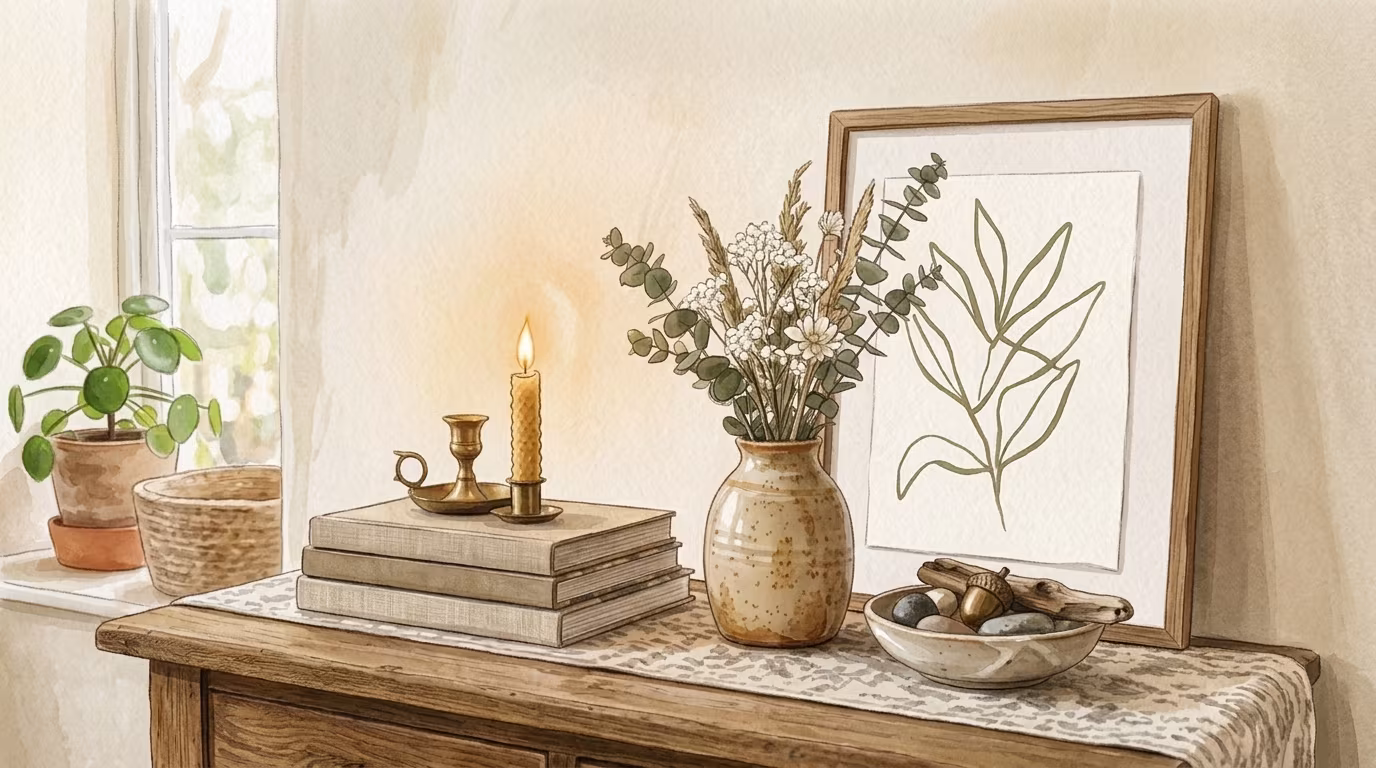
Once your oversized art is up, resist the urge to fill the surrounding wall space with more decor. The beauty of oversized art is that it is the statement. Adding a bunch of smaller frames or shelves around it can quickly undo the simplified, impactful look you're going for.
Keep the surrounding area clean and minimal. Maybe a small plant on a nearby table, or a couple of books. Let the art be the star. It's a hard habit to break if you’re used to decorating every available surface, but trust me, it works.
I had a huge piece in my entryway, and my initial instinct was to add a tiny shelf with a succulent next to it. It just made the whole wall feel off balance. Once I removed the shelf, the art had room to breathe, and the entryway instantly felt more sophisticated and less cluttered.
Step 7: Light It up (optional, but Enhances the Look)
If you really want to elevate your oversized art, consider adding some lighting. A small picture light mounted above the frame, or even a directional spotlight from the ceiling, can dramatically enhance the piece. It highlights textures, colors, and creates a gallery-like feel.
You don't need fancy, expensive art lights either. Battery-operated LED picture lights are affordable and easy to install if you don't want to deal with wiring. I have a small one above a large painting in my living room, and it just adds that extra touch of polish. It makes the colors pop in the evenings, too.
Step 8: Don't be Afraid to Adjust and Experiment
Remember, this isn’t permanent unless you want it to be. If you hang a piece and it just doesn’t feel right after a few days, move it. Try a different height, or even a different wall. Your home is a living space, and your decor should evolve with it. The beauty of a single large piece is that it’s usually easier to move than an entire gallery wall setup.
I've definitely shifted pieces around a few times. My large abstract painting lived above the sofa for a year, then moved to a prominent wall in the dining area. Each time, it transformed the space. Don't be afraid to take it down, patch a tiny hole, and try again. That's part of the fun of DIY and making your home feel truly yours.
Making It Stick: Common Mistakes to Avoid
Even with the best intentions, it's easy to make a few common blunders when venturing into the world of oversized art. Knowing these pitfalls ahead of time can save you some frustration and wasted effort. I've made almost all of these mistakes myself, so consider this advice hard-won wisdom!
The biggest one I see is picking something that’s almost oversized but not quite. It needs to command attention, not just be a large accessory. If it feels like it’s barely bigger than a standard poster, it probably isn’t doing the job of simplifying your wall decor strategy.
Your wall isn't a museum display; it's a backdrop for your life. Make sure the art serves the room, not the other way around.
Mistake 1: Underestimating the "oversized" Part
This is probably the most common slip-up. People think a 30x40 inch print is "oversized" but for a large wall, especially over a king-sized bed or a long sofa, it might still look too small. You really need to push the boundaries a bit to get that impactful, simplified look.
Go back to that painter's tape trick. Tape out what you think is oversized, then try making it even bigger. You'll often find that the truly dramatic scale is larger than you initially imagined. It’s all about creating a sense of proportion and balance with the whole room, not just a small section of wall.
Mistake 2: Ignoring Room Flow and Furniture
Your art isn't an island. It needs to relate to the furniture beneath it, and to the overall flow of the room. Hanging a huge piece in a narrow hallway might feel too constricting, for example. Similarly, if your art is much wider or much narrower than the furniture below, it can look unbalanced.
Step back and look at the entire wall. How does the art interact with your sofa, your console, your plants, your curtains? It should feel like it's part of a cohesive story, not just dropped onto the wall without context. This is why the measuring in Step 1 is so vital.
Mistake 3: Hanging It Too High
We talked about this in the steps, but it's worth reiterating because it's such a common mistake. Hanging art too high is like having a conversation with someone’s forehead – it feels disconnected. Art needs to be at a comfortable viewing height, typically with its center around eye level.
If it's over furniture, it should be connected to that furniture visually. Aim for that 6-8 inch gap above a sofa. When in doubt, go slightly lower. You can always raise it a touch, but starting too high makes a room feel formal and unwelcoming. Art should feel accessible, not like it’s floating up in the stratosphere.
Mistake 4: Over-accessorizing Around the Big Piece
The whole point of oversized art is to simplify. If you then go and add three shelves with a dozen trinkets, a small gallery wall, and a neon sign all around it, you're defeating the purpose. Let the big piece do its job!
Keep the area around your art clean and uncluttered. A big piece can absolutely stand on its own. If you feel like the room still needs something else, think about adding texture through textiles or a single, simple floor plant in another corner, rather than cluttering the wall space next to your art.
Mistake 5: Fear of Diy or Upcycling
Many people shy away from oversized art because they think it has to be an expensive, professionally created piece. This is a huge misconception! Some of my favorite large pieces are things I’ve either painted myself or transformed from thrift store finds. Don't let a blank canvas or a dated frame intimidate you.
Think about simple abstract patterns with tape and two colors of paint. Or stretching a cool patterned sheet over a DIY wooden frame. There are so many ways to create a large-scale piece on a budget. Embrace the maker in you and see what you can create or repurpose. It's often more rewarding anyway.
Frequently Asked Questions
How Big is "oversized" Exactly?
There's no single measurement for "oversized" because it's all about proportion. Generally, for a wall in a typical living room, you're looking at something at least 40 inches on one side, often much larger. If it's over a sofa, it should be at least two-thirds the width of the sofa itself.
Where Can I Find Affordable Oversized Art?
My top spots are definitely thrift stores, estate sales, and flea markets – look for large canvases you can paint over or interesting frames. You can also buy huge digital prints online and have them printed at a local print shop. Don't forget fabric! A beautiful patterned textile can be stretched and framed or hung directly.
What if My Room is Small? Can I Still Use Oversized Art?
Absolutely! Oversized art can actually make a small room feel larger and more intentional. A single large piece prevents the visual clutter that many small items create, and it draws the eye, making the room feel more expansive. Just be mindful of the art's depth and how much it projects from the wall.
Can I Use an Oversized Mirror Instead of Art?
Yes, definitely! A large, decorative mirror works perfectly as an oversized "art" piece. It reflects light, makes a room feel bigger, and adds a touch of sophistication. Just make sure its frame and style fit your room's aesthetic. I’ve found some amazing ornate mirrors at estate sales for a steal.
How do I Hang Something Really Heavy?
For truly heavy oversized pieces, you'll want to locate wall studs using a stud finder and use heavy-duty screws directly into the studs. If studs aren't an option, use high-rated toggle bolts or self-drilling drywall anchors designed for significant weight. Always check the hardware's weight capacity and use at least two anchor points for stability.
What Kind of Art Works Best in Oversized Formats?
Abstract art, minimalist designs, landscapes, and graphic prints often work really well in oversized formats because they don't require intricate details to be appreciated from a distance. Think bold colors, interesting textures, or sweeping scenes. These types of pieces tend to make a strong impact without feeling overwhelming.
The Bottom Line
Wall decor doesn't have to be a complicated puzzle. By embracing the power of oversized art, you can simplify your choices, create a powerful focal point, and give your space a sophisticated, intentional feel with less effort.
So, take a deep breath, grab your measuring tape, and start looking at your walls with fresh eyes. Maybe that next thrift store trip will uncover your perfect, simplifying statement piece. You've got this, maker! It's all about finding joy in the process and making your home feel like you.
Related Posts

The Secret to Making Your Home Smell Amazing Without Artificial Sprays
Tired of chemical-laden air fresheners? Learn how to fill your home with beautiful, natural scent...
How to Arrange Art Above a Sofa Using the Right Proportions
Tired of staring at a blank wall above your couch? We'll show you exactly how to choose and arran...
How to Decorate a Rental Apartment Without Damaging Any Walls
Dreaming of a stylish rental pad but worried about losing your deposit? We've got you covered wit...
The Art of Creating a Curated Vignette on Any Flat Surface
Ever wonder how some people just effortlessly style shelves and tables? It's all about the art of...