How to Style Your Bookshelves Without the Visual Clutter
A bookshelf reads as cluttered when everything sits at the same height, in the same material, packed edge to edge. The fix is not buying more decor; it is editing what you own and arranging it with a few repeatable rules: group in odd numbers, vary height and texture, and leave deliberate empty space. This walkthrough covers the principles, a full empty-and-rebuild process, and the maintenance habits that keep a styled shelf from sliding back into a stuff-dump.
Why Shelf Styling Is Worth the Effort
Open shelving is prime visual real estate in a living room, and it works hard whether or not you plan it. Left unmanaged, it collects mail, half-read paperbacks, and impulse souvenirs, and that low-grade visual noise reads as background stress. Styled with intention, the same shelves become a curated display of the books and objects you actually value. The change costs nothing but an afternoon and a willingness to remove things, and it noticeably shifts how finished the whole room feels.
The Core Principles
Four ideas do most of the work. Learn them once and every future tweak gets faster.
The strongest is grouping in odd numbers, often called the rule of odds: objects arranged in threes or fives read as more balanced and intentional than pairs or even rows. Within each group, vary the height so items step up and down rather than sitting in a flat line, and mix materials, pairing wood with ceramic, metal with a leafy plant, so the eye has contrast to catch on. The fourth principle is negative space. Filling every inch flattens the display; leaving roughly a third of each shelf clear gives the objects you keep room to register.
| Technique | How to apply it | Common mistake |
|---|---|---|
| Rule of odds | Cluster small objects in 3s or 5s (e.g. vase, framed photo, small sculpture) | Lining items up in symmetrical pairs |
| Varied height | Combine a tall, medium, and short piece in each group | Every object the same height across a shelf |
| Texture mix | Pair smooth ceramic with rough wood, matte with metallic | All one material, which reads flat |
| Negative space | Leave about one-third of each shelf clear | Packing every gap edge to edge |
| Horizontal stacks | Lay 2-3 books flat as a pedestal for a small object | All books stood vertically like soldiers |
The Step-by-Step Process
1. Empty everything. Take every book and object off the shelves. Working with items still in place makes rearranging harder; a blank shelf lets you see the real proportions of the space.
2. Declutter into three piles. Sort into Keep, Donate/Sell, and Relocate. Books you have read and will not reread go to donation; a souvenir you no longer connect to moves to a memory box or out the door. The goal is to clear room for the pieces that still earn a spot.
3. Categorize the keepers. Group similar items before styling: books by color, genre, or size, and objects by type, such as vases, frames, and plants. Having your clusters ready makes the arranging stage far quicker, the same way prepping ingredients before you cook keeps you from scrambling mid-task. A rough working target of one to three objects per shelf, alongside the books, keeps you from overfilling before you begin.
4. Place books first. Books anchor the shelves, so they go in first. Alternate vertical runs with horizontal stacks of two or three books; the flat stacks break up long rows and double as pedestals for a small object on top. This rhythm reads as far more engaging than one uniform line.
5. Add objects in odd-numbered groups. Bring in decorative pieces using the rule of odds, mixing materials and heights. Set groups on top of a horizontal book stack or nestled beside a vertical run. Not every shelf needs an object; a shelf of just books is fine.
6. Layer in personal pieces, sparingly. Work in a few meaningful items, such as a handmade box, a piece of art, or a small found object. Curation is the point; choose a handful of pieces that resonate rather than putting out every sentimental thing you own.
7. Protect the empty space. Resist filling the gaps. Leaving some shelves partly, or even fully, empty gives the display breathing room and makes the occupied shelves look better by contrast.
8. Run the squint test. Step back across the room, or leave and return with fresh eyes, and squint. Blurring the detail exposes areas that feel too busy, too heavy on one side, or awkwardly gapped. Move or remove single items until it settles.
Maintenance and Common Mistakes
Styled shelves drift because of stuff creep: a new book, a gift, a souvenir, and the balance quietly fills back in. The habit that keeps it in check is one in, one out. Before adding something, decide what leaves to make room. Two recurring mistakes undo the work. The first is buying decor purely to fill a spot; anything you do not genuinely like just becomes prettier clutter. The second is making every shelf identical, which reads as monotonous. Let each shelf carry its own character while still belonging to the whole.
Frequently Asked Questions
How do I handle far too many books?
Be honest about which titles you will actually reread or reference, and keep those on display. Rotate the rest seasonally, donate them, or store less-used books in decorative boxes or a less prominent spot. Display shelves should showcase favorites, not your entire library.
What if I do not own many decorative objects?
You need very few. A local thrift store yields vases, pottery, and small sculptures for a few dollars, and natural elements like interesting stones, dried flowers, or a single branch cost nothing. Small framed photos and a low-maintenance plant such as a succulent also fill in well.
Should every shelf match in color and style?
No. A loosely cohesive color story helps, but forcing everything uniform kills character. Mixing materials, tones, and styles adds depth. Aim for balance, not strict symmetry.
How long does the first pass take?
A full overhaul of a medium bookcase runs about two to four hours, most of it spent decluttering. Once the foundation is set, later tweaks and maintenance take only minutes.
Can I store craft supplies on display shelves?
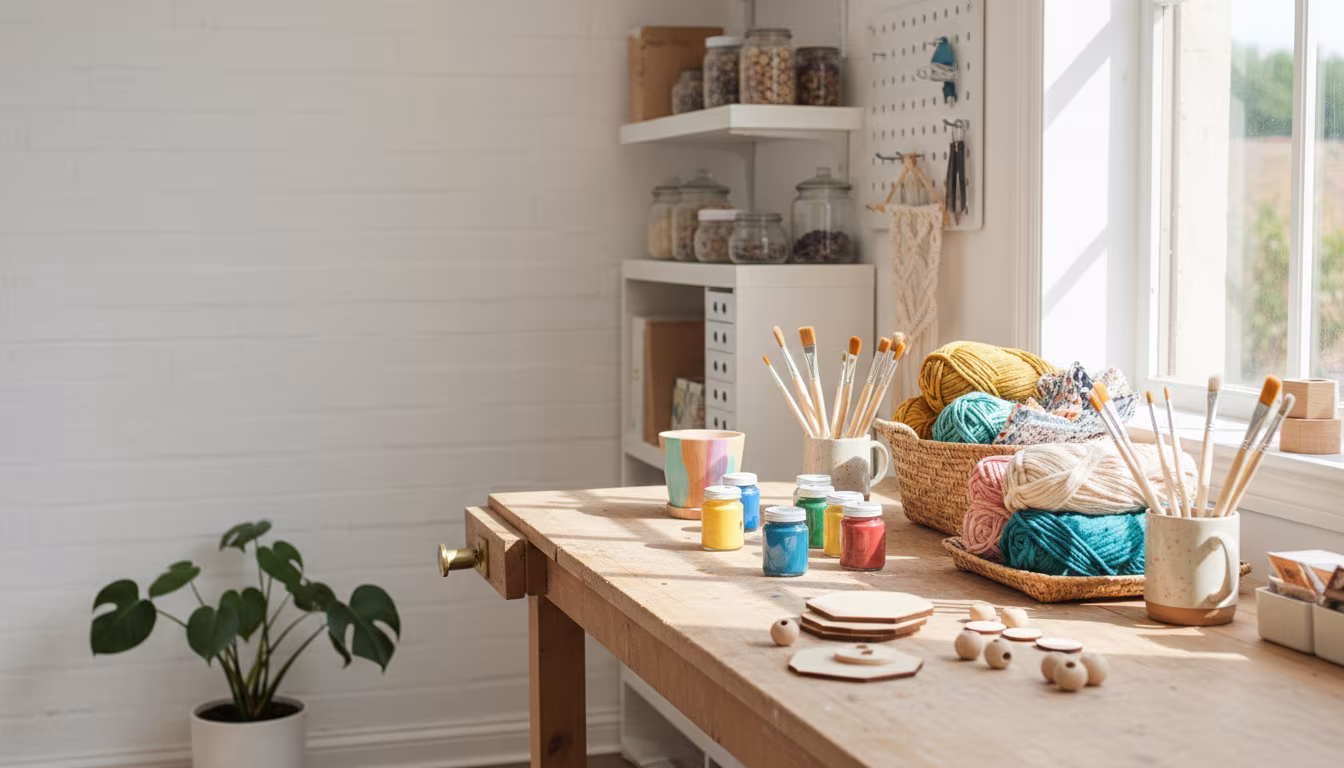
Yes, if you contain them. Move supplies into uniform vessels, such as wicker baskets, ceramic jars, or clear acrylic boxes, so they read as organized rather than scattered. Clear jars of yarn or notions can even become part of the display.
Start with a single surface rather than the whole case. Clear one shelf completely, apply the rule of odds and the one-third empty rule, and let it sit for a day. The calmer result usually makes the decisions for the rest of the shelves obvious. For a related take on how emptiness makes a room feel larger, the same logic applies to negative space across a living room.
Related Posts
Indoor Plant Pot with No Drainage Hole: How to Make It Work
A no-drainage pot rots roots fast. Use the double-pot method, skip the gravel myth, pick...
Hide TV Cable Clutter Renter-Safe Without Drilling
Hide a wall-mounted TV's cables without drilling: a paintable adhesive raceway to the outlet, a...
Lampshade Sizing: Harp, Bulb, and Drum Math Explained
Lampshade fit is three numbers: harp height near shade height, 3.5 inches of bulb clearance, and...
Color-Match Trim Paint to Existing Off-White Walls
Matching trim to aged off-white walls is about undertone, not lightness: cut a real chip, have...