Beginner Hand Embroidery Hoops: Sizing for Long Projects
The short answer
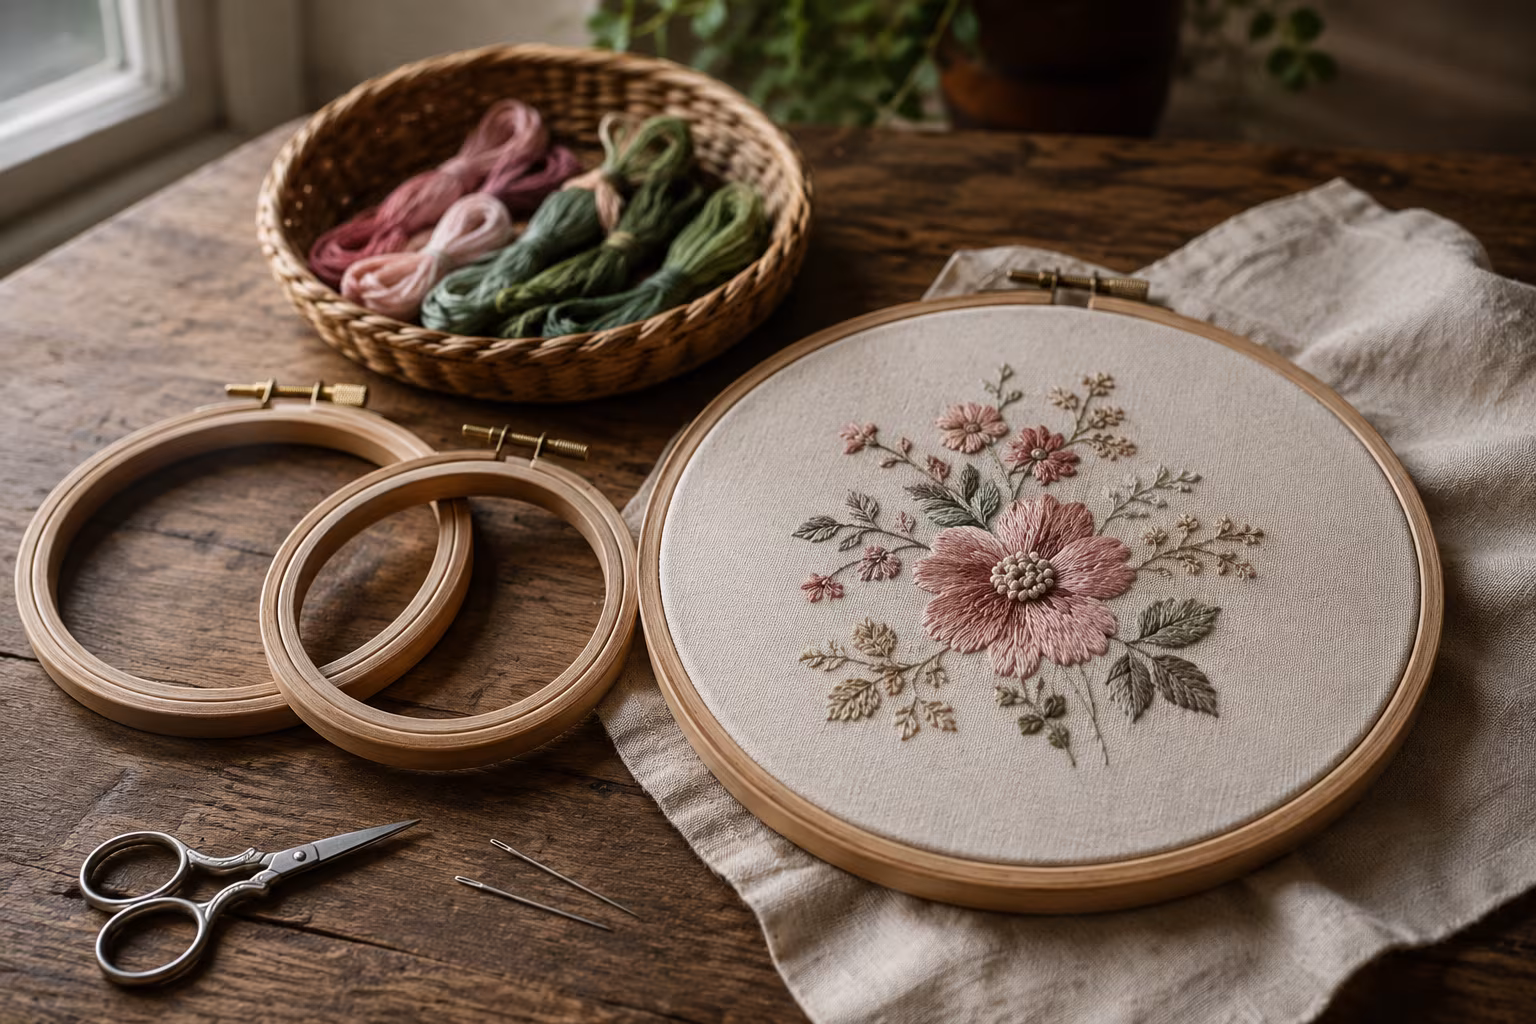
For a beginner starting a project they expect to work on for more than one sitting, a 6-inch or 8-inch beechwood hoop is the right starting point. Six inches fits comfortably in one hand and works well for small samplers, hoop art, and the corner of a larger piece. Eight inches gives more room to work a section before re-hooping, which matters for longer projects where re-hooping risks smashing the stitches already worked.
Avoid bamboo hoops for actual stitching — they lose tension quickly and have rougher inner edges that catch on threads. Bamboo works fine for displaying finished pieces. Plastic hoops with the inner-lip grip system (Susan Bates Hoop-La, Frank A. Edmunds plastic series) hold tension better than basic plastic hoops but lack the warmth of wood. The brand that quietly outperforms its price is Hardwicke Manor for beechwood and the screwed-tension plastic hoops with the lipped inner ring.
The single biggest beginner mistake is choosing a large hoop because it looks impressive. A 10-12 inch hoop seems generous but is harder to keep evenly tensioned and harder to hold for long sessions. Start at 6 or 8 inches and graduate up if needed.
What hoop size actually controls
The hoop's diameter sets two things: how much of your design fits inside the hoop at once, and how comfortably you can hold the hoop while stitching.
The fitting-inside question matters most for projects you will work in sections. A small hoop forces you to re-hoop frequently as you move across the design. Re-hooping risks crushing stitches you have already worked, especially with raised stitches like French knots or bullion stitches. A larger hoop reduces the number of re-hooping events for a given project.
The comfort question matters most for long sessions. A hoop you hold for two hours wears on the wrist if it is too large or too heavy. Six to eight inches is the sweet spot for most adult hands; smaller for fine detail work or for children; larger for very simple work where the hoop barely moves.
For a single-sitting project (a small hoop-art piece, a name banner, a four-inch monogram), one hoop sizing covers the whole project. For a long project (a sampler, a large hoop art piece, a quilt block), expect to choose between re-hooping more often with a small hoop or working in a larger hoop that needs careful tension management.
Wood, bamboo, plastic — what each one is for
Beechwood and other hardwoods. The standard reliable choice. Smooth inner edges that do not catch threads, holds tension well over long sessions, ages gracefully. Bears the hand-warmth that many stitchers find soothing during long projects. Cost is moderate to higher; lasts indefinitely with care.
Birch ply. Cheap import-quality wood hoops are often birch plywood. They work but the inner edges can be rough and the screw hardware is often loose. Acceptable for a starter hoop; not the best long-term choice.
Bamboo. Visually pleasing, very cheap, looks rustic. The problem is that bamboo hoops lose grip on the fabric over time and often have grain irregularities that snag floss. Many bamboo hoops are sold as craft supplies but better suited to displaying finished pieces than to active stitching. If you buy bamboo, expect to replace within a few projects.
Plastic with lipped inner ring (Hoop-La, Edmunds). The grip system clamps fabric between an inner lip and the outer ring, holding tension long after a wood hoop would have loosened. Useful for very long projects, very loose fabrics, or projects with thick laid-thread work. Less aesthetic for hoop art (the visible plastic clashes with displayed finished pieces).
Plastic basic. Cheap, light, often a children's craft tool. The grip is variable; tension fades. Acceptable for a single one-evening project, not for serious work.
Tension management over weeks
A project that lives in a hoop for weeks or months goes through tension cycles. Humidity shifts the fabric. The screw loosens slightly each time you set the hoop down. Stitches added in the middle of the work distort the surrounding fabric and require small re-tensioning.
Tighten the hoop's outer screw at the start of each stitching session. Press the inner ring up into the outer ring while tightening to ensure the fabric pulls evenly. Wood hoops benefit from a small wrap of cotton bias tape or twill tape around the inner ring — the wrap improves grip and prevents fabric slippage.
For projects that live in the hoop for months, consider switching to a stretcher frame instead. Stretcher frames (Q-snap, scroll frames) hold the work without the squeeze of a hoop. They cost more and take more setup time but eliminate hoop-tension worries entirely.
If you must use a hoop for a months-long project, take the work out of the hoop between sessions. Stitches kept in tension for long periods can distort permanently. Storing the project flat between sessions, then re-hooping for stitch time, gives the best long-term result.
When to re-hoop versus when not to
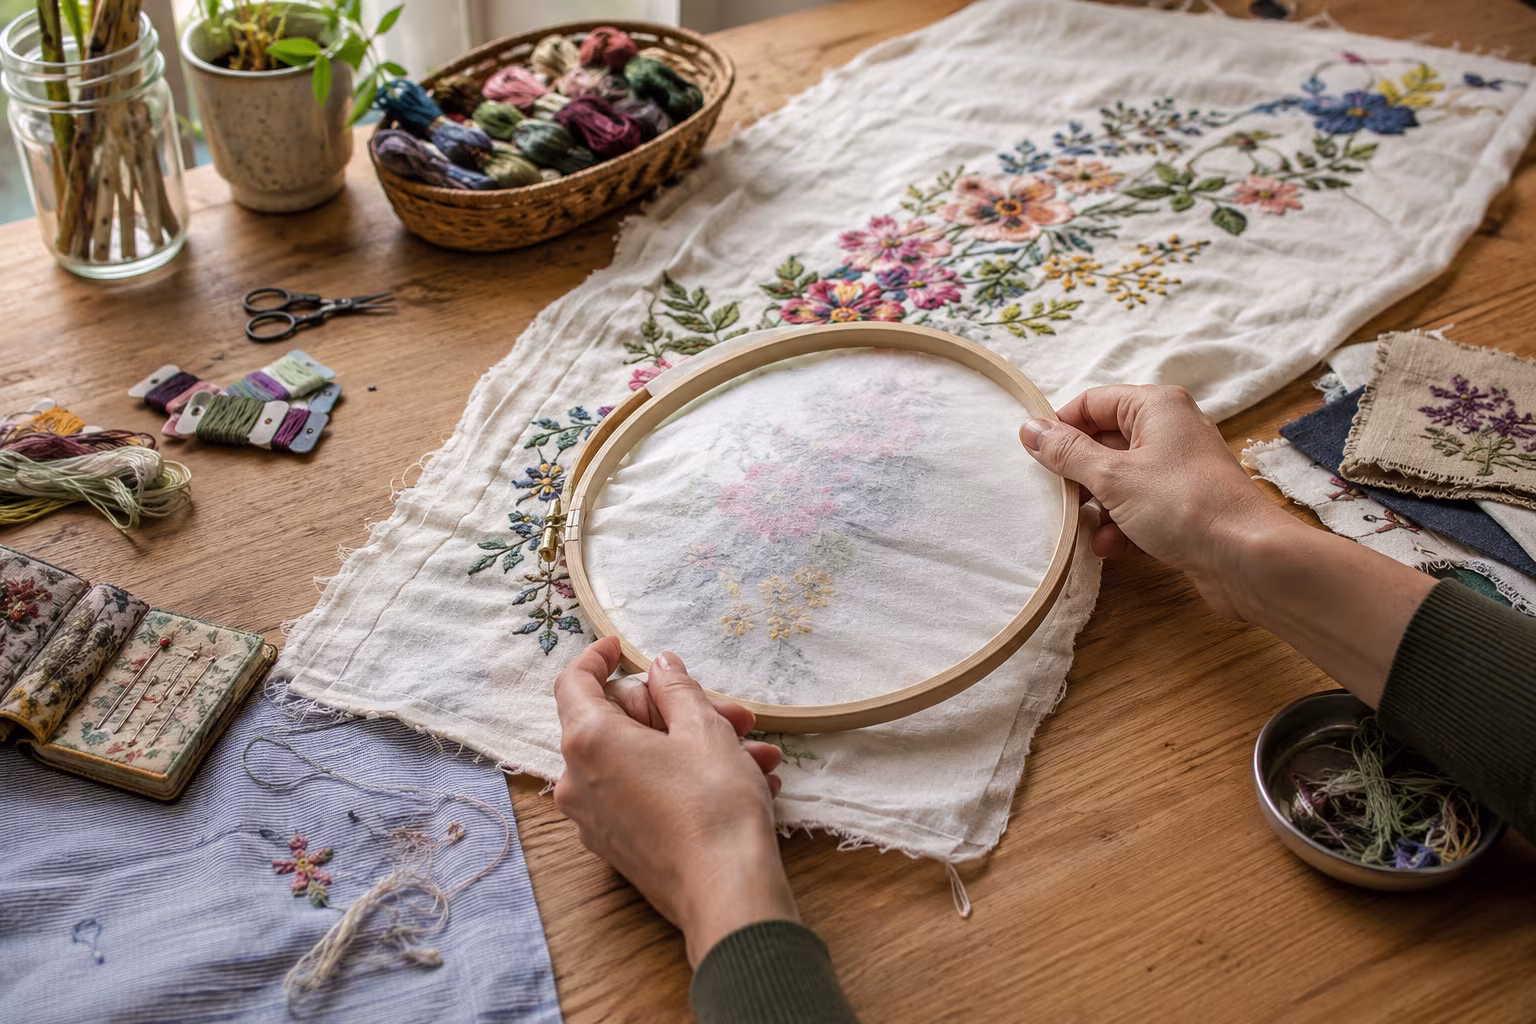
Re-hooping is necessary when the design extends beyond what the current hoop covers. The technique matters: lay a piece of tissue paper or cotton scrap over the worked stitches before placing the inner ring, slip the hoop over the work, tighten gently, then carefully remove the tissue without dislodging the stitches.
The reason for the tissue: the inner ring would otherwise crush raised stitches against itself. The thin tissue layer holds the inner ring slightly off the stitches and protects them.
Some stitches survive direct re-hooping better than others. Flat stitches (satin, long-and-short, back stitch) recover from hoop pressure within minutes. Raised stitches (French knots, bullions, Turkey work, padded satin) deform permanently if hoop-pressed. For projects with raised stitches, plan the hooping such that the raised stitches stay outside the hoop edges.
If the design requires hooping over raised work, the stretcher frame is genuinely the better tool. Or consider working the raised stitches last, in a section that does not need re-hooping after.
The screw mechanism and what to look for
The screw at the top of the hoop is the part that wears. Cheap screws strip out, jam, or sit at an angle that prevents even tensioning. Quality hoops have brass or stainless steel screws that turn smoothly across many cycles.
When choosing a hoop in person, tighten and loosen the screw a few times. It should turn freely with light finger pressure, not require force. The two halves of the screw fitting should align without misalignment. Cheap import hoops often have the screw fitting misaligned, leaving the two halves never quite parallel and the hoop tension uneven.
A loose screw mid-session can be tightened with a small flat screwdriver if your fingers are not strong enough. A few hoop brands include a small built-in screwdriver slot in the screw head for exactly this purpose.
Hoop care that extends life
Wood hoops live a long time with light care. Wipe with a dry cloth between projects. Store away from sunlight and excessive humidity. Keep the screws clean — a tiny drop of light oil on the screw threads occasionally keeps the action smooth.
Avoid storing wood hoops with the screw fully tightened over long periods; the wood compresses and the screw thread can warp the fitting. Loosen halfway between projects.
For wood hoops that have started to lose grip on fabric (often after 5-10 projects), the bias-tape wrap on the inner ring restores grip and gives several more years of use.
Plastic hoops need less care but are also less repairable. When a plastic hoop's grip fails, replacement is the only fix.
Holding the hoop comfortably
The traditional hold is in the non-dominant hand, with the work facing the dominant hand for stitching. Right-handed stitchers hold the hoop in the left hand and stitch with the right.
A small folding stand (a tripod that holds the hoop at table height) lets you stitch with both hands free. This matters for long sessions, for work that requires a back-of-fabric hand for laid threads, and for any stitcher with wrist issues from holding a hoop.
Lap stands and seat-frame stands hold the hoop on the lap or with a frame anchored under the leg. These free both hands and let you work in a comfortable chair without holding the hoop's weight. Both are worth the cost for any stitcher who works for more than an hour at a stretch.
Common beginner mistakes
Starting with a hoop too large. A 10-12 inch hoop for a first project is harder to manage than an 8-inch. Match the hoop to your hand and to the project.
Mixing hoop and frame mid-project. If you started in a hoop, finish in a hoop. Switching between hoop and frame mid-project changes the fabric tension and the stitches that look great in one tension may look wrong in the other.
Overtightening. Forcing the screw shut can split a wooden hoop or strip the screw. Hand-tight is enough; if the fabric still drums tight, the hoop is doing its job.
Neglecting the fabric. The wrong fabric undermines the hoop. Use a tight, even weave (Aida cloth for cross-stitch, evenweave or quilting cotton for surface embroidery) that holds tension well. Loose-weave fabrics slip under hoop pressure regardless of how good the hoop is.
A starter kit that works for most beginners
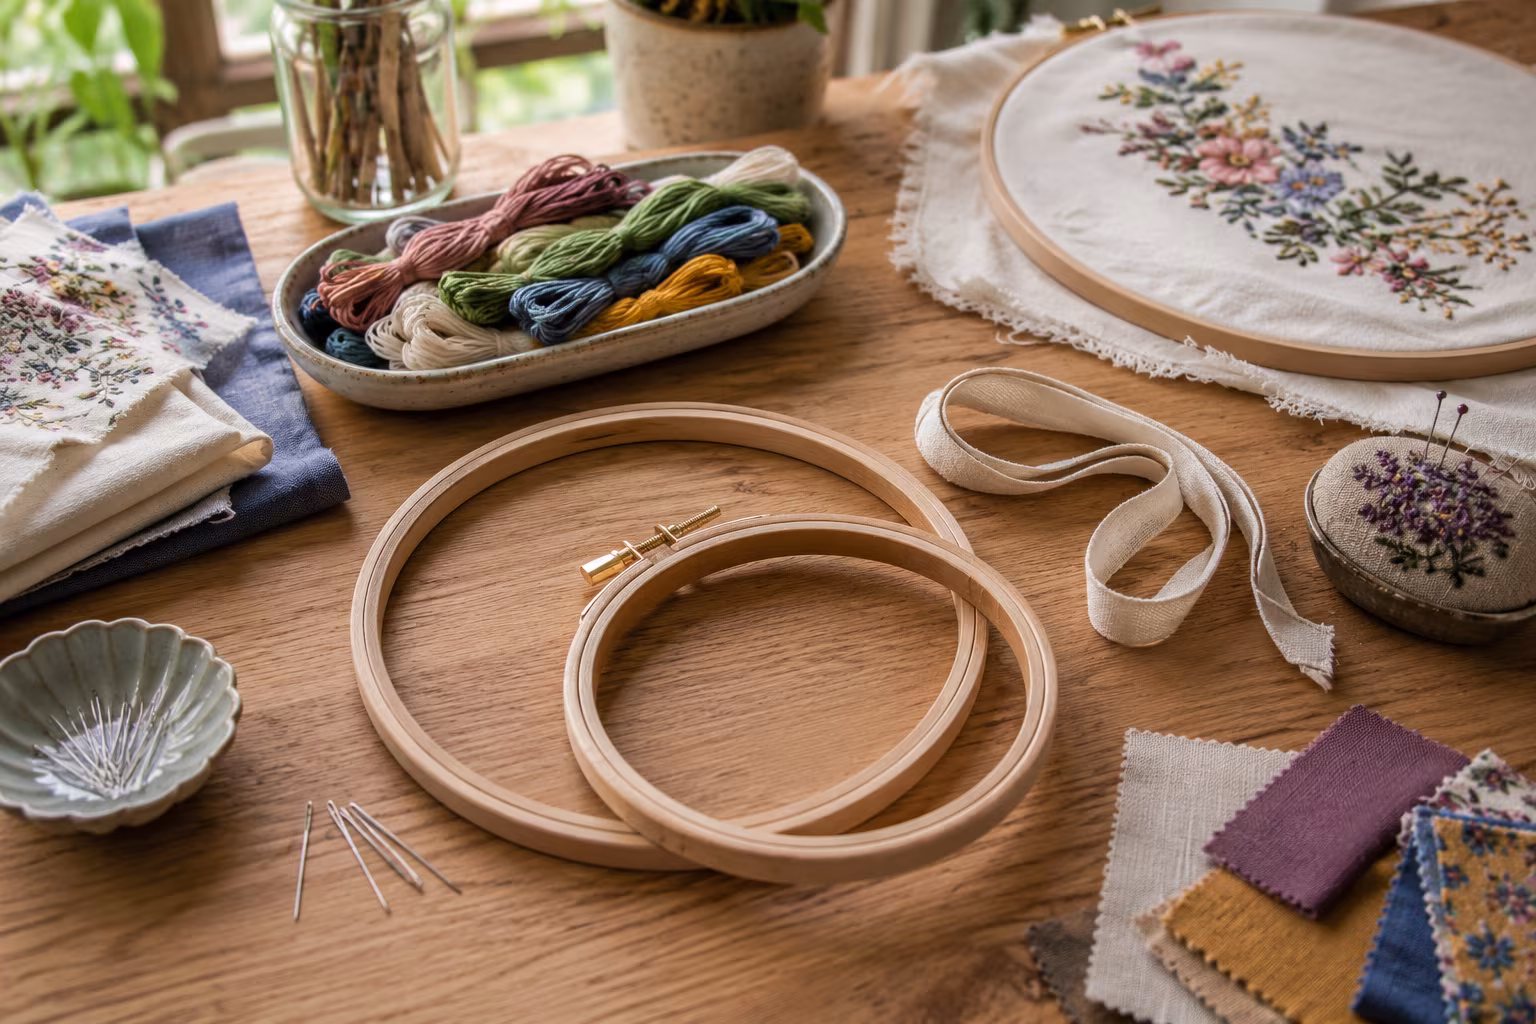
A 6-inch beechwood hoop, an 8-inch beechwood hoop, a length of cotton bias tape to wrap inner rings, a basic floss collection in colours you actually want, a few sharp embroidery needles in size 7 and 9, a small pair of embroidery scissors, and a fabric you have tested for tension behavior. This kit handles most starter projects for a beginner and grows naturally as you find what you enjoy stitching.
Specialty hoops worth knowing about
Beyond the standard wood and plastic hoops, a few specialty designs solve specific problems.
Seat-frame hoops clamp to a table edge or sit on a stand, holding the work at eye level without your hands carrying the weight. Useful for stitchers with wrist or shoulder issues.
No-slip hoops have an inner ring lined with a non-slip material that grips fabric without needing the cotton tape wrap. The Klass and Gessmann brand is the recognized name in this category.
Q-snap frames are PVC pipe frames with grip clamps that replace hoops for medium and large projects. They keep tension consistently and do not crush worked stitches. The trade-off is that they are visually less appealing as hoop-art frames.
Scroll frames roll the fabric across rollers so you can stitch in sections without re-hooping. The choice for very large projects (large samplers, full-coverage pieces) where re-hooping would be constant.
Pick a hoop for the project at hand. The starter beechwood hoop set covers most beginner work; the specialty options join the kit as the projects grow.
Hoop sizes for specific project types
Small hoop art (5-6 inches finished): 5- or 6-inch hoop. The hoop is the frame; the project finishes in the hoop you stitched in.
Medium hoop art (7-9 inches finished): 7-, 8-, or 9-inch hoop, depending on whether the design fills the hoop or has a margin.
Embroidered patches and small motifs: 4-inch hoop, sometimes 3-inch for very small work.
Samplers and larger designs: 8-inch or 10-inch hoop for working, plus the understanding that you will re-hoop as the design progresses.
Quilting hoops: typically 14-inch or larger round, or rectangular Q-snap. Hand quilting uses bigger hoops than embroidery because the layered fabric needs more room.
A note on long-term storage of hoops
Wood hoops left tightened around fabric for years can imprint the hoop's circle onto the fabric permanently. For finished pieces displayed in hoops as wall art, this is the intended effect. For working projects you set aside for months, loosen or remove the hoop to prevent the fabric from taking the hoop's shape unintentionally.
A hoop loose in a drawer can warp over decades of storage. Hang the hoop on a peg or store flat in a craft box for the best long-term shape retention.
Related Posts

Acrylic Pouring Cells: Why They Form and How to Control
Cells in acrylic pouring come from density and surface tension differences. Understand the chemis...
How to Block a Knitted Wool Sweater Without Felting
The blocking routine that opens stitches and sets the shape without turning your wool sweater int...
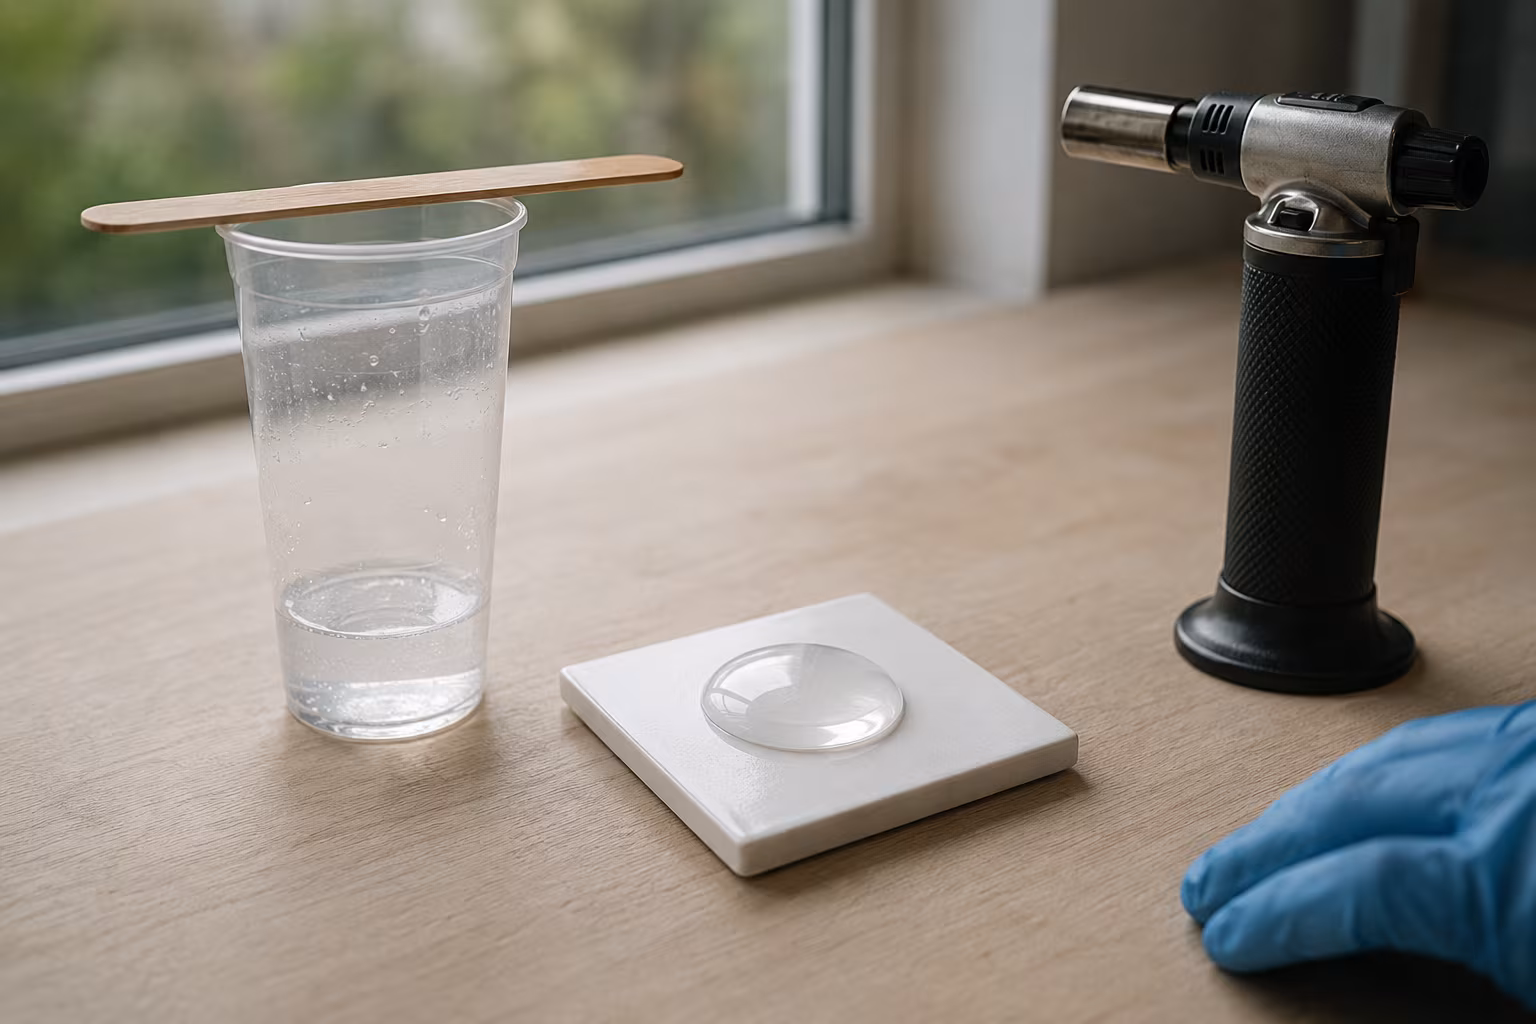
Resin Doming Without Bubbles: A Calm, Reliable Method
A repeatable doming routine that keeps bubbles out and the dome tidy — pour technique, heat metho...
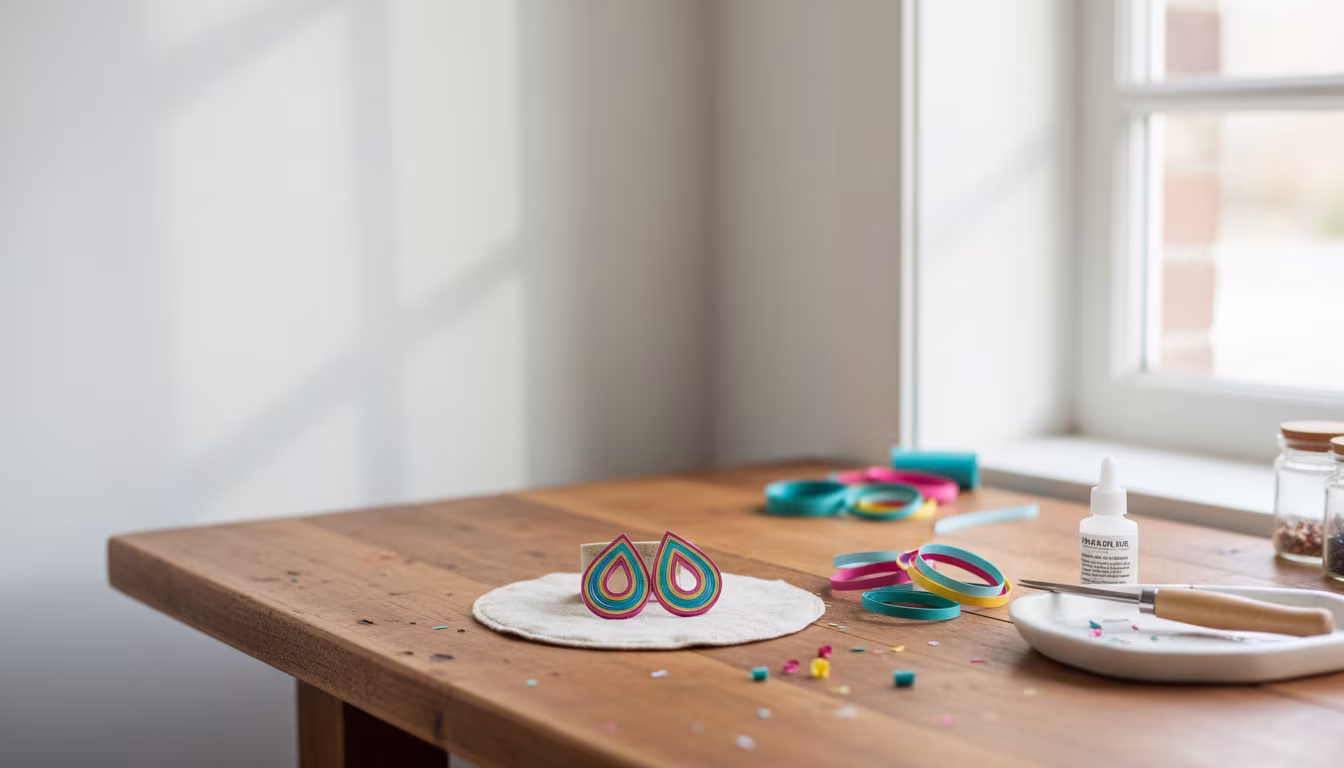
Why Quilling Earrings Are the Most Profitable Craft to Sell Online
Thinking about starting a craft business? You might be surprised to learn that delicate, colorful...