Sealing Watercolor Wood Slices for Indoor Display Pieces

The short answer
Watercolor on raw wood spreads unpredictably and fades quickly without proper preparation and sealing. The reliable process is three steps: prime the wood slice with a watercolor ground or a thinned white acrylic wash to control absorbency, paint the design with normal watercolor technique, then seal with two to three light coats of clear acrylic spray sealer (Mod Podge Clear Acrylic Spray, Krylon Crystal Clear, or a similar non-yellowing acrylic spray) once the paint is fully dry.
Skip the priming step and the watercolor sinks unevenly into the wood grain, creating fuzzy edges and patchy colour. Skip the sealing step and the colours fade visibly within months of indoor display, especially in any light source containing UV.
The brush-on Mod Podge that crafters know from other projects is not the right choice for watercolor on wood — brush strokes lift wet pigment and leave drag marks. Spray application is non-negotiable.
Why raw wood and watercolor fight each other
Wood is highly absorbent and naturally porous. The grain pattern includes some areas that absorb liquid fast (the lighter springwood) and other areas that resist absorption (the denser summerwood). Watercolor applied to raw wood follows this pattern, spreading into the absorbent grain and pooling in the resistant areas.
The result is uneven coverage with colour intensity varying randomly across the surface. Lines spread into vague shapes. Soft washes become patchy. The artistic control that watercolor offers on paper disappears on raw wood.
The fix is to control absorbency before painting. A primer coat creates a uniform surface that takes paint predictably, restoring the artist's control over how the watercolor behaves.
Three priming options that work
Watercolor ground. Daniel Smith and a few other manufacturers sell a specialized watercolor ground designed to make non-paper surfaces accept watercolor. Brush on two thin coats, let dry between, sand lightly with very fine grit. The ground gives the most paper-like behavior on the prepared wood — washes flow correctly, lifting is possible, dry-brush technique works. This is the highest-quality option and the most expensive.
Thinned white acrylic. A wash of titanium white acrylic paint thinned with water (about 1:3 paint to water) brushed across the wood slice gives a similar absorbency control at a much lower cost. Two coats, let dry, lightly sand. The surface accepts watercolor reasonably well, though lifting is harder than with proper watercolor ground.
Acrylic gesso. Standard acrylic gesso (the white primer used under acrylic paintings) creates a non-absorbent surface that takes watercolor as a paint-on-plastic experience rather than the paper-like flow. Some watercolor effects are lost; others (such as bold direct colour) become very controllable.
For most beginner projects, the thinned white acrylic option is the right starting point. The ground is for committed artists; the gesso is for experimental approaches.
Surface preparation before priming
The wood slice should be flat, smooth, and clean before any primer goes on. The starting state of a typical raw wood slice (cut from a fresh log, sold at craft stores) varies from quite smooth to surprisingly rough with bark fragments still attached.
Sand the painting surface with 220-grit sandpaper to remove any high spots, splinters, and surface debris. Sand the edges only enough to remove sharpness; leave the natural shape. Wipe with a tack cloth to remove sanding dust.
If the wood slice has bark on the edges and you want to keep it as a design element, do not sand the bark. Brush it gently with a soft brush to remove loose debris but preserve the natural texture.
For wood slices that arrive with visible mould or fungal growth (sometimes seen on slices from imperfectly dried wood), discard the slice. Sealing over mould does not stop the growth and the affected piece will deteriorate behind the finish.
The painting stage
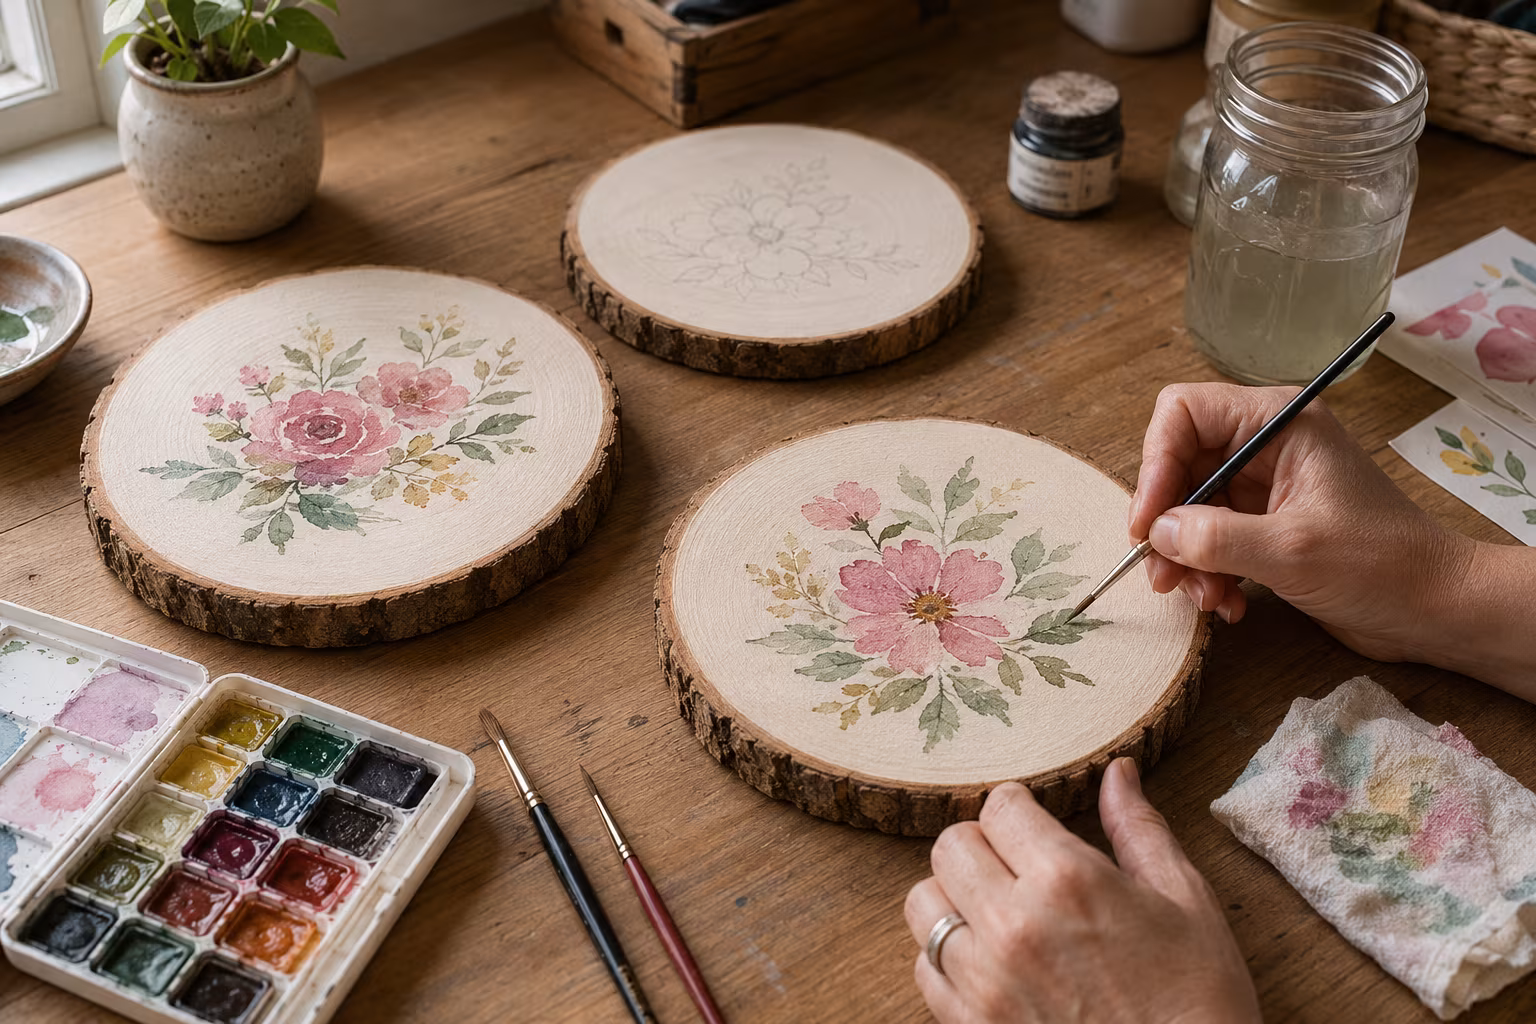
Once primed and dry, the wood slice accepts watercolor much like paper does, with two adjustments to technique:
Use less water than you would on paper. The primer is less absorbent than paper, so puddles take longer to dry and bleed further before setting. Slightly drier brush loads give cleaner edges.
Lift carefully or not at all. The primed surface is less forgiving of lifting (the technique of wiping wet paint with a damp brush to lighten an area) than paper. Plan the painting to add colour rather than to remove it.
Layer thinly and let dry between layers. Thick wet washes on wood blossom in ways that thick washes on paper do not. Build up in light glazes if you want depth.
Test on a scrap of the same prepared wood before painting on the final piece. Each batch of wood and each priming has slightly different behavior, and a quick test saves the surprise on the actual project.
Sealing for indoor display
Once the watercolor is fully dry (overnight at minimum, longer for thick layers), apply the sealing coats.
The right product is a clear acrylic spray sealer, non-yellowing, formulated for craft and fine art. Mod Podge Clear Acrylic Spray, Krylon Crystal Clear, Liquitex Acrylic Spray Varnish, and several other brands all work. Pick gloss, satin, or matte based on how you want the finish to look — gloss makes colours look richer; matte gives a more natural wood-and-paint appearance.
Apply in two or three light coats, not one heavy coat. Spray from about 12 inches away, sweeping across the piece rather than holding the can in one spot. Let each coat dry for the time stated on the can (typically 10-15 minutes between coats, 24 hours for full cure).
Avoid spraying in humid conditions. High humidity during application causes the sealer to dry milky or with a slight haze. A dry room and a dust-free spraying area produce the cleanest finish.
Why spray, not brush
Brush-applied sealers (Mod Podge in the jar, varnish in the can) lift wet pigment from underneath if the underlying paint has not fully cured. Even fully cured watercolor can lift slightly under wet brush pressure.
Brush strokes are visible on the cured sealer. Wood slices have natural texture that hides minor brush marks somewhat, but visible brushing detracts from the painted design.
Spray sealers apply in fine mist that dries before disturbing the underlying paint. The application is even, brush-stroke-free, and gentle on the artwork.
If you absolutely must brush a sealer (for situations where spray is not available, or for very small detail work), use a soft synthetic brush, apply in single passes without back-and-forth strokes, and accept the slightly compromised finish.
UV protection considerations
Watercolors are particularly susceptible to fading from UV light. Indoor light contains UV in varying amounts — windows pass a portion, fluorescent and LED lights vary by spectrum, and direct sunlight is the strongest fader.
A UV-resistant sealer (Krylon UV-Resistant Clear, Liquitex Soluvar, similar products labelled for UV protection) extends fade resistance significantly compared to basic clear sealer. For pieces that will live in bright rooms, the UV-resistant option pays back over years.
Even with UV-resistant sealer, watercolor on wood does not survive direct sunlight forever. Display pieces in indirect light when possible. A north-facing wall, a hallway, or a room with curtained windows is gentler than a south-facing window or a sun-flooded living room.
Display options for finished pieces
Sealed wood slices can hang on a wall, sit on a shelf, or be mounted in a frame. Each has trade-offs.
Hanging: attach a small sawtooth hanger or a length of jute twine to the back of the slice with wood glue or small staples. Hangs against a wall like a small painting. The simplest mount.
Shelf display: prop the slice against a wall on a shelf, or use a small plate stand to angle it forward. Easier to rotate between displayed pieces without holes in the wall.
Framed: a shallow shadow-box frame with the wood slice mounted inside protects the surface from physical damage and adds visual gravitas. Higher cost and more setup.
Materials worth keeping for repeat projects
A few sheets of fine-grit sandpaper (220 and 320 grit), a small bottle of titanium white acrylic for priming, a can of clear acrylic spray sealer, and a small stash of wood slices in different sizes (3-inch through 6-inch is the usable range for hand-held pieces). Watercolors, brushes, and a small palette complete the kit. Total investment is modest and the supplies last across many projects.
Common mistakes to avoid
Skipping the priming step because the wood looks smooth enough. Raw wood always absorbs unevenly; the smoothness you see is texture, not absorbency control.
Sealing before the paint has fully cured. Wet paint trapped under sealer never fully dries and can develop a slightly soft, milky surface over months.
Brushing on sealer to save the cost of spray. The visible brush strokes ruin the finish; the spray cost is worth it.
Displaying the finished piece in direct sunlight. Even UV-resistant sealer slows fade rather than preventing it; siting matters as much as sealer quality.
Working with bark-edged versus sanded-edge slices
Wood slices come in two general categories: clean-edged (the bark has been removed or the edge is sanded smooth) and bark-edged (the natural bark remains around the perimeter as a design feature).
Clean-edged slices are easier to prime and seal — the entire surface is wood, the priming applies uniformly, and the seal coats reach every part of the painting surface.
Bark-edged slices require careful priming around the bark. The bark itself does not need to be sealed (it adds visual interest as bark, not as painted surface) but the priming layer should stop at the bark edge so the natural texture remains visible.
Apply primer with a brush, working carefully to the inside edge of the bark line. Spray sealer naturally covers a slightly larger area; that overspray onto bark is usually acceptable and adds slight protection without changing the bark's appearance much.
Wood movement and crack risk
Wood slices crack over time. The crack pattern follows the wood's grain — usually a radial crack from the centre toward the edge.
This is not a defect of the painting process; it is a property of how wood dries. A 1-inch thick slice of fresh-cut wood loses moisture from all sides over months and develops radial cracks as the wood contracts.
The fix is to start with stable, dried wood slices. Slices that have been kiln-dried or air-dried for a year or more crack much less than fresh slices. Buy from suppliers who sell dried slices; or buy fresh slices and let them dry for 6-12 months in a stable room before painting.
For slices that develop minor cracks after painting, a clear epoxy or thick varnish can fill the crack and stabilize the piece. The crack remains visible as a darker line but the structural integrity returns. For larger cracks, the piece is usually best accepted as a textured rustic element rather than restored.
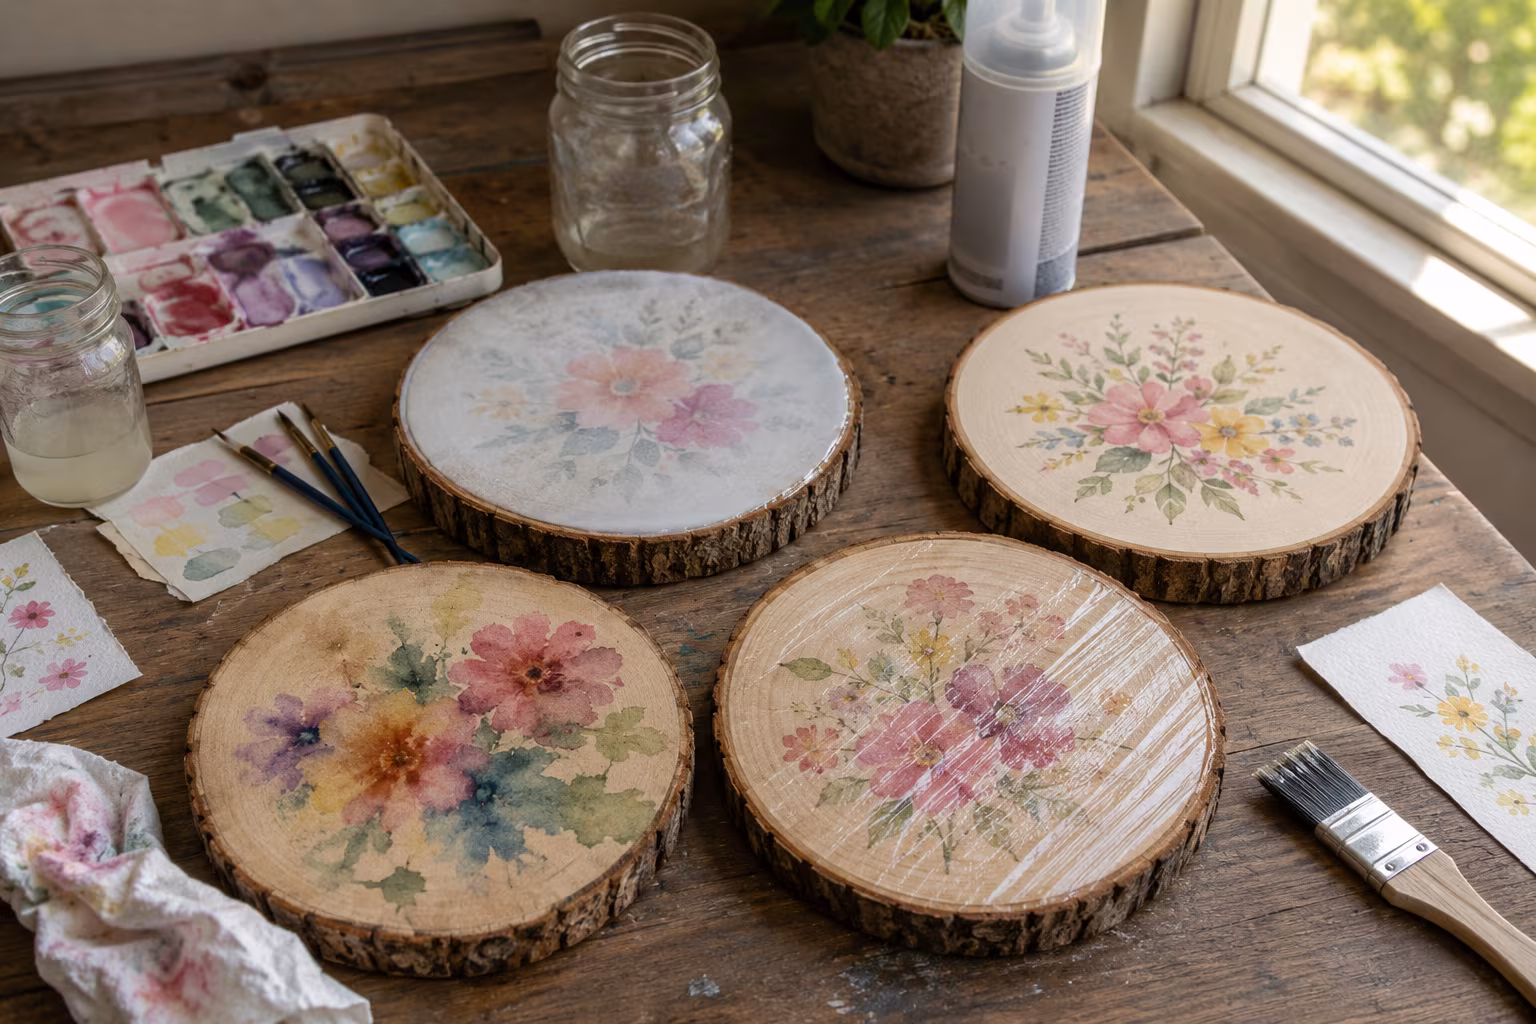
Multiple wood slices as a series
A set of three to five wood slices painted as a coordinated series displays better than a single slice. The visual repetition signals deliberate design rather than craft project.
Plan a coordinated colour palette across the slices. Each slice uses the same set of colours in different compositions. The eye reads the series as related and the wall reads as designed.
Slice sizes can vary across the series for visual interest. Three slices of 4-inch, 5-inch, and 6-inch diameter look more deliberate than three slices of identical 5-inch diameter — the size variation gives the eye something to follow.
Hang the series with consistent spacing (2-3 inches between slices, same as gallery wall spacing rules) for the cleanest display.
Working with reclaimed and aged wood
Wood slices cut from old fence posts, fallen branches, or reclaimed lumber often have more character than fresh slices — visible grain patterns, weathered surfaces, natural cracks that read as deliberate.
These slices need slightly different preparation. Brush thoroughly to remove loose debris, check for insect activity (visible holes, fine dust), and let the slice acclimate to indoor humidity for a few weeks before painting. The acclimation prevents post-painting cracks from continued drying.
Reclaimed wood often takes paint differently than fresh wood. Test on a hidden spot before committing to the full painting.
Related Posts
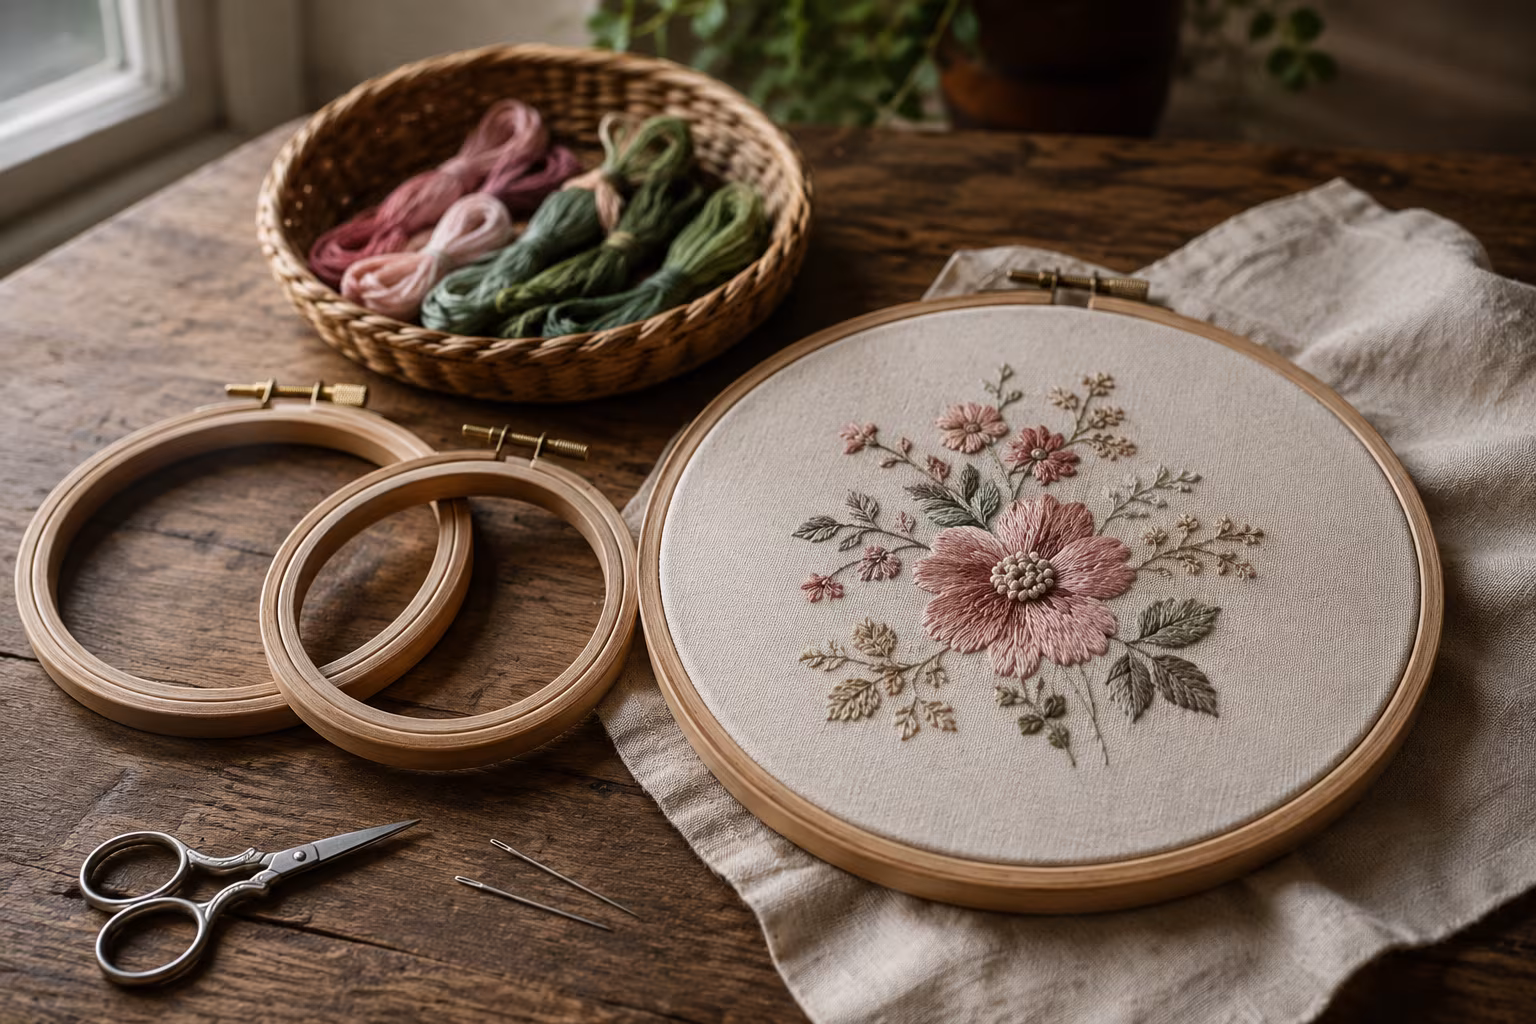
Beginner Hand Embroidery Hoops: Sizing for Long Projects
Pick the right embroidery hoop size and material for a project you will work on for weeks — what ...
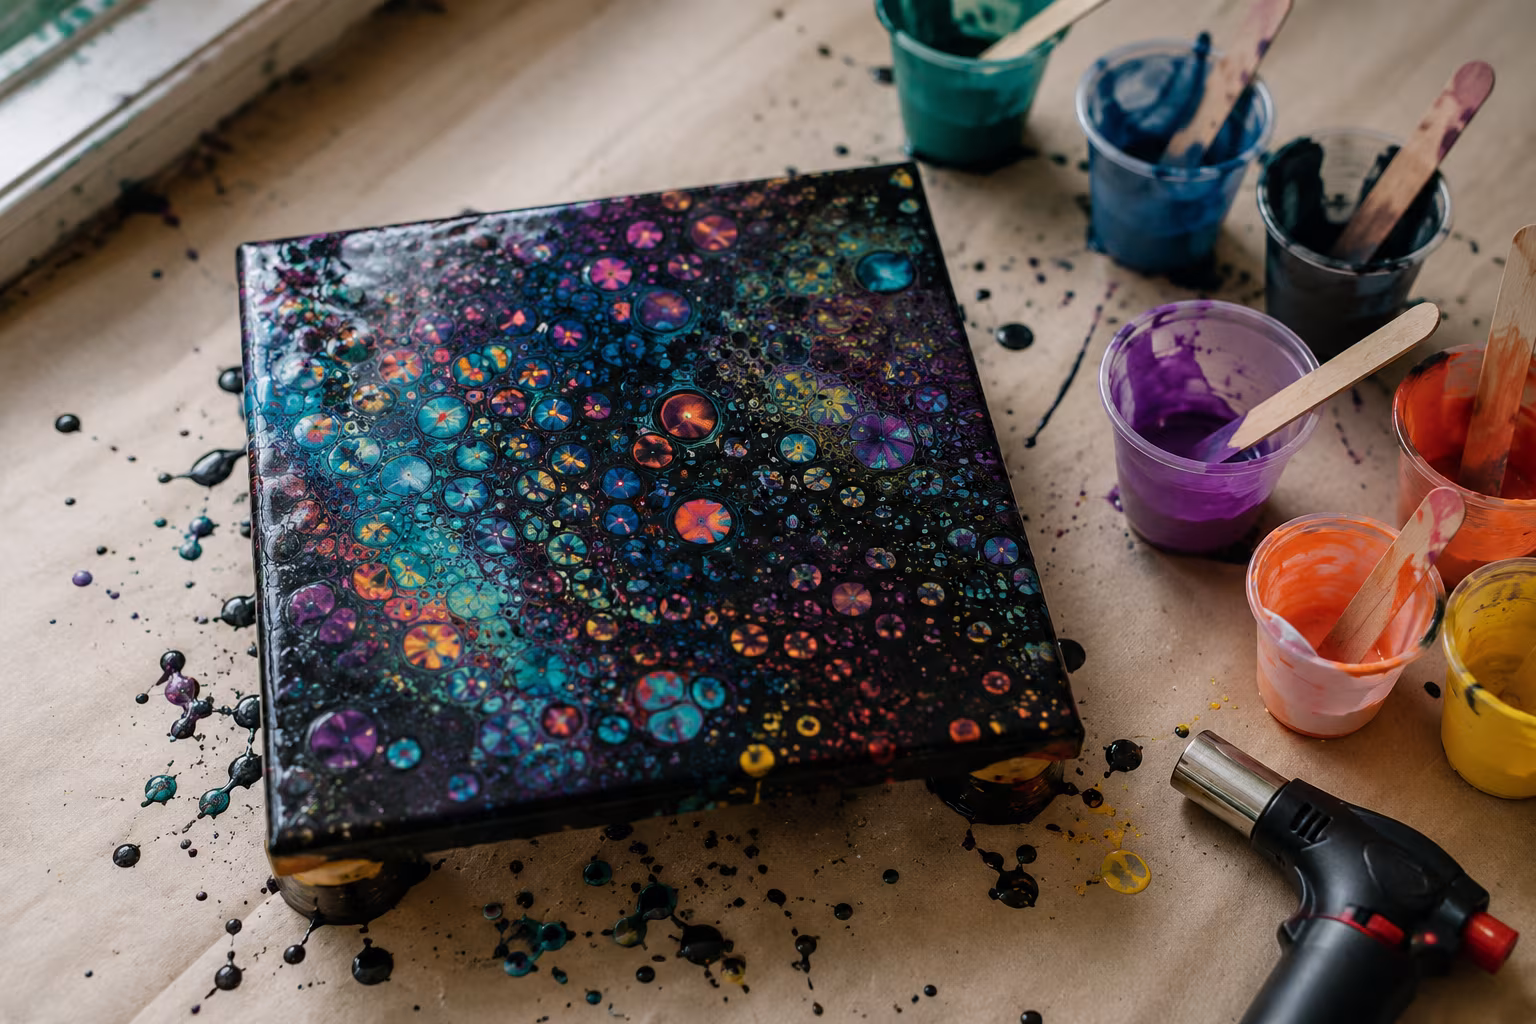
Acrylic Pouring Cells: Why They Form and How to Control
Cells in acrylic pouring come from density and surface tension differences. Understand the chemis...
How to Block a Knitted Wool Sweater Without Felting
The blocking routine that opens stitches and sets the shape without turning your wool sweater int...
Resin Doming Without Bubbles: A Calm, Reliable Method
A repeatable doming routine that keeps bubbles out and the dome tidy — pour technique, heat metho...