How Far to Extend Curtain Rods Past the Window Frame
The short answer
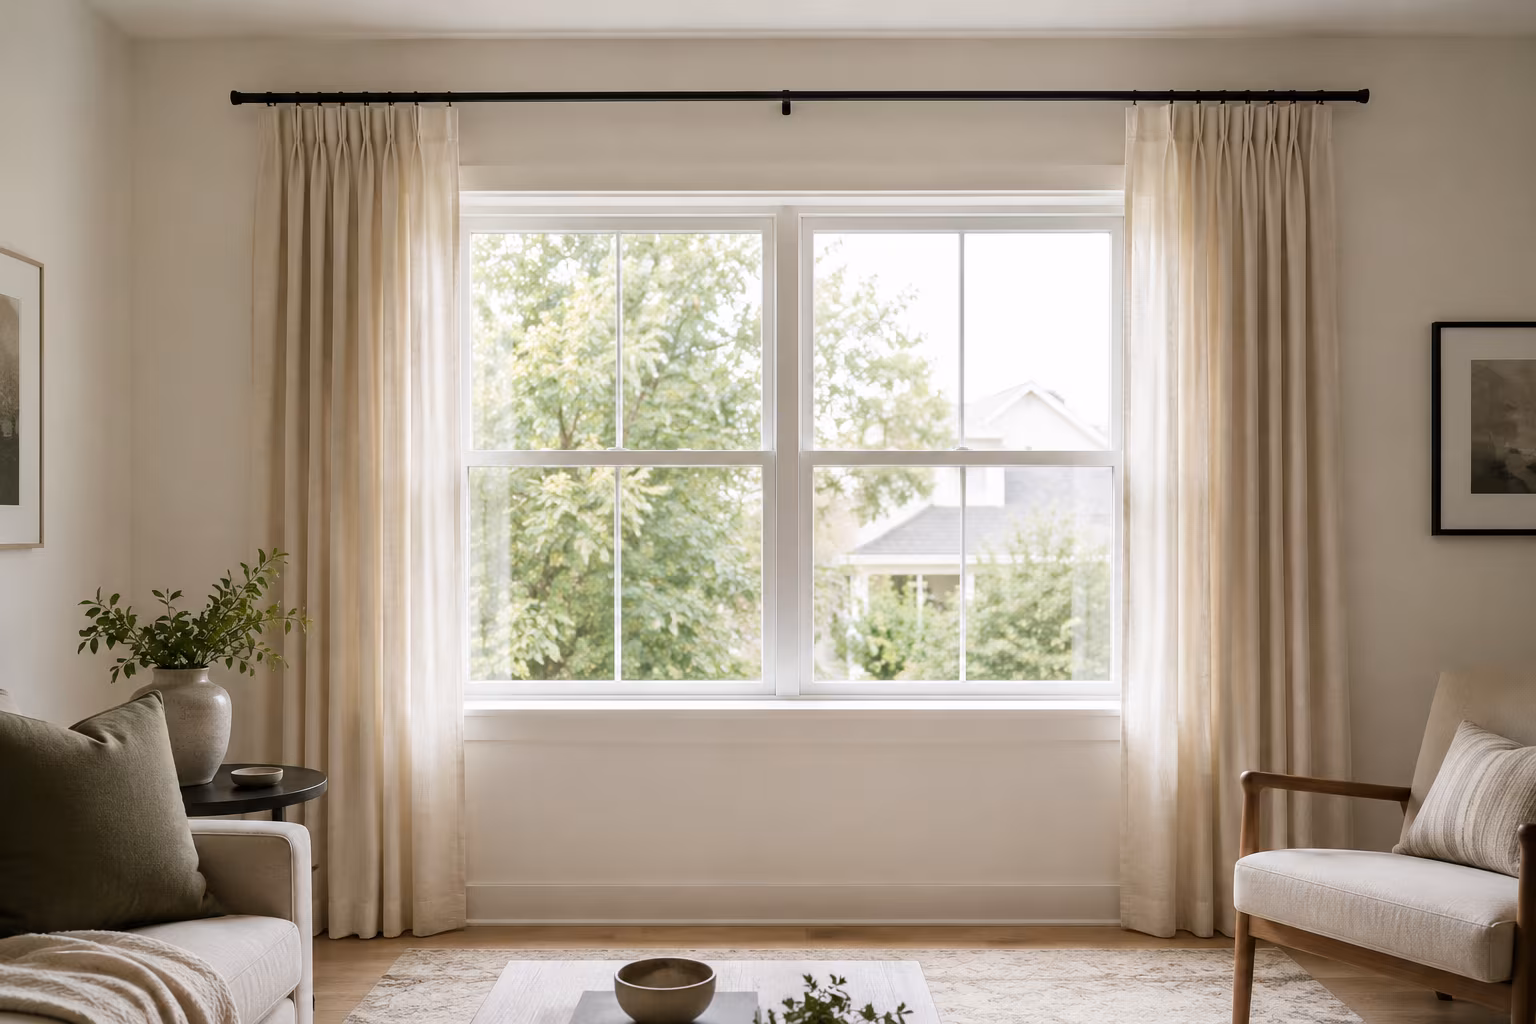
Extend the rod four to twelve inches past each side of the window frame, with most rooms landing between six and ten. Inside that range, pick the number that lets the curtain panels stack off the glass when fully open, so the panel does not block any part of the window in the morning. For a standard panel that is roughly 24 inches wide stacked, the rod needs to reach far enough that the gathered panel sits entirely on the wall beside the window — usually six to ten inches per side. Less and the panel covers the edge of the glass; more and the rod ends look orphaned from the window.
The extension does a real visual job. A wider rod makes the window look larger because the eye reads the curtain panels as the frame and reads the glass as the picture; the bigger you make the frame, the bigger the picture seems. Combined with mounting the rod higher than the window — usually four to six inches below the ceiling rather than just above the trim — the room gains both perceived height and perceived window size in one move.
Why the extension matters more than the height
Mounting the rod high without extending it wide is the most common curtain mistake. You get tall windows but narrow ones, and the curtains, when open, cover a third of the glass on each side. The fix is to widen first, then heighten. If you have to choose, extension wins.
The stacking math is simple. A typical pleated or grommeted curtain panel, when fully open and pushed to the side, gathers into a 4-8 inch wide column at the rod end (lined panels stack thicker; sheers thinner). Two of those columns — one per side — need somewhere to live that is not on the glass. If your rod ends right at the edge of the window trim, that 4-8 inch stack lands on the window itself. If the rod extends 6-10 inches past the trim, the stack sits on the wall beside the window where it belongs.
The wider rod also changes how the closed curtains read. Drawn closed, panels that overlap each other and a strip of wall beyond the window look fuller and more deliberate than panels stretched tight from trim edge to trim edge.
The 4-12 inch range and how to pick within it
Four inches is the absolute minimum for the trick to work at all. Below that, you might as well mount the rod right on the trim — the stacking benefit disappears and the visual widening effect is too subtle to read.
Six to eight inches is the most common landing zone for standard residential windows (24-36 inches wide) with medium-weight curtain panels. The math: a 6-inch panel stack plus an inch of breathing room equals seven inches; round to six or eight depending on whether your room reads tight or generous.
Ten to twelve inches is for larger windows (over 48 inches wide), heavier lined panels, or rooms where you want the windows to dominate visually. The extension scales with the window — a six-foot picture window with six-inch extensions looks pinched; the same window with twelve-inch extensions looks deliberate.
Beyond twelve inches, the curtain rod starts to look disconnected from the window, like it belongs to a phantom window the room does not have. The exception is a wall with two adjacent windows you want to read as one — a single very long rod spanning both windows with curtains only at the outer ends can make a wall of glass look intentional, but that is its own design choice, not an extension rule.
Within the range, narrow down by panel thickness: blackout and lined panels stack thicker, so push toward the upper end of the range; sheers and unlined cotton stack thin, so the lower end of the range works fine.
Mounting height: not just the rod width
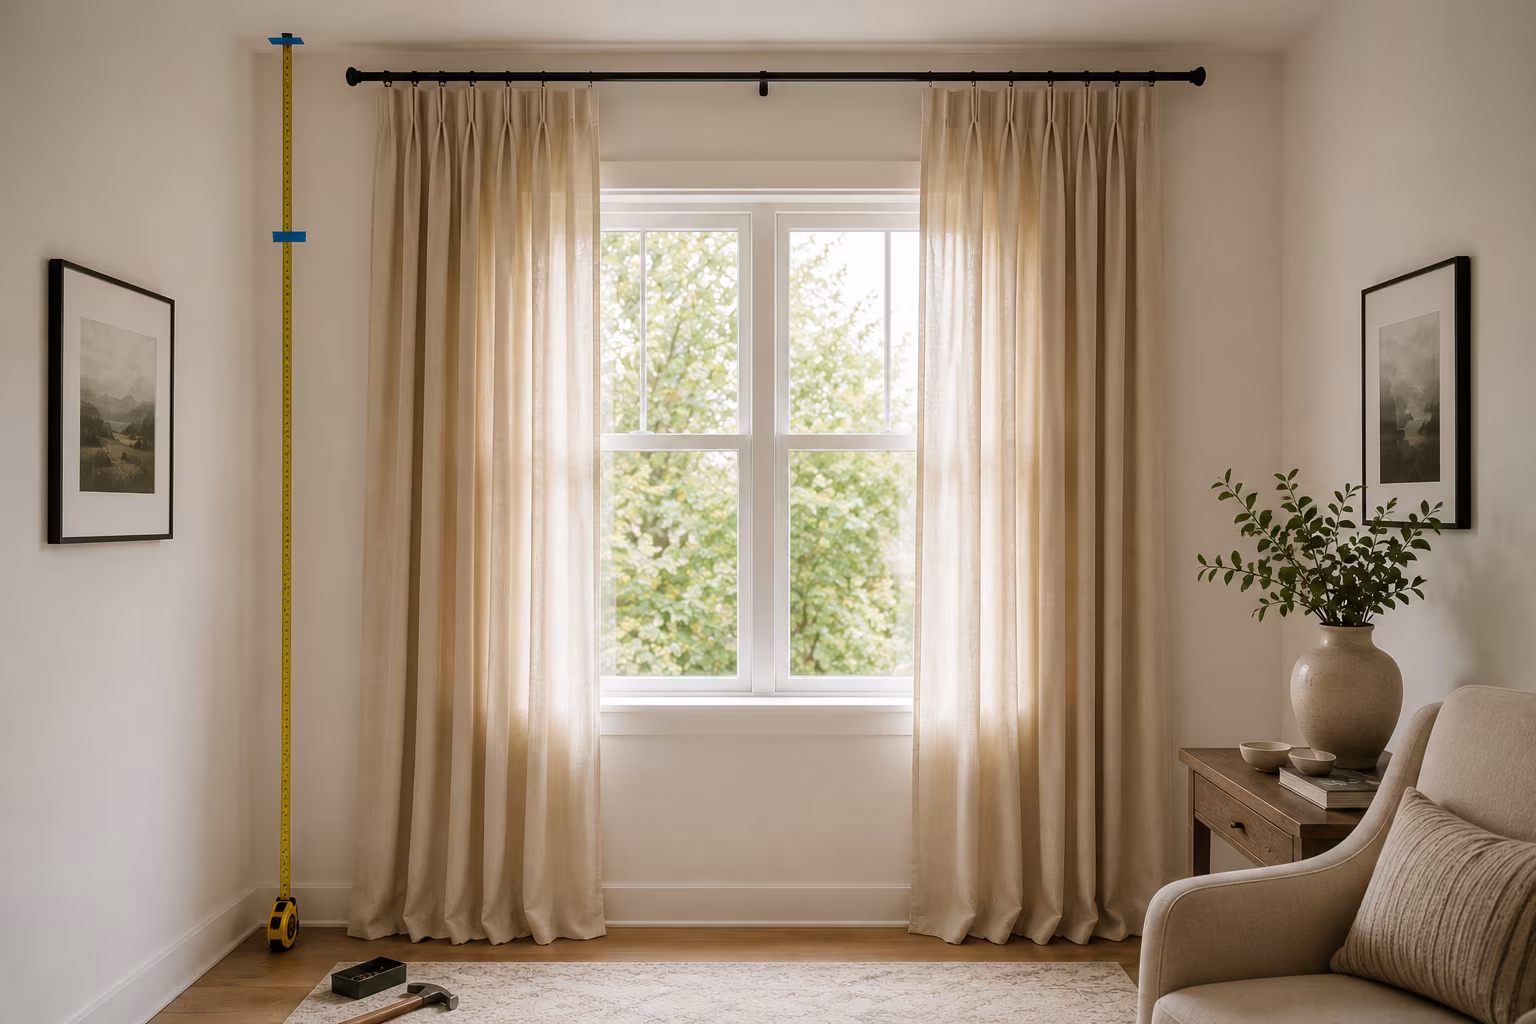
The companion rule to extending wide is mounting high. Most window trim sits 4-12 inches below the ceiling; mounting the rod close to the ceiling (about 4-6 inches down from it, or roughly halfway between the trim top and the ceiling) lifts the curtain line and makes the wall read taller.
A practical rule: the panel should brush the floor or kiss it by a quarter inch, not pool on it (unless you want the pooled look on purpose, which is for formal rooms only) and not float above it. The combination of high mount + wide extension + floor-length panel does most of the visual work of "the room looks more designed."
For windows that already sit close to the ceiling (less than four inches of wall above the trim), mount the rod directly above the trim with the brackets snug to the ceiling. There is no room to lift further.
Hardware that holds at that span
The longer the rod, the more it sags in the middle. A rod that extends 10 inches per side on a 48-inch window is 68 inches long. Without a center support, most thin metal rods will visibly dip in the middle once loaded with curtains.
Use a center support bracket for any rod over 48-50 inches in total length, especially with heavier panels. The bracket should attach to a stud if at all possible, since center supports take vertical load. If no stud lines up, a heavy-duty drywall anchor rated for the weight will work but choose anchors generously over budget hardware.
The side brackets that come with most curtain rod kits screw into the wall — drywall anchors are usually included. Whether the included anchors are enough depends on the weight: light unlined panels are usually fine on plastic expansion anchors; heavy lined or blackout panels need toggle bolts, snap-toggle anchors, or stud screws. The failure mode is usually slow: the screws lean over weeks, the bracket drops a millimetre at a time, and one morning the whole rod is suddenly on the floor with a chunk of drywall behind it.
For rods you can grip and tighten yourself, a wrench check every six months catches the slow loosen before it becomes a fall.
What if you have molding, trim, or radiators in the way
Deep window trim, crown molding, or a chunky baseboard heater under the window can constrain where the rod can go. The fixes:
Deep trim: mount the rod farther out from the wall using extended brackets so the curtain clears the trim front. Most curtain rod brackets adjust 3-6 inches off the wall; deeper-projection brackets are available for trims up to about eight inches deep.
Crown molding above the window: drop the rod 1-2 inches below the molding rather than mounting into it. Mounting into crown can split the molding and never holds well.
Baseboard heaters or radiators below the window: use a curtain length that ends just above the heat source, not at the floor. Floor-length panels in front of a radiator block heat and risk scorching synthetics. Café curtains that cover only the bottom half of the window are an alternative that lets the heat work.
Windows close to a corner: when the wall is narrower than a full extension would need, run the rod into the corner and accept that the panel on that side will sit closer to the glass. Symmetry on the wall matters less than coverage of the window.
Renter-friendly options
Renters cannot always drill into walls or trim. Several options exist that hold real curtain panels without permanent damage.
Tension rods: spring-loaded rods that wedge between the inside top corners of a window frame. They hold light to medium panels and leave no marks. They cannot extend beyond the window, so the widening trick does not apply. Good for sheers, kitchen curtains, and small windows where coverage is the goal, not visual expansion.
Command-style hooks rated for curtain weight: 3M and a few competitors make adhesive curtain rod hooks. They hold light panels reliably when applied to clean, smooth walls. Read the weight rating carefully — most are well below what a lined panel weighs once damp from a humid room.
Magnetic curtain rods: only useful on metal door frames, not standard residential windows. Useful in some kitchens and entryways.
For permanent-looking results with reversible installation, ask the landlord about small holes. A 4mm hole filled with spackle and a dot of matching paint at move-out is invisible; most landlords care about damage, not pristine walls.
Common mistakes you can fix without rehanging
The rod is too narrow and the panels cover the window edges. The fix without rehanging: stack the panels onto the bracket itself rather than letting them gather mid-rod. Curtain rings can slide all the way to the bracket and sit there when the panels are open. This recovers an inch or two on each side at no install cost.
The rod sags in the middle. The fix: add a center bracket. Match the colour as closely as you can — even a slightly mismatched bracket disappears once the curtains hang.
The panels do not reach the floor. The fix: shorter rings, longer panels (sewn-on bottom hem extensions are a common trick), or accept that the curtains are short and own it. Curtains that end mid-wall always look like a mistake; either commit to floor-length or commit to café-length.
The rod is too high above the trim and looks orphaned. The fix: re-hang the rod 4-6 inches below the ceiling, accept the spackle on the old screw holes, and the room reads cleaner from the first day after.
Rod thickness, finials, and the small choices that matter
The diameter of the rod itself changes the room as much as the extension does. Thin (3/4 inch or under) metal rods read modern and minimal but visually disappear; thick (1 1/4 inch or larger) wood rods read traditional and substantial. The thickness should suit both the curtain weight and the room's overall feel — thick rods for heavy lined panels in formal rooms, thinner rods for sheer panels in casual rooms.
Finials (the decorative end caps on most rods) extend the rod's visible length and so factor into the rod-width math. A rod that measures 60 inches end to end might have only 56 inches of usable hanging length because the finials take up two inches per end. Allow for this when planning extensions — what looks like a 6-inch overhang on the order form may be only a 4-inch effective overhang once finials are accounted for.
Matching rod finish to other hardware in the room (door knobs, light fixtures, picture frames) ties the room together without trying. Mixing finishes deliberately is also a valid choice — black rods against brass curtain rings and brushed nickel light fixtures can look intentional — but it needs to look intentional rather than accidental, which means picking the mix early and committing.
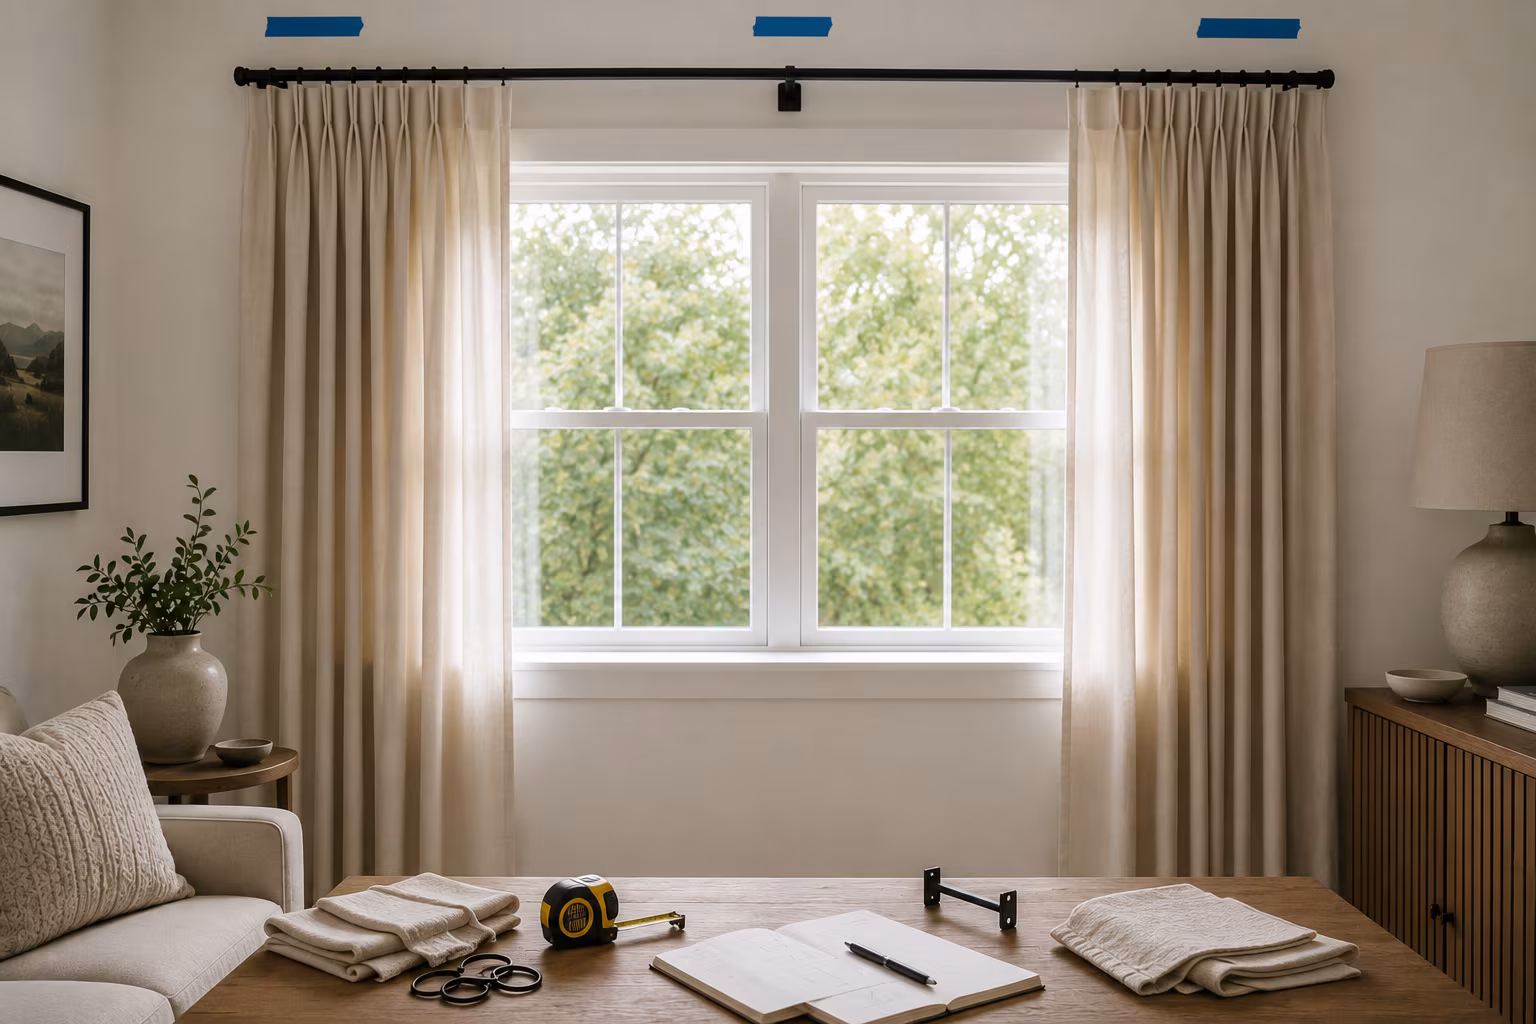
Hanging the panel: small details that finish the look
The panel's length should be measured from the top of the rod (not the bottom) to the floor, then subtract the height the rings or grommets add. A standard ring header adds about an inch above the panel's top edge; a grommet header adds the radius of the grommet itself. Account for this in the math or the panel will end mysteriously short.
Iron or steam the panel before hanging. Most curtains arrive folded out of the package with deep creases that gravity alone never removes. A steaming session before install — or a careful ironing with the curtain still laid flat — sets the panel hanging cleanly from day one.
Let the panel hang for a day or two before deciding the final length. Heavier fabrics stretch slightly under their own weight in the first 48 hours, and a panel hemmed to exact floor length on install day will pool on the floor a week later.
A note on layered window treatments
Many rooms benefit from layering — sheers behind heavier panels, or a roller shade behind curtains. The same rod-width math applies to the outer rod, but the inner sheer rod can be a more modest extension because the sheer panels stack thin. Two rods on the same window need 3-4 inches of separation between them; a double-rod bracket handles this cleanly without two separate installs. The combined system gives daytime light filtering and nighttime privacy from one window, and the wider outer rod still does its window-widening visual work even when only the sheers are drawn.
Related Posts
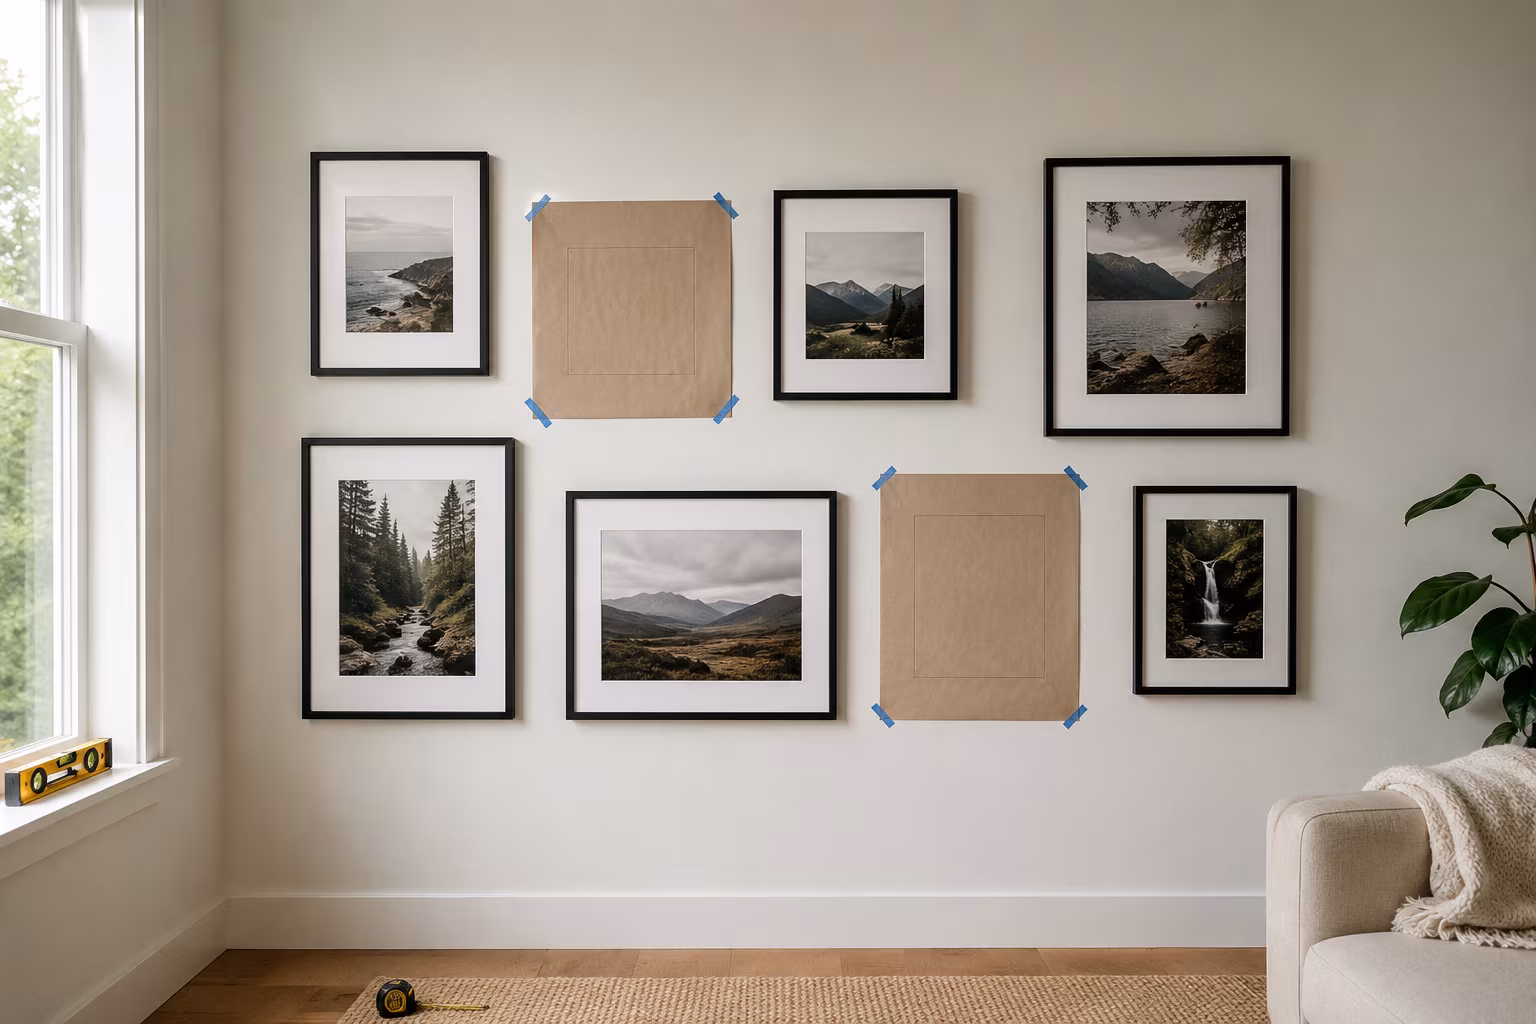
Gallery Wall Picture Spacing: The Repeatable Method
Stop eyeballing it — the exact spacing, center height, and paper-template routine that turns a pi...

The Secret to Making Your Home Smell Amazing Without Artificial Sprays
Tired of chemical-laden air fresheners? Learn how to fill your home with beautiful, natural scent...

How to Arrange Art Above a Sofa Using the Right Proportions
Tired of staring at a blank wall above your couch? We'll show you exactly how to choose and arran...

How to Decorate a Rental Apartment Without Damaging Any Walls
Dreaming of a stylish rental pad but worried about losing your deposit? We've got you covered wit...