The Best Ergonomic Crochet Hooks That Prevent Wrist Pain
The Best Ergonomic Crochet Hooks That Prevent Wrist Pain
Hey there, fellow makers! 👋 You know that feeling, right? You're finally in the zone, lost in a sea of yarn and stitches. Your project is really taking shape, maybe a cozy blanket or a cute amigurumi. Then, out of nowhere, a little twinge starts in your wrist, then your thumb, maybe even up into your arm.
Sound familiar? I've been there so many times. You push through it for a bit because you're so close to finishing that row, but eventually, the discomfort forces you to put your hook down. It's such a bummer when your favorite hobby starts to feel like a chore because of pain.
I’m here to chat about how we can keep those hands happy and hooks flying, specifically by looking at ergonomic crochet hooks. We'll dive into what makes them special, my personal favorites, and some other tips to keep wrist pain at bay. Let’s make sure our crafting sessions are full of joy, not aches!
Why This Actually Matters
For me, crocheting isn’t just a pastime; it’s my unwind time. It’s a way to create something tangible, to relax, and to feel productive. The last thing I want is for that joy to be overshadowed by nagging pain in my hands or wrists.
I actually almost gave up crocheting back in 2021. I was working on a huge throw blanket, pulling some really stiff yarn, and my wrist started protesting big time. It got so bad I couldn’t even hold a pen comfortably for a few days.
That’s when I realized I needed a serious change. It wasn't just about finishing that blanket; it was about being able to crochet for years to come. Investing in my hand health meant investing in my hobby.
Think about how many hours you spend holding that hook. It's a tiny tool, but it can put a lot of strain on small muscles and tendons. Preventing wrist pain isn't just about comfort; it's about longevity in your craft. We want to keep making cool stuff for a long, long time!
Understanding Wrist Pain While Crocheting
Before we talk solutions, let's quickly touch on why our wrists even start hurting in the first place. It’s usually a mix of a few things coming together.
You're making a lot of small, repetitive movements. Your hands are also often holding a hook and yarn in specific ways, which can put pressure on certain spots.
The Grip Game
How you hold your crochet hook makes a huge difference. Are you a "knife grip" person, holding it like you would a dinner knife? Or a "pencil grip," like you're writing?
Both are super common, but sometimes our grip can be too tight. We might not even realize we’re white-knuckling it, especially when concentrating on a tricky pattern.
A tight grip means your hand muscles are constantly flexed. This reduces blood flow and can lead to fatigue and pain much faster.
Tension Troubles
Yarn tension is another big one. If you’re pulling your yarn super taut, your fingers, wrist, and even arm have to work harder to maintain that tension. It’s like a constant tug-of-war with your yarn.
I know I've been guilty of this when I'm trying to get really even stitches. But that extra effort really adds up over time.
Repetitive Strain
This is the big one. Crocheting involves thousands of the same motions over and over again. Think about all those loops and pulls.
It's similar to typing or using a computer mouse for hours. Without proper support or breaks, these repetitive motions can inflame tendons and muscles.
- Constant Flexion - Your wrist is often bent in a specific position for extended periods, stressing ligaments and nerves.
- Pinched Nerves - Tight gripping can sometimes put pressure on nerves in your hand and wrist, causing tingling or numbness.
- Tendonitis - Inflammation of the tendons from overuse is a common issue for many crafters. It really slows you down.
What Makes a Crochet Hook "ergonomic"?
So, what exactly are we looking for in an "ergonomic" hook? It’s not just a fancy buzzword. It actually refers to the design being tailored to reduce strain and make it more comfortable for your hand.
The goal is to let your hand and wrist stay in a more natural, relaxed position. This spreads out the pressure and reduces the effort needed for each stitch.
It’s all about working with your body, not against it. A good ergonomic hook feels like an extension of your hand, not something you have to wrestle with.
Handle Design Matters
This is probably the most noticeable feature. Ergonomic hooks typically have a thicker, often contoured handle compared to traditional skinny metal hooks.
This thicker handle fills your palm better. It means your hand muscles don't have to work as hard to grip the hook, and you can hold it more loosely without losing control.
Many designs include a thumb rest or a shape that naturally guides your fingers into a comfortable position. This reduces the strain on your thumb and pointer finger especially.
Material Magic
The material of the handle is important, too. You often see soft, rubberized, or silicone grips.
These materials provide a little cushioning and make the hook less likely to slip in your hand. Less slipping means less frantic gripping from you.
Some hooks use a mix of materials, like a soft grip over a more rigid core. This gives both comfort and stability.
Weight and Balance
Believe it or not, the weight distribution of a hook can make a difference. A well-balanced hook feels lighter in your hand, even if it's technically heavier than a tiny metal one.
If the weight is distributed nicely, your hand isn't fighting to keep the hook steady. This means less muscle fatigue over a long session.
Some hooks are intentionally weighted to feel more substantial, which can actually help you maintain a lighter grip. It gives your hand a sense of control without requiring a death grip.
- Thicker Handles - Fill your palm, reducing the need for tight gripping.
- Contoured Shapes - Designed to fit the natural curves of your hand, guiding proper finger placement.
- Soft-Touch Materials - Provide cushioning and a non-slip surface, easing pressure points.
- Balanced Weight - Prevents your hand from overworking to stabilize the hook during use.
- Smooth Hook Head - Ensures yarn glides effortlessly, reducing resistance and strain on your wrist.
My Top Picks: Ergonomic Crochet Hooks I Actually Use
Okay, now for the fun part! I've tried a lot of hooks over the years. Some were flops, some were just okay, and some completely changed the game for me. Here are the ones I keep coming back to and genuinely recommend.
Remember, what works for me might not be your absolute favorite, because everyone's hands are different. But these are great starting points if you're looking to upgrade!
Step 1: Clover Amour Hooks
These are probably the most popular ergonomic hooks, and for good reason. I grabbed my first Clover Amour set a few years back, and it felt like my hand was finally getting a hug.
The handle is made of a soft, comfortable elastomer rubber. It’s got a great shape that fits perfectly in the curve of my hand, and there’s a distinct flat area for your thumb that helps with proper positioning.
The hook itself is aluminum and super smooth, so yarn glides off it beautifully. They come in a rainbow of colors, which is a nice bonus. You can often find sets for around $40-$60, which feels like a big investment, but they last forever.
Step 2: Furls Odyssey Hooks
These hooks are definitely a splurge, but if you’re serious about crocheting and really struggle with hand pain, they’re worth considering. I got one as a treat for myself after finishing a big project.
Furls hooks have a unique, teardrop shape that nestles into your palm. They're also weighted, usually with brass inside, which gives them a substantial feel. This weight actually helps you crochet with less effort, as the hook does some of the work.
The polished nickel tips are incredibly smooth, and they just feel luxurious to use. They start around $30-$40 per hook, so it's best to try one in your most-used size before committing to a whole set.
Step 3: Addi Swing Hooks
Addi is a brand known for quality, and their Swing hooks are fantastic for ergonomics. These hooks have a very distinct, curved handle that’s made to fit the natural contours of your hand.
The handle material is a soft, non-slip plastic. What I love about these is how the curve naturally supports your wrist, reducing the amount it has to bend and flex. It feels almost custom-made for your hand.
The hook heads themselves are very smooth and well-shaped for easy yarn catching. They're usually in the $10-$15 range per hook, making them a great mid-range option.
Step 4: Soft Touch Hooks (like Tulip Etimo or Boye Ergonomics)
There are several brands that offer hooks with softer, slightly padded handles, often with a flat thumb rest. Tulip Etimo hooks are another premium option, similar to Clover in comfort and smoothness, but sometimes even more refined.
Boye also has a line of ergonomic hooks that are much more budget-friendly, often found at craft stores. They have a rubberized grip that’s thicker than their traditional hooks.
While not as "fancy" as Furls or Clover, these types of hooks are a huge step up from basic metal ones. They provide that crucial bit of extra padding and grip that can make all the difference.
Step 5: Diy Solutions: Adding a Grip
What if you love your current hooks but they're just too skinny? You don't have to buy a whole new set! I've done this myself with some of my vintage hooks.
You can add a grip to your existing hooks. Pen grips or pencil grips work surprisingly well; just slide one on! You can find these at any office supply store for a few dollars.
Another option is moldable silicone or polymer clay. You can shape it around your hook to create a custom grip that perfectly fits your hand. Just make sure to bake or cure it according to the product instructions. It’s a fun little mini-project!
Beyond the Hook: Other Ways to Protect Your Wrists
Even with the best ergonomic hook, it’s still important to think about your overall habits. A great hook is a huge help, but it’s part of a bigger picture when it comes to preventing pain.
I learned this the hard way after that blanket incident. I got fancy new hooks, but if I still crocheted for five hours straight without moving, the pain would sneak back. It's about a holistic approach.
Step 1: Proper Posture
This is probably one of the most overlooked things. How are you sitting or standing when you crochet? Are you slouched over, or is your back supported?
Try to sit with your feet flat on the floor and your back straight. Make sure your arms and wrists are supported, perhaps by armrests or a cushion in your lap.
Keeping your shoulders relaxed and not hunched up can also prevent tension from traveling down to your hands. It takes a conscious effort at first, but it pays off.
Step 2: Take Breaks
This is non-negotiable for me now. Even if I'm in the middle of a super exciting row, I force myself to stop. I aim for a 5-10 minute break every hour, sometimes more if I feel any stiffness.
Get up, walk around, stretch your legs. Even just setting your project down for a few minutes gives your hands and wrists a chance to rest and reset.
It's better to break up your crafting time than to push through pain and have to stop for days or weeks. Trust me on this one.
Step 3: Stretching Exercises
Just like athletes warm up, crafters can benefit from a few simple hand and wrist stretches. I usually do these before I start a long session and during my breaks.
Try extending your arm out, palm up, then gently pull your fingers down towards your body with your other hand. Hold for 15-20 seconds. Then do the same with your palm down, pulling your fingers towards you.
Wrist circles, gently wiggling your fingers, and making soft fists can also help get the blood flowing and keep those joints limber. A quick Google search for "wrist stretches for crafters" will give you lots of ideas!
Step 4: Listen to Your Body
This sounds obvious, but it’s often the hardest thing to do. We get so caught up in our projects that we ignore the early warning signs of discomfort.
If you feel a little ache, a slight stiffness, or a hint of tingling, that's your body telling you to take a break. Don't push through it.
Seriously, stop. Stretch. Rest. Hydrate. It's much easier to prevent pain from getting worse than to recover from full-blown injury.
Step 5: Mind Your Tension
Remember how we talked about yarn tension? Try to be mindful of how tightly you're pulling your yarn. A looser grip not only helps your hands but can also make your stitches more even and relaxed.
Experiment with different ways to hold your yarn, maybe wrapping it around fewer fingers. Sometimes just a slight adjustment can make a big difference in how much strain your fingers are under.
It might feel a little awkward at first to change your yarn hold, but give it a week or two. Your hands will thank you.
Making It Stick / Common Mistakes
It’s easy to get excited about new hooks and new habits, but it takes consistency to make them stick. I've definitely fallen back into old habits, only to regret it later.
The key is gentle persistence and being kind to yourself. You're not aiming for perfection overnight.
Your hands aren't machines; treat them like your most valuable tools. Give them the care they deserve so they can keep creating.
One common mistake is thinking that one ergonomic hook will solve all your problems. While it's a huge step, it needs to be combined with those other good habits.
Another pitfall is ignoring early signs of discomfort. We often rationalize it away ("It's just a little ache!"). But those little aches can quickly become big problems.
Don't be afraid to experiment with different hooks, grips, and postures. What works for your friend might not be right for you, and that's totally okay.
Ignoring Early Signs of Discomfort
This is probably the biggest mistake I see crafters (and honestly, myself sometimes) make. A little stiffness or a mild ache is a warning signal.
Pushing through it only guarantees that the pain will get worse and last longer. When your body whispers, don't wait until it screams.
Thinking One Hook Solves Everything
While an ergonomic hook is a fantastic investment, it’s not a magic bullet. You still need to pair it with good posture, regular breaks, and gentle stretches.
Think of it as one piece of a puzzle, not the whole solution. All these elements work together to keep you comfortable.
Skipping Warm-ups and Cool-downs
You wouldn't run a marathon without stretching, right? Our hands and wrists work hard during crafting sessions.
A few minutes of gentle stretching before and after can significantly reduce strain and improve flexibility. It makes a real difference in preventing soreness.
Not Adjusting Your Environment
Your crafting setup plays a huge role. Are you sitting on a comfy couch with your feet dangling? Is your light source good, so you're not straining your eyes?
Small adjustments like adding a pillow for back support, using a footrest, or ensuring good lighting can reduce overall body tension. This, in turn, helps your hands and wrists.
Frequently Asked Questions
Are Expensive Ergonomic Hooks Really Worth It?
I definitely think so, especially if you crochet regularly or experience pain. A good ergonomic hook is an investment in your long-term comfort and ability to continue your hobby.
You don't need to buy a full set of the most expensive ones all at once. Start with one in your most-used size and see if it makes a difference for you.
Can I Make My Current Hooks More Ergonomic?
Absolutely! Adding a pencil grip or even wrapping your hook handle with self-adhesive athletic tape can thicken the grip and add cushioning. Moldable silicone is also an option for a custom fit.
It might not be as perfectly designed as a specialized ergonomic hook, but it's a super budget-friendly way to get some relief from those skinny handles.
How Long Should I Crochet Before Taking a Break?
I aim for a 5-10 minute break every hour. If I'm feeling any stiffness sooner than that, I stop. Listen to your body and adjust as needed.
Even just standing up and shaking out your hands for a minute can make a big difference. Don't push through discomfort.
What if I've Already Developed Wrist Pain?
First, take a break from crocheting entirely for a few days to let your hands rest. Apply ice if there's inflammation, and consider gentle stretches.
If the pain persists, it's always best to consult a doctor or physical therapist. They can diagnose the issue and give you personalized exercises or advice.
Do Different Yarn Types Affect Wrist Strain?
Definitely! Stiff, inelastic yarns (like some cottons or heavy acrylics) require more effort to pull through stitches, which can increase strain. Super bulky yarns can also be taxing because they demand larger movements and a stronger grip.
Softer, more pliable yarns tend to be easier on the hands. Pay attention to how different yarns feel and adjust your project choices or take more frequent breaks accordingly.
The Bottom Line
Crocheting should be a source of relaxation and joy, not pain. If you're struggling with wrist or hand discomfort, know that you're not alone, and there are absolutely things you can do about it.
An ergonomic crochet hook is a fantastic first step, making a real difference in how your hand feels. But remember, it works best when combined with good habits like taking breaks, stretching, and maintaining proper posture.
Don’t wait until the pain becomes unbearable to make a change. Start small, try out a new hook, incorporate a few stretches, and listen to your body. Your hands are precious, and they deserve to keep making beautiful things for years to come. Happy crafting! ❤️
Related Posts
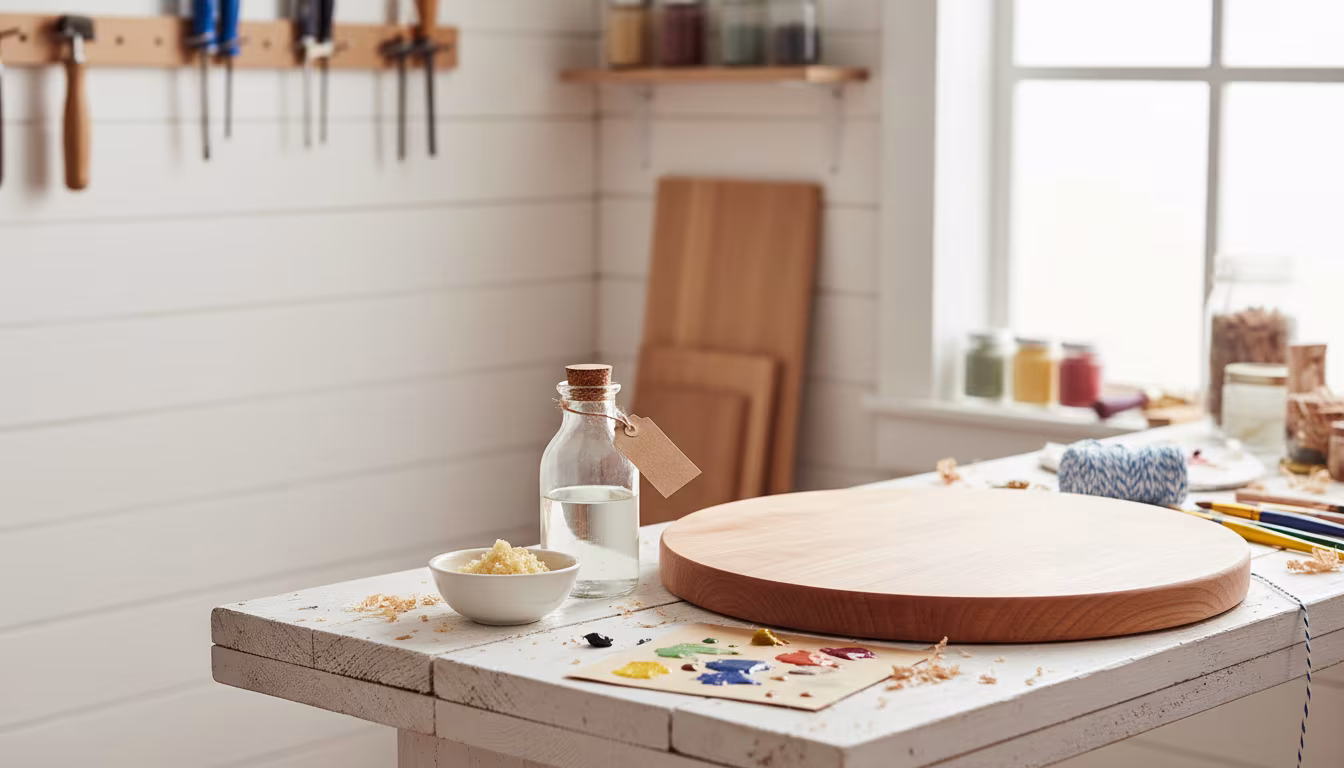
Why Beeswax and Mineral Oil Are the Safest Wood Finishes for Food
Wondering how to protect your wooden kitchenware without harsh chemicals? Beeswax and mineral oil...
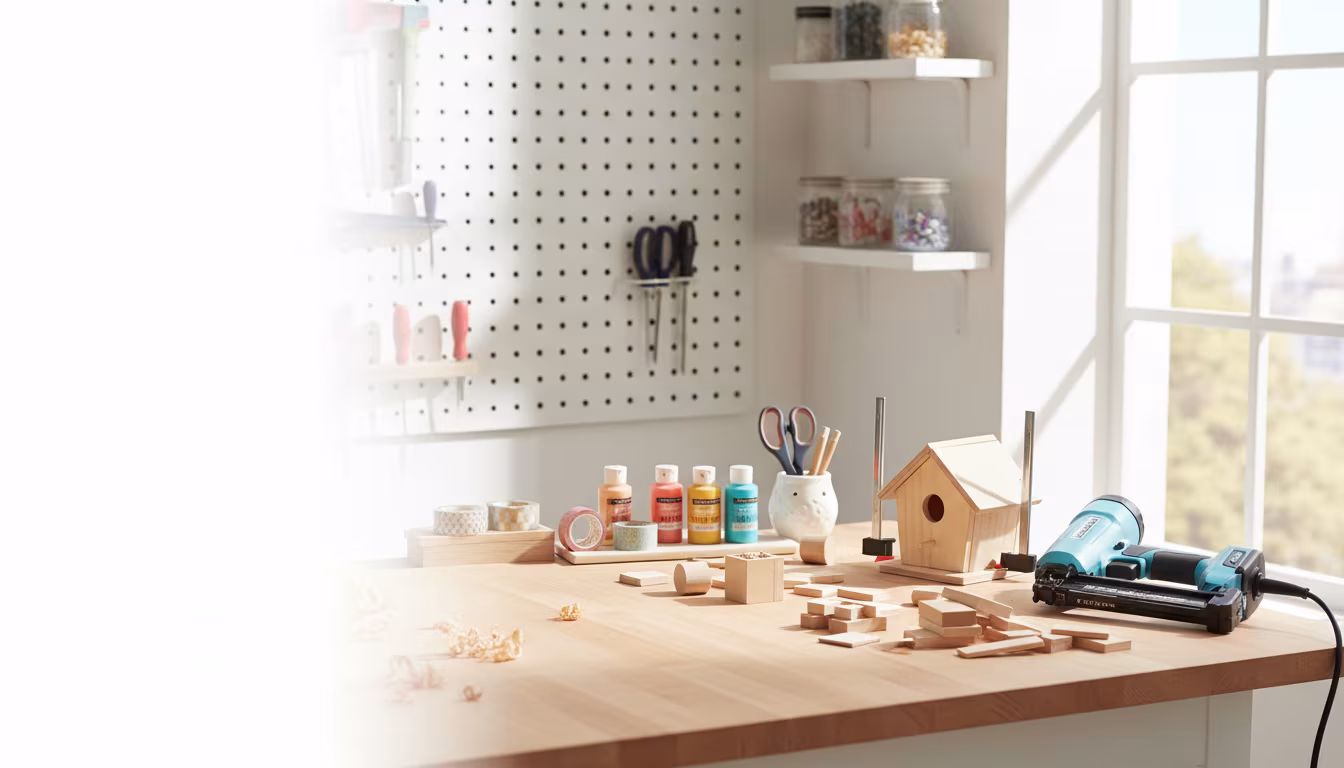
Why Brad Nailers Are the Most Versatile Power Tool for Craft Rooms
Think power tools are just for big woodworking projects? Think again! A brad nailer might just be...
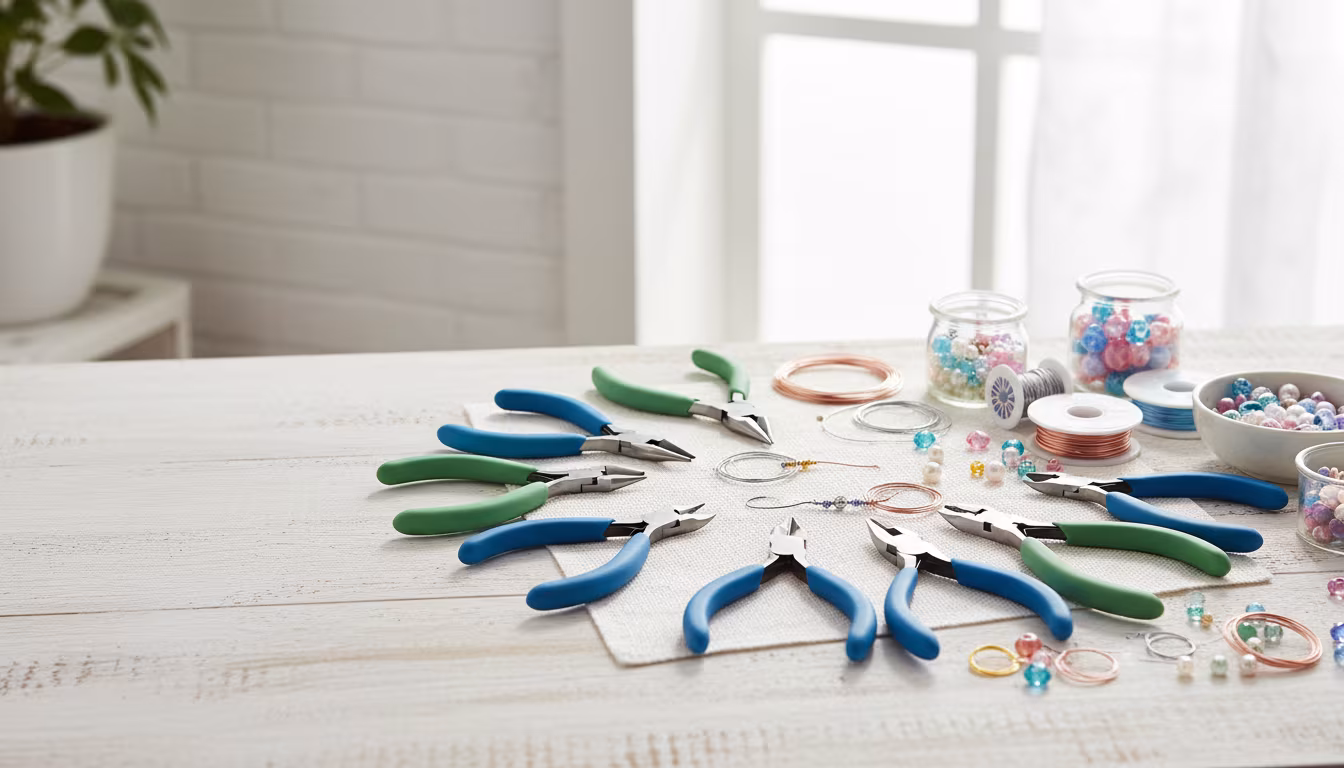
How to Select the Right Pliers Set for Wire Wrapping and Beading
Ready to level up your jewelry making game? Selecting the right pliers can make all the differenc...
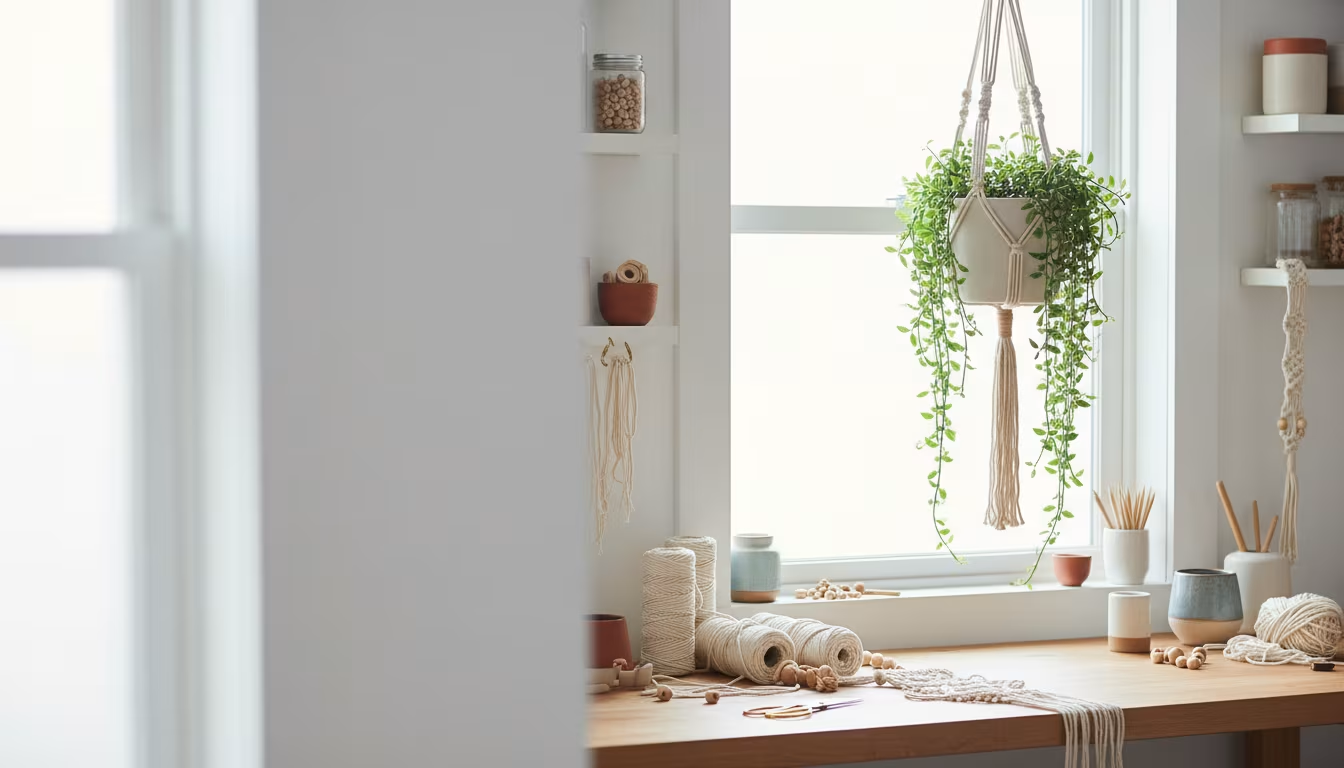
The Best Paper Trimmer Options for Card Making and Scrapbooking
Ready to try a beautiful new craft? Dive into the relaxing world of macrame and create a gorgeous...