The Best Rental-Friendly Ways to Update Your Kitchen Backsplash
The Best Rental-friendly Ways to Update Your Kitchen Backsplash
You know that feeling, right? You move into a new place, the living room is great, the bedroom is cozy, and then you step into the kitchen and BAM – an ugly, outdated backsplash punches you in the face. It’s frustrating because you can’t exactly rip out tiles when you’re renting.
I’ve been there so many times, staring at bland beige or truly questionable patterns. But just because you can't go permanent doesn't mean you're stuck! Today, we're going to dive into some seriously clever, landlord-approved ways to give that kitchen backsplash a total glow-up, without losing your security deposit.
Why This Actually Matters
Your kitchen is often the heart of your home, even in a small apartment. It’s where you make coffee, whip up dinner, and probably hang out more than you think.
An outdated or just plain ugly backsplash can really bring down the whole vibe, making the space feel less inviting. It’s one of those subtle things that, once fixed, makes you wonder how you lived with it before!
I remember my first apartment in Portland; the kitchen backsplash was this dingy, chipped cream tile from the 80s. Every morning, making coffee, I’d just stare at it and feel a little less cheerful, even though the rest of the kitchen was pretty decent. Updating it, even temporarily, changed how I felt about the entire space for a measly $40.
Understanding Your Options & the Rental Rules
When we talk "rental-friendly," we’re really talking about reversibility. This means whatever you put up has to come down easily, leaving zero damage to the existing wall or tiles underneath.
It sounds simple, but you'd be surprised how many products claim to be removable and then... aren't quite so friendly. That’s why choosing the right material and prepping correctly is super important.
Know Your Lease (seriously!)
I know, I know, reading a lease agreement isn't exactly a thrilling Saturday afternoon activity. But before you even think about buying a single tile, dig out that lease!
Look for clauses about "modifications," "alterations," or "painting." Some landlords are surprisingly cool with temporary changes if they know it won’t cause damage, especially if you communicate with them. A quick, friendly email confirming your plans can save you a lot of headache later.
If your lease is super strict, don't despair. We still have options that don't even touch the wall!
Types of Temporary Backsplashes
The world of temporary decor has really exploded lately, which is awesome for us renters. There are tons of innovative products out there that look incredibly realistic now.
Gone are the days when "removable" meant "flimsy and cheap-looking." Now you can get everything from embossed textures to intricate patterns, all designed to peel right off when you're ready to move.
- Peel-and-Stick Tiles: These are probably the most popular option for a reason. They come in individual tiles or larger sheets, often with a raised, gel-like texture that mimics real subway tile, mosaic, or even stone. Installation is usually pretty straightforward, and they're incredibly durable for kitchen use.
- Temporary Wallpaper: Don't just think floral patterns here! Temporary wallpaper comes in faux brick, wood grain, geometric designs, and even tile patterns. It’s great for covering larger, smooth areas quickly and offers a huge variety of styles. You can get rolls that are specifically designed for kitchen backsplashes to ensure they're wipeable.
- Adhesive Wall Panels: These are a bit thicker than wallpaper, often made from PVC or vinyl, and sometimes come in larger, rigid sheets. They can give a really solid, structured look, like shiplap or beadboard, without the commitment. They often have a stronger adhesive, so definitely test them first!
- DIY Removable Panels: This is where your crafty side can really shine! You can create your own backsplash panels using thin plywood, MDF, or even sturdy foam board. Paint, stencil, or apply regular wallpaper to these panels, then simply lean them against the wall or attach them with Command Strips. This option ensures absolutely no damage to your rental walls.
How to Actually do It - a Step-by-step Guide
Okay, enough talk about options, let’s get to the fun part: making it happen! My first attempt at a peel-and-stick backsplash was... a learning curve, to put it mildly. I ended up with more bubbles than a soda commercial.
But that's okay! We learn, we adjust, and eventually, we get it right. Here's what I've found works best for a smooth, bubble-free installation.
Step 1: Clean & Prep Your Surface Like a Pro
This is probably the most crucial step, and honestly, the one I used to rush through. If your surface isn't perfectly clean, that adhesive isn't going to stick properly, and your beautiful backsplash will start peeling at the corners almost immediately. Trust me on this one!
Start by wiping down your existing backsplash or wall with a strong degreaser (I use a mix of dish soap and hot water, or sometimes a dedicated kitchen cleaner). You want to remove all grease, grime, and food splatters. Rinse thoroughly with clean water, then let it dry completely. Like, completely completely. Any moisture can mess with the adhesive.
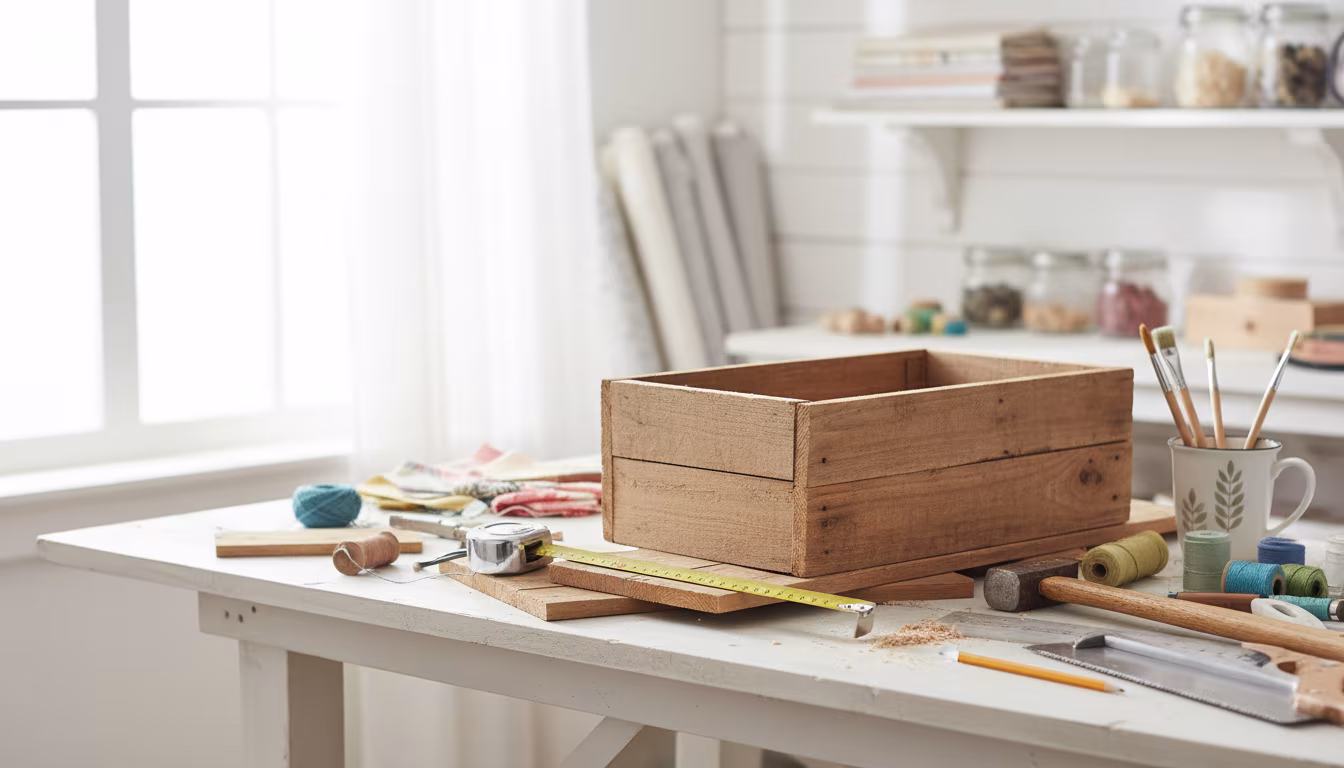
Step 2: Measure Twice, Cut once (or Three Times, Like Me!)
Grab your tape measure and get precise. Measure the height and width of your backsplash area. For peel-and-stick tiles, you might measure in sections, while for wallpaper, you'll want to measure the full length of each strip.
When cutting peel-and-stick tiles or wallpaper, always add an extra inch or so to each side. It's much easier to trim excess later than to realize you're a quarter-inch too short. I can't count how many times I've had to recut a piece because I was too confident with my first measurement!
Step 3: Start Applying - the Peel-and-stick Method
This is where it gets exciting! Whether you're using tiles or wallpaper, the principle is similar: start from one end and work your way across. Don't peel off the entire backing at once – that's a recipe for disaster (and sticky fingers!).
Peel back just a few inches of the liner from the top edge. Align your material carefully with your starting point, making sure it’s level (a small level can be your best friend here). Slowly press the exposed adhesive to the wall, then gradually peel off more of the backing as you work your way down and across, smoothing as you go. Use a smoothing tool or even just a credit card wrapped in a cloth to push out any air bubbles as you apply. Bubbles are super annoying, but usually fixable if you catch them fast.
Step 4: Dealing with Outlets and Corners
Ah, the dreaded outlets and corners – these are often where beginners get tripped up. For outlets, you'll need to turn off the power at your breaker box first, then carefully remove the outlet cover. Apply your material over the outlet hole, then use a sharp utility knife to carefully cut out the opening, staying just inside the edge of the box. Once you're done, replace the cover – it’ll hide any slightly imperfect cuts.
For corners, if you have an inside corner, you can usually cut the material to fit snugly into the corner. For outside corners, you might need to wrap the material around or cut it precisely to meet at the edge, depending on the look you're going for. Take your time here; these small details really make a difference in the finished look.
Step 5: Finishing Touches & Sealing (if Applicable)
Once everything is applied, take a step back and admire your work! Use your smoothing tool one last time to ensure every edge is firmly pressed down. For any excess material at the top, bottom, or sides, use a sharp utility knife and a straight edge to trim it for a clean finish.
For peel-and-stick tiles, sometimes the edges can feel a little unfinished or prone to lifting. You can use a removable caulk strip (yes, they make those!) along the countertop and the bottom of your cabinets. These are typically adhesive-backed and just provide a nice, clean seal that peels off without residue when you move. If you opted for a DIY stenciled board, you might want to seal your paint with a removable clear coat to protect it from kitchen splashes, but only if you plan on actually washing it down. Otherwise, a regular craft sealer is fine.
Step 6: the Diy Panel Method (for Zero-damage Confidence)
If you're using the DIY panel approach, the steps are slightly different. First, accurately measure your backsplash area. Then, purchase thin sheets of plywood, MDF, or even large foam core boards that match your measurements. Cut them to size (many hardware stores will do basic cuts for you!).
Next, get creative! You can paint these panels, apply temporary wallpaper, stencil them with a cool design, or even attach faux tin ceiling tiles. Once your panels are decorated and completely dry, simply lean them against your backsplash area. For added stability without damage, you can use removable Command Strips or even poster putty on the back. This method is truly damage-free, making it perfect for the most strict landlords.
Making It Stick (Without Actually Sticking) / Common Mistakes
You’ve put in the work, and you want your temporary backsplash to look great and last. There are a few common pitfalls I've personally stumbled into that are easy to avoid if you know about them ahead of time.
It’s usually the little details that make or break a project like this. Don't rush through the "boring" parts, because those are usually the most important!
"The secret to a great temporary backsplash isn't how perfectly you apply it, but how well you prep for it."
Common Mistakes to Avoid:
- Skipping the Deep Clean: We talked about this, but it bears repeating. Any greasy residue, dust, or crumbs will prevent the adhesive from bonding properly. Your beautiful new backsplash will start to lift and curl, looking messy within weeks. Take the extra 15 minutes to really scrub that wall!
- Ignoring Imperfections Underneath: If you have bumps, divots, or heavily textured walls, a thin peel-and-stick material will highlight every single one. For a smoother finish, you might need to spackle small holes (if your landlord allows and you can patch perfectly later) or consider a thicker adhesive panel that can mask minor imperfections. Otherwise, embrace a more textured temporary wallpaper.
- Rushing the Application: Applying too quickly is how you get bubbles and crooked lines. It’s like trying to perfectly wrap a gift when you're in a hurry – it just doesn't work! Take your time, peel slowly, and smooth constantly. If you get a stubborn bubble, you can often gently lift the material back to that point and reapply.
- Not Testing the Adhesive: Before you commit to covering your entire backsplash, cut a small piece of your chosen material (tile or wallpaper) and stick it in an inconspicuous spot, like behind your microwave. Leave it for a few days, then carefully peel it off. Does it leave residue? Does it pull off paint? This test is a lifesaver for ensuring it's truly rental-friendly for your specific wall type.
- Using the Wrong Tools: Trying to cut straight lines with dull scissors or apply with your bare hands instead of a smoothing tool makes the job much harder. Invest in a sharp utility knife, a metal ruler or straight edge, and a proper smoothing tool (they’re usually just a few dollars). They make all the difference for a professional-looking finish.
- Buying the Cheapest Option: I'm all about budget-friendly DIY, but sometimes the cheapest peel-and-stick options really look cheap. They might have a very thin, glossy finish that screams "fake," or the adhesive might not be strong enough (or too strong). Read reviews, look for textured options, and consider a slightly higher quality product for a more convincing and durable result. You don't need to break the bank, but a little extra often goes a long way.
Frequently Asked Questions
Can I Put Peel-and-stick over Existing Tile?
Absolutely, yes! Many peel-and-stick backsplashes are designed specifically for this. Just make sure your existing tiles are smooth and the grout lines aren't too deep, as very pronounced grout lines might show through thinner materials. Clean them thoroughly first, just like you would a painted wall.
Will This Really Come off Without Damage?
Most reputable brands of rental-friendly materials are designed to be removed cleanly, leaving no residue or damage. However, wall conditions, paint quality, and how long the material has been up can all play a role. That's why I always recommend doing a small test in an inconspicuous spot, just to be sure your specific wall will cooperate!
How Long does It Usually Last?
With proper application and good quality materials, a temporary backsplash can easily last anywhere from 1 to 5 years, or even longer. It really depends on the material itself, how much moisture it's exposed to, and how carefully you installed it. They’re pretty durable for everyday kitchen life, which is awesome.
What's the Easiest Option for Total Beginners?
For a complete beginner, I'd probably lean towards larger sheets of temporary wallpaper or adhesive panels over individual tiles. They cover more area quickly, often require fewer intricate cuts, and you don't have to worry about perfectly aligning individual pieces like you do with some tile designs. Plus, there are some really convincing faux-tile wallpapers now that look fantastic.
Do I Need Special Tools?
Not really! You'll definitely want a sharp utility knife or box cutter, a straight edge or metal ruler, and a tape measure. A smoothing tool (sometimes called a squeegee) is incredibly helpful for getting rid of air bubbles, and you can pick one up for a few dollars. Other than that, just basic cleaning supplies you probably already have.
Is This Worth It for a Short-term Rental?
Even if you're only in a place for a year or two, I think it's totally worth it! The impact on your daily mood and how you feel about your space is huge. Plus, many of these options are quite affordable – you can often transform a backsplash for under $100, which is a small price to pay for a happier kitchen.
The Bottom Line
You really don't have to settle for an ugly kitchen backsplash, even if you're renting. With so many fantastic temporary options out there, you can totally customize your space to feel more like you without risking your security deposit.
Start small, maybe just one wall, and see how much you love the change. It's a fun, impactful project that anyone can tackle, even if you've never done DIY before. You've got this! 👋
Related Posts

The Secret to Making Your Home Smell Amazing Without Artificial Sprays
Tired of chemical-laden air fresheners? Learn how to fill your home with beautiful, natural scent...
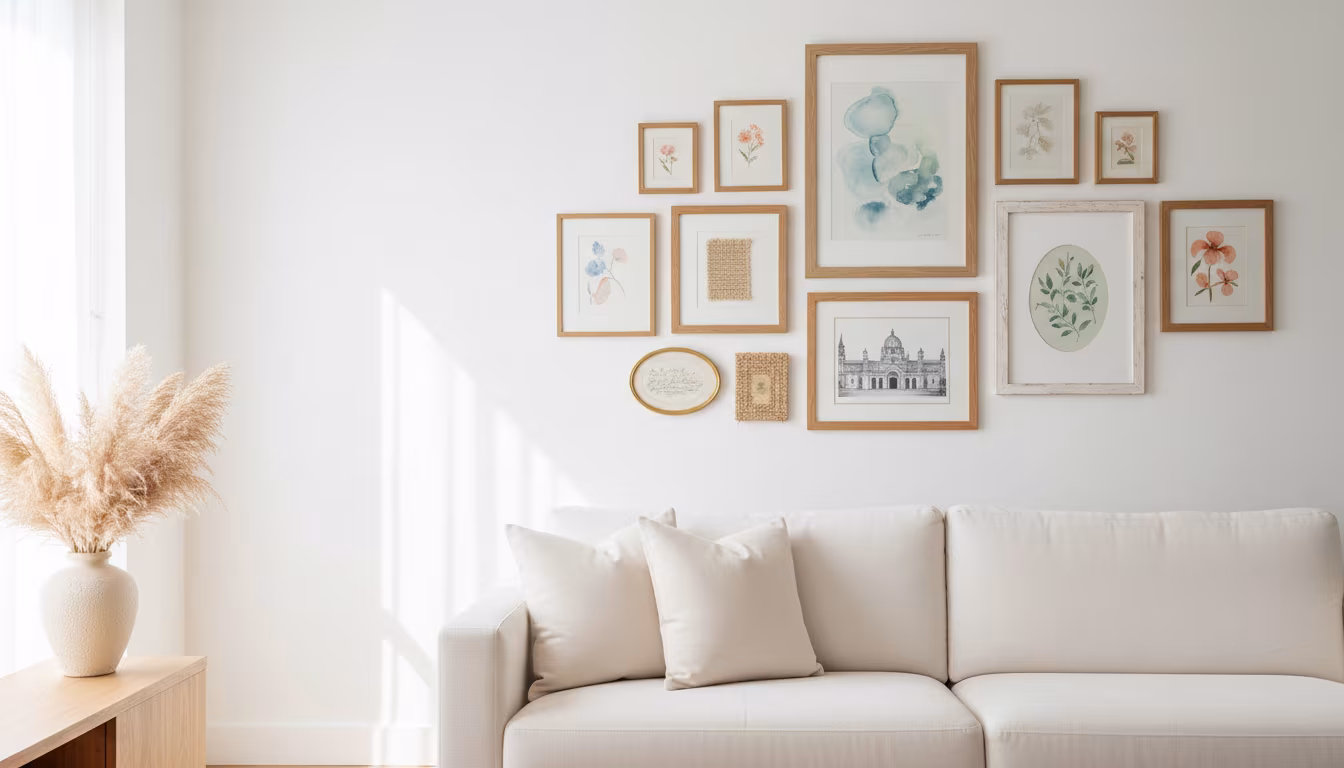
How to Arrange Art Above a Sofa Using the Right Proportions
Tired of staring at a blank wall above your couch? We'll show you exactly how to choose and arran...
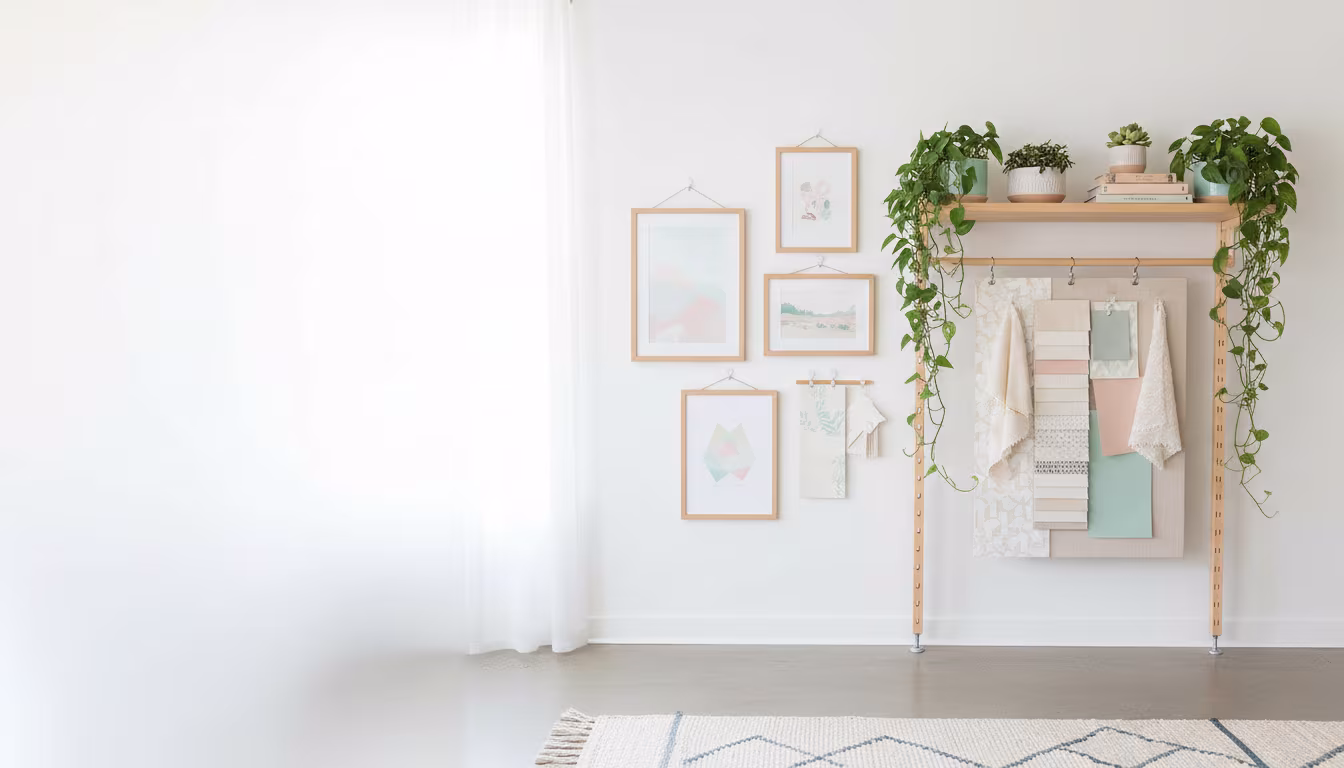
How to Decorate a Rental Apartment Without Damaging Any Walls
Dreaming of a stylish rental pad but worried about losing your deposit? We've got you covered wit...
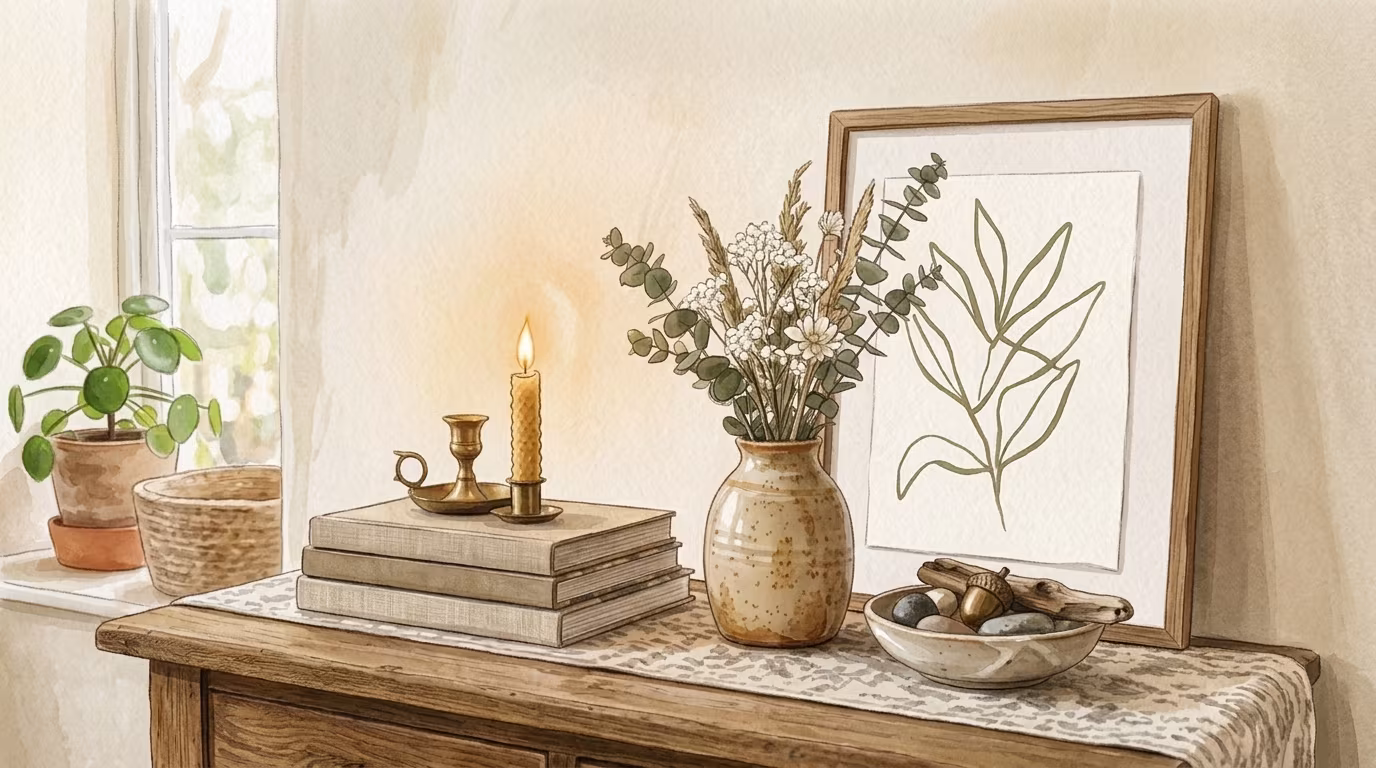
The Art of Creating a Curated Vignette on Any Flat Surface
Ever wonder how some people just effortlessly style shelves and tables? It's all about the art of...