The Best Way to Structure a Kids Art Camp in Your Own Backyard
A backyard art camp is a dedicated block of time and space where kids create with minimal structure. It is not a formal class and it is not about producing gallery work. The goal is the process: mixing materials, trying techniques, and making a mess that you have already planned for. Run over a single afternoon or as a series of short sessions across a week, it costs very little and keeps a small group busy without screens.
The setup below is built for a group of three to five kids in a two to three hour session, which is the range where attention holds without wandering. Everything scales down to your own two kids or up to a small neighborhood group if you add supplies and a second pair of hands.
What a Backyard Art Camp Involves
Painting is the obvious activity, but the camps that hold interest longest rotate through three broad material types. Mixed media covers gluing, collage, and building with cardboard, fabric scraps, buttons, and pipe cleaners — thrift stores sell bags of buttons and remnant fabric for a dollar or two. Nature art uses leaves, sticks, pebbles, and bark collected on the spot, so the supplies are free; kids arrange them into mandalas or glue them to paper. Upcycled projects turn toilet paper tubes, cereal boxes, and egg cartons into robots or castles.
Choosing a loose theme — Under the Sea, Space Explorers, Jungle Adventure — makes supply gathering and activity choice easier, though you should let kids drift off-theme when a project takes hold. A theme is a starting point, not a rule. For a general sense of how open-ended, process-first making differs from structured instruction, the overview of arts and crafts as a category is a useful frame.
Planning the Camp Step by Step
Set the crew and schedule. Decide the age range and headcount first, since a five-year-old and a ten-year-old need different tasks from the same materials. Keep the group at three to five for one adult, and cap a single session at two to three hours.
Gather supplies cheaply. Start with your own craft stash, then work through thrift stores, dollar stores, and garage sales for frames, yarn, beads, and old magazines for collage. Buy basics — construction paper, glue sticks, brushes — as discount multipacks. Buy only washable paint; a single non-washable spill on clothing ends the goodwill fast.
Build two or three stations. Give each activity its own defined space: one for painting, one for gluing and collage, one for a cardboard build. Stock each station fully with its own containers and brushes so kids are not carrying paint into the collage zone. Lay a tarp under each to mark its edges.
Plan a snack and water break. A five-minute break with fruit slices, pretzels, or crackers and a pitcher of water resets the group's energy at the midpoint. Kids get absorbed and forget to drink, so make water visible.
Prepare for the mess before it happens. Cover surfaces with tarps or old sheets, keep a bucket of soapy water and a stack of rags on hand, and use oversized adult T-shirts as smocks — thrift-store XL shirts at about two dollars each cover most kids to the knees.
End with show and tell. Gather everyone to display their work and describe what they made. This closing ritual matters more than the projects themselves; it gives kids the sense of being real artists and turns abstract blobs into something they are proud of.
Common Problems and Fixes
Over-scheduling. Kids get absorbed in one or two activities, so planning five crafts backfires. Prepare more than you need but present fewer at a time and let them go deep on what they choose.
Shortages of popular items. When everyone wants the one bottle of glitter glue, arguments start. Keep duplicates of high-demand colors and materials, or set a shared station with a timer for turns.
Too much instruction. Correcting a project toward "perfect" stifles the kid. Frame activities as challenges and ask open questions like "how could you make that part stronger?" and let them solve it.
Underestimating cleanup. It always runs long. Fold it into the session by making it a task: a brush-washing station and a paper-scrap gather turn cleanup into part of the play.
The goal isn't perfect art, it's fearless creating. Let kids experiment, fail, and try again — that's where the work sticks.
Frequently Asked Questions
Can I do this if I am not artistic?
Yes. Your job is to supply materials and encouragement, not to demonstrate technique. Enthusiasm for what they make matters more than any drawing skill of your own.
How do I manage a wide age range?
Set up stations that can be approached at different levels. Younger kids do simple gluing while older ones build more complex structures from the same pile of materials, with an optional harder challenge for the older group.
What if it rains?
Move a light-drizzle session to the garage. For a full storm, a kitchen table with a wipeable cloth works, but expect tighter quarters and more indoor cleanup.
How much does it cost?
A multi-kid session runs roughly twenty to fifty dollars when you shop thrift and use what you own. The biggest line items are washable paint and specialty paper, both of which go on sale regularly.
Start with one afternoon before committing to a full week. Pick a single theme, set two stations and a mess zone, and keep the group small. Once you have run it once, the planning drops to about an hour spread over a few days, and the backyard becomes the easiest low-cost activity on the calendar.
Related Posts
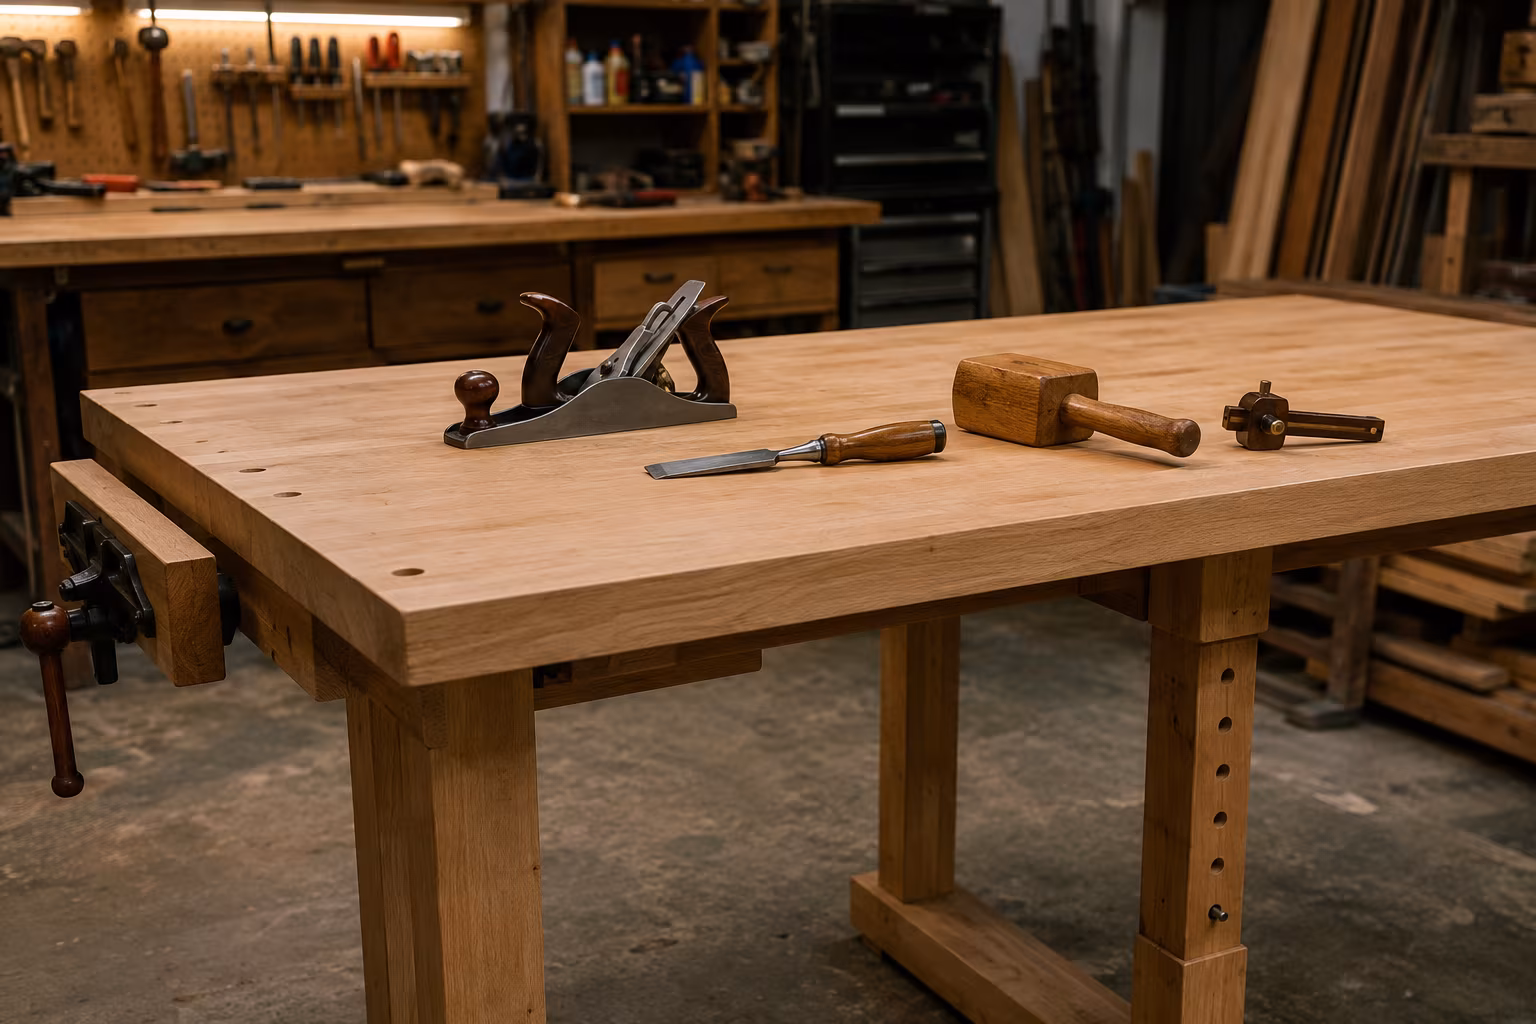
Workbench Height Without Hurting Your Back After Two Hours
A workbench at the wrong height becomes painful before the project is done. The elbow rule...
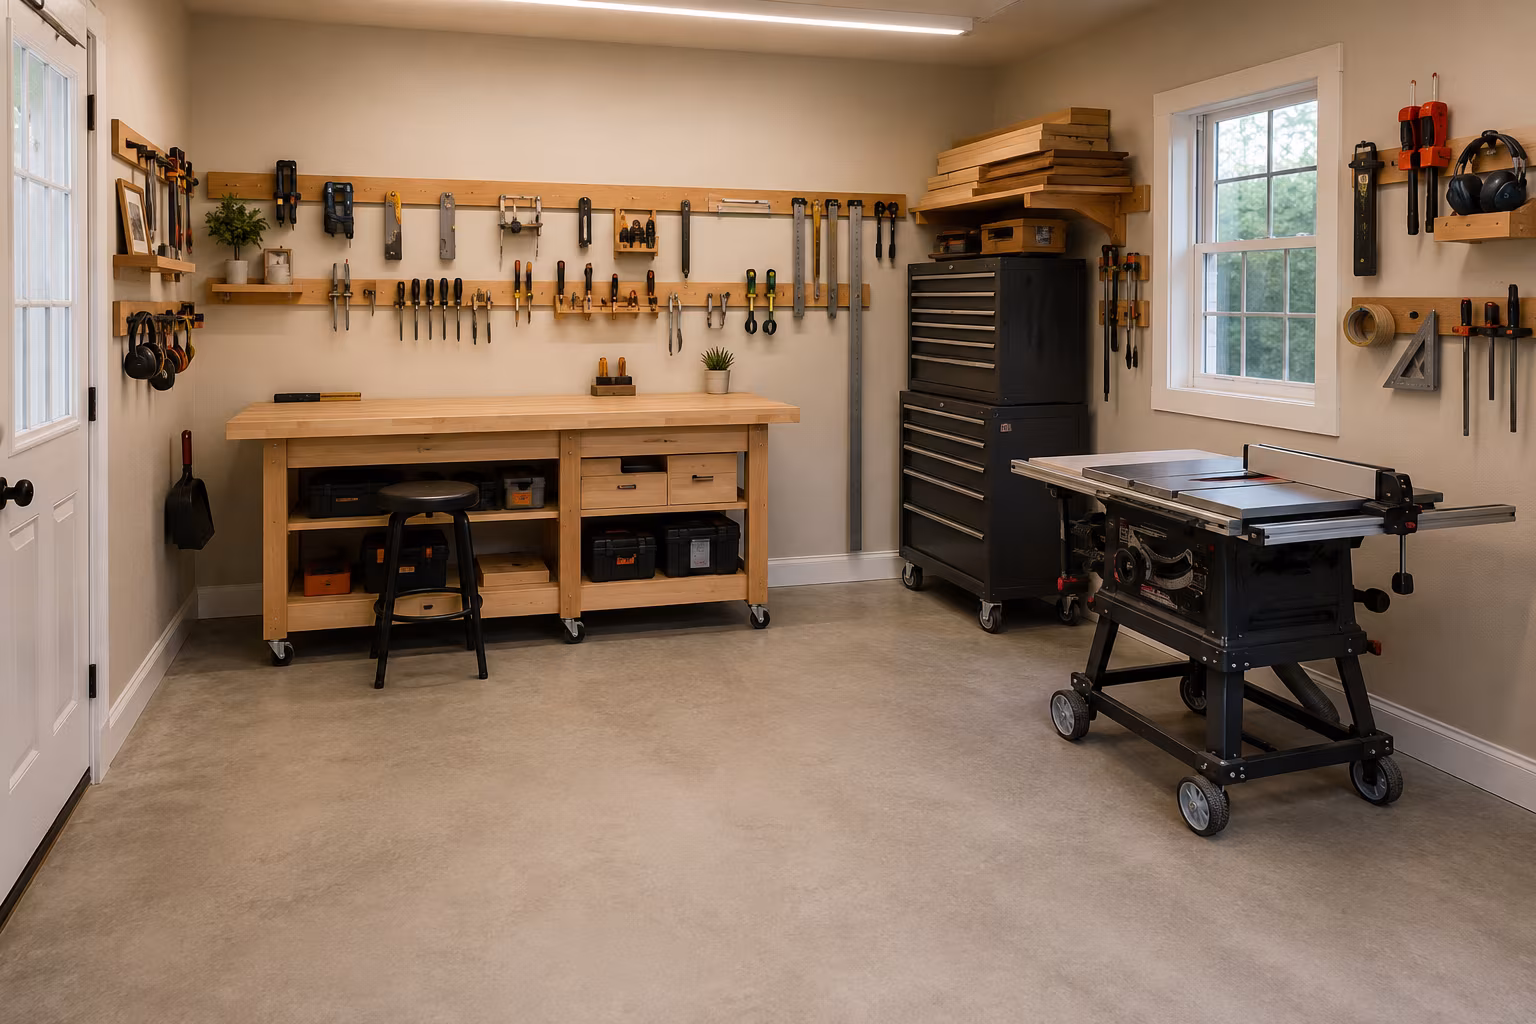
Single-Bay Garage Workshop Layout Without Losing the Car
Park the car and still keep a real workshop: mobile tools on locking casters, perimeter wall...

Pegboard vs French Cleat: The Honest Tool Wall Choice
Pegboard holds ~50 lb per sheet and rearranges instantly; French cleat holds 100+ lb per rail...

The Complete Guide to Starting a Fiber Arts Guild in Your Town
A practical plan to start a local fiber arts guild: finding founding members, picking a venue...