The Ultimate Guide to Stenciling Patterns on Thrifted Wood Furniture
The Ultimate Guide to Stenciling Patterns on Thrifted Wood Furniture
You know that feeling, right? You're wandering through a thrift store, minding your own business, and then you spot it. A forgotten wooden dresser, maybe a dusty side table, just begging for a second chance.
My garage is practically a museum of these "diamonds in the rough." I've dragged home more than my fair share of dinged-up furniture, convinced I can bring it back to life.
Sometimes, though, a fresh coat of paint isn't quite enough. You want something with a little more pizzazz, a unique touch that makes it truly yours. That's where stenciling comes in, and trust me, it's easier than you think to add that custom flair.
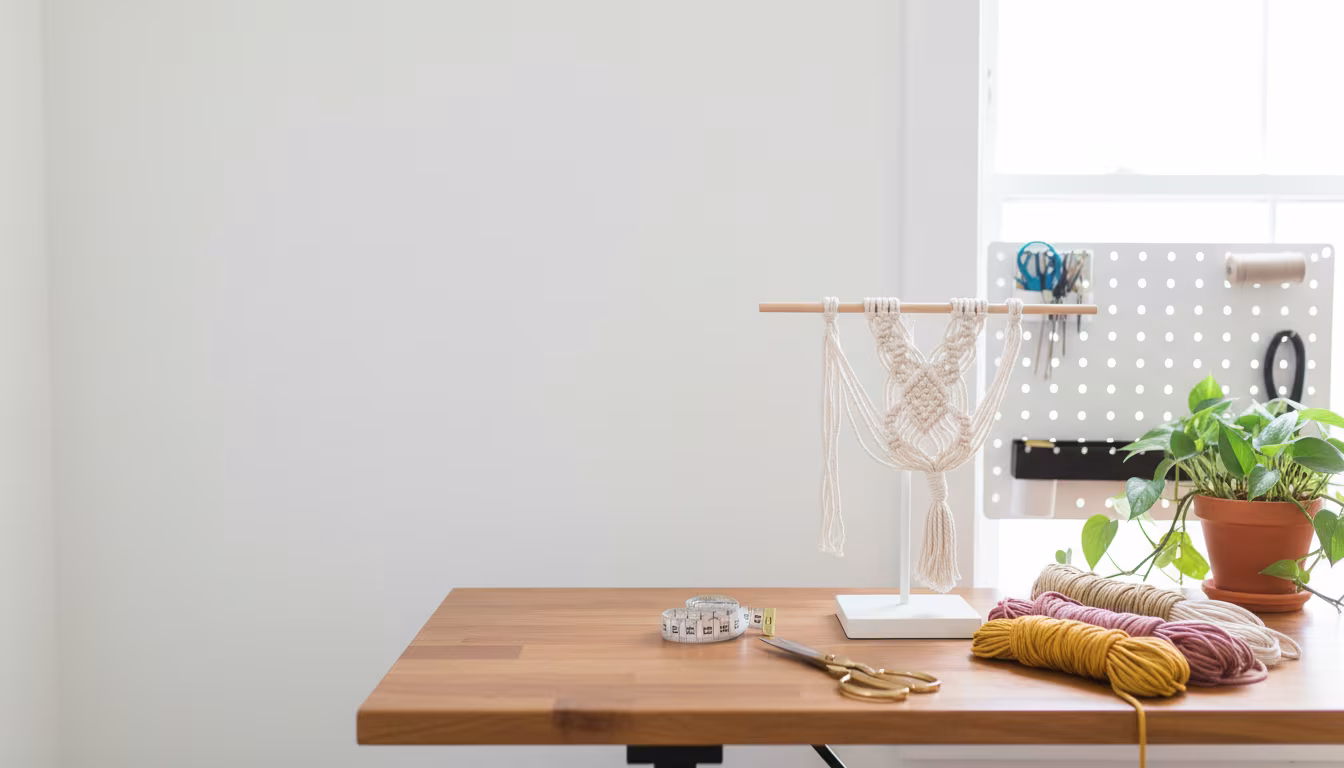
Today, we're diving deep into stenciling patterns on those amazing thrifted wood finds. We'll cover everything from picking the right piece to sealing your beautiful new design. Get ready to transform some forgotten wood into a statement piece!
Why This Actually Matters
I get it, life is busy. Why spend hours on a piece of old furniture when you could just buy something new? But for me, and I bet for you too, there's something incredibly satisfying about making something with your own hands.
It's not just about saving money, although that's a huge bonus when you're turning a $20 table into something that looks custom-made. It's about creative expression, about problem-solving, and about giving forgotten objects a new story.
Plus, let's be honest, the stuff you find in thrift stores often has a quality and character that modern furniture just can't match. Solid wood, interesting shapes – they just need a little love to shine again.
Stenciling allows you to take those unique pieces and infuse them with your personal style. You're not just buying a look; you're creating it, and that feels pretty awesome.
Getting Started: the Basics of Stenciled Furniture
Before we even think about paint, let's talk about the fundamentals. What kind of wood works best? What kind of stencils are out there? It’s all about setting yourself up for success.
You don't need a huge budget or a fancy workshop to get started. My first stenciled piece was a little nightstand I picked up for $10, and I worked on it right on my patio.
Understanding Your Canvas: Thrifted Wood Furniture
Not all wood furniture is created equal, especially when you're thrifting. You'll find everything from solid oak to particle board with a wood veneer.
Solid wood is usually the easiest to work with. It's durable, takes paint well, and you can sand it down without worrying about ruining the finish.
Veneer pieces can work, but you need to be a little gentler with the sanding. If you sand through the thin veneer, you'll expose the less attractive particle board underneath. Always test a small, inconspicuous area first.
Choosing Your Stencil: Patterns and Materials
Stencils come in a huge variety of patterns, from geometric designs to intricate floral motifs, and even letters. Think about the style you want for your piece and the room it's going into.
For materials, you'll mostly find plastic or Mylar stencils. These are great because they're reusable, flexible, and easy to clean.
- Adhesive Stencils - These have a sticky back, which can be fantastic for reducing bleed-through. They stick firmly to the surface, making crisp lines easier to achieve.
- Non-Adhesive Stencils - These are more common and require a bit more care to secure. You'll often use painter's tape or a temporary spray adhesive to hold them in place.
- Custom Stencils - If you have a cutting machine like a Cricut or Silhouette, you can actually design and cut your own stencils from vinyl or stencil blanks. This opens up endless possibilities for truly unique designs.
Picking Your Palette: Paint Types for Wood
The type of paint you choose matters a lot for both look and durability. You have a few great options when working with wood furniture.
I've experimented with almost all of them, and each has its pros and cons. It really depends on the finish you're going for.
- Acrylic Paint - This is super versatile and comes in tons of colors. It dries quickly and cleans up with water, which is a huge plus for stenciling. For furniture, you'll want to make sure it's a good quality craft or chalk paint acrylic for better adhesion and durability.
- Chalk Paint - My personal favorite for many furniture projects. It adheres really well to almost any surface with minimal prep, and it creates a beautiful matte, velvety finish. It's also super easy to distress if you like that look.
- Latex Paint (Interior House Paint) - If you have leftover wall paint, you can definitely use it! It's durable and easy to clean, but often requires a good primer for proper adhesion on furniture. It also has a longer drying time between coats.
- Milk Paint - This creates a super authentic, often chippy, antique look. It's a bit more specialized and requires a bonding agent if you don't want the chippy effect. It can be a little tricky for beginners but delivers a unique finish.
Tools of the Trade: What You'll Need
You don't need a massive collection of specialized tools. Most of these you might already have around the house, or can pick up cheaply.
I always recommend starting with the basics and adding as you go. No need to break the bank for your first project!
- Painter's Tape - Essential for securing your stencil and masking off areas. I always opt for the blue kind, it's less likely to damage existing finishes.
- Stencil Brushes or Sponges - Small, stiff-bristled brushes are perfect for dabbing paint. Sponges, especially dense foam ones, also work wonderfully for applying paint evenly.
- Small Paint Roller (Optional) - If you're covering a large area with a stencil, a dense foam roller can speed things up and give a very even finish.
- Craft Knife or Scissors - For trimming tape or fine-tuning stencil edges if needed.
- Drop Cloths or Old Sheets - Protect your work surface! Trust me, paint gets everywhere.
- Paper Towels or Rags - For blotting excess paint and quick clean-ups.
- Fine-Grit Sandpaper (120-220 grit) - For smoothing the wood surface and distressing if desired.
- Primer (Optional but Recommended) - Especially if you're painting over a dark finish or tricky surface.
- Clear Topcoat/Sealer - Crucial for protecting your finished design and making it durable.
- Cleaning Supplies - Detergent, water, maybe some cleaner for stubborn grime.
How to Actually do It: Step-by-step Stenciling
Alright, this is where the real fun begins! We're going to break down the process into manageable steps. Remember, take your time, and don't rush it.
I've learned that patience is truly a virtue when it comes to any DIY project, especially stenciling. Rushing always leads to paint bleeding or uneven coats, and then you're just frustrated.
Step 1: the Great Clean-up (and Repair)
First things first, that thrift store find probably has years of grime, dust, and maybe even some mysterious sticky spots. You need a clean, smooth surface for paint to adhere properly.
Use a good degreaser or a simple mix of warm water and dish soap to thoroughly clean the entire piece. For really tough spots, I sometimes use a mild abrasive cleaner, but be careful not to damage any delicate finishes.
While you're cleaning, take note of any dings, scratches, or loose joints. Now is the time to make minor repairs. Wood filler can work wonders for small imperfections, just let it dry completely and sand it smooth afterwards.
Step 2: Sanding for Success
Sanding is probably my least favorite part of any furniture project, but it's absolutely essential for a professional-looking-resin-coasters-without-air-bubbles" class="auto-link" target="_blank" rel="noopener">professional-looking finish. It helps the paint stick better and creates a smooth surface.
Start with a medium-grit sandpaper (around 120-150 grit) if your piece has a thick, glossy finish or major imperfections. This helps rough up the surface for better adhesion.
Then, switch to a finer-grit sandpaper (220 grit) for a smoother finish. You want to sand just enough to scuff the surface, not necessarily remove all the old finish, unless it's peeling or heavily damaged. Always sand in the direction of the wood grain.
After sanding, wipe down the entire piece with a tack cloth or a damp cloth to remove all dust. Any leftover dust will create bumps under your paint.
Step 3: Priming Your Canvas
Priming isn't always strictly necessary, especially with chalk paint, but I almost always do it for thrifted pieces. It's an extra step that prevents bleed-through from old stains and ensures your paint adheres evenly.
If your piece is dark and you're painting it light, primer is your best friend. It saves you from needing multiple extra coats of your chosen paint, which is a win in my book.
Apply one or two thin, even coats of a good quality primer, following the manufacturer's drying times. Make sure each coat is completely dry before moving on to the next.
Step 4: Base Coat Brilliance
Now for the color! This is the main color of your furniture, which will serve as the background for your stencil pattern. Choose a color that complements your stencil design.
Apply your chosen paint in thin, even coats. Multiple thin coats are always better than one thick coat, which can lead to drips, uneven coverage, and longer drying times.
Let each coat dry completely according to the paint's instructions before applying the next. This usually takes at least 1-2 hours for most paints, sometimes longer depending on humidity.
You'll likely need two to three coats to get full, opaque coverage. Don't rush this step, it's the foundation for your stencil.
Step 5: Stencil Placement Perfection
This is where your vision starts to come to life! Before you even think about paint, plan out your stencil placement. Will it be a repeating pattern, a single focal point, or a border?
Lay your stencil on the surface and step back. Does it look balanced? Is it centered? Use a ruler and a pencil to mark very light guidelines if you need perfect alignment. I often use a low-tack pencil and eraser for this.
Once you're happy with the placement, secure your stencil. If it's an adhesive stencil, simply press it firmly onto the surface, making sure there are no air bubbles.
For non-adhesive stencils, use painter's tape around the edges to hold it down securely. For extra security, especially on larger stencils or intricate designs, a light mist of temporary spray adhesive on the back of the stencil can really help prevent paint bleed. Let the spray adhesive get tacky for a minute before applying the stencil.
The key here is to make sure the stencil is flat against the surface. Any gaps are an invitation for paint to sneak under and ruin your crisp lines.
Step 6: Painting Through the Stencil
Here's where many people go wrong, myself included on more than one occasion. The secret to crisp stencil lines is using very, very little paint.
Dip your stencil brush or sponge into your chosen paint, then immediately blot almost all of it off onto a paper towel. You want your brush or sponge to be almost dry.
Seriously, "dry brush" is the phrase to remember. Too much paint will bleed under the stencil, guaranteed.
Using a dabbing motion (straight up and down), apply the paint through the stencil openings. Don't brush or swipe, as this can force paint under the edges.
Apply multiple thin layers of paint rather than one thick one. This builds up the color gradually and significantly reduces the chance of bleed-through. It might take 2-3 very thin applications to get the color density you want.
If you're using a dense foam roller, roll it on a paper towel first to remove excess paint. Roll lightly over the stencil, using minimal pressure. Again, multiple light passes are better.
Step 7: the Big Reveal (removing the Stencil)
This is the moment of truth! How you remove the stencil depends on the paint and stencil type.
For most paints, you want to remove the stencil relatively quickly, while the paint is still slightly damp but not wet. If you let it dry completely, the paint can sometimes peel up with the stencil, especially with thicker paint applications.
Carefully peel the stencil straight up and away from the surface. Try not to drag it across your fresh paint.
If you're using an adhesive stencil or a spray adhesive, peel it off slowly and deliberately. If you notice any slight bleed-through, don't panic! You can often clean it up with a cotton swab dipped in a little water (if using water-based paint) or by gently scraping with a craft knife once fully dry.
If you're doing a repeating pattern, let the first section dry fully before repositioning the stencil for the next part. This prevents smudging.
Step 8: Sealing Your Masterpiece
You've put in all this effort, so let's protect it! A clear topcoat is absolutely essential for durability, especially for furniture that will see regular use.
Make sure your paint and stencil design are completely dry, usually 24-48 hours, before applying a sealer. Rushing this step can lead to smudging or adhesion issues.
For most painted furniture, I recommend a water-based polycrylic or clear wax. Polycrylic offers excellent protection and comes in different sheens (matte, satin, gloss).
Apply your sealer in thin, even coats, following the manufacturer's instructions. Again, multiple thin coats are better than one thick one. Lightly sand with a super fine grit sandpaper (400+) between coats for an ultra-smooth finish if you're feeling ambitious.
If you used chalk paint, a clear wax is a traditional finish that gives a lovely soft sheen and protects the surface. Apply with a wax brush or lint-free cloth, buffing off the excess after it hazes. You might need to re-wax every year or so depending on use.
Making It Stick: Avoiding Common Stenciling Mistakes
I've made almost every stenciling mistake in the book. My first few attempts definitely looked like a toddler's art project. Learning from those failures is part of the fun, but I can save you some headaches by sharing what I've learned.
"Every 'oops' moment in crafting is just an unplanned design iteration." That's what I tell myself, anyway.
Bleeding Edges
This is probably the most common stencil woe. You pull up your stencil, and instead of crisp lines, you have fuzzy, blurry edges.
The main culprit is almost always too much paint. Remember that "dry brush" technique we talked about? Seriously, blot your brush until you think there's no paint left. There's still enough, I promise.
Another reason for bleeding can be the stencil not being firmly adhered to the surface. Make sure it's taped down well or use a temporary spray adhesive.
Uneven Coverage
Sometimes your stencil looks patchy, with some areas much lighter than others. This usually means you weren't consistent with your dabbing pressure or you didn't apply enough thin layers.
Take your time and ensure you're applying paint evenly across all the stencil openings. You want a consistent, light pressure.
Stencil Sticking or Pulling up Paint
If your stencil is sticking so much that it pulls up your base coat, there are a few things at play. First, you might be letting the paint dry too much before removal, causing it to bond with the stencil.
Alternatively, your base coat might not have been fully cured before you applied the stencil, making it vulnerable to lifting. Patience is key at every step.
If you used spray adhesive, make sure it's a temporary adhesive and you let it get tacky before applying. Too much or not tacky enough, and it can become too permanent.
Paint Peeling or Chipping
This happens when the paint doesn't adhere properly to the furniture in the first place. Usually, it's a sign that you skipped or rushed the prep steps.
Not cleaning thoroughly, insufficient sanding, or skipping primer on a tricky surface can all lead to adhesion problems. The surface needs to be clean, dry, and slightly scuffed for the paint to grip.
Smudging or Transferring Paint
You've got one section done, and you're moving to the next, only to accidentally brush your hand or the stencil itself against the wet paint. Been there, done that, cursed quietly.
The solution is simple: allow sufficient drying time between sections, especially if you're repositioning a stencil. If you're working on a large piece, you might need to leave it overnight before continuing.
Frequently Asked Questions
Can I Stencil over Existing Paint or Varnish Without Sanding?
It depends! If the existing finish is smooth, clean, and in good condition, and you're using chalk paint, you might get away with just a thorough cleaning. However, for most other paints or if the surface is glossy or damaged, a light sanding and primer will give you much better adhesion and results. Don't risk it if you want it to last.
How do I Clean My Stencils So I Can Reuse Them?
Clean your stencils immediately after use! For water-based paints (acrylic, chalk, latex), simply rinse them under warm water and gently scrub with a soft brush or sponge. For oil-based paints, you'll need the appropriate solvent. Lay them flat to dry or hang them up, making sure they're completely dry before storing.
What if My Stencil Design Doesn't Turn out Perfectly?
Hey, that's totally okay! Handmade items have character. For minor imperfections, you can often touch them up with a small artist's brush once the paint is dry. If it's a major oops, you can sometimes sand down the stenciled area and repaint the base coat, then try again. Sometimes, though, "imperfect" just means "unique."
How Long does a Stenciled Furniture Project Typically Take?
Oh, this varies wildly! A small side table with a simple stencil might take you 4-6 hours of active work, spread over two days to allow for drying times. A large dresser with an intricate, repeating pattern could easily be a weekend project, or even take several days, especially with all the sanding, cleaning, multiple paint coats, and sealing. Don't underestimate drying time!
Is Stenciling Durable Enough for High-traffic Furniture Like a Dining Table?
Yes, absolutely, as long as you use the right topcoat! For high-traffic pieces, I would strongly recommend a durable water-based polycrylic, applied in at least 3-4 thin coats. This creates a hard-wearing surface that can withstand daily use. Wax is great for dressers or nightstands, but for a dining table, you need something more robust.
The Bottom Line
Stenciling thrifted wood furniture is one of those projects that gives you so much bang for your buck. You get to breathe new life into something old, express your creativity, and end up with a truly unique piece that tells a story.
Don't be afraid to experiment, and definitely don't be afraid to mess up. That's how we learn, right? Grab that dusty find, pick out a stencil you love, and just go for it.
You might just surprise yourself with what you can create. Happy stenciling! 👋
Related Posts
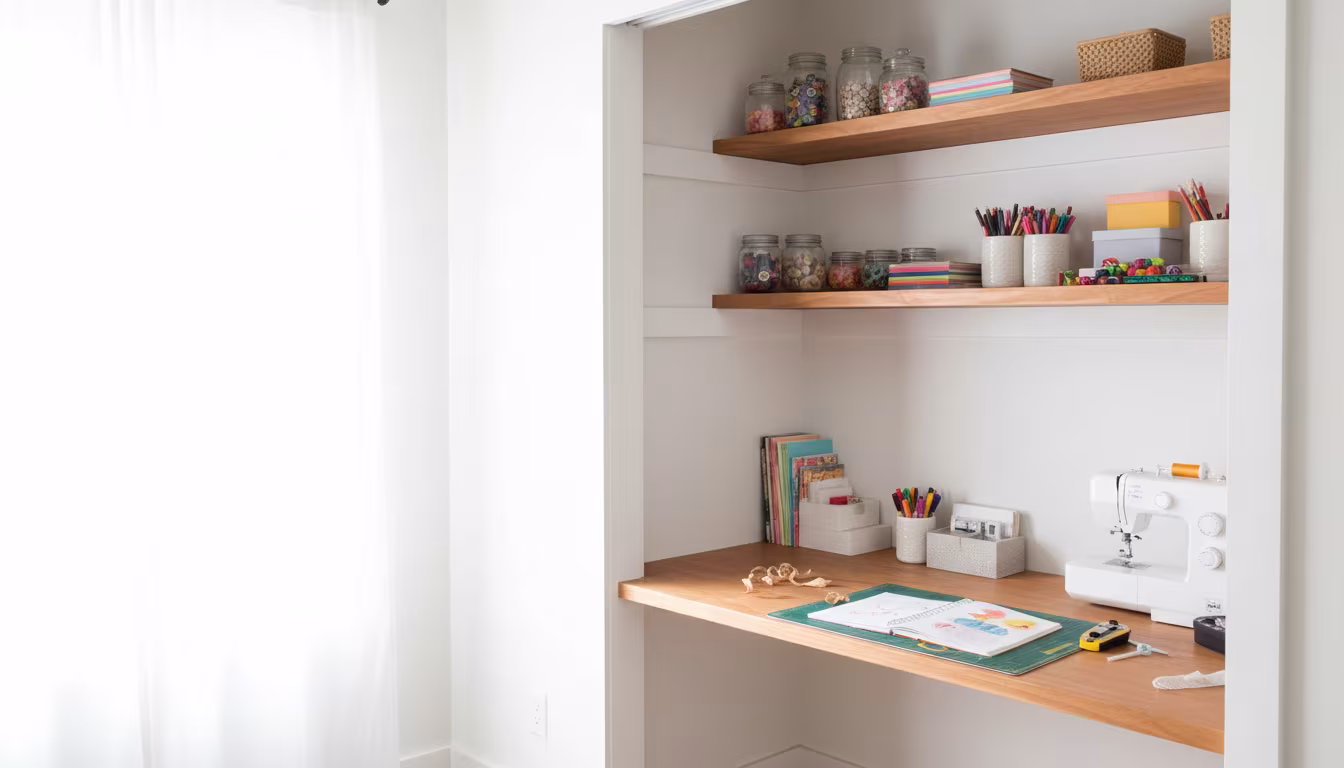
How to Convert a Regular Closet into a Functional Home Office
Dreaming of a dedicated workspace but short on space? Turn that underutilized closet into your pe...
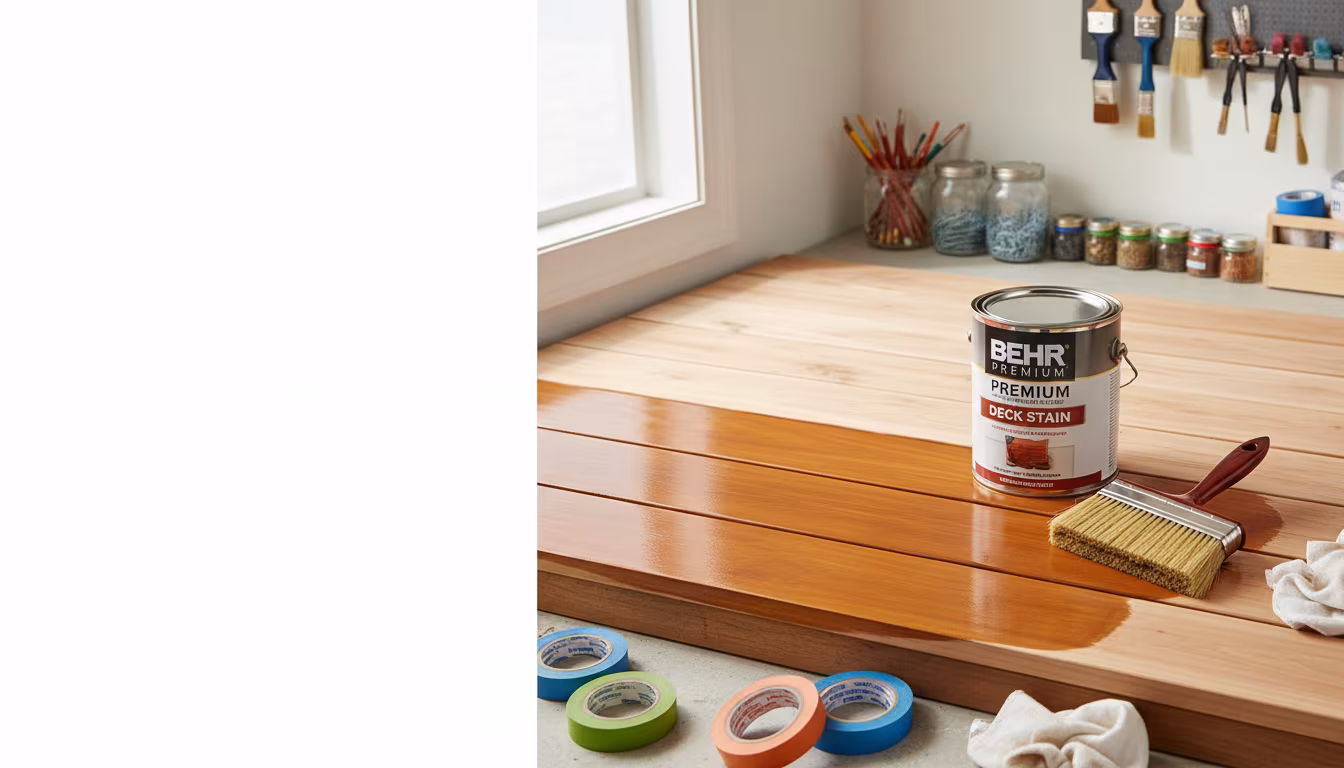
The Best Way to Weatherproof and Stain an Old Wooden Deck
Is your old wooden deck looking a little worse for wear? We'll show you the easiest, most effecti...
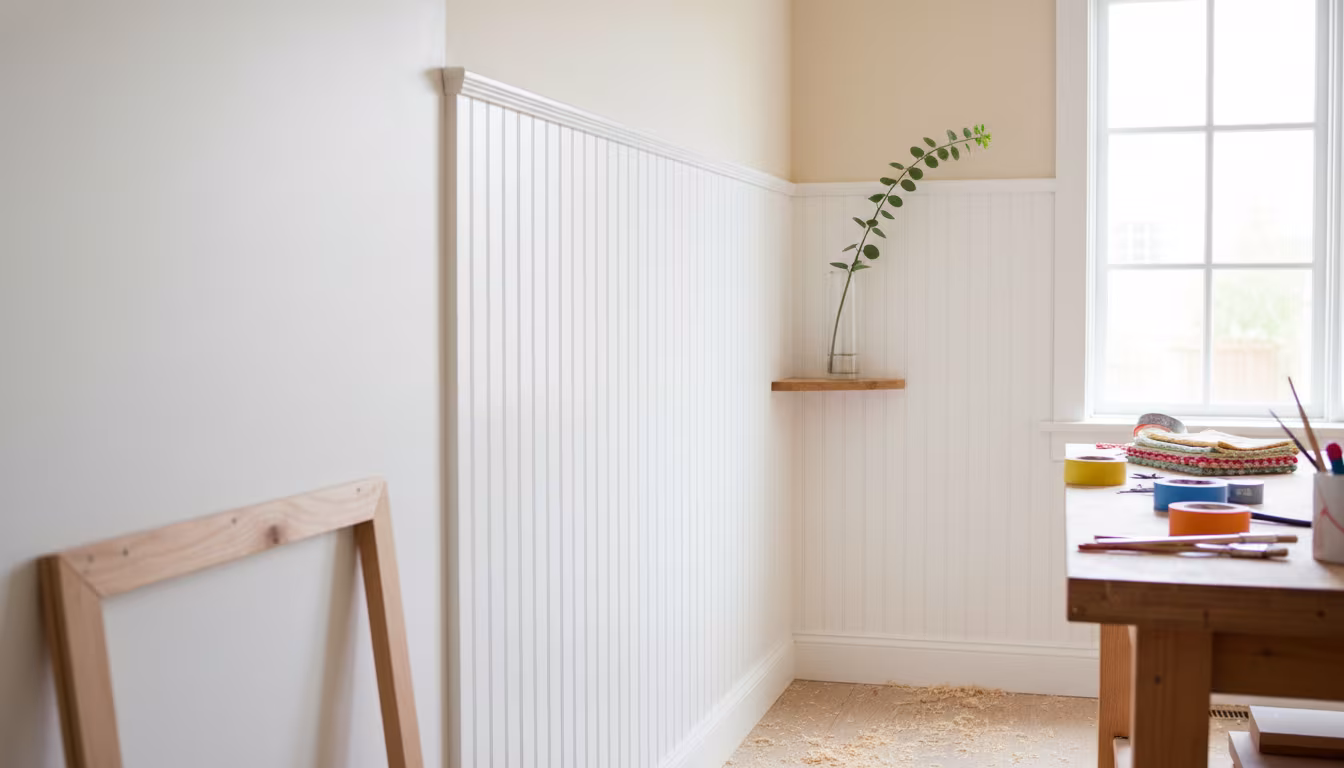
Why Wainscoting Panels Make Plain Hallways Look High-End
Dreaming of a more sophisticated entryway? Learn why wainscoting panels are a game-changer for ma...
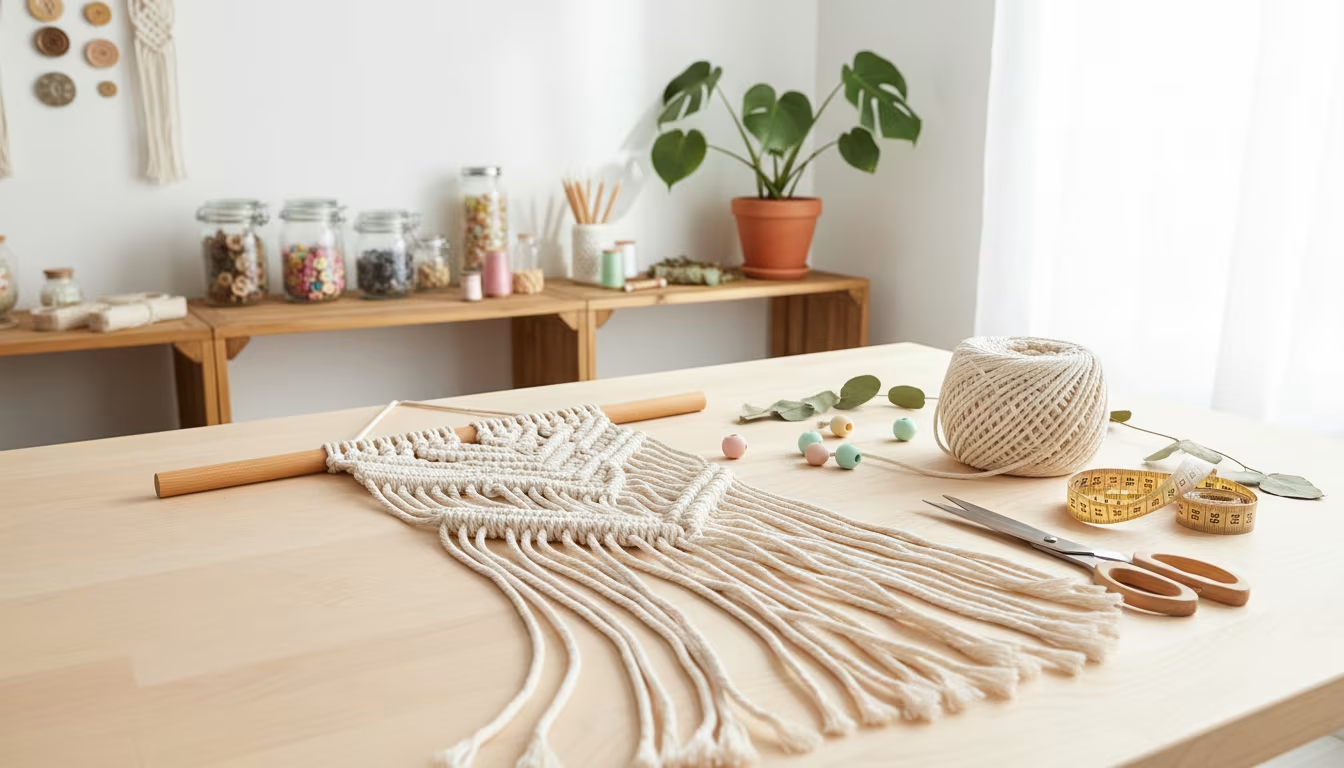
How to Build Under-Stair Storage That Maximizes Dead Space
Dreaming of adding some bohemian flair to your home without breaking the bank? We'll show you how...