
Woodworking Workshops: Build Your Own Furniture

Building furniture by hand is satisfying in a way a flat-pack box never is, and a workshop is the fastest route in. A good class gives you supervised time on tools most beginners do not own, from a table saw to a random-orbit sander, plus an instructor to catch mistakes before they become splinters. This guide covers what a workshop teaches, the tools and projects involved, how to find one, and what it costs.
What a workshop actually teaches
The core of woodworking is a small set of repeatable skills: measuring and marking accurately, cutting to a line, joining pieces squarely, and finishing the surface. A workshop compresses months of trial and error into guided practice, and it removes the biggest barrier for beginners, the cost and storage of tools. You also learn safe habits from the start, which is harder to unlearn later if you pick them up wrong on your own.
What to expect in a session
Most beginner classes follow a predictable arc:
- Safety briefing – how each machine starts and stops, where to keep your hands, and required personal protective equipment.
- Tool demonstrations – the instructor shows correct use of saws, drills, clamps, chisels, and sanders before you touch them.
- Hands-on practice – you cut and join scrap to build muscle memory.
- A guided project – a small, complete piece such as a stool, shelf, or box.
- Finishing – sanding through grits, then staining, oiling, or varnishing.
- Take-home – you leave with the piece you built.
Always wear safety glasses and hearing protection around power tools, and a dust mask when sanding. Tie back long hair, roll up loose sleeves, and never wear gloves near a spinning blade, since a glove can be caught and pull your hand in.
Tools you'll learn to use
Workshops supply the tools, but recognizing them speeds up your first day:
- Saws – a hand saw for controlled cuts, and power saws (circular, miter, or table) for fast, straight ones.
- Chisels – for paring joints and cleaning out waste; kept sharp, they do far more than they look capable of.
- Clamps – hold glued parts under pressure. Wood glue needs roughly 30 minutes of clamp time and a full 24 hours to cure completely.
- Drill and driver – for pilot holes and screwed joints.
- Measuring tools – tape measure, combination square, and marking knife for precision.
- Sanders and sandpaper – work up through the grits, typically 80 to knock down rough saw marks, 120 to smooth, then 220 before finishing.
For detail work and carving, a rotary tool is handy; our guide to choosing a Dremel rotary tool covers what to look for.
Beginner projects and what they teach
Classes start small on purpose, because each simple project drills a specific skill:
- Stool or step – basic cutting and strong leg joints in a quick, useful piece.
- Bookshelf – squareness and stability, since an out-of-square case racks and wobbles.
- Storage box with a lid – hinges, alignment, and clean edges.
- Coffee table – cutting and joining larger stock, and keeping a flat top.
- Wall shelves – easy to size for a specific spot, and a natural fit for multipurpose furniture in small spaces.
Softwoods like pine and cedar are the usual starting timber because they are cheap and easy to cut and shape. Reclaimed stock is cheaper still and more forgiving to learn on; see our walkthrough on building a custom headboard from reclaimed wood planks for how salvaged boards behave.
Types of workshops and where to find them
Not every class suits every goal. Common formats:
- Beginner classes – for people who have never used a power tool.
- Project-specific workshops – built around one item, such as a chair, cabinet, or cutting board.
- Carving and whittling – decorative hand-tool work rather than furniture.
- Sustainable woodworking – focused on reclaimed and responsibly sourced timber.
- Extended courses – multi-week training for those considering it as a trade.
To find one, check community centers and adult-education programs, which tend to be the most affordable; maker spaces and fab labs, which rent time on professional-grade machines; dedicated woodworking schools for advanced instruction; and online classes for guided practice at home. A search for "woodworking workshop near me" usually surfaces local options quickly.
Cost and time commitment
Price tracks length and depth. The ranges below are typical; community and maker-space classes sit at the lower end, private studios higher.
| Format | Typical length | Typical cost | What you build |
|---|---|---|---|
| Short class | 2–4 hours | $30–$100 | Cutting board, shelf, stool |
| Weekend workshop | 1–2 days | $150–$400 | Table, small cabinet |
| Extended course | Weeks to months | $500–$2,000+ | Furniture set, advanced joinery |
The fee covers more than wood: it buys instructor expertise, access to machines that would cost thousands to own, and the confidence to work safely on your own afterward. For a first try, a short class is the low-risk way to find out whether the hobby holds your interest.
Keeping the skills sharp
Progress comes from practice between classes. Build small pieces at home, coasters, boxes, a simple frame, to rehearse measuring and cutting, since precision is the skill that separates clean work from rough. Experiment with finishes on scrap, since stain, oil, and varnish each change color and feel differently. Online tutorials and community forums such as the r/woodworking board are good for feedback and for diagnosing a joint that will not close.
Once the basics feel automatic, harder projects, a cabinet with real drawers, a rocking chair with shaped curves, a bed frame with strong joinery, become achievable. Protect every finished piece with an appropriate oil or varnish to guard against moisture and wear, and it will outlast anything you could have bought flat-packed. Sign up for one short class, build a single stool, and you will have the footing to keep going on your own.
Related Posts
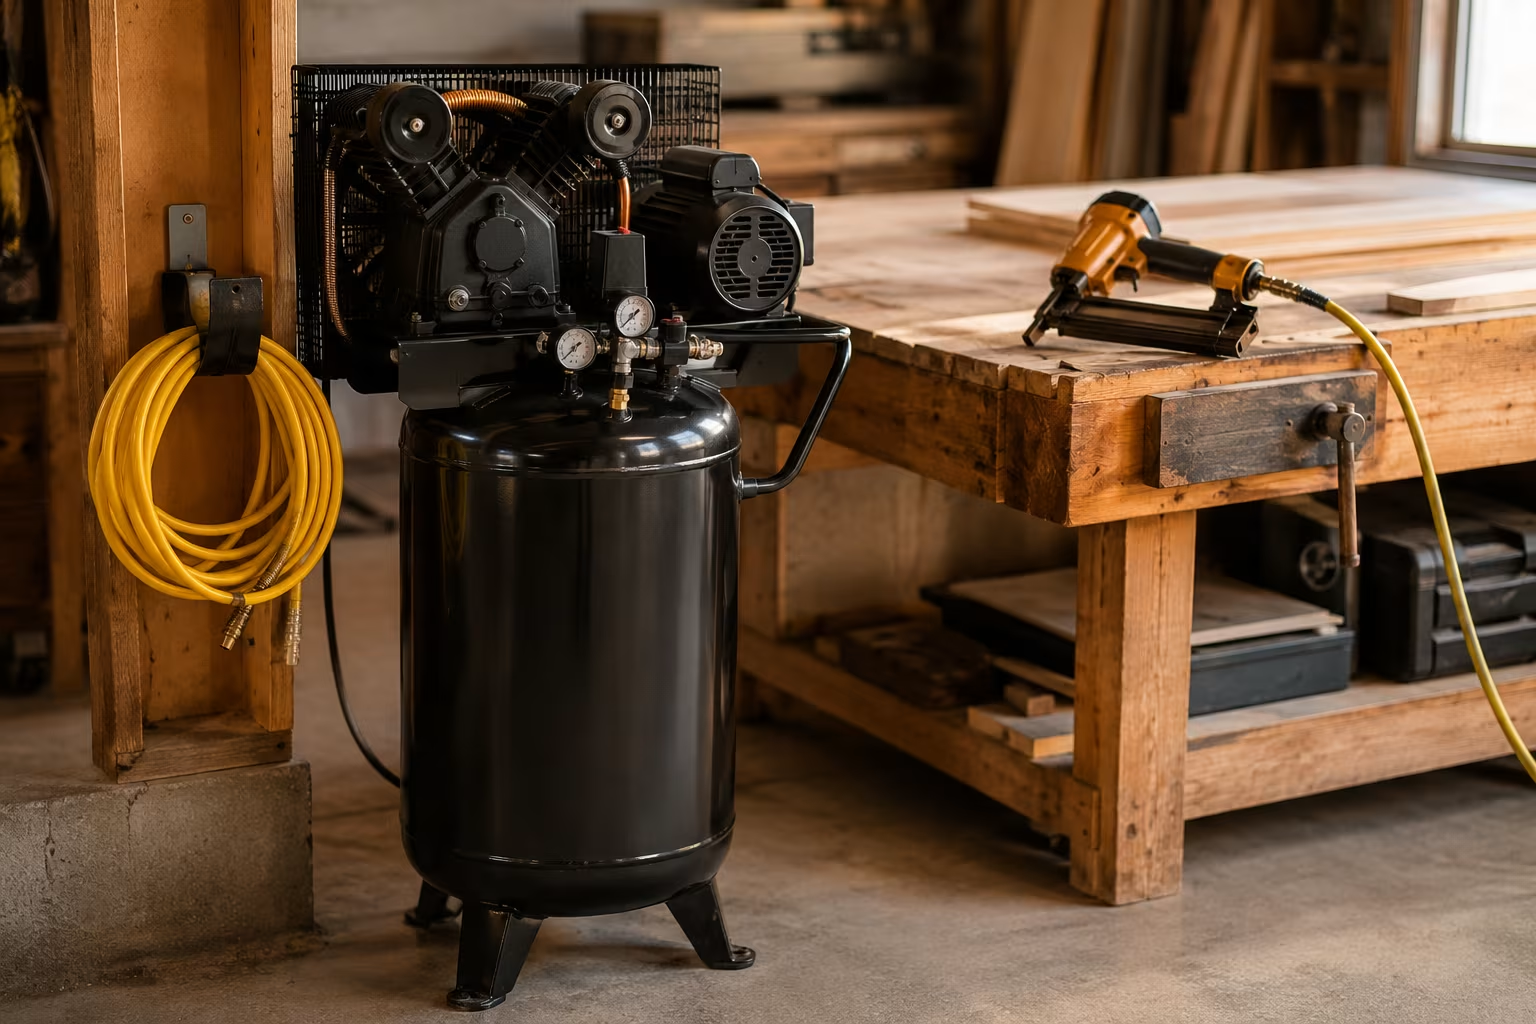
Workshop Air Compressor Sizing: CFM and SCFM
Air compressor matched to your tools means smooth work; too small means constant waiting. CFM...

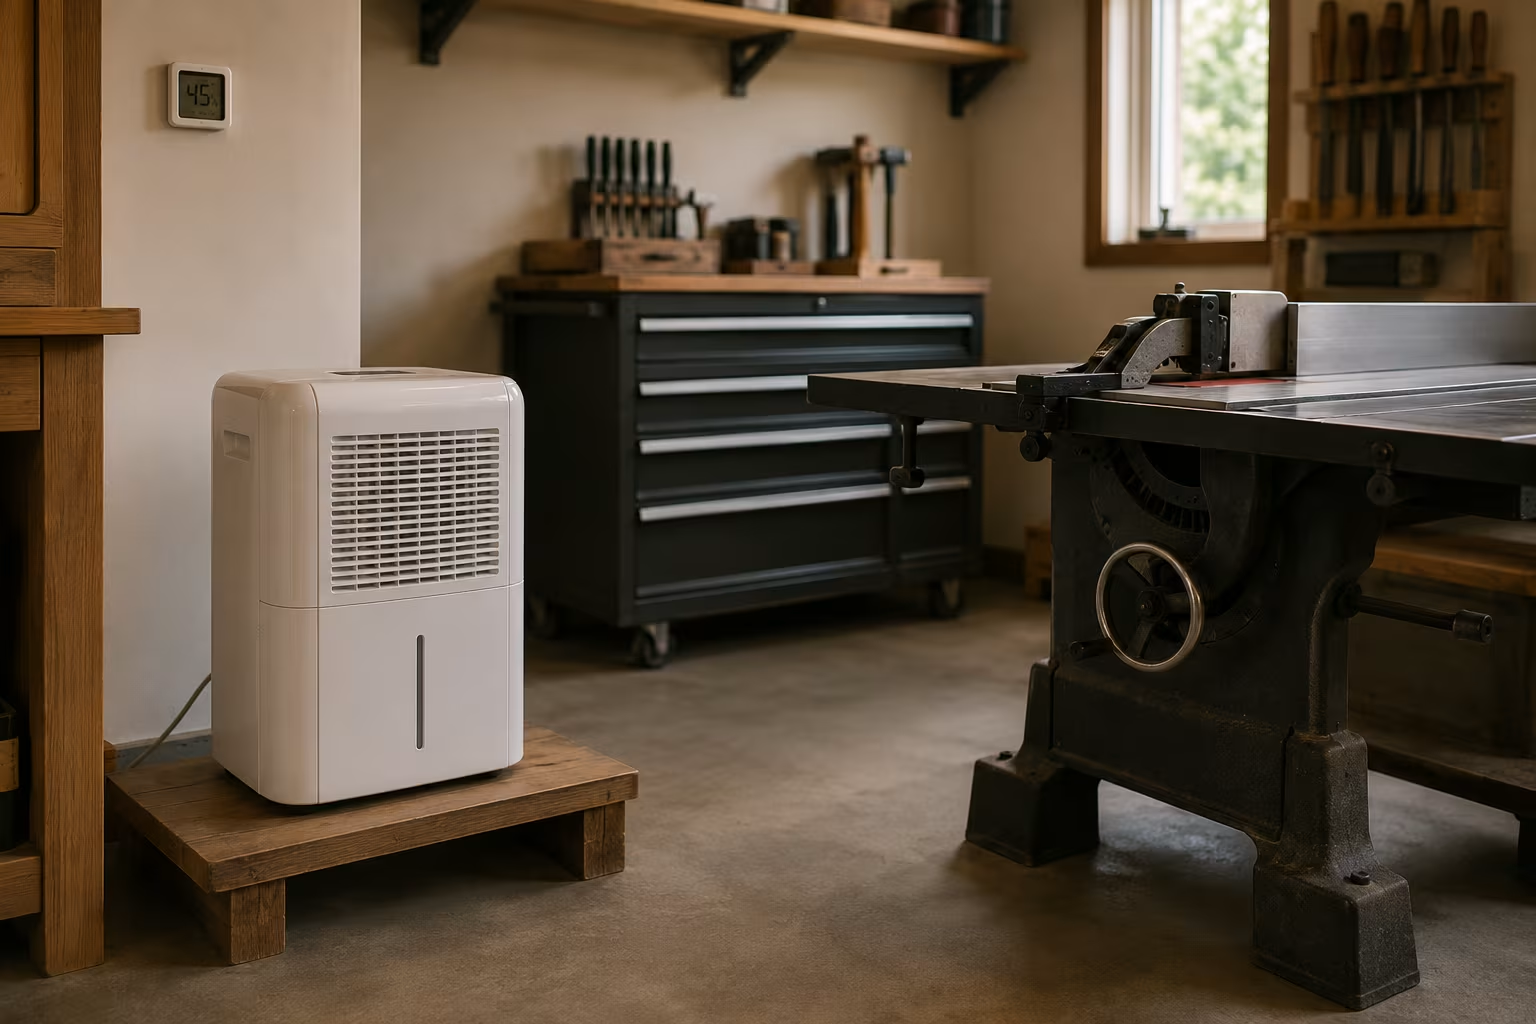
Workshop Dehumidifier Sizing for Tool Rust Prevention
Tools rust silently when shop humidity sits over 60%. The pint capacity that matches your shop...
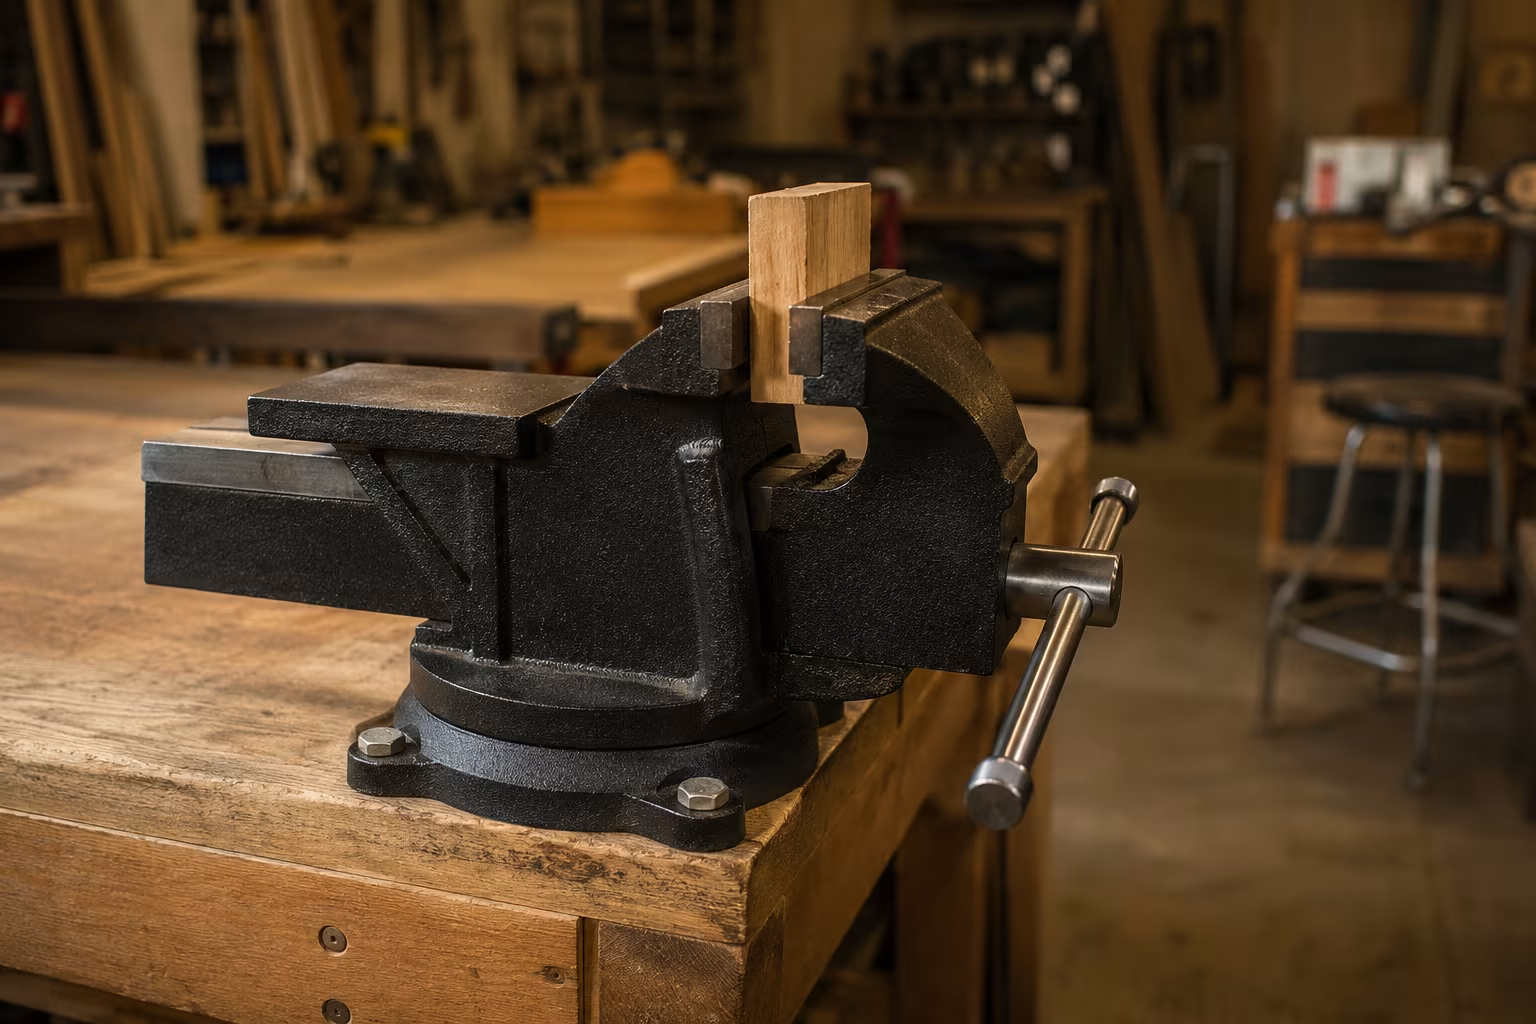
Bench Vise Sizing and Mounting for First-Time Buyers
Bench vises bolted to scrap plywood pull right out. The right size for the work, the right...
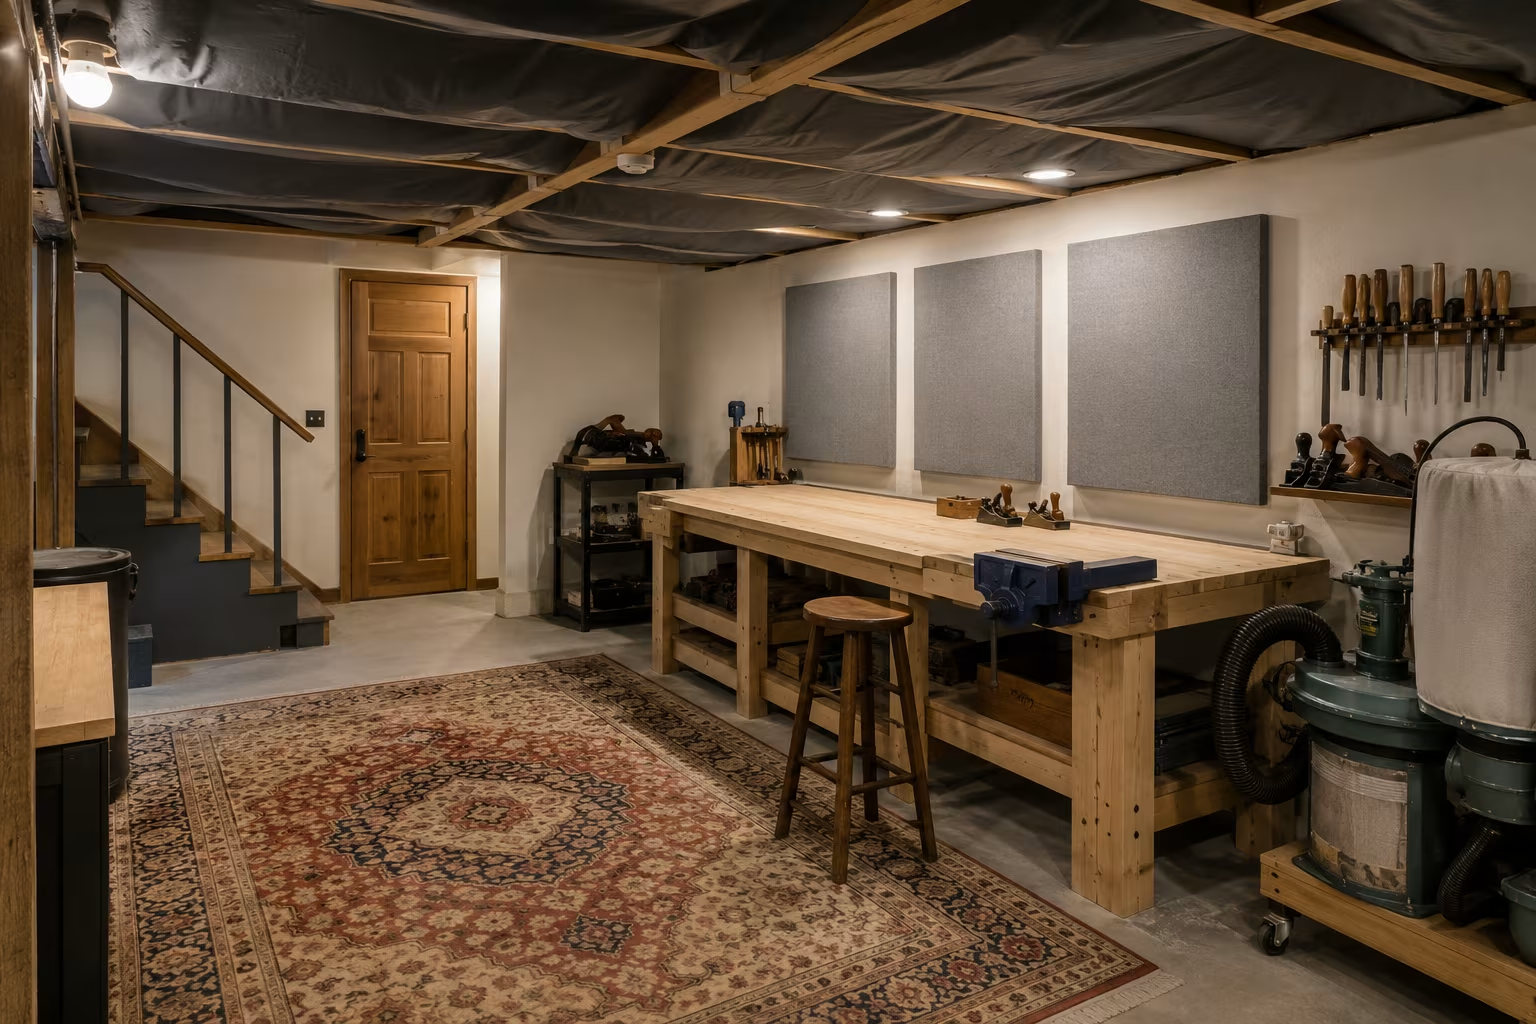
Soundproofing a Basement Workshop on a Renter's Budget
Basement shop noise traveling up to the family room is how you lose workshop privileges. The...
Comments
No comments yet. Be the first to share your thoughts!