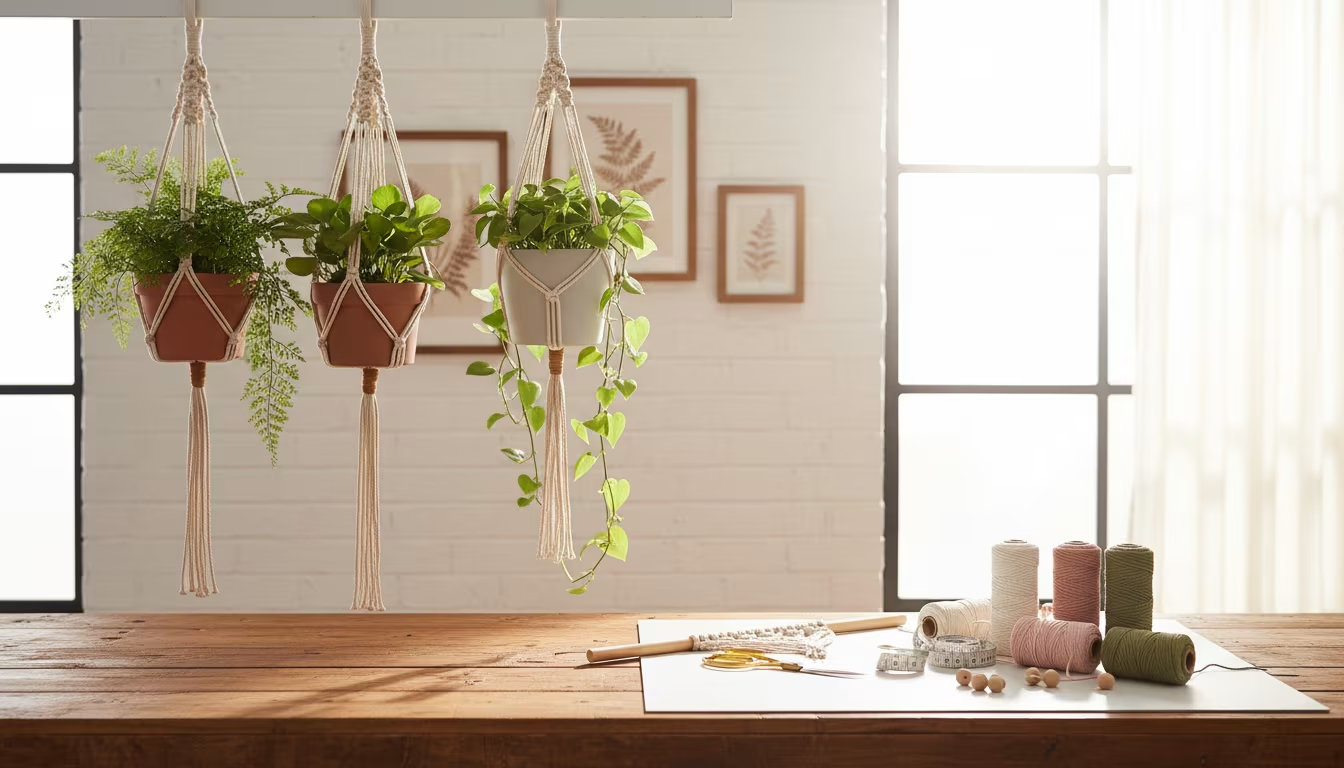
How to Create a Vertical Garden Wall Using Basic PVC Pipes
How to Create a Vertical Garden Wall Using Basic Pvc Pipes
Hey there, fellow makers! You know that feeling when you're scrolling through Pinterest, seeing all those gorgeous, sprawling gardens, and then you look at your own tiny patio or sad little balcony?
Yeah, I get it. My first apartment in Portland had literally no outdoor space, just a little concrete slab. I dreamt of fresh herbs for cooking and some vibrant flowers to cheer things up, but I had nowhere to put them.
But what if I told you there's a super budget-friendly, surprisingly simple way to get that lush green vibe, even if your "garden" is just a sliver of wall? We're talking about a vertical garden made from basic PVC pipes.
Today, I'm going to walk you through exactly how I built my own PVC pipe vertical garden. We'll cover everything from picking your pipes to planting your favorite greens, and yes, I'll even share the awkward moments when I almost glued my fingers together.
Why This Actually Matters
Space is a big deal, right? Especially if you live in a city like Portland where every square inch feels precious. A traditional garden just isn't an option for so many of us, but we still crave that connection to nature and fresh produce.
That's where vertical gardens come in. They let you grow a ton of plants in a super small footprint, transforming a boring wall into a vibrant, living display.
I started mine because I was tired of buying overpriced herbs at the grocery store that would wilt in a day. I wanted fresh basil, mint, and cilantro always on hand.
Plus, let's be honest, it looks pretty cool. My vertical garden gets so many compliments, and people are always shocked when I tell them it's mostly made from plumbing supplies I grabbed at the hardware store.
It’s also surprisingly therapeutic. There’s something so satisfying about watching your plants grow, knowing you built their home with your own hands. You don't need a green thumb to start, just a willingness to try.
The Basics of a Pvc Pipe Garden
Okay, so what exactly are we talking about here? Essentially, you're taking PVC pipes, cutting them, creating openings for plants, and then stacking or mounting them vertically.
The pipes act as planters, holding soil and plants, and because they're arranged upwards, they save a ton of horizontal space. It’s like a tiny apartment building for your herbs and flowers.
I opted for PVC because it's cheap, durable, and readily available. You can find it at any home improvement store, and often in varying diameters, which gives you options for different types of plants.
There are a few ways to set this up, but the core idea remains the same: create little pockets for your plants to thrive, using the pipes as the structure.
Choosing Your Pipes and Plants
This is where your vision starts to come to life! Don't just grab the first pipes you see.
Think about what you want to grow and where your garden will live.
- Pipe Diameter: I've found that 4-inch or 6-inch diameter PVC pipes work best. They're wide enough to hold a decent amount of soil and give plant roots room to grow. Anything smaller, and your plants might feel a bit cramped. My first attempt used 3-inch pipes, and my basil just looked sad.
- Pipe Length: This depends on your wall space. I used 4-foot sections, allowing me to stack three high without reaching too far. If you have a taller wall, you could go longer, but remember that longer pipes get heavier when filled with soil.
- Plant Selection: This is probably the most fun part! For a vertical garden, you want plants that don't need super deep roots and don't get too bushy or heavy.
- Herbs: Basil, mint, chives, oregano, thyme, cilantro, parsley are fantastic choices. They're compact and you'll use them constantly.
- Leafy Greens: Lettuce, spinach, arugula, and other salad greens do really well. Just pick them frequently!
- Strawberries: Yes, really! They're climbers and look adorable trailing out of the pipes.
- Flowers: Petunias, marigolds, nasturtiums, and smaller annuals can add a beautiful splash of color. Just make sure they're not going to get too big.
Think about your sunlight, too. Most herbs and veggies need at least 6 hours of direct sun. If your wall is shady, look for shade-loving greens or just accept that it’ll be a lovely decorative spot for some small shade plants.
How to Actually do It
Alright, let's get our hands dirty (or, well, dusty from the PVC). This project isn't super complicated, but it does require a few specific tools and a bit of patience. I remember feeling a little overwhelmed looking at all the pipe options at the hardware store, but trust me, it’s easier than it looks.
Step 1: Gather Your Supplies
Before you make a single cut, make sure you have everything laid out. There's nothing worse than getting halfway through a project and realizing you're missing a key component.
Here’s what I used for my setup, which has three 4-foot pipes stacked vertically:
- PVC Pipes: Three 4-foot sections of 4-inch diameter PVC pipe (or whatever length/diameter you chose).
- End Caps: Six 4-inch PVC end caps (one for each end of your pipes if you're not stacking them directly onto a surface).
- Drill: A standard power drill.
- Hole Saw Bit: A 3-inch hole saw bit (this is for the plant openings).
- Smaller Drill Bit: A 1/4-inch or 3/8-inch drill bit for drainage holes.
- PVC Cement/Primer: If you want to permanently attach the end caps. I actually skipped this for my first one to make it modular.
- Measuring Tape & Marker: Essential for accurate marking.
- Safety Glasses & Gloves: PVC dust and sharp edges are no joke! Please don't skip these.
- Saw: A hacksaw or miter saw for cutting the pipes if you need to adjust lengths.
- Sandpaper or File: To smooth rough edges after cutting and drilling.
- Mounting Hardware: Heavy-duty screws, wall anchors (if mounting to drywall), and possibly some L-brackets or pipe clamps. My wall is wood, so I used long wood screws.
- Potting Soil: Good quality, lightweight potting mix.
- Plants: Your chosen herbs, greens, or flowers.
I found most of my tools in my garage, but the PVC and hole saw bit were new purchases. I snagged some decent end caps for about $2 each at a local hardware store.
Step 2: Measure and Mark Your Pipes
Accuracy here saves you headaches later. You want your plant openings to be evenly spaced and large enough for your plants to thrive without being too close to each other.
First, decide which side of the pipe will be the top (where the plant openings are) and which will be the bottom (where drainage holes go).
Lay a pipe down and mark a line all the way along the top length of it. This will be your center line for the plant openings.
Starting about 6 inches in from one end, make your first mark for a plant opening. Then, measure and mark every 8-10 inches along that top line. I found 9 inches to be a sweet spot for my herbs.
Remember, the ends of the pipes will either be capped or connected to another section, so don't put holes too close to the very edge.
On the opposite side of the pipe (the bottom), you'll mark for drainage holes. I usually just eyeball these, placing them roughly every 6-8 inches along the bottom center line, ensuring they're offset from the top openings.
Step 3: Cut the Plant Openings
This step makes the pipes look like actual planters! Attach your 3-inch hole saw bit to your drill. Put on your safety glasses, seriously. PVC dust gets everywhere, and those bits can kick.
Carefully align the center of the hole saw with your marked spots on the top of the pipe. Apply steady, even pressure and drill straight down. The hole saw will cut a perfect circle.
It's important to keep the drill stable. The PVC can be a bit slippery, and you don't want the bit to jump. I learned this the hard way when my drill slipped and I got a wonky oval instead of a circle on my first attempt.
After each cut, remove the PVC circle from the hole saw. Repeat for all your marked plant openings. You'll end up with a pile of little PVC "cookies," which are surprisingly satisfying to collect!
Step 4: Drill Drainage Holes
Now, flip your pipes over so the marked drainage spots are facing up. Switch to your smaller drill bit (1/4-inch or 3/8-inch).
Drill several holes at each marked drainage spot along the bottom of the pipe. I usually do 3-4 holes per section.
These are super important! Without proper drainage, your plants will get waterlogged and their roots will rot. You want excess water to be able to escape freely, especially since this is a contained system.
I also like to drill a few extra small holes randomly along the very bottom. Over-drainage is better than under-drainage in my book, especially when you're just getting started.
Step 5: Smooth the Edges
PVC, when cut or drilled, can leave sharp, rough edges. These aren't just unsightly; they can be sharp enough to cut your hands while you're planting or maintaining your garden.
Take your sandpaper or file and carefully smooth down all the edges around the plant openings and the drainage holes. You want them to be nice and smooth to the touch.
Don't skip this. It makes a huge difference in the finished look and feel of your garden. Plus, happy hands make for happy crafting.
Step 6: Attach End Caps and Prepare for Mounting
Now it's time to seal up your pipes. If you're using individual pipe sections, you'll want to cap both ends of each pipe. If you're stacking them, you might only need caps for the very top and bottom sections, and you could potentially leave the middle sections open if they fit snugly together.
For a permanent, waterproof seal, apply PVC primer to the inside of the end cap and the outside of the pipe end, then apply PVC cement. Quickly twist the cap on and hold it for a few seconds. The cement sets fast!
I actually opted not to use cement on my first garden. I just fit the caps on tightly. This makes it easier to clean or reconfigure later, though it's not quite as rigid. For a really stable setup, definitely use the cement.
Next, think about how you'll mount them. I used simple L-brackets on the bottom pipe and then just stacked the other two on top, securing them to each other with a few zip ties. For additional security, I put a single heavy-duty screw through the top pipe directly into my wall stud.
If you're attaching multiple pipes to a wall, measure and mark where each pipe will go. Make sure they're level and evenly spaced. Use a level – don't trust your eyes on this one, or you'll end up with a crooked garden, like my first attempt.
Step 7: Mount Your Pipes
This is where your garden starts to take shape on the wall. If you're mounting to wood, use appropriate wood screws that are long enough to hold the weight of a soil-filled pipe.
If you're mounting to drywall, you must use wall anchors designed for heavy loads. These pipes get surprisingly heavy once they're full of wet soil and plants. Don't underestimate it.
I recommend mounting the bottom pipe first, making sure it's perfectly level. Then, if stacking, place the next pipe on top, align it, and secure it. Work your way up. It helps to have a second person hold the pipes while you screw them in.
Once all your pipes are securely mounted, do a little wiggle test. You want them to be solid and not move around. This is crucial for safety and for your plants.
Step 8: Fill with Soil and Plant Your Garden
Okay, the fun part! Start by carefully filling your pipes with a good quality, lightweight potting mix. Don't pack it too tightly; you want the roots to have room to breathe.
Fill the pipes almost to the top of the openings, leaving a little space for the plants and to prevent soil from washing out when you water.
Now, gently remove your plants from their nursery pots. Tease the roots a little if they're root-bound. Place one plant into each opening, making sure the top of the root ball is level with the soil in the pipe.
Gently backfill with a bit more soil around each plant, making sure they're snug but not crammed. Give them a good initial watering.
I like to start with small starter plants. Trying to transplant large, established plants into these small openings can be tricky and lead to more plant shock. Little guys adapt better.
Making It Stick / Common Mistakes
Building something is one thing; keeping it thriving is another. I've definitely killed my fair share of plants in the name of DIY, so let's talk about what often goes wrong and how to avoid it.
One of the biggest issues I faced was proper watering. Because the pipes are long and horizontal, the water tends to run to the ends, leaving the middle sections a bit dry. I often had the plants at the ends thriving while the middle ones were struggling.
To combat this, I now try to water slowly and evenly along the entire length of the pipe. You can also install a simple drip irrigation system if you get really serious, but for my small setup, hand-watering works.
"A vertical garden isn't a set-it-and-forget-it project. It's a daily conversation with your plants, learning what they need."
Another common mistake is picking the wrong plants for your sun exposure. If your wall only gets morning sun, those sun-loving herbs won't be happy. Be honest about your light conditions before you buy your plants.
Also, don't forget about soil quality. A cheap, heavy potting mix can compact easily, suffocating roots and hindering drainage. Invest in a good, well-draining potting mix; your plants will thank you for it.
Finally, consider the weight. When those pipes are full of wet soil, they are heavy. Make absolutely sure your mounting hardware is sufficient for the job. The last thing you want is your beautiful garden crashing down.
Frequently Asked Questions
What Kind of Plants Really Thrive in These Pvc Pipe Gardens?
Herbs like basil, mint, chives, and oregano are fantastic because they don't need super deep roots and love lots of sun. Leafy greens like lettuce and spinach also do really well.
I've also had great success with strawberries and even some smaller trailing flowers like nasturtiums. Just pick things that won't get huge and heavy.
How do I Make Sure All the Plants Get Enough Water?
This is a big one. The top plants often get more water, and water can sometimes flow unevenly. I hand-water slowly, moving my watering can along the length of each pipe to make sure all the openings get soaked.
For a bigger setup, you might want to look into a simple drip irrigation system. You can get cheap kits online that deliver water directly to each plant opening.
Is Pvc Safe for Growing Edible Plants?
This is a common concern! Food-grade PVC (often marked NSF-51 or NSF-61) is generally considered safe. Most standard PVC used for plumbing is technically safe for water transport, but there's a debate about long-term exposure to sunlight and heat potentially leaching chemicals.
For my garden, I use standard PVC and haven't had issues. If you're really concerned, you could line the pipes with food-grade plastic sheeting or grow non-edibles. Ultimately, it's a personal choice.
How do I Hang This Securely Without It Falling Down?
Use the right hardware! For wood walls, long, sturdy wood screws directly into studs are best. For drywall, you need heavy-duty toggle bolts or expanding wall anchors – the kind rated for significant weight.
Don't just use tiny picture hangers; these pipes get seriously heavy when wet. Always test the stability with a good wiggle before filling them completely.
Can I Make This out of Reclaimed or Recycled Pvc Pipes?
Absolutely, and I encourage it! Thrift stores or construction sites might have old pipes. Just make sure they're clean and free of any chemical residues.
If you're using pipes that previously held anything other than water, you'd want to be extra careful, especially if you plan to grow edibles. A good scrub and soak can help.
How Long does This Project Actually Take from Start to Finish?
For a small setup like mine (3 pipes, 4 feet long), I'd say you're looking at about 3-4 hours of active work. This includes gathering tools, measuring, cutting, drilling, sanding, and mounting.
Factor in extra time if you're a beginner with power tools, or if you need to make a few trips to the hardware store. It's not an all-day epic, but it's not a 30-minute quickie either.
Is This Worth It for Someone with a Truly Tiny Space, Like a Window Sill?
For a window sill, this exact design might be a bit too bulky. The vertical pipe garden is best for a wall or fence that has at least a few feet of vertical space.
However, you could adapt the idea! Maybe just one short pipe, mounted horizontally on brackets above a window, with a few plant openings. Always think about how you can scale things to your specific situation!
The Bottom Line
Creating a vertical garden wall with PVC pipes might sound a little intimidating at first, but it's such a rewarding project. It totally transformed my small patio and gave me a continuous supply of fresh herbs that I actually use.
Don't be afraid to experiment, and don't worry if your first cuts aren't perfectly straight or if a plant doesn't thrive. That's just part of the learning process! Start small, enjoy the journey, and watch your little green wall come to life. Happy growing! 👋
Related Posts
Cabinet Hinge Adjustment: Side, Depth, and Height Fix
Three screws, three directions, one diagnosis. Stop fighting misaligned cabinet doors — learn whi...
How to Hang a Heavy Mirror on Drywall Without Studs
No stud where you want the mirror? The anchor choices, weight math, and install routine that hold...
The Best Way to Weatherproof and Stain an Old Wooden Deck
Is your old wooden deck looking a little worse for wear? We'll show you the easiest, most effecti...
Why Wainscoting Panels Make Plain Hallways Look High-End
Dreaming of a more sophisticated entryway? Learn why wainscoting panels are a game-changer for ma...