How to Create Professional Decoupage Art on Vintage Furniture
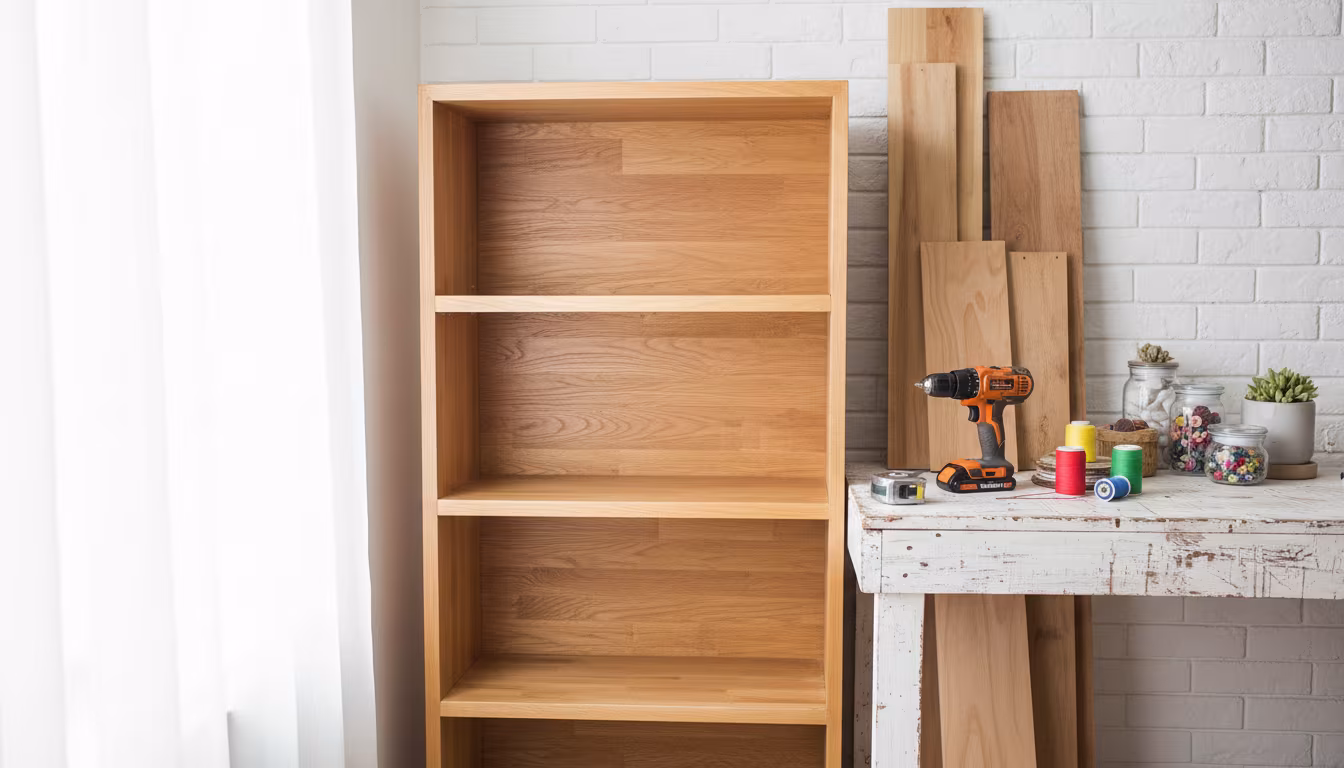
How to Create Professional Decoupage Art on Vintage Furniture
You know that feeling when you spot a gorgeous vintage piece – maybe a dresser, a little side table, or even a sad old trunk – but it just doesn't quite fit your vibe? It’s got good bones, sure, but the finish is tired, or maybe it's just a bit…beige.
You want to give it new life, make it truly yours, but painting feels too simple. You’re looking for something with a bit more flair, something that tells a story. That's exactly where decoupage steps in, and I promise you, it's not just for making paperweights.
We're going to dive into transforming those forgotten treasures into stunning, personalized art. I'll walk you through everything, from picking out your perfect paper to making sure those edges are smooth as silk. Get ready to give that thrift store find a major glow-up! 👋
Why This Actually Matters
Let's be real, buying brand new furniture is expensive. And often, it lacks the character and solidity of vintage pieces. Giving an old piece a new life with decoupage isn't just a budget-friendly move, it's a creative way to make your home uniquely you.
Think about it: instead of another mass-produced item, you've got a conversation piece. You're recycling, reducing waste, and flexing those creative muscles all at the same time. I still remember the first time I decoupaged an old pine nightstand for my sister's guest room; it saved us a couple hundred bucks and now everyone asks where she bought it.
This isn't just about glue and paper; it's about seeing potential where others see trash. It's about creating something beautiful with your own hands, something that nobody else has. Plus, the sheer satisfaction of stepping back and seeing your vision come to life? Totally worth it.
Decoupage 101: Understanding the Basics
So, what exactly is decoupage? In its simplest form, it's the art of decorating an object by gluing colored paper cutouts onto it in combination with special paint effects, gold leaf, and other decorative elements. Then, you coat it with layers of varnish until the "cut out" appearance disappears and the result looks like painting or inlay work.
Don't let that fancy definition scare you! For us hobbyists, it really just means gluing paper onto a surface and sealing it with a lot of clear coats. It's a fantastic way to add pattern, texture, and visual interest to furniture without needing to be an expert painter.
What Exactly are We Talking About?
When I say paper, I'm not just talking about construction paper from your kid's craft bin. We can use all sorts of things! Think beautiful patterned scrapbook paper, vintage maps, old comic book pages, fabric swatches, botanical prints, even personal photographs.
The beauty of decoupage is its versatility. You're essentially painting with paper, building up a new skin for your furniture. You can create a unified pattern, a collage of different elements, or even tell a visual story across the piece.
- It's All About Layers: The core principle is simple: paper, adhesive, and multiple clear topcoats. These layers build up, protect your design, and give it that professional, integrated look. The trick is making each layer thin and even.
- Surface Matters (Mostly): While you can technically decoupage almost anything, smooth, clean surfaces are your best friends. We'll talk about prep, but starting with a relatively even canvas makes your life so much easier. Don't worry, even textured wood can be tackled with the right approach.
- Patience is Key: This isn't a race. Each layer of adhesive and sealer needs time to dry completely. Rushing leads to bubbles, tears, and a generally frustrated crafter. Trust me, I've learned this the hard way more times than I care to admit!
Understanding these basic tenets will help you approach your project with confidence. It's less about artistic talent and more about careful application and patience.
Getting Started: Your Tools and Materials
Before we even think about cutting paper, let's gather our supplies. You don't need a huge arsenal of expensive gear, but having the right basics makes a world of difference. A quick trip to the craft store and maybe a hardware store will set you up.
Remember, I'm all about using what you have or finding budget-friendly options. My first decoupage brush was just a cheap foam brush, and it worked fine!
The Right Stuff Makes All the Difference (mostly)
You probably already have some of these things around the house. Don't feel like you need to buy the absolute top-of-the-line everything. Focus on getting good quality adhesive and sealer; those are the real MVPs here.
- Your Furniture Piece: Pick something sturdy, cleanable, and ideally, not too intricate for your first project. A simple dresser top, a flat-front drawer, or a small table is perfect. Make sure it's structurally sound before you start.
- Paper of Your Choice: This is where the fun begins! Specialty decoupage paper is great, but also consider scrapbook paper (acid-free if you want it to last forever), thin wallpaper, old maps, sheet music, book pages, even fabric swatches. Keep in mind the thickness – thinner papers are generally easier to work with, but thicker ones can provide more texture.
- Decoupage Medium (Mod Podge): This is your glue and sealer in one. I usually grab a matte finish, but gloss or satin are also options depending on the look you're going for. There's even a fabric Mod Podge if you want to go that route. Don't thin it unless the directions specifically say to.
- Brushes and Applicators: You'll want a flat, soft-bristle brush (synthetic works great) for applying the Mod Podge, and maybe a foam brush for larger areas. A brayer (a small roller) or a plastic scraper (like an old credit card) is super helpful for smoothing out bubbles.
- Cutting Tools: Sharp craft knife (like an X-Acto knife) with extra blades, and a good pair of scissors. Precision cutting makes for a cleaner finish.
- Sanding Supplies: Fine-grit sandpaper (220-grit or higher) for prepping and light sanding between sealer coats. A sanding block can make it easier to get an even surface.
- Cleaning Supplies: Sugar soap, general household cleaner, rags, and maybe some rubbing alcohol. Your surface needs to be pristine.
- Protective Topcoat (Optional, but Recommended): For furniture that will see a lot of use, I highly recommend a clear polyurethane or polycrylic spray or brush-on varnish. This adds an extra layer of durable protection that Mod Podge alone might not provide for heavy-wear surfaces. Make sure it's non-yellowing.
- Other Helpful Items: Painter's tape (for crisp edges), ruler, pencil, a cutting mat to protect your work surface, and plenty of patience.
Gathering all your supplies before you start is key. Nothing's worse than being mid-project and realizing you're missing a critical item!
The Decoupage Playbook: How to Actually do It
Alright, you've got your supplies, you've got your vision. Now for the exciting part: actually doing the thing! We'll go step-by-step, and I'll share some of the little tricks I've picked up (and some of the mistakes I've made).
Remember, your first project doesn't have to be perfect. It's about learning, experimenting, and having fun. My very first decoupaged tray had so many bubbles, but I loved it anyway because I made it.
Step 1: Prep Your Piece
This is probably the most crucial step, and honestly, the one I used to try to skip. Don't be like past Laura! Proper prep makes all the difference in how well your decoupage adheres and how long it lasts.
Start by thoroughly cleaning your furniture. Use sugar soap or a good all-purpose cleaner to remove all dirt, grease, and grime. If there's any old wax buildup, you'll need a degreaser. Rinse it well and let it dry completely. Then, give the surface a light sanding with fine-grit sandpaper (220-grit). This creates a "tooth" for the Mod Podge to grab onto. Wipe away all sanding dust with a slightly damp cloth and let it dry again.
If your furniture is a dark color and your paper is light, or if it has a very uneven finish, you might want to apply a coat of primer. This provides a clean, neutral base and helps prevent any underlying color from showing through your paper. Let the primer dry according to the manufacturer's instructions before moving on.
Step 2: Pick Your Paper
You've probably already got a good idea of what paper you want to use, but let's talk about it a bit more. The type of paper you choose can affect the process and the final look.
Thinner papers, like tissue paper or certain magazine pages, are more delicate but often conform better to curves. Thicker papers, like scrapbook paper or cardstock, are more durable but can be a bit trickier to get completely flat and bubble-free. If you're using plain paper that you've printed designs on, make sure the ink is completely dry – I usually let it sit for a day to avoid smudging.
Lay out your paper and decide on your design. Are you covering the whole piece seamlessly, or doing a collage? This is your chance to play around with arrangement before anything gets glued down.
Step 3: Cut and Arrange
Now that you've picked your paper, it's time to cut it to size. Precision here really pays off, especially if you're aiming for a seamless look. Use a ruler and a sharp craft knife on a cutting mat for straight lines, or good scissors for curves and intricate shapes.
I always do a "dry fit" first. Lay out all your cut pieces on the furniture exactly how you want them to appear. This helps you visualize the final result, identify any areas that need more trimming, and make sure your pattern flows. If you're doing a complex collage, take a photo so you can remember your arrangement. This step seems small, but it saves so much heartache later.
If you're covering an entire surface, you might want to cut your paper slightly larger than the area, then trim the excess after it's applied. This helps ensure full coverage right up to the edges.
Step 4: Get Gluing
Okay, this is where the Mod Podge comes out! Grab your flat brush. I usually start with the main sections of the furniture, working in manageable areas – maybe one drawer front at a time, or a section of a tabletop.
Apply a generous, even layer of Mod Podge directly to the furniture surface where your first piece of paper will go. Don't be shy, but also don't glob it on so thick that it creates puddles. You want good coverage. Carefully place your paper piece onto the wet Mod Podge. Starting from the center, gently smooth out the paper with your fingers, a brayer, or a plastic scraper, pushing any air bubbles towards the edges.
If you're using very thin paper, you can also apply a thin layer of Mod Podge to the back of the paper before placing it, then another layer on the surface. This "sandwich" method can help prevent wrinkling. Work quickly but calmly, as the Mod Podge starts to dry. If you have any excess glue squeeze out, wipe it up immediately with a damp cloth.
Repeat this process for all your paper pieces. If you're overlapping, make sure each underlying piece is smooth before placing the next. Once all your paper is down, let it dry for at least 15-20 minutes, or until the Mod Podge is mostly clear and tacky, before applying any topcoats.
Step 5: Seal the Deal
Once your paper is completely dry and adhered, it's time to seal it all in. This is critical for protecting your design and giving it that professional, integrated look. Apply a generous, even coat of Mod Podge over the entire decoupaged surface.
Use smooth, even strokes, making sure to cover all the paper edges. This coat acts as both a sealer and a protective layer. Don't worry if it looks milky; it will dry clear. Let this coat dry for at least 1-2 hours, or until it's completely clear and not tacky to the touch. Seriously, wait! Patience here is everything. Rushing this step leads to sticky surfaces and cloudy finishes.
Once dry, apply another coat. For most furniture pieces, especially those that will see daily use, I recommend at least 3-5 coats of Mod Podge. The more coats you add, the more durable and seamless your finish will be. Allow ample drying time between each coat. You'll notice the paper edges start to disappear and integrate into the surface with each layer.
Step 6: the Finishing Touches
After your final Mod Podge coat has cured for at least 24 hours (longer is even better), you might notice it feels slightly "grabby" or isn't as perfectly smooth as you'd like. This is where a very light sanding and a durable topcoat come in.
Gently sand the entire decoupaged surface with super fine-grit sandpaper (400-grit or higher). I mean super gentle – just a quick pass to knock down any slight bumps or brush strokes. Wipe away all dust with a soft, dry cloth. This step makes a huge difference in achieving a smooth, professional feel.
Finally, for ultimate durability, apply 2-3 coats of a clear, non-yellowing polyurethane or polycrylic varnish. These are much harder and more protective than Mod Podge alone, especially for tabletops or high-traffic areas. Apply thin, even coats with a clean brush, following the product's directions for drying times between coats. Let your finished piece cure fully for several days (or even a week) before placing heavy objects on it or cleaning it. This curing time allows the varnish to harden completely, giving you a truly long-lasting, beautiful finish.
Common Pitfalls and How to Smooth Them out
Even after doing this for years, I still run into little issues sometimes. Decoupage isn't always a perfectly smooth sail, but knowing what to look out for can save you a lot of frustration. Most problems come down to rushing or not enough prep.
Don't get discouraged if your first piece isn't absolutely flawless. Think of it as character! My first decoupaged dresser drawer had a few visible air bubbles that I tried to fix, and only made worse. Now I know better!
The magic of decoupage isn't in avoiding mistakes, but in knowing how to make them disappear. Or at least embrace them.
Here are some of the most common hiccups you might encounter:
Bubbles and Wrinkles
This is probably the #1 complaint! Bubbles form when air gets trapped under the paper, and wrinkles often happen with thinner papers or too much glue. The best defense is a good offense: thorough smoothing. Apply your paper slowly, working from the center outwards with a brayer or plastic scraper to push air out.
If you spot a small bubble after it's mostly dry, you can sometimes fix it by piercing it with a tiny pin or craft knife and then smoothing it down firmly. For wrinkles, if the Mod Podge isn't fully dry, gently lift the paper, reapply a thin layer of Mod Podge, and smooth it again. Once it's fully dry and sealed, it's much harder to fix, so try to catch them early.
Paper Tearing
This happens most often with very thin papers, or if you're too aggressive with your smoothing tools. Be gentle! Mod Podge makes paper more pliable but also more fragile when wet. If a tear happens, try to smooth the torn edges back together as best you can. Sometimes a very thin strip of matching paper or a tiny bit of paint can camouflage a small tear.
Using a slightly thicker paper for your first few projects can help avoid this problem altogether. Also, don't overload your brush with Mod Podge; too much liquid can weaken the paper significantly.
Messy Edges
If your paper hangs over the edge or isn't cut cleanly, it can look unprofessional. To fix this, after your paper has dried and adhered, you can very carefully trim excess with a sharp craft knife. For paper that extends just slightly beyond the edge, you can use fine-grit sandpaper wrapped around a block to gently sand down the excess, making sure to sand downwards and away from the decoupaged surface to avoid lifting the paper.
Another trick is to use painter's tape to create crisp edges. Tape off the area you don't want decoupaged before you start, then carefully remove the tape before the Mod Podge dries completely for a super clean line.
Sticky or Tacky Finish
If your finished piece feels a bit tacky even after drying, it usually means you didn't allow enough drying time between coats, or the humidity is very high. Mod Podge needs to cure completely. Ensure you're working in a well-ventilated area with decent airflow and lower humidity if possible.
Adding those final coats of polyurethane or polycrylic varnish is the best defense against a tacky finish, as they cure to a much harder, less sticky surface than Mod Podge alone. Let them cure for several days, or even a week, for optimal results.
Yellowing over Time
Some older Mod Podge formulas or certain types of clear coats can yellow over time, especially if exposed to direct sunlight. This is less common with newer Mod Podge formulations, but it's something to be aware of.
To avoid this, always use "non-yellowing" clear topcoats like polycrylic or specific acrylic varnishes. Keep your finished pieces out of direct, harsh sunlight if possible, especially if you've used delicate papers or photos that you want to preserve in their original color.
Frequently Asked Questions
What Kind of Paper Works Best for Decoupage on Furniture?
Generally, thinner papers that are still durable work beautifully. Think specialty decoupage papers, scrapbook paper, maps, or even printed tissue paper. They conform well to surfaces and absorb the Mod Podge nicely. Avoid anything too thick like heavy cardstock, as it's harder to get truly flat without bubbles or wrinkles.
Can I Use Regular Printer Paper for My Designs?
Yes, you absolutely can use regular printer paper! I've done it many times. Just be aware that it's a bit thinner and can wrinkle more easily. Make sure your printer ink is completely dry before applying Mod Podge, and apply your Mod Podge coats gently. I often print designs for smaller areas on standard printer paper.
How do I Really Avoid Those Annoying Bubbles and Wrinkles?
The secret weapon is patience and a brayer! After applying Mod Podge to the surface, lay your paper down carefully. Then, starting from the center and working outwards, use a rubber brayer or an old credit card to firmly (but gently!) smooth out the paper, pushing any trapped air or excess glue towards the edges. Don't rush, and lift/readjust if you need to.
How Many Coats of Mod Podge do I Actually Need?
For furniture, I always recommend at least 3-5 coats of Mod Podge over the paper. Each coat builds up a protective layer and helps to seal the edges of the paper, making it look more like a painted finish. Remember to let each coat dry completely and cure for at least 24 hours after the final coat before you add a stronger protective sealer.
Can I Use Fabric Instead of Paper for My Decoupage Project?
Yes, definitely! Decoupaging with fabric creates a really cool texture. You'll want to use a fabric-specific Mod Podge or thin regular Mod Podge slightly with water (about 2 parts Mod Podge to 1 part water). Make sure your fabric is clean and pre-shrunk, and cut it precisely. Fabric can be a bit trickier to smooth, but the results are gorgeous and unique.
What's the Best Way to Clean Decoupaged Furniture once It's Finished?
Once your piece has fully cured (give it a week or two after the final protective topcoat), clean it gently with a soft, damp cloth. Avoid harsh chemical cleaners, abrasive sponges, or excessive scrubbing, as these can damage your finish over time. A mild soap and water solution is usually fine for general dusting and light cleaning.
Does Decoupaging Make the Furniture Waterproof?
Decoupage with Mod Podge and a good topcoat makes furniture highly water-resistant, but not completely waterproof. You wouldn't want to leave a decoupaged table out in the rain or let standing water sit on it for long periods. For surfaces that might see spills (like a coffee table), those extra polyurethane coats are essential for better protection.
Is This Worth It for a Really Large Piece of Furniture?
Absolutely! While it takes more time, decoupaging a large dresser or cabinet can have a stunning impact. You can use large-format papers, or combine smaller sheets to create a continuous pattern. Just break the project down into smaller, manageable sections – like one drawer at a time, or one side panel. The transformation will be incredible, and you'll have a truly statement piece.
The Bottom Line
Decoupage on vintage furniture is such a rewarding craft. It's an accessible way to take something forgotten and give it a whole new lease on life, turning it into a piece of art that tells your story. Don't let the idea of gluing paper to furniture intimidate you. Think of it as painting with paper, layer by layer.
Start small, maybe with a thrift store box or a simple tray, and build your confidence. You'll make mistakes, I guarantee it, but those are just part of the learning process. Each piece you create gets a little bit better, a little bit smoother, and a whole lot more "you." So go find that sad, beige piece of furniture, grab some pretty paper, and let your creativity flow! ❤️
Related Posts
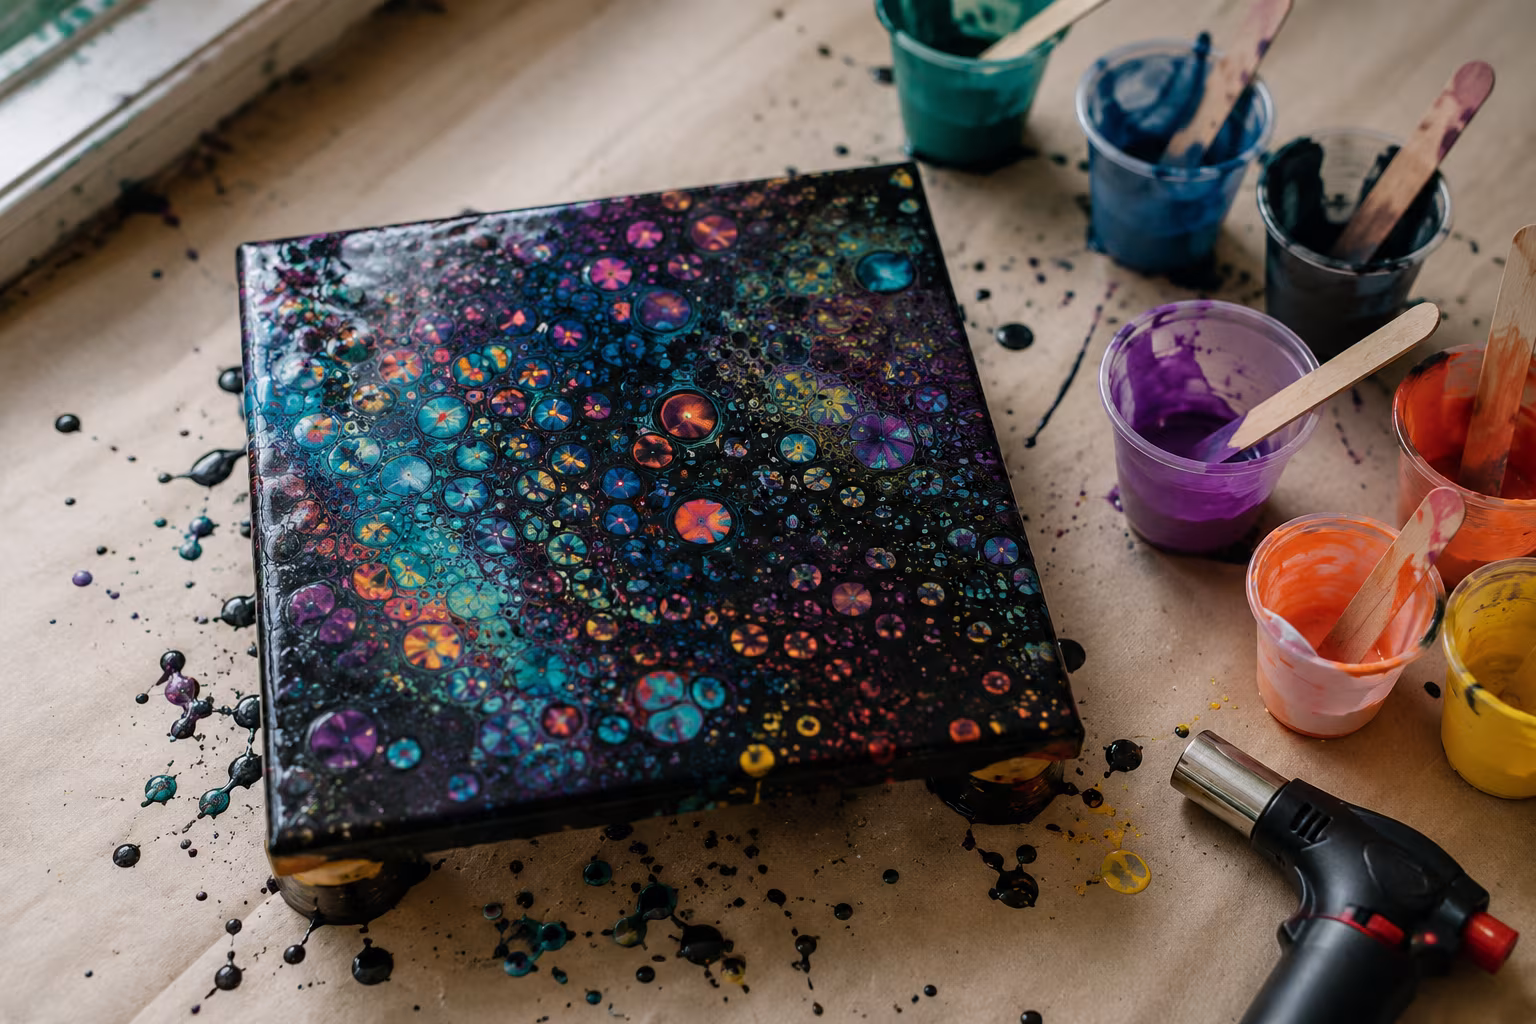
Acrylic Pouring Cells: Why They Form and How to Control
Cells in acrylic pouring come from density and surface tension differences. Understand the chemis...
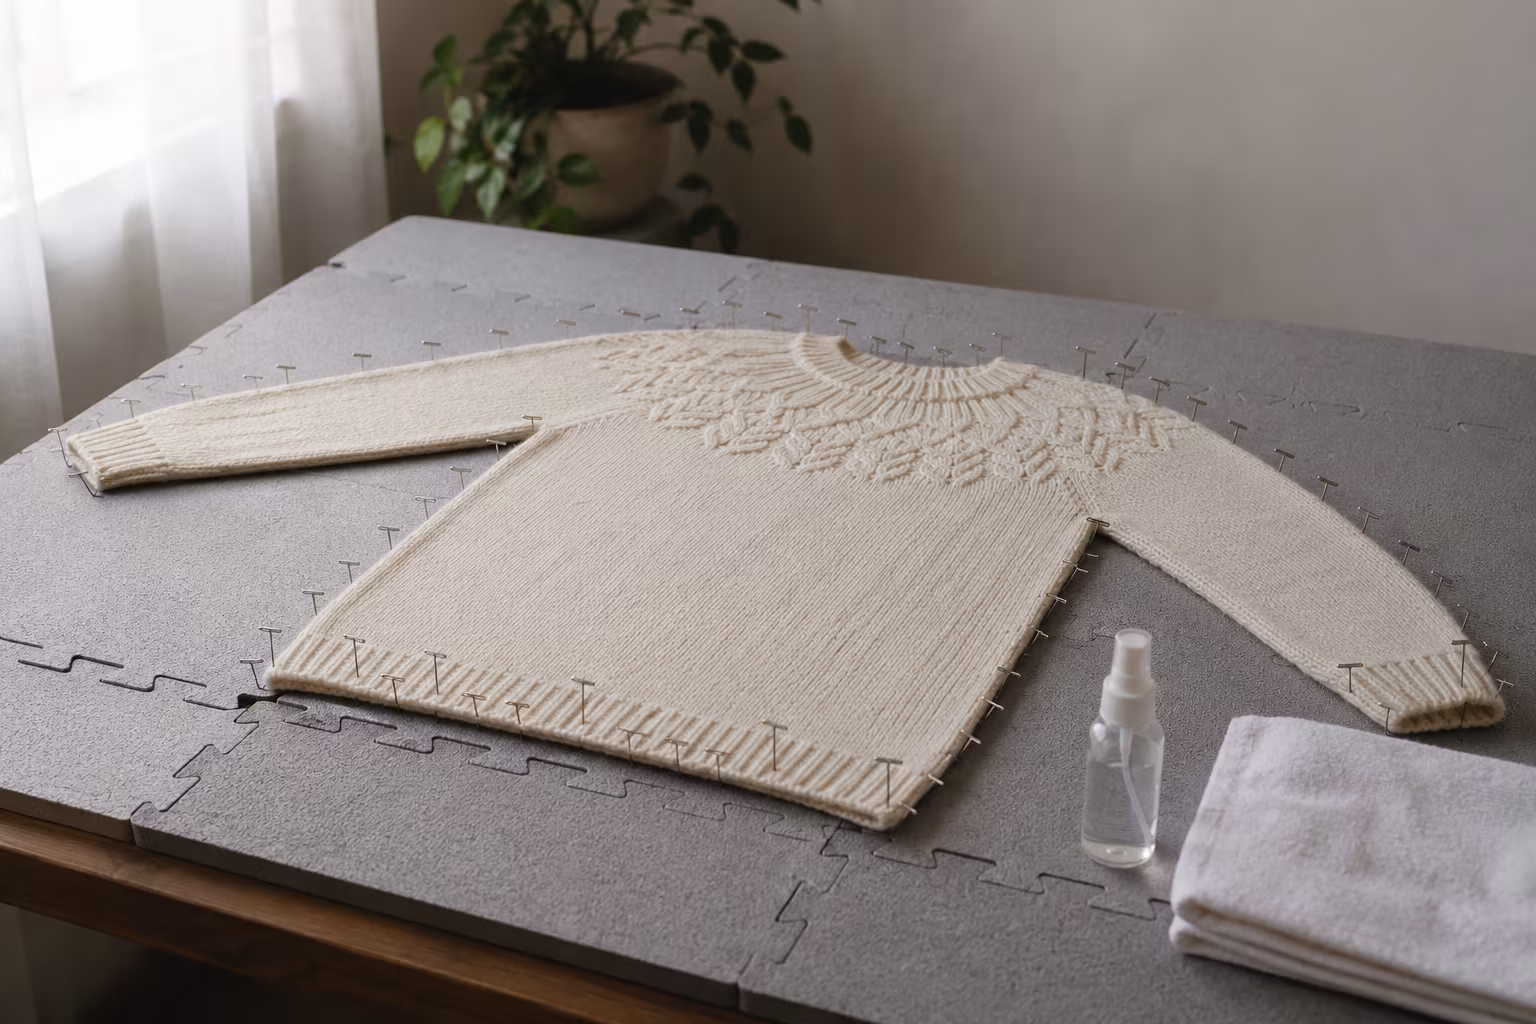
How to Block a Knitted Wool Sweater Without Felting
The blocking routine that opens stitches and sets the shape without turning your wool sweater int...
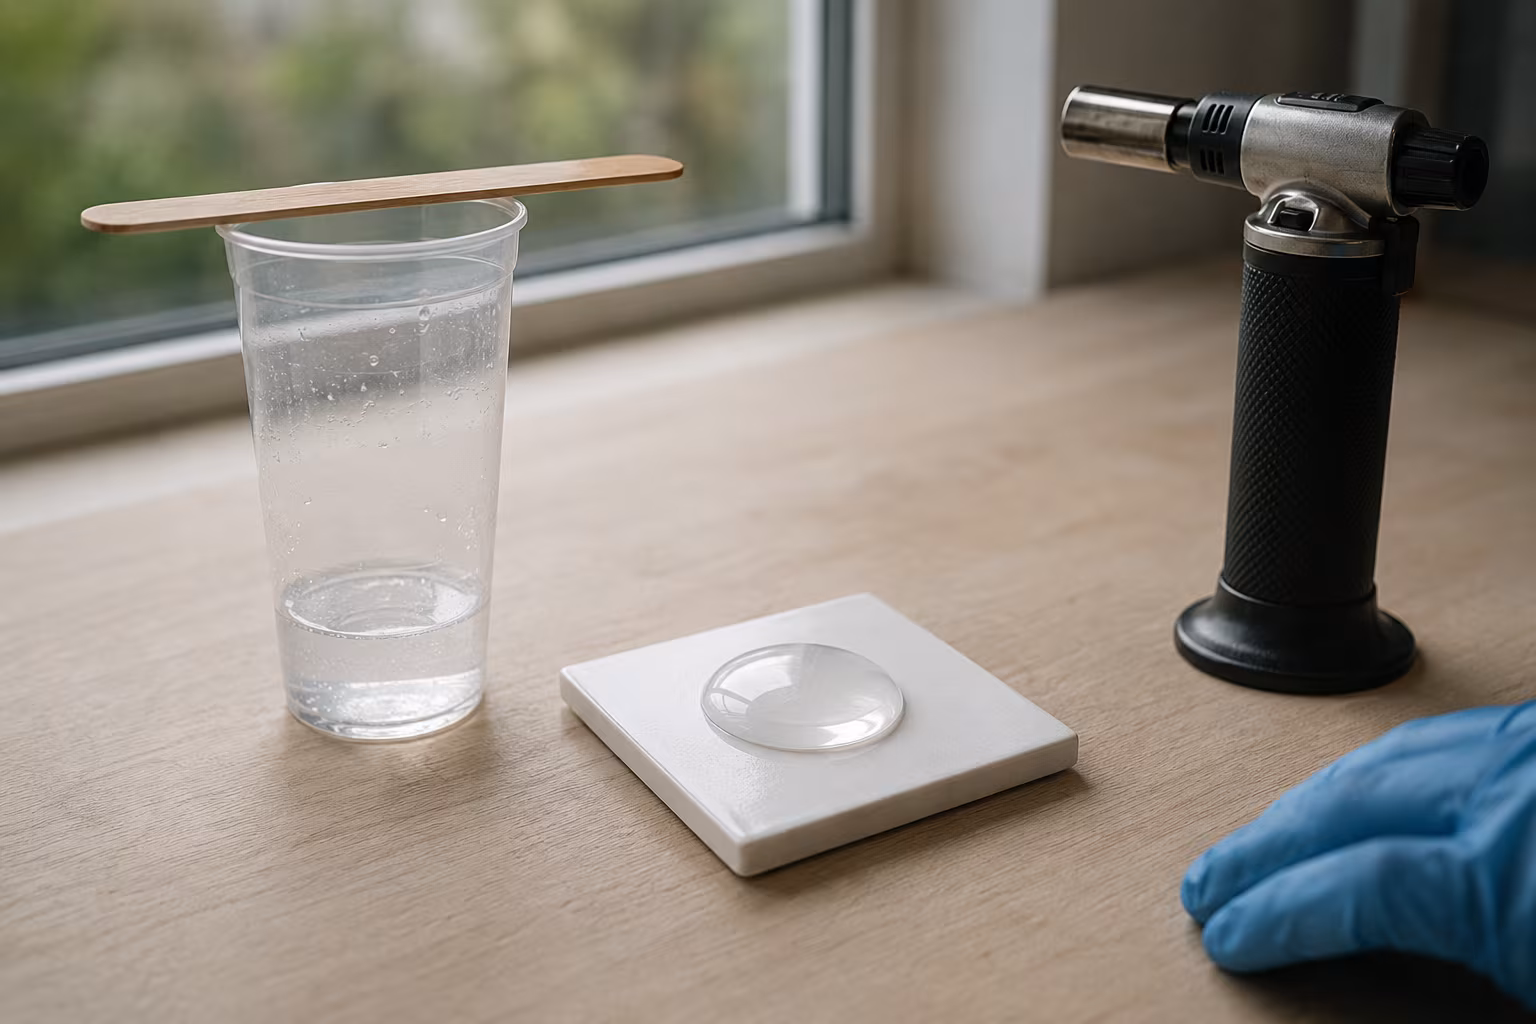
Resin Doming Without Bubbles: A Calm, Reliable Method
A repeatable doming routine that keeps bubbles out and the dome tidy — pour technique, heat metho...
Why Quilling Earrings Are the Most Profitable Craft to Sell Online
Thinking about starting a craft business? You might be surprised to learn that delicate, colorful...