How to Style Window Sills as Functional Display Spaces

How to Style Window Sills as Functional Display Spaces
You know that feeling when you're tidying up, and you look at your window sills and think, "What even is this space?" Mine used to be a graveyard for forgotten mail, a lone dusty succulent, and maybe a random hair tie. It just felt... wasted. 👋
But those sunny spots are so much more than just a place to catch dust! We're talking about tiny canvases, prime real estate for adding personality and function to any room. I'm going to walk you through how I transformed my own neglected sills into little display havens, sharing all the trial and error along the way.
Why This Actually Matters
Think about it: window sills get some of the best light in your house. They're often at eye level, making them natural focal points. Yet, so many of us leave them bare or turn them into catch-alls for clutter. That's a huge missed opportunity, especially if you're like me and always looking for more storage or display space.
I remember my first tiny apartment. Every square inch mattered, and I was constantly trying to figure out how to make things feel less cramped. When I finally started thinking of my sills as mini-shelves, it was like unlocking a secret level of home decor. It added so much character to the room without taking up any actual floor space.
The Basics of Window Sill Styling
Okay, so before we dive into the nitty-gritty, let's just get a few core ideas straight. Styling a window sill isn't about just piling things on. It’s about creating a little scene, something that feels intentional and pretty, even if it's just a few simple items. You want it to tell a small story.
The biggest mistake I made early on was trying to cram too much stuff onto a small sill. It just looked messy and overwhelming. Less really is more here, especially when you're just starting out. Focus on a few key pieces that you love.
Consider Your Window
Not all window sills are created equal, right? You've got to consider a few things about the window itself before you even think about what to put on it. Is it a big, wide sill in a living room, or a tiny, narrow one in a bathroom? This will really dictate your choices.
You also need to think about how much sunlight the window gets. My kitchen window gets intense afternoon sun, so delicate paper crafts won't last there. But my north-facing bedroom window is perfect for photos or items that don't like direct light.
- Light Exposure: This is huge for plants, but also for anything that might fade or warp in direct sun. South-facing windows get the most intense, prolonged light. North-facing windows get softer, indirect light.
- Sill Depth and Width: Measure it! A narrow sill might only hold one small item, while a deep one can accommodate layered arrangements. Don't force oversized items onto a tiny ledge, it'll just look precarious.
- Privacy Needs: If it's a window where you need privacy (like a bathroom or bedroom), your styling choices might include taller items or sheer curtains that work with your display, not against it.
- Window Function: Do you open this window often? Is it above a sink where things might get splashed? These practical considerations should absolutely guide what you place there.
How to Actually do It
Alright, now for the fun part: putting it all into practice! This isn't a one-and-done kind of thing; it's more of an evolving project. Don't be afraid to try things out, step back, and then rearrange. I do this all the time, sometimes for a full hour, just moving things around until it clicks.
Step 1: Declutter and Clean
First things first: clear the slate. Seriously, take everything off that window sill. Even the stuff you think you want to keep. Give the sill a good scrub. You wouldn't paint a dirty wall, right? Same principle here. You're starting fresh, so make sure your canvas is clean.
This is also a great time to actually decide if the items that were there deserve a spot. If they were just sitting there out of habit, maybe they belong somewhere else, or even in the donation pile. Be ruthless!
Step 2: Assess Your Light and Environment
Before you bring anything back, stand there for a minute and just observe. What kind of light does this window get throughout the day? Is it humid (like in a bathroom)? Is it prone to drafts? This helps you determine what kind of items will thrive (or simply survive) in that spot.
For instance, my kitchen window above the sink needed items that could handle splashes and humidity. Delicate paper sculptures were out, but a small herb garden? Perfect. My living room window gets bright indirect light, which is great for most photos and objects.
Step 3: Choose a Purpose (or Theme)
This is where you get to decide what you want your sill to do for you. Do you need extra storage for spices? Do you want to create a cozy reading nook vibe? Or maybe it's purely decorative, a spot to showcase your favorite collected treasures. Having a purpose will guide your item selection.
I had one bathroom sill that was just a mess of toiletries. I decided its purpose would be "calm and spa-like." That immediately told me to grab some small scented candles, a pretty soap dish, and a tiny diffuser, ditching the plastic bottles that used to live there.
Step 4: Think About Height and Variety
To make a display interesting, you need different heights. If everything is the same height, it looks flat and a little boring. Grab items that vary from tall to short. You can use books or small stands to elevate some pieces if you need to.
I love using little wooden blocks I made, or even just a stack of a couple of hardback books, to give smaller items a lift. It creates depth and visual interest without making the sill feel too busy. Try a mix of upright items, like plants, and lower, wider pieces, like a small dish.
Step 5: Grouping and Odd Numbers
This is a classic design trick that really works. Things tend to look more appealing and less cluttered when grouped in odd numbers (3, 5, 7). Your eye naturally finds these groupings more aesthetically pleasing. Try arranging your chosen items in little clusters.
Instead of three individual items spaced out evenly, try pushing them closer together. You can have a small plant, a framed photo, and a tiny candle all as one unit. Then, leave a bit of breathing room before your next group.
Step 6: Incorporate Texture and Color
Add warmth and interest with different textures. Think about mixing smooth ceramics with rough wood, or soft fabric with shiny metal. This makes your display feel richer and more inviting. Don't be afraid to experiment here!
Color plays a huge role too. You can go for a monochromatic look with varying shades of one color, or introduce a few complementary pops of color. My rule of thumb is to pick a dominant color and maybe one or two accent colors, so it doesn't feel like a rainbow exploded on my sill.
Step 7: Consider the View (inside and Out)
Stand back and look at your window sill from across the room. Does it look balanced? Is there anything distracting? Then, if it’s a window you look out of often, consider how your display impacts the view. You don't want to block a beautiful landscape with a giant sculpture.
I have a sill in my craft room that faces the street, and I realized some of my messier items were visible from outside. So, I rearranged to put prettier, more streamlined objects closer to the glass. It makes me happy both inside and out.
Step 8: Test and Tweak
This isn't a science experiment where there's only one right answer. It’s an art project! Arrange your items, step back, and see how you feel about it. Maybe swap a few things, or add one more small piece. Live with it for a day or two, then adjust again.
My window sills are constantly evolving. Sometimes I'll bring in a new thrift store find, and it totally changes the whole vibe. Or a plant will grow too big and need a new home. That’s totally fine! Think of it as a living display.
Making It Stick / Common Mistakes
It's easy to fall back into old habits, isn't it? The biggest challenge is usually maintaining the organized sill once you've put in the effort. Life gets busy, and suddenly mail is piling up again. The trick is to have a clear system and to check in with your sills regularly.
One common mistake I see (and definitely made myself!) is overcrowding. You find so many cute things and want to put them all out. But a cluttered sill just looks like storage, not a display. Choose fewer, more impactful items. Another one is ignoring the window's light. I've had so many plants wither away on the wrong sill because I didn't pay attention. Learn from my plant graveyard!
"Your window sill isn't just a ledge; it's a micro-gallery waiting for its curator. Don't let it become a junk drawer."
Frequently Asked Questions
What if My Window Sills are Really Narrow?
Narrow sills are a common challenge, but don't despair! Focus on single, slender items. Think small propagation vases, a very slim picture frame, or a tiny ceramic bird. You can also use adhesive strips for lightweight, flat decor if you're careful, but always test them first!
Can I put plants on any window sill?
Not exactly! Plants need specific light conditions. A succulent will love a south-facing sill, but a fern will quickly brown there. Research what your specific plant needs before committing it to a spot. I killed a lot of plants figuring this out, so you don't have to! 🌱
How do I Keep Things from Falling Off?
This is a real concern, especially with kids or pets! For very narrow sills, opt for heavier, stable items. For lighter pieces, consider museum putty or clear, reusable adhesive dots on the bottom of vases or figurines. If it's a sill you open frequently, choose items that are easy to move or won't tip over.
What About Privacy Concerns if I'm Putting Stuff on My Sill?
Good question! If privacy is key, you can integrate your sill decor with sheer curtains, blinds, or even frosted window film on the lower pane. Taller plants or decorative screens placed at the front of the sill can also provide some visual breaks without fully blocking the light.
How Often Should I Change the Display?
That's totally up to you! Some people love to swap things out seasonally, like adding tiny pumpkins in the fall or evergreen sprigs in winter. Others prefer a more permanent arrangement. I usually refresh mine every few months, or whenever I find a new treasure at the thrift store that sparks an idea.
Is This Worth It if I Don't have a Lot of Stuff?
Absolutely! You don't need a huge collection of decor items. A single, well-chosen piece can be incredibly impactful. One beautiful handmade ceramic bowl, a favorite small art print, or even just a well-placed plant can elevate a sill and add personality without feeling crowded. Start small, you'll be surprised what a difference it makes.
The Bottom Line
Your window sills are tiny, often overlooked powerhouses of potential in your home. They're just waiting for you to unleash their inner decorator. Don't let them sit there gathering dust or acting as a catch-all. Give them a purpose, a little personality.
Start with just one window sill this week. Clear it off, clean it, and just put one or two things you genuinely love on it. See how it makes you feel. I bet you'll be looking at all your other sills with new eyes in no time. Happy styling! ❤️
Related Posts
Color-Match Trim Paint to Existing Off-White Walls
Off-white walls hide three or four different undertones. The routine for matching new trim paint ...
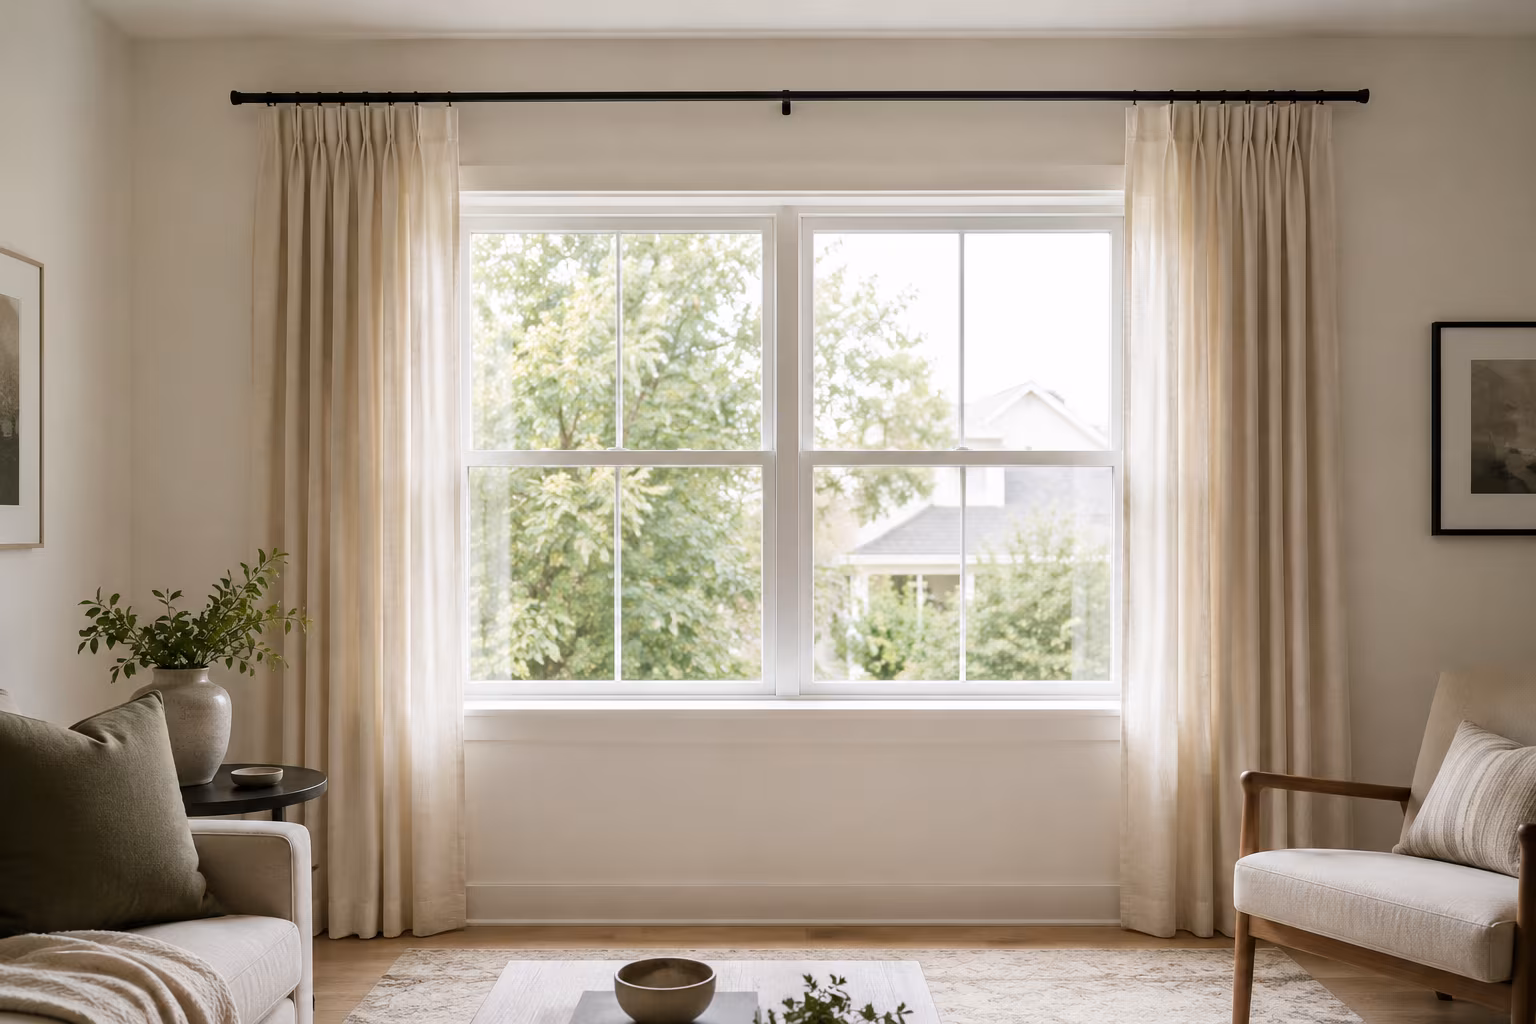
How Far to Extend Curtain Rods Past the Window Frame
How far the rod should reach past each side of the window, why the extension matters more than ro...
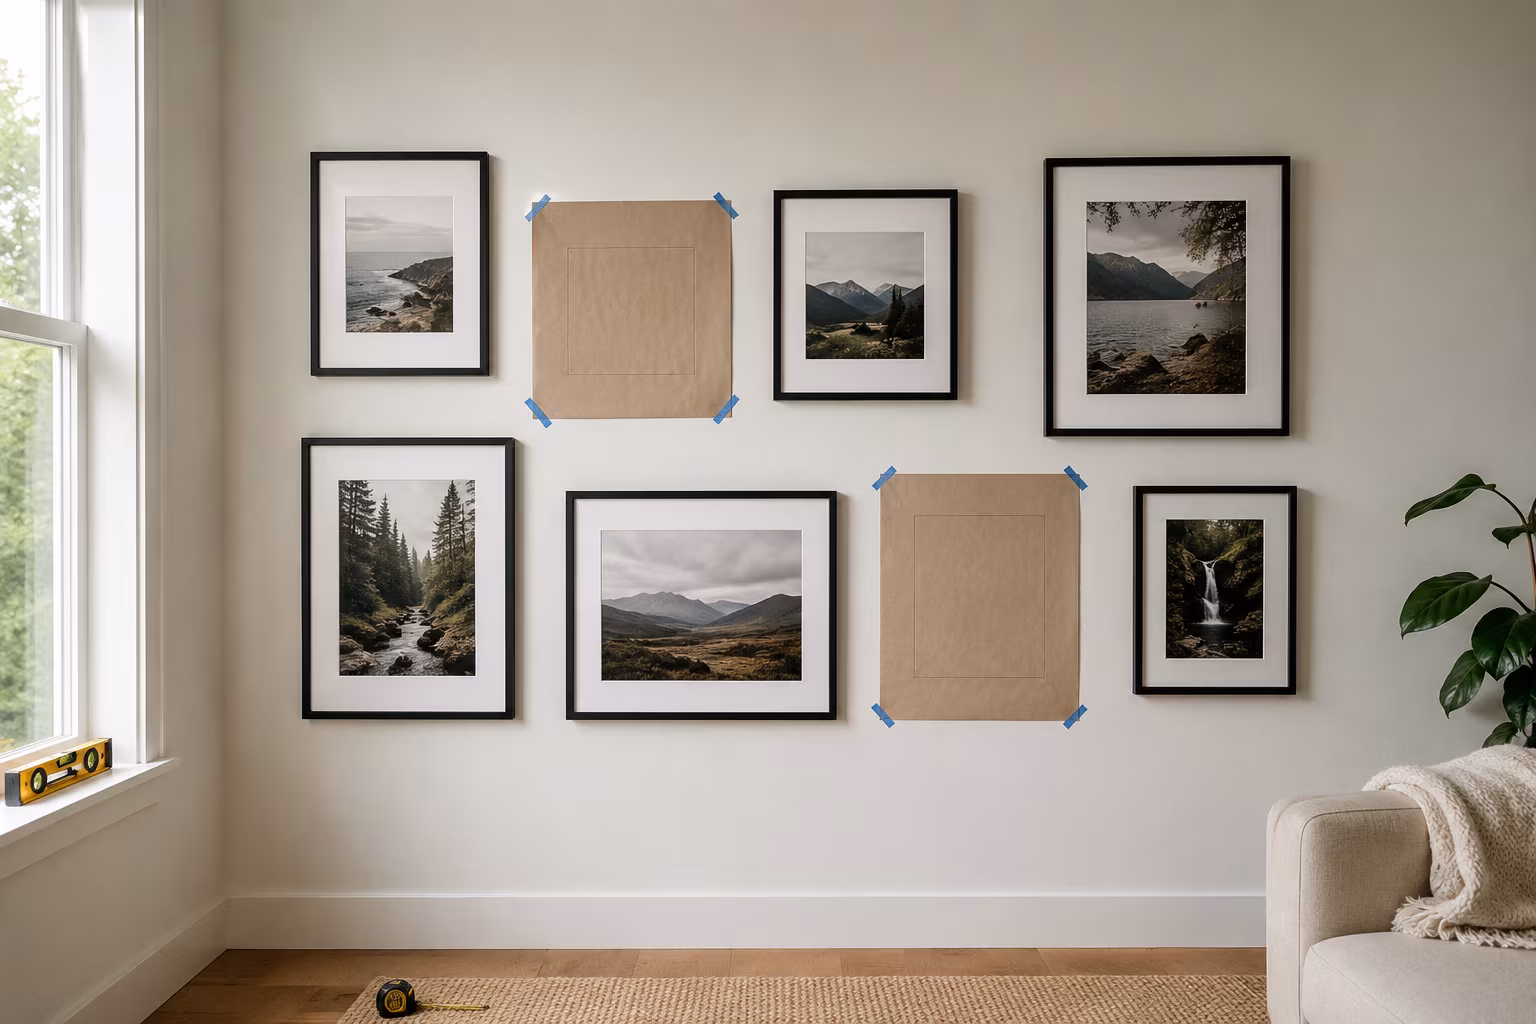
Gallery Wall Picture Spacing: The Repeatable Method
Stop eyeballing it — the exact spacing, center height, and paper-template routine that turns a pi...

The Secret to Making Your Home Smell Amazing Without Artificial Sprays
Tired of chemical-laden air fresheners? Learn how to fill your home with beautiful, natural scent...